1940's Headscarf DIY
Headscarves are a recent discovery of mine, as I love creating 1940’s looks, but have hair that is inappropriately short for the decade! (I also love snoods. Check out my diy here!) I failed, however, in my attempts to scarf my head until I discovered this excellent video from lipsticklettucelycra.co.uk. Apparently, I had been doing it all wrong, including attempting to use a bandana! (Hint: too small!)
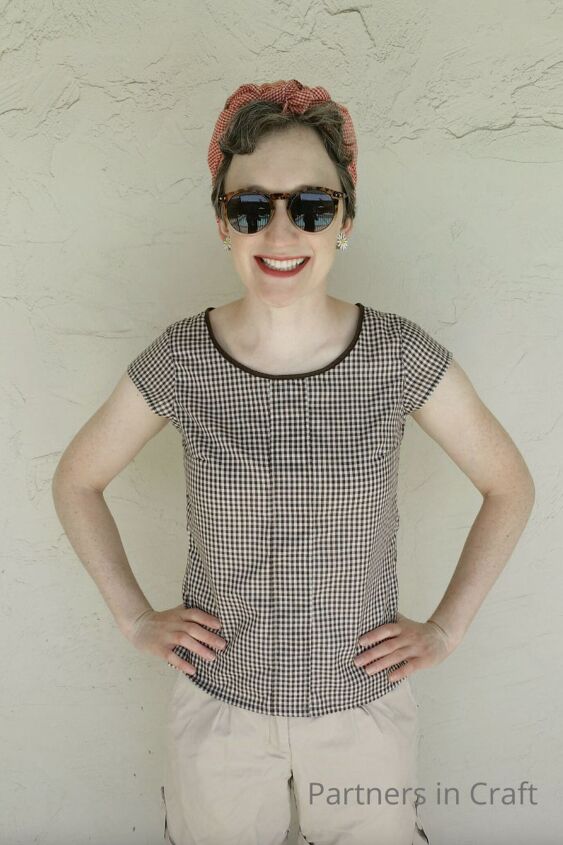
After watching the video, I went on the hunt for an appropriately-sized cotton scarf. Vintage scarves abound, but finding one made from non-slippery cotton proved to be difficult! Finally, I found a modern scarf that fit the bill perfectly! I wore it with glee in my Retro Beach post!

I love the look and the relative stability-on-one’s-head of this the scarf! Of course, that means I now need cotton scarves in every color!

What’s a gal to do? Use that scarf as a pattern and DIY some more, of course! I started by coming to terms with my sewing machine’s rolled hem foot…

I turned to Professor Youtube for a tutorial on using this newfangled contraption. I was super grateful to find this excellent video from The Colorful World of Sewing, which included trouble shooting tips as well as how to deal with corners! Of course, LOTS of practice time with scrap fabric was required to master the technique… My rolled hem foot created a very narrow hem, taking about a quarter of an inch of fabric into the roll. This created a perfect-sized hem for a scarf, but was somewhat frustrating to master as a new technique. If I had had a bigger foot, I would have used it! I found that rolling the hem a bit before feeding it into the foot helped a lot! To make the corners, I found it helpful to roll the corner and pin it in place before lowering the foot on top. After removing the pin, I did a couple normal stitches to secure the corner before feeding the hem into the foot. I was very grateful to be working with a lightweight cotton fabric that could fit into a tiny hem!

Once I finally got the rolled hem figured out, I used my favorite scarf as a pattern for cutting out the new scarf. The original was about 25 inches square, but I increased the length of the new scarf’s sides by about an inch to allow for seam allowance. My cutting board helped me cut kinda straight lines.


That rolled hem took some time, especially with the corners, but it looked great!

Here’s the finished scarf!


This scarf stays on my head very well, even without bobby pins!


The author may collect a small share of sales from the links on this page.


Comments
Join the conversation
What size is your scarf and could you please show us how you tied it? 😊
The scarf should be about 25-27" square! I linked to my favorite headscarf tutorial in the beginning of my post. 🙂