Sewing for Beginners - Sew a Simple Hat in Five Minutes!

Today’s article is shorter than you are used to, because it’s about really simple hat. I’ve based this hat on one of my older patterns, which is available here: Pattern for beanie hat (age 0 -99). This pattern is suitable even for absolute beginners and today I will show you how to sew this hat with visible decorative seams.


Recommended material
The ideal choice for this hat is some type of thinner knit (basic knit, tracksuit fabric with elastane, etc.), but you can also use thicker knits. If you are going to do this, extend the seam allowances from 1 cm to 2 cm to make the hat a bit looser. Important thing is to choose fabric that is not going to fray.
I’ve used furry tracksuit fabric (sometimes marketed as warmkeeper or alpenfleece) from Dumlatek.cz. You can get it here:
Grey / blue fabric is from the same store:

Sewing
This is what a prepared piece looks like. Align the paper pattern with the fold on your fabric and cut the piece with 1 cm wider seam allowance on the side - left side of the piece in the picture.

This hat is ment to be worn with rolled up bottom edge and you can shorten it a bit if you want to have less loose material on top of your head. I haven’t shortened my hat at all.

Fold your piece reverse side in if you want to sew reversible hat (reverse side is the furry one in my case). Pin two outer edges on top of your piece, the “side seam” of the hat is in the middle.

Sew previously pinned edges on regular sewing machine. I recommend reducing the tension of the thread and sewing with a elastic stitch. You can click here to discover more tips about sewing elastic fabrics on a regular sewing machine.

Press the seam allowances open.

Seam allowances are connected at the bottom, cut this part (up to the seam) so you can spread them fully.


Now set your machine to its widest zigzag. My machine is able to sew up to 9 mm wide seams, but this varies - choose widest zigzag possible on your machine. I’ve used elastic zigzag seam, but you can sew with regular zigzag just fine. It’s also important to reduce the thread tension.


Now sew through the seam allowances along (on top) of the original seam.

You can cut off the excess parts of the seam allowances. Be careful not to cut through the hat.

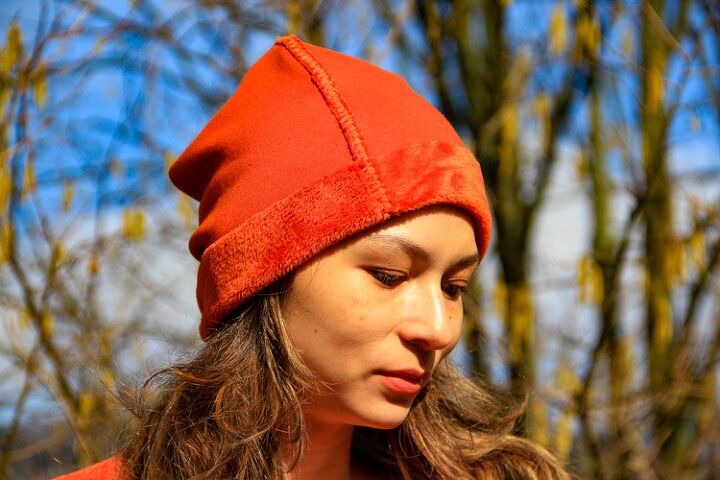
This is how the finished seam should like.

Now fold and pin your hat like this. ↓

Take care to align finished seams on top of your hat nicely.

Sew the “side seam” to close the hat, press the seam allowances open, and sew through them as before. Now you just cut off the excess parts of the seam allowances and your hat will be ready! ?


How do you like this simple hat and today’s article? Are you going to try this pattern?
Have a nice day, Peťa
The author may collect a small share of sales from the links on this page.


Comments
Join the conversation
Can you share pattern on coat please!