4 Cool Tie Dye Patterns That Are Fun & Easy to Do

Learn how to tie-dye shirts with these cool tie-dye patterns! All you need is white shirts, tie-dye, and elastic to make these awesome DIY tie-dye patterns. This is the perfect tutorial to upcycle old white shirts and create something unique and trendy with them.
Keep reading to see how to make heart, spiral, zig-zag, and crumple tie-dyeing techniques! In the end, I’ll show you how to wash and dry the tops. Let’s start!
Tools and materials:
- White t-shirts
- Assorted tie-dye colors
- Bucket
- Mesh screen
- Gloves
- Rubber bands
- Plastic bags
- Tailor’s chalk
- Bowl
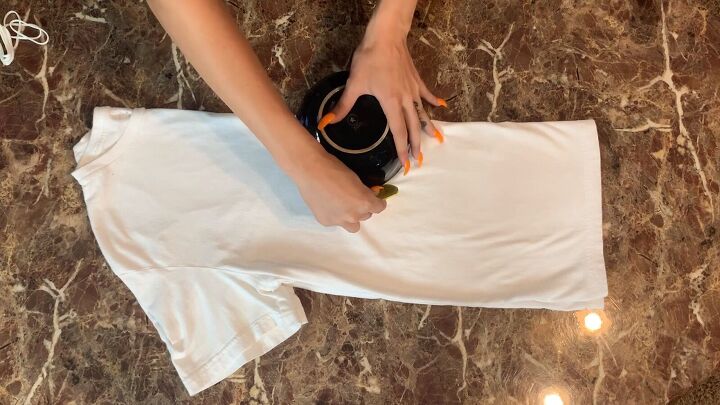
Tie-dye crumple method
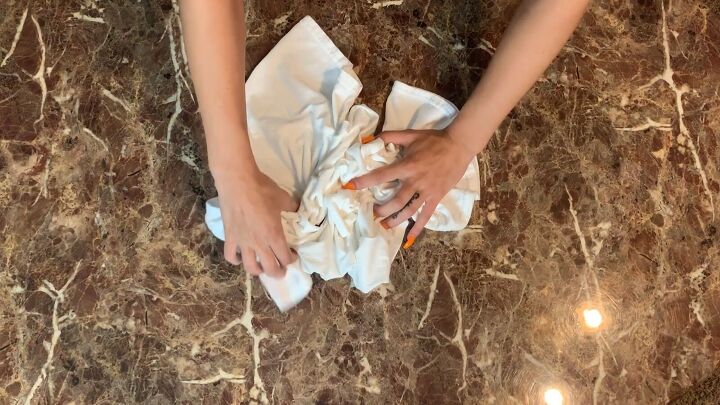
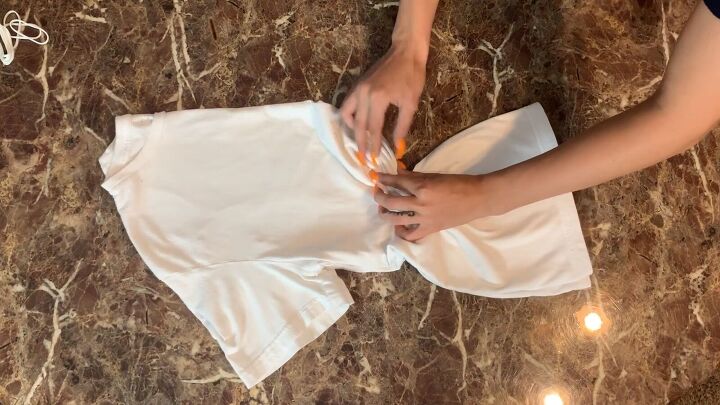
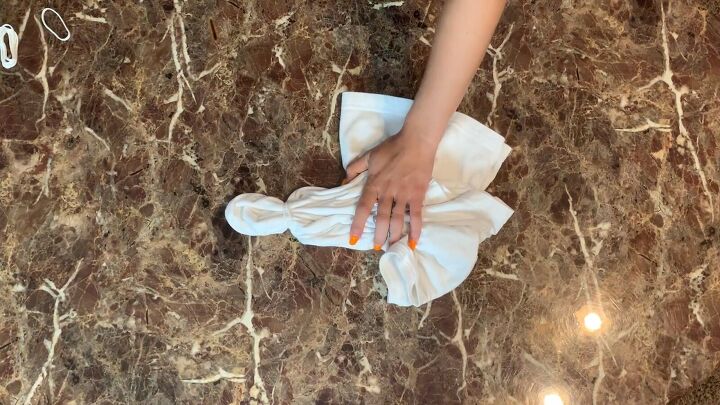
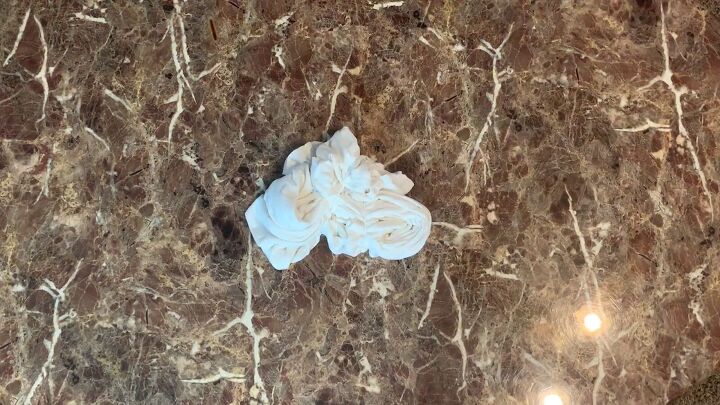
1. Scrunch the shirt
The first method, which is my personal favorite, is called the crumple method. It’s beginner friendly, and there’s no right or wrong way. All you have to do is scrunch up your t-shirt in random directions and places.

You can also scrunch as little or as much as you’d like.
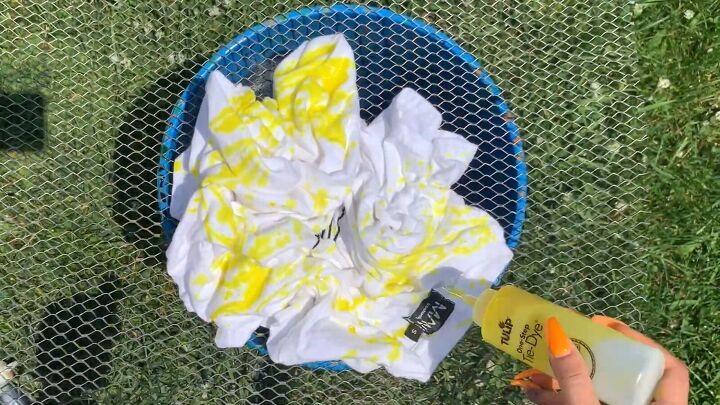
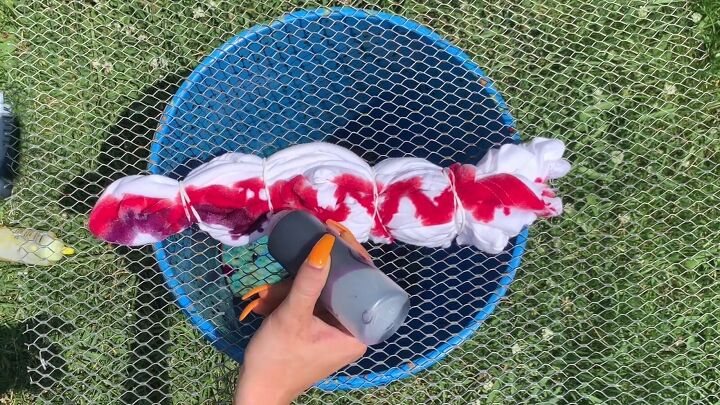
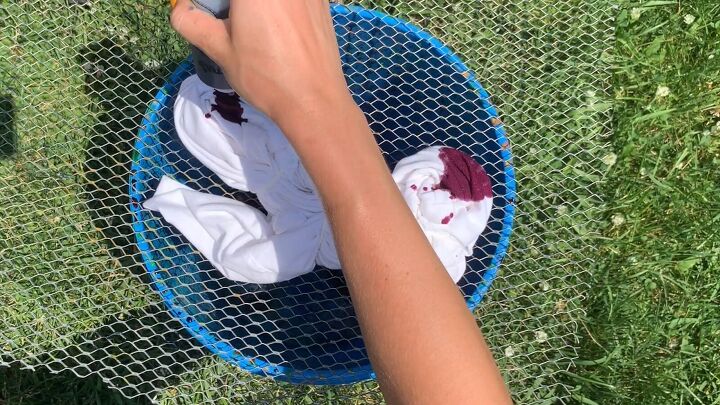
2. Add dye
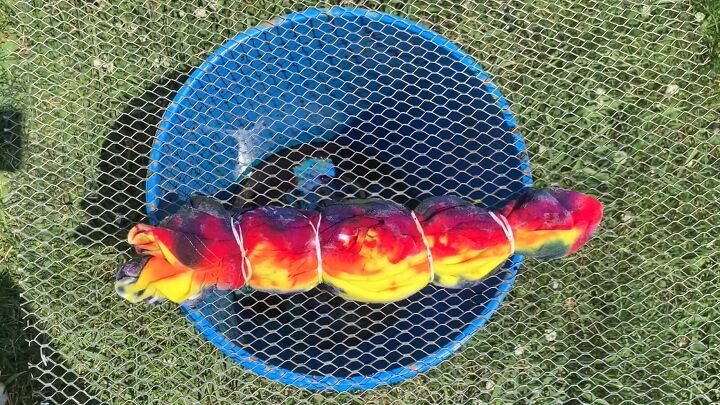
Once the shirt is scrunched the way you want, simply add your tie-dye. Again, add as much color as you’d like. I applied the dye over a bucket and a mesh screen.
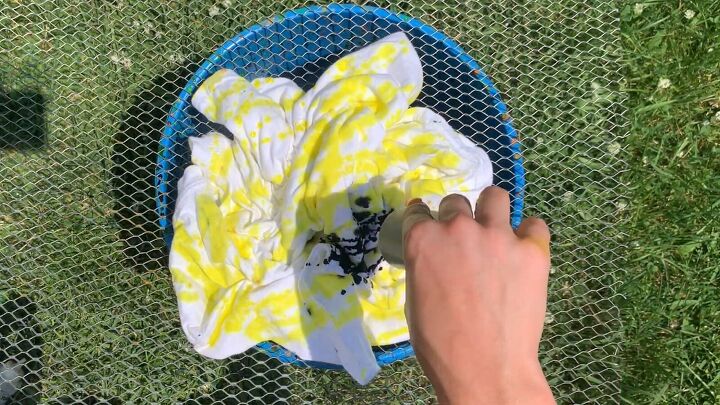
I applied the dye on a dry shirt, but you can still do it when damp- it won’t mess up the results. Ensure you apply dye to both sides of the top.
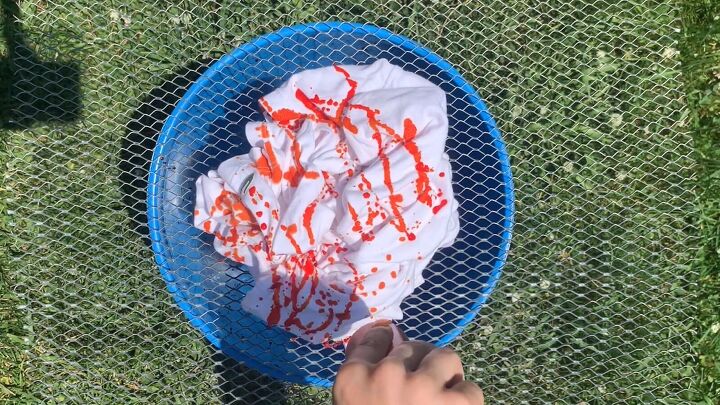
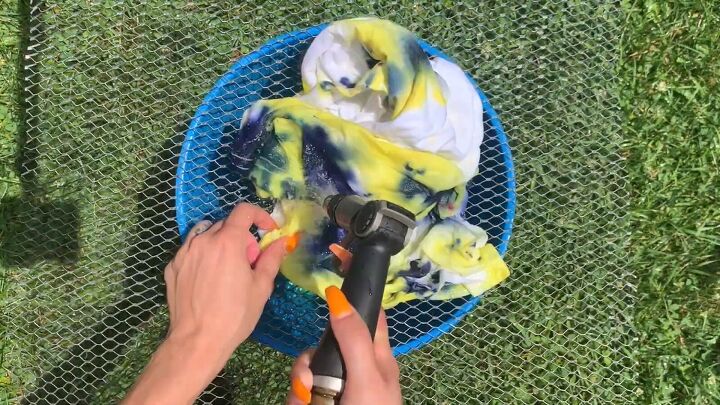
Here, I’m tie-dying another shirt with a beautiful orange color. I didn’t have orange, so I mixed the yellow and red tie-dye powder. The orange color dried and turned out so pretty. You’ll see in the end!
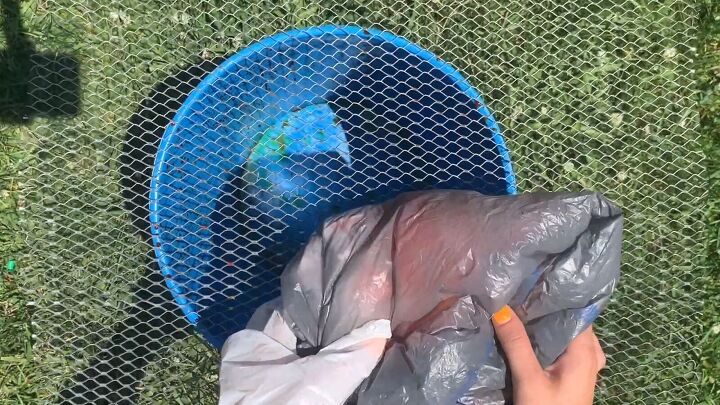
Wrap the top in a plastic bag so it remains wet, and leave it in the sun.

Tie-dye heart method
1. Scrunch your top
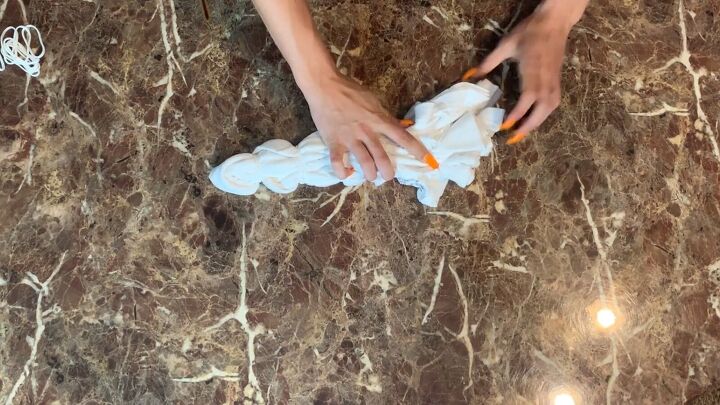
Fold your t-shirt and draw a half heart shape in the middle with tailor’s chalk.

Next, pleat the shirt in the direction of the heart shape.

It doesn’t have to be perfect; just fold it up as nicely as you can. Then, place a rubber band around that section.
Then, take the rest of the shirt, pleat it up, and place rubber bands, so it’s secured.
2. Apply dye
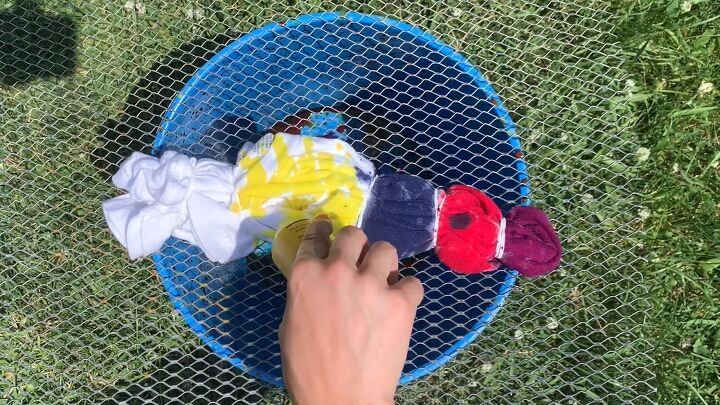
With the elastic bands still in place, add different colored dyes to each section. The first section will be the inside of the heart, and the rest of the banded sections will be the surrounding colors of the heart.
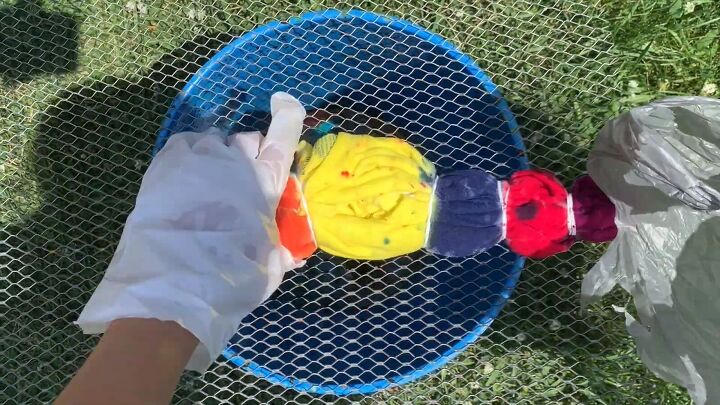
Once the t-shirt is entirely saturated, wrap it up in a plastic bag and let it dry in the sun.
Tie-dye zig-zag method
1. Scrunch your top
This method is similar to the tie-dye heart method. Fold your top in half, take a bowl, and trace a half circle in the center.
Scrunch the shirt in the direction of the circle.
Once it’s all pleated, band it up. Then, pleat the rest of the shirt and band it up in sections.
2. Apply dye
For this method, apply your dye in a zig-zag pattern, as shown above. Do this on the front and back sides and continue this pattern with each color.
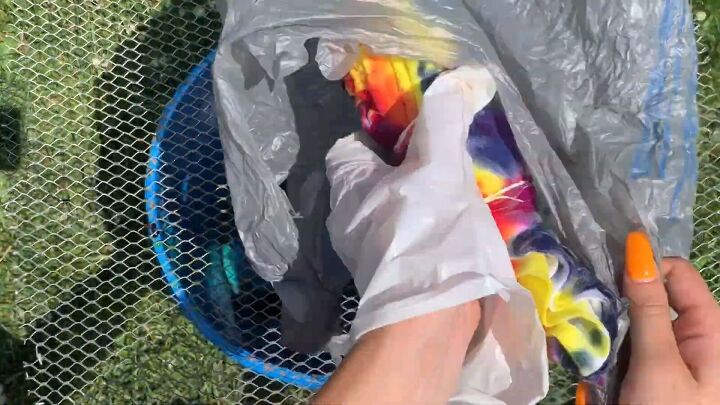
Once the t-shirt is all dyed, just bag it up and leave it to dry in the sun.
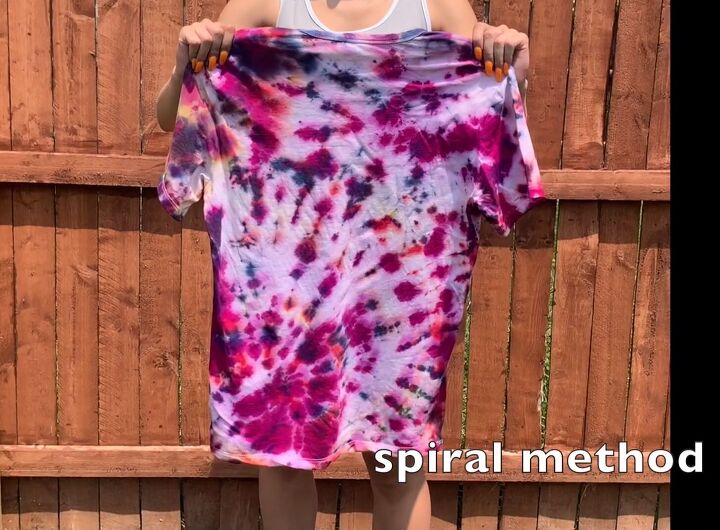
Tie-dye spiral method
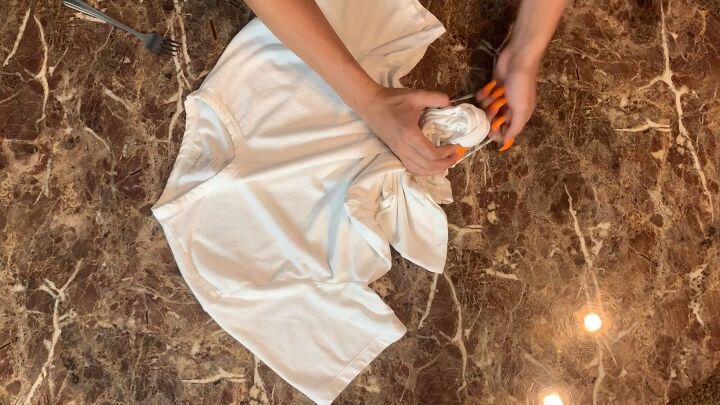
1. Create a sprial
For the last tie-dying technique, my weapon of choice is a fork. Simply pick a point on the t-shirt with the fork, and spin it in the same direction until it becomes a spiral shape.
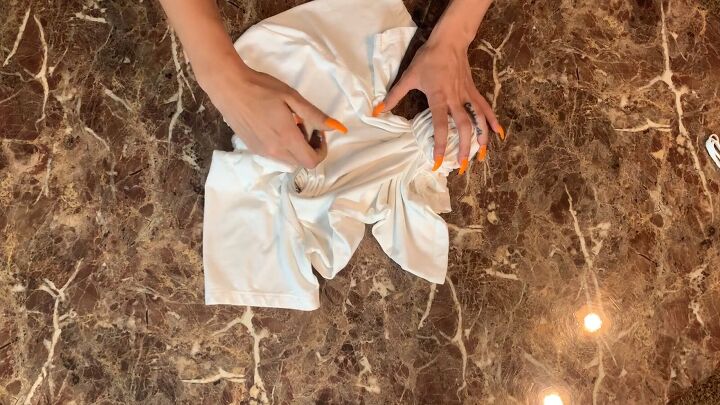
Do this on two points of the shirt. Secure both sections with an elastic band.
2. Apply tie-dye
Apply the dye in triangle shapes, working your way around the spiral.
How to wash and dry your shirts
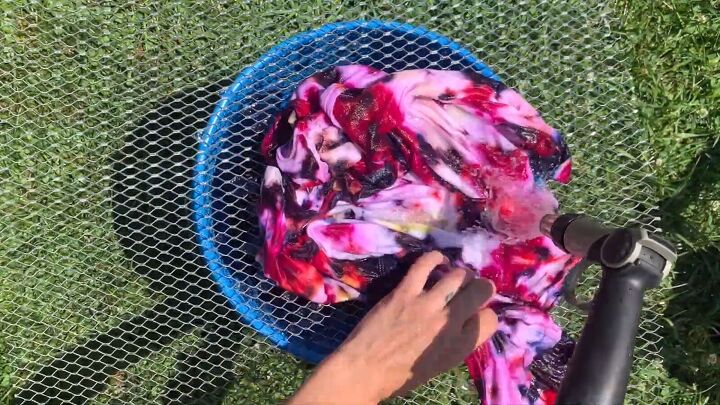
After 3 days, or once the shirts are completely dry and have soaked up all the colors, remove them from the plastic bags and rinse thoroughly with a hose. Move the shirt around to rinse off everything. Also, remove the rubber bands on the ones that are banded up.

Once the water rinses out clear, give the t-shirt a good squeeze to get out the excess water.

Then, leave them out to dry naturally!
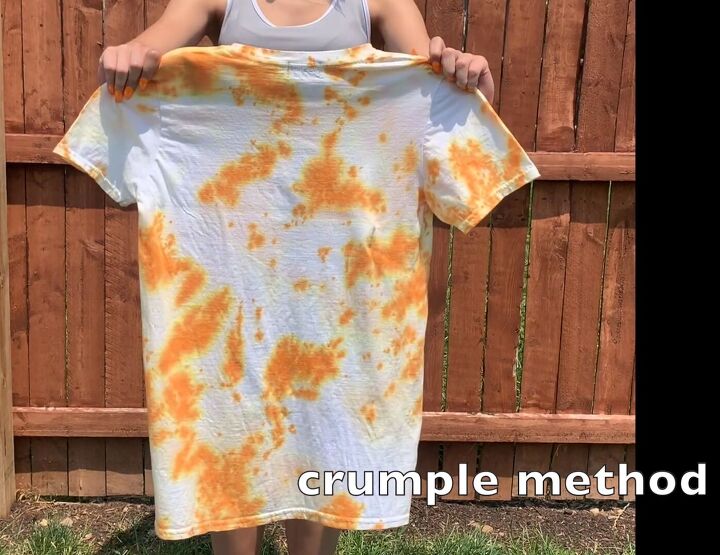
Boom! Here are the results! The orange dye I made came out with a lovely pattern as it bled out the yellow around the orange.

Here’s another I made- I really love the results! This tie-dying technique was the easiest- don’t be scared to give it a try!
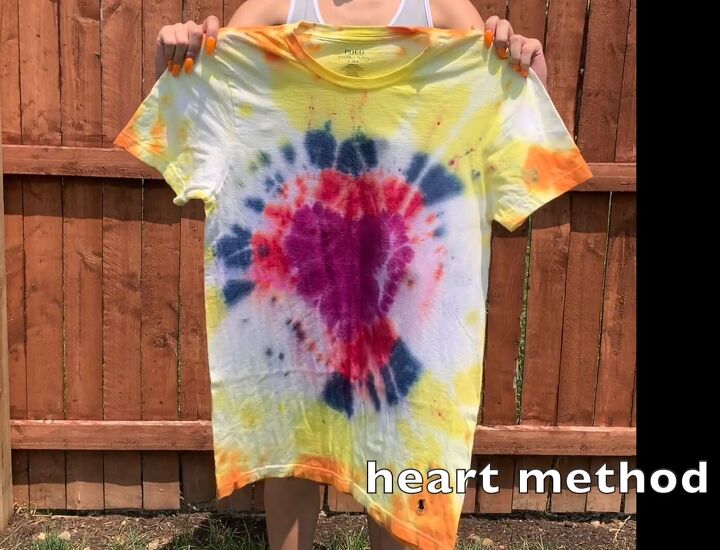
The tie-dye heart method definitely gave me my favorite results!
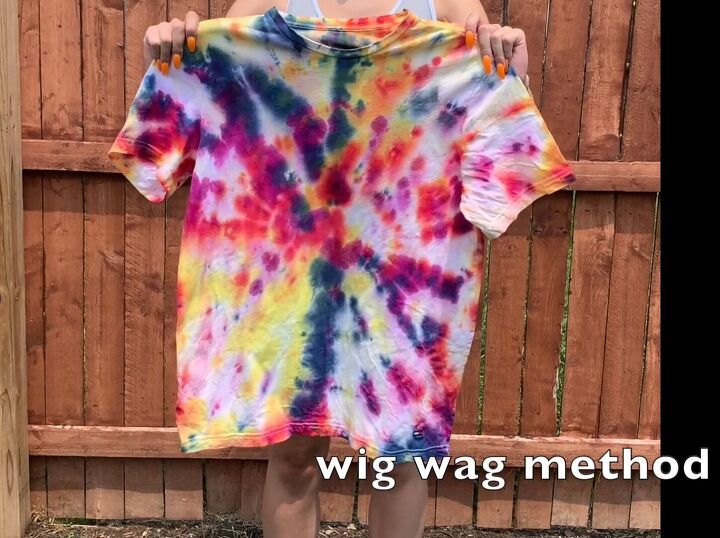
Here is the zig-zag and spiral t-shirts! I love these cool tie-dye patterns, too!
Cool tie-dye patterns tutorial
I hope you guys enjoyed this tutorial on different methods of tie dye! Let me know in the comments below what DIY tie-dye pattern you liked the most!
The author may collect a small share of sales from the links on this page.


Comments
Join the conversation