Denim Shirt Refashion
I’m always looking for easy to wear wardrobe pieces that can be dressed up or down and the ruffle bottom shirt fits the bill. I’ve been eyeing off some pretty nice ones at Gorman, but at $150 they are a little too pricey for me, especially when I can make one myself in an afternoon.

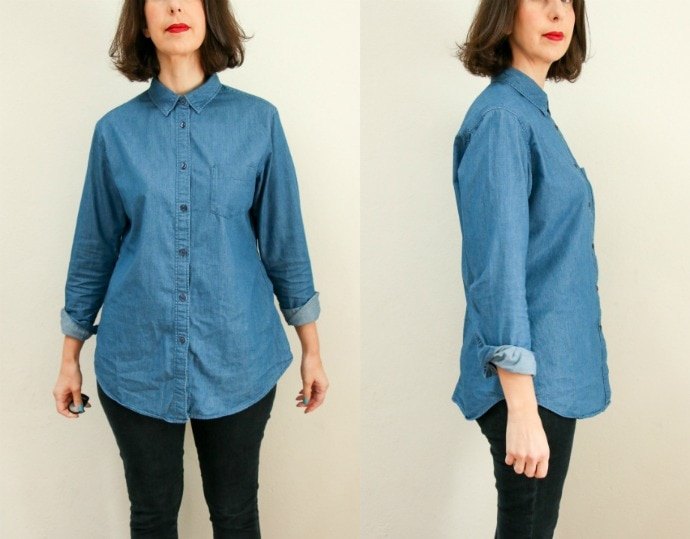
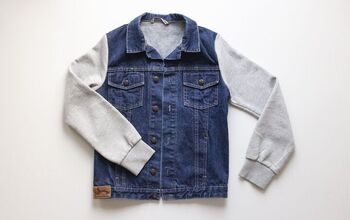
I picked up a nice chambray shirt a few weeks ago at Vinnies for $8 and thought it would be perfect for a refashion session. The shirt was ok, I love the colour and how it fits on top, but the length was all wrong, it finished right on the widest part of my hips and made me look super bottom heavy.
With a small similarly coloured piece of fabric that I already had in my stash (yay!) I was able to bring this shirt right up to date and make it much more flattering.
See how I’ve styled this shirt into 3 different looks Wear My Wardrobe – Ruffle Denim Shirt 3 Ways
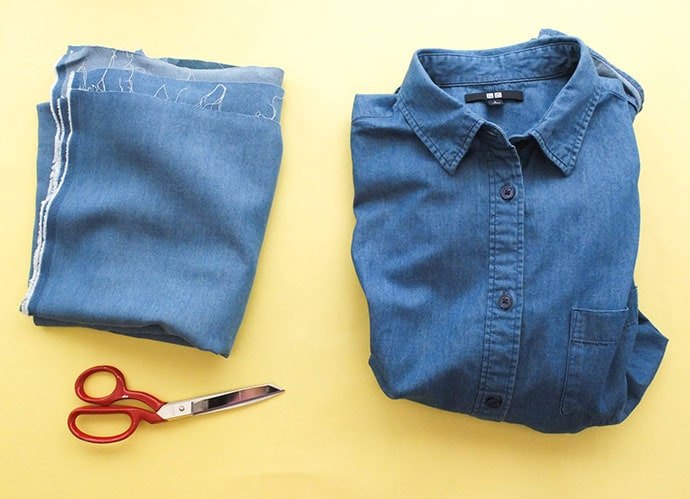
You will need:
- Shirt
- Matching fabric
- Sewing machine
- Scissors
- Matching thread
- Measuring tape
- Tailor's chalk
- General sewing supplies
How to:
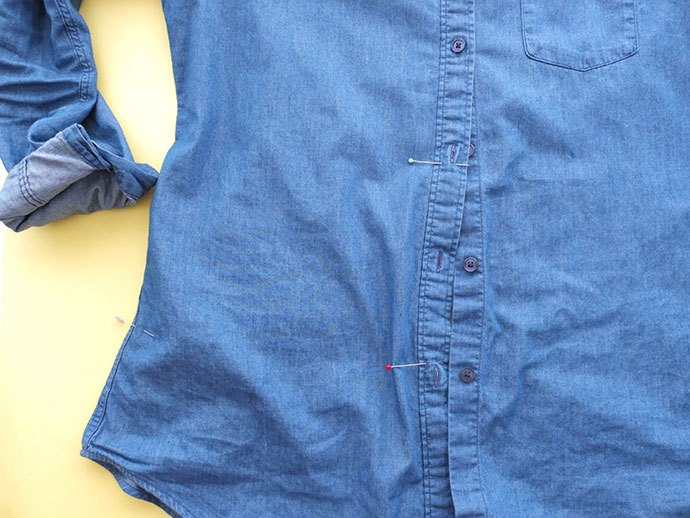
1. Firstly try on shirt and measure where you want the ruffle to start and finish. Pin to mark.
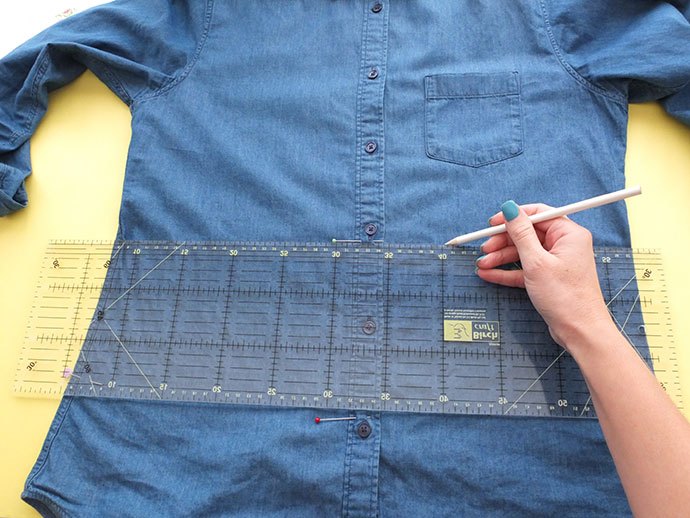
2. Draw a line for the seam and another about 1cm below (seam allowance) where you will cut.
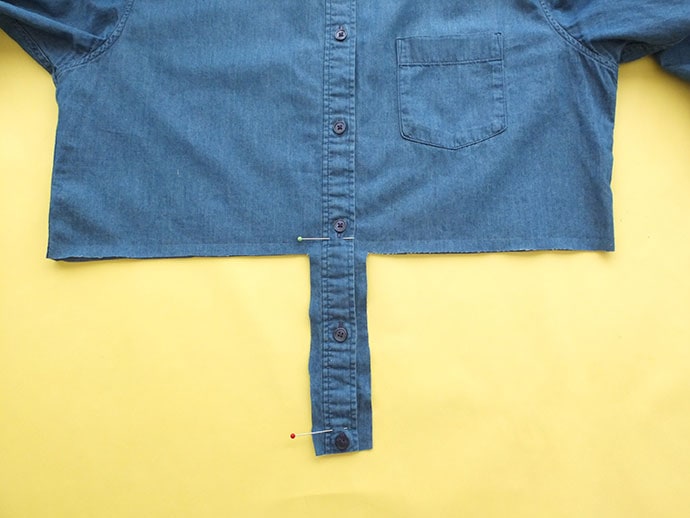
3. Cut the back and front off shirt following the bottom line. Leave the button band intact. (I mistakenly cut my button band a little short, leave the full length, you can always trim it later.)
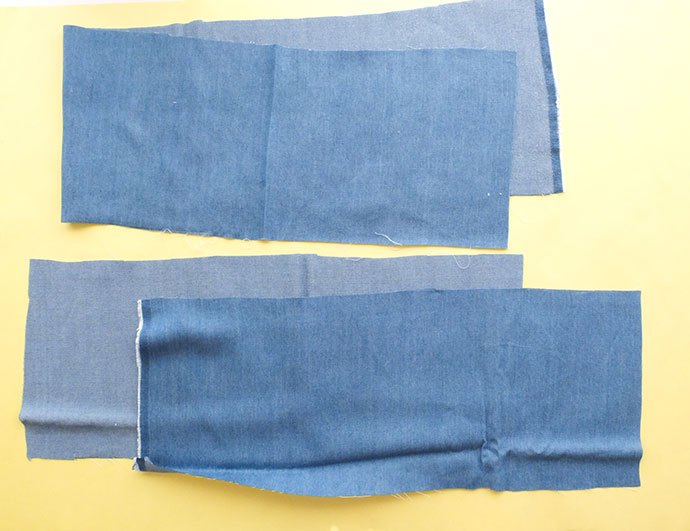
4. From the fabric cut 3 rectangles, the length will be the desired ruffle length + seam allowance. Mine was 20cm. The width will be double the width of each panel. ie. The back panel is double the width of the back and each front panel is double the width of each front.
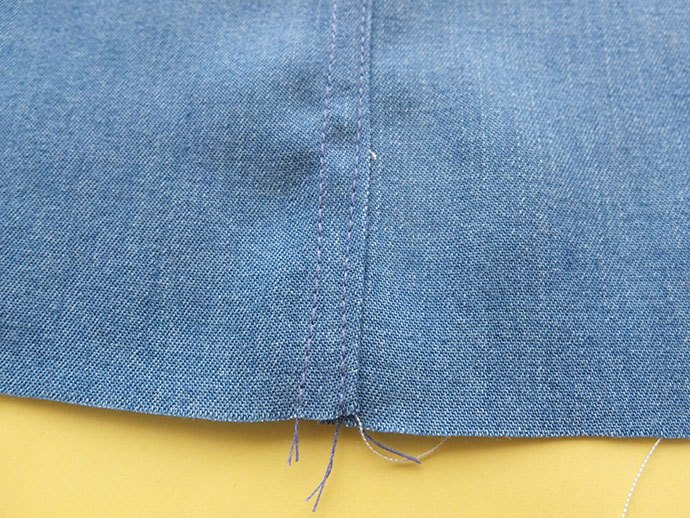
5. Sew panels together, in this order, short, long short. You can do a felled seam if desired, but a regular seam will do.

6. Using the longest straight stitch on your sewing machine, sew near the top edge of panel and then pull bobbin thread to gather. This tutorial may help.
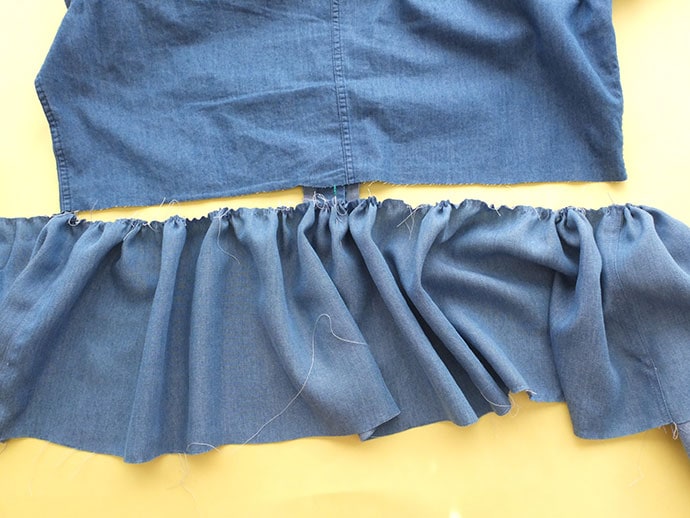
7. Making sure the gathers are even, match up the center back and side seams.
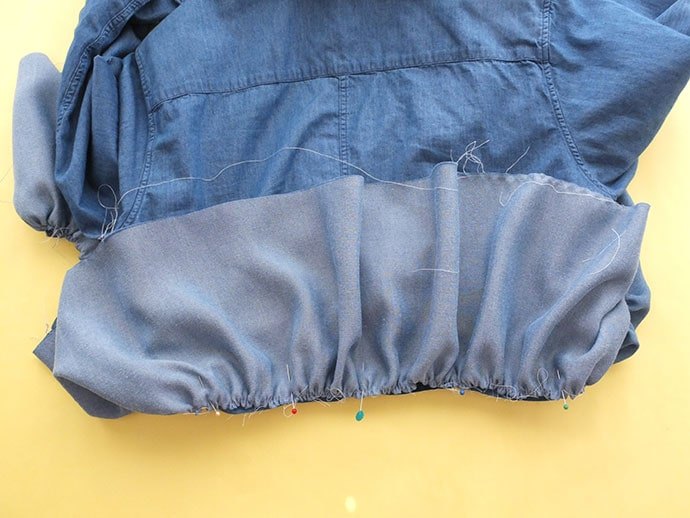
8. Attach the ruffle by facing right sides of fabric together and sewing together.
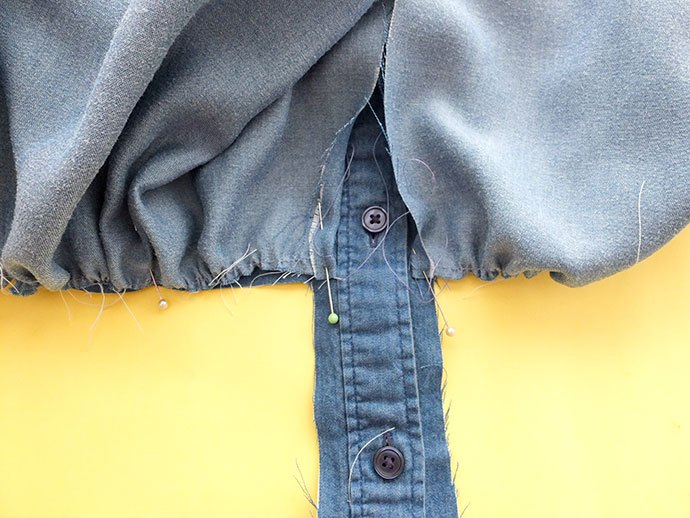
9. Make sure you fold over a seam allowance on each side of the front ruffles so you can attach it to button band.
10. Stitch down the ruffle ends to the button band. (See how I cut my band too short.)
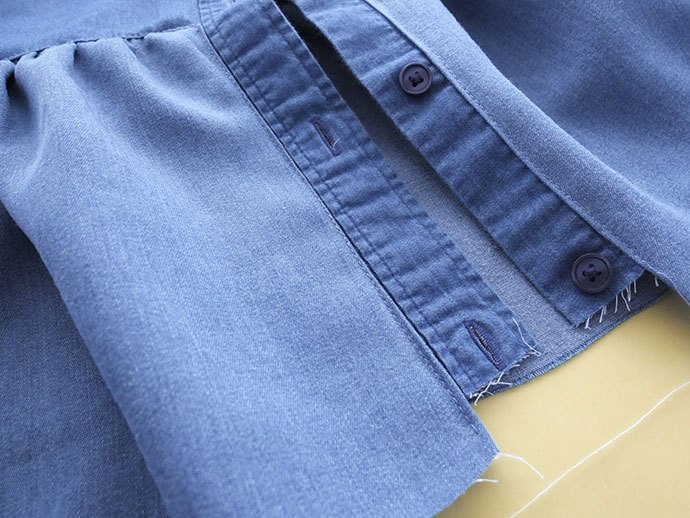
11. Top stitching seam gives a professional finish and helps ruffle sit nicely.
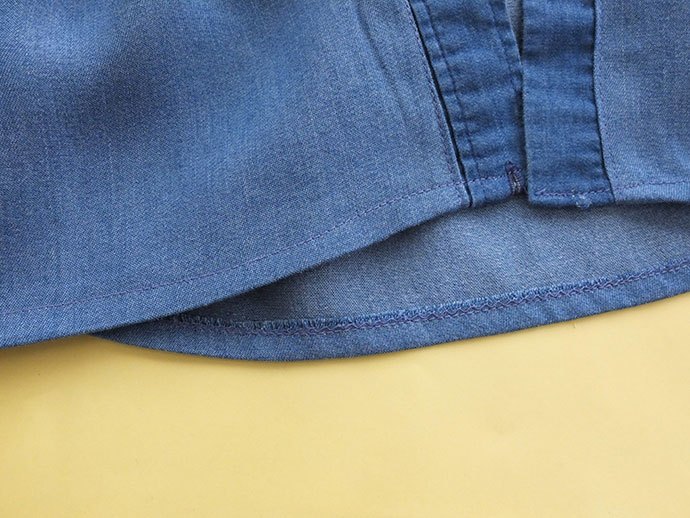
12. Hem the bottom to your desired length. I had to hem a little shorter in the front than back to accommodate my too short button band. I would have preferred an extra 2cm.
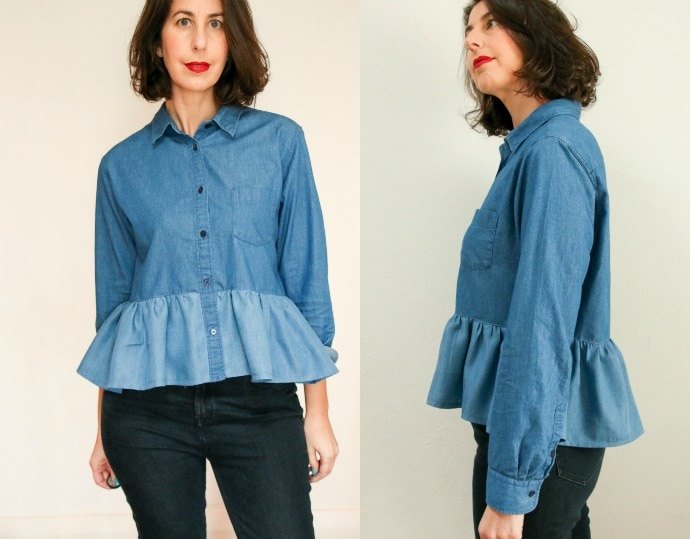

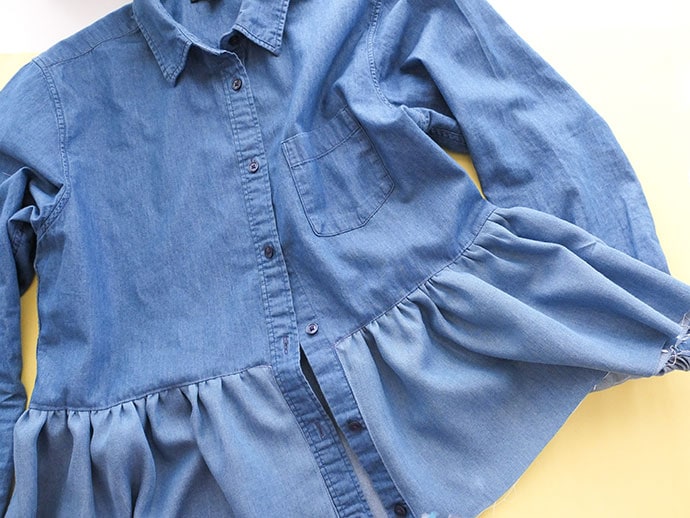
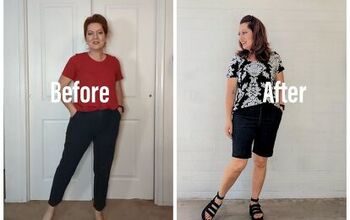
Yay! I think it looks great, and so much more flattering now.

Here is the direct before and after comparison so you can really see the transformation.
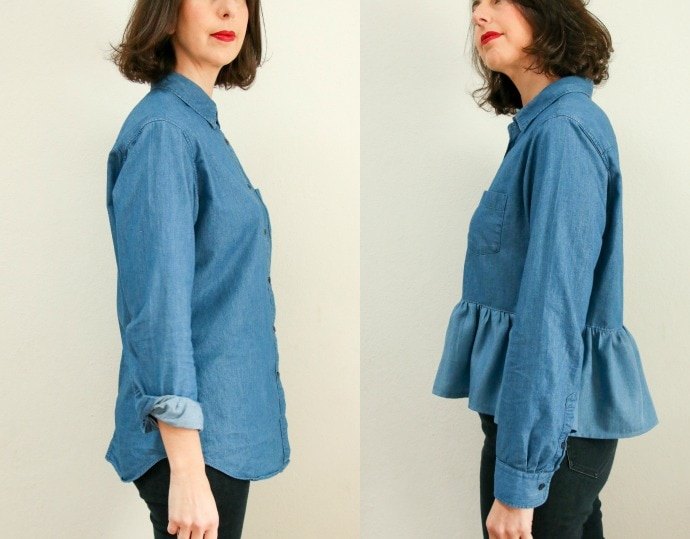
Here is the direct before and after comparison so you can really see the transformation.
How to fold a dress shirt
The author may collect a small share of sales from the links on this page.


Comments
Join the conversation
Would it be too much to make ruffles on the sleeves to match?
This is great! I’m going to use a vintage print to make the ruffle.