How to Make a DIY Cardigan, Tube Top & Mini Skirt Set From a Sweater

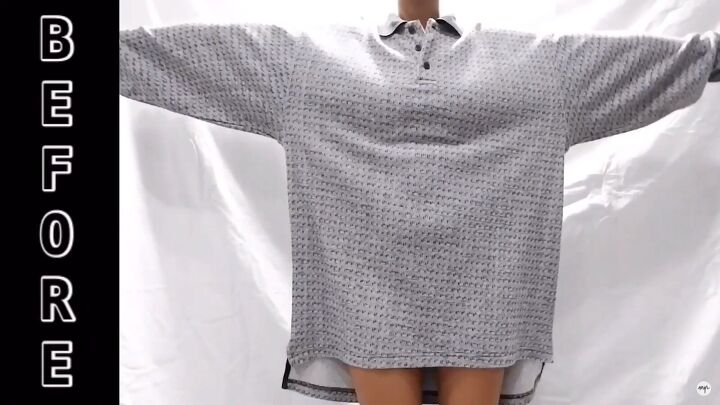
Today I have a fantastic thrift flip for you; transforming an oversized sweater into a lovely DIY cardigan, tube top, and mini skirt set! My dad had an old sweater lying around, and I decided to turn it into a 3-piece co-ord.
If you want to know how to make a cardigan and the rest of the set, keep reading!
Tools and materials:
- Oversized sweater
- Measuring tape
- Buttons
- Needle
- Matching thread
- Sewing machine
- Scissors
- Pins
- Crop top
- Skirt
DIY cropped cardigan
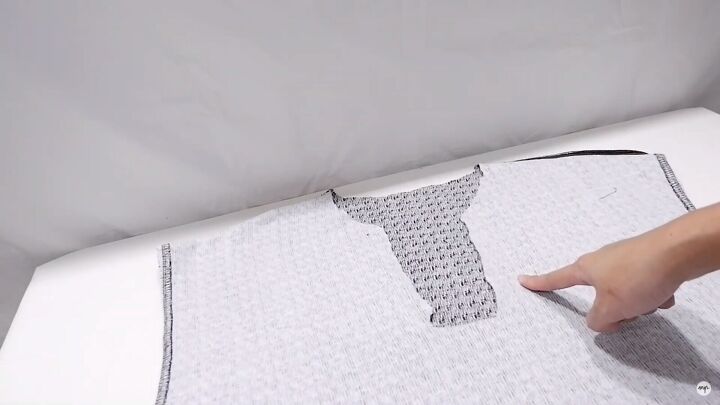
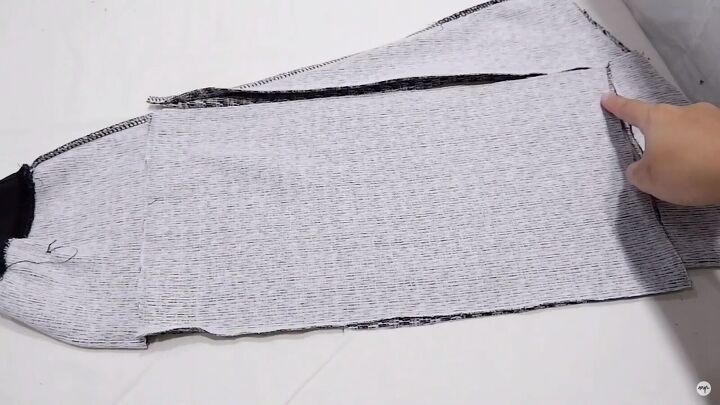
To make it easier, remove the sleeves from the sweater and the button placket. We will use the front part of the sweater for the back part of the cardigan.
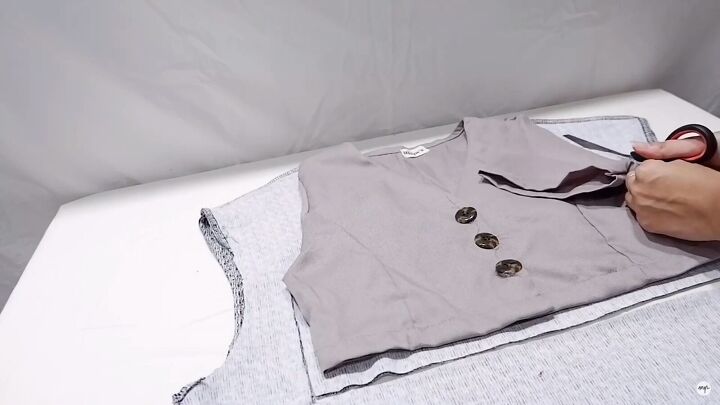
Use a cropped blouse or top to make the cardigan sewing pattern. Cut around the top and add seam allowance. Also, fold in the sleeves to cut around the armhole.
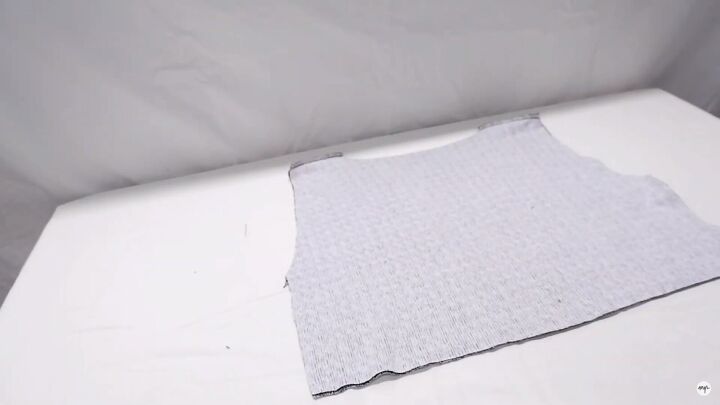
Now, you have the front part of the cardigan.
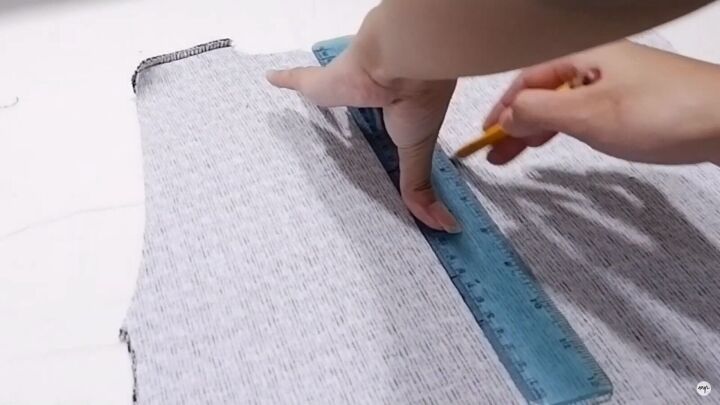
To make the neckline, get the midline of the cardigan by folding it in half. Then, draw a line in the middle.

Draw a diagonal line measuring 7.5” from the midpoint to the shoulder. Repeat on the other side.
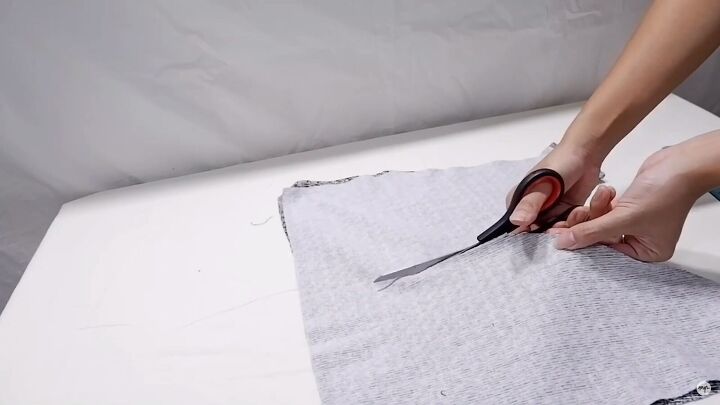
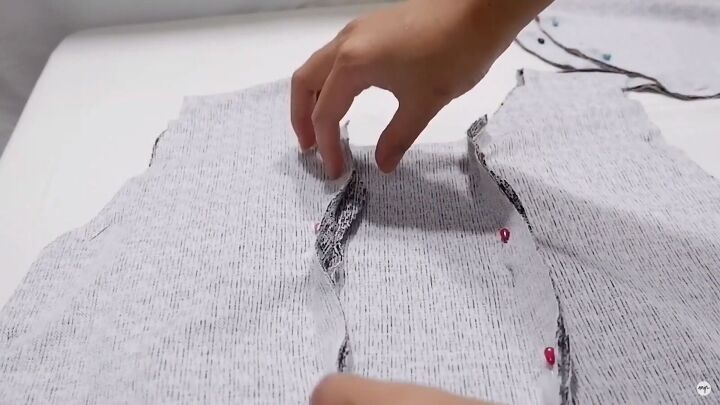
Cut along the V-neckline and then cut along the center of the cardigan, which will be the opening part.

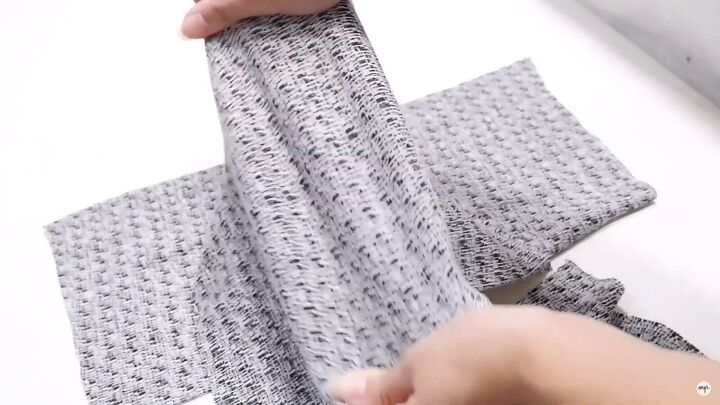
For the back part, take a piece of fabric to fill in the gap from the button placket. Like this, the back part will have three panels.

Trace the sleeve area of your crop top and cut. Ensure that you have two pieces. This should be cut on fold, as shown.
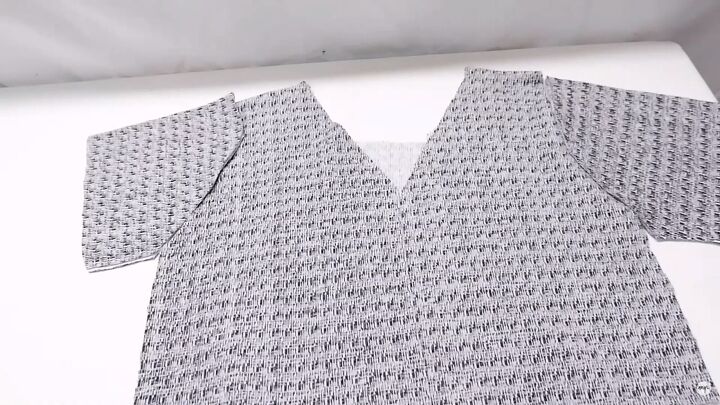
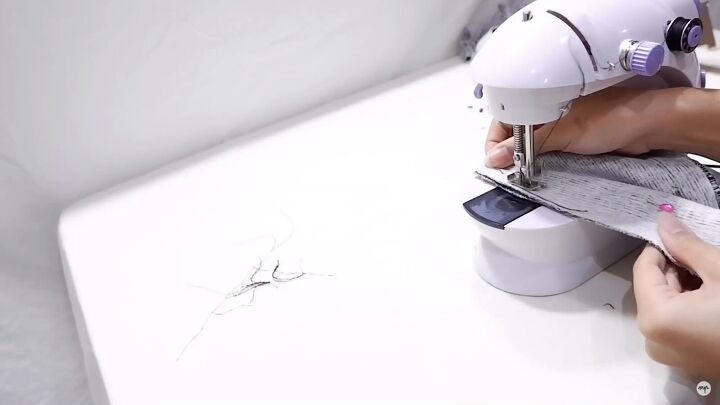
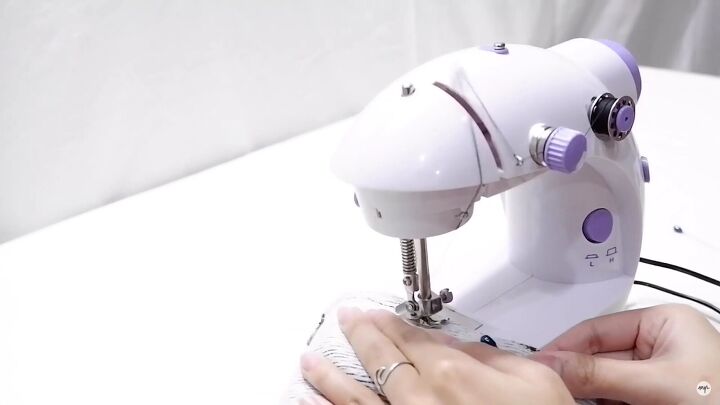
The parts of the cardigan are complete! Let’s sew everything together.
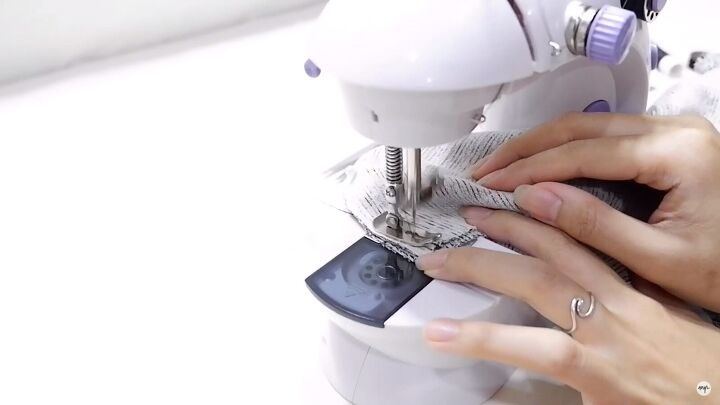
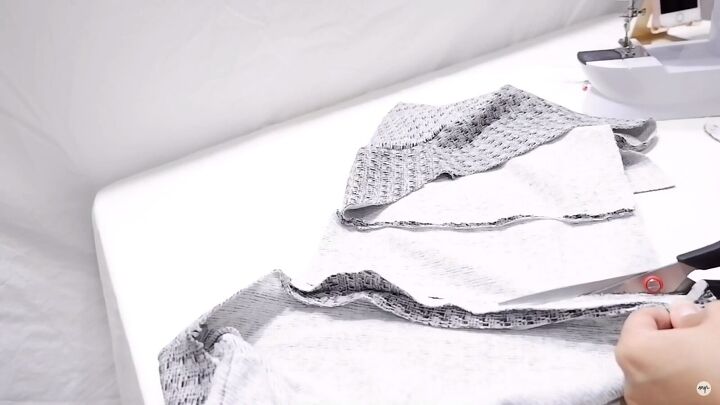
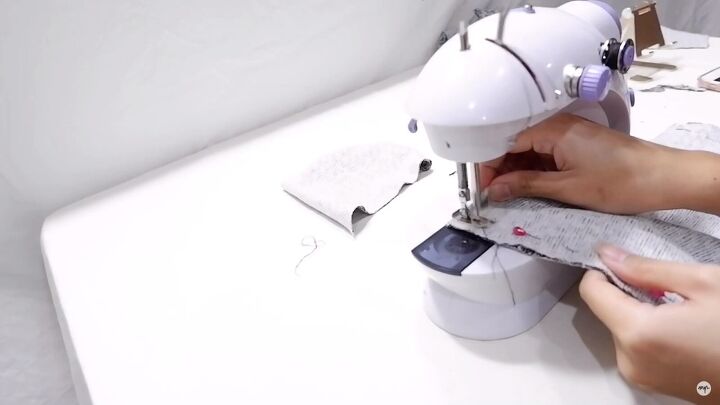
Sew the sides of the cardigan together, right sides facing. Make sure not to sew the part where you’ll connect the sleeves. Also, don’t forget to lock your stitches at the start.
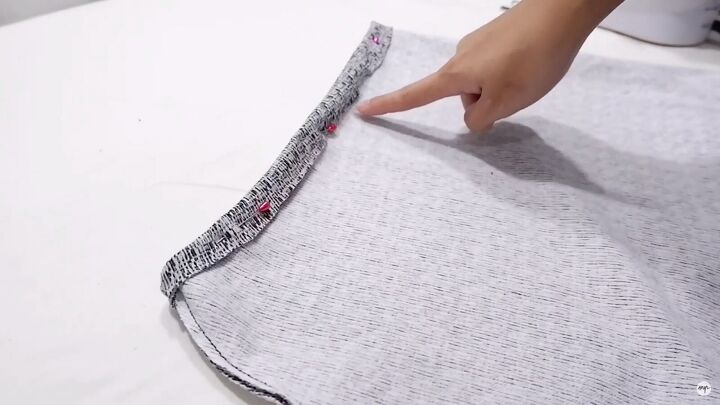
After the sides are done, go ahead and do the back part, sewing all three panels together. Follow the same as above; sewing right sides together and locking your stitches at the start.

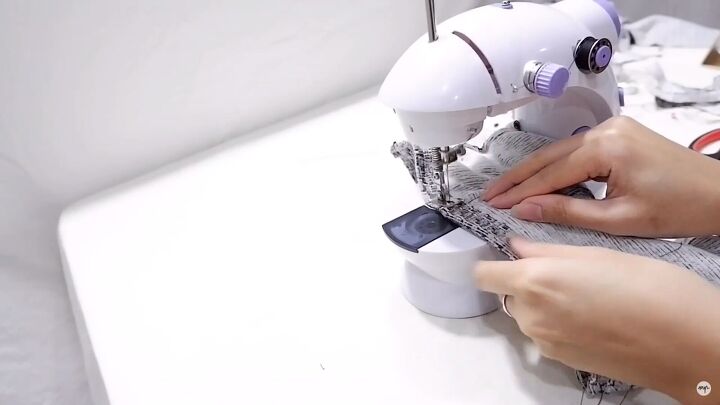
Before attaching the sleeves, make sure to sew the short side together first.

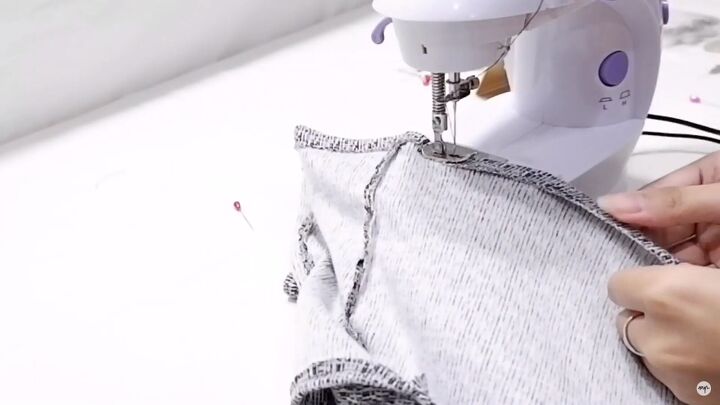
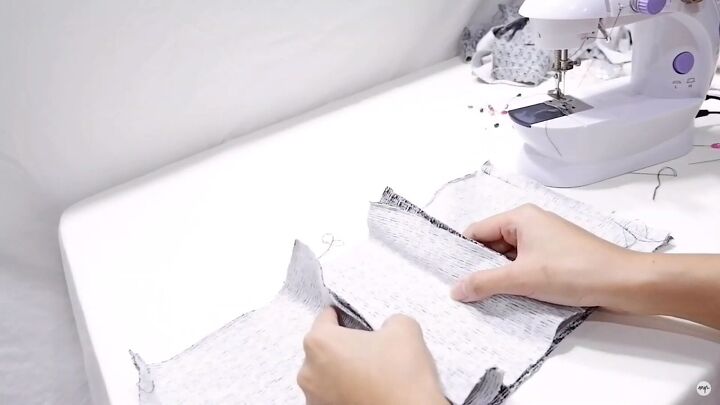
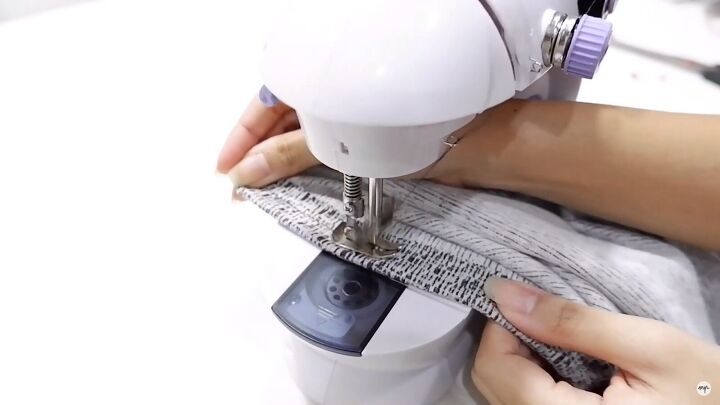
Now, attach the sleeves, Be sure to align the seams and pin them along the sides of the cardigan.

Next, sew the sleeves to the DIY cardigan.
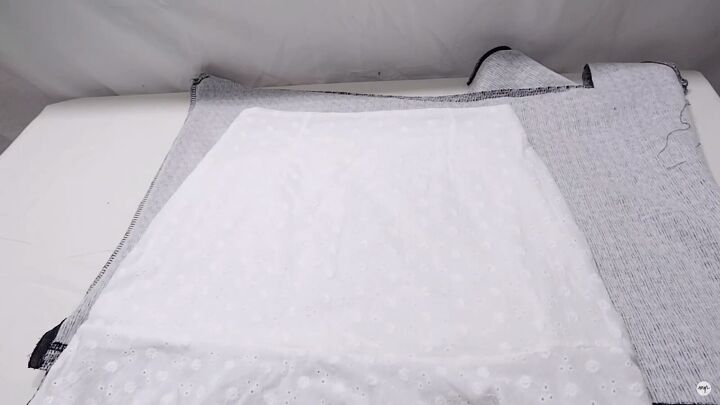
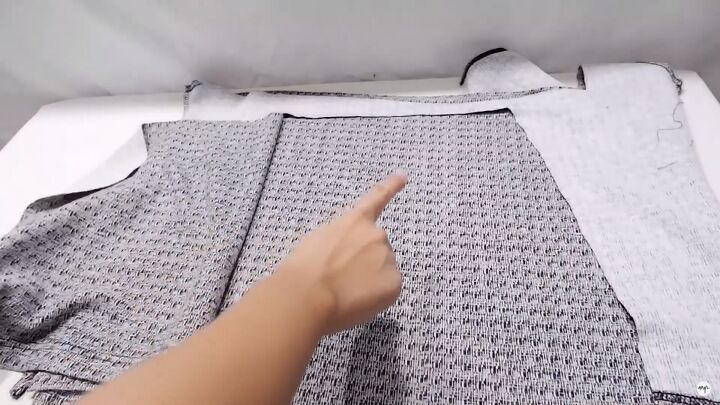
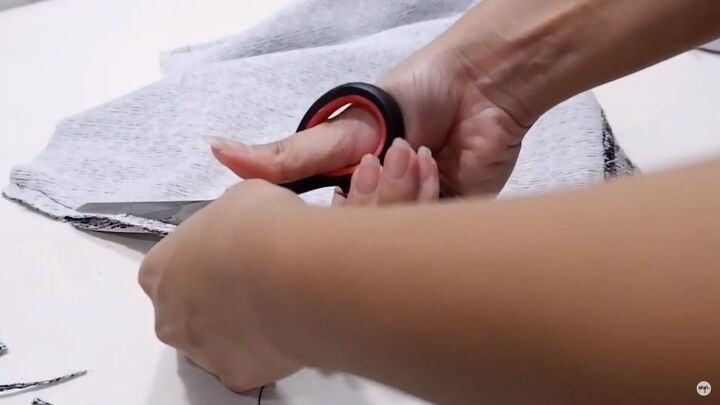
Cut out the excess fabric from the back panels before hemming the raw edges. The fabric is thick, so it’s better to do this step first.
Now, hem the raw edges with a single fold over.
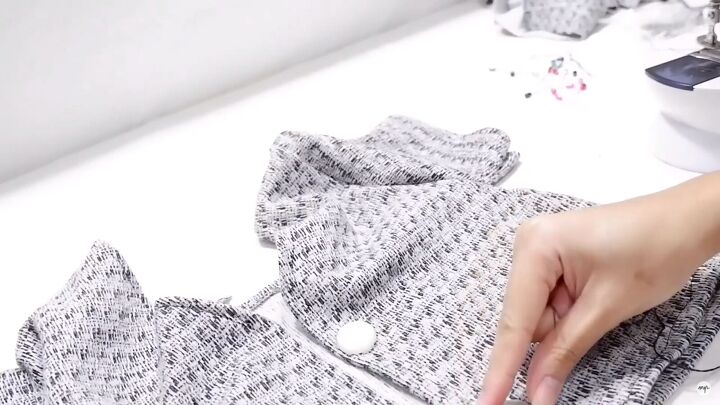
I decided to add buttons to this DIY cardigan at the last minute. Although I don’t intend on wearing it closed. I attached the buttons by hand, and I don’t regret adding them; it balances the look!
DIY tube top
I cut around 18 x 35cm (7 x 14.75 inches) from one of the original sleeves.
Aside from that, I cut an extra piece of fabric. Weirdly, this fabric stretches on one side only. I want extra room for me to move.

I intend to put the fabric piece on the back of the tube top. However, its position should be placed where the stretch goes sideways.
Sew the sides of the tube top first.
To attach the small fabric piece, first cut the center of the back of the tube top.
Now, sew everything together, making sure the right sides are facing, as always.
Next, hem the raw edges of the tube top.
DIY mini skirt
For the skirt, I used an existing skirt to trace the pattern. So find a skirt that fits you well and trace and cut the sides. I don’t intend to follow the length of this skirt; I just like the fit.
Here, I cut it in a way where the bottom has the original hem of the shirt (great time saver). Also, don’t forget to cut the same for the back part.
The next thing to do is sew the sides together, right sides facing.
After sewing the side together, all that’s left to do is hem the waistline of your skirt. Before hemming, cut any excess fabric so it;’s neater.
Fold over the raw edge and pin along the waistline. You’ll notice I did not use elastic. This is because the fabric is stretchy enough to fit.
Now, sew along the folded edge for a clean finish.

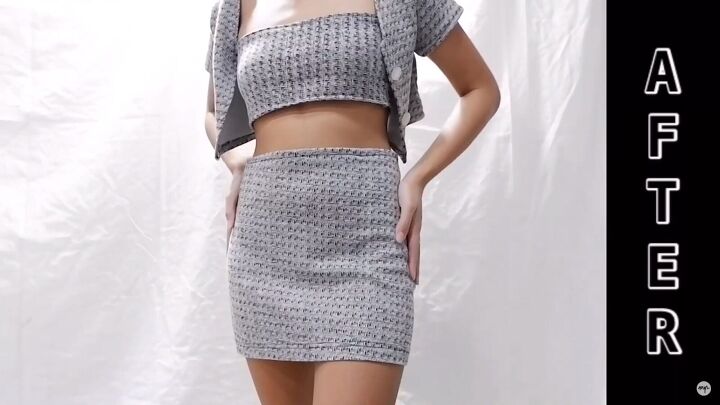
DIY cardigan, top, and skirt set
That’s it! You have a 3-piece set from a boring, oversized sweater. Here’s my beautiful DIY cardigan, skirt, and tube top. See how easy it is to make your own cardigan? Never mind the skirt and top, too.
I hope this tutorial gives you some upcycling inspiration, and let me know in the comments below what you think of this lovely set!
The author may collect a small share of sales from the links on this page.


Comments
Join the conversation
That is awesome! Great job thinking outside the box (or sweater) lol!
Omg! U did an amazing job on ur adorable outfit!! It's the cutest outfit n looks so cute on u!!!!!👍️🤩