How to Make a DIY O-Ring Crop Top Out of a Band T-Shirt

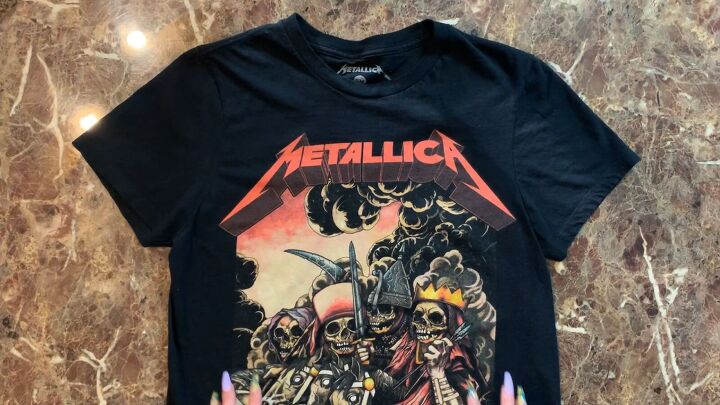
In this tutorial, I'm going to show you how to take an old boring band t-shirt and turn it into a really cute crop top with o-rings and exposed threads. I’ll be using a Metallica band tee, and if you thought it was rocking before, just wait till you see the finished look!
So if you'd like to learn how to upgrade your t-shirt, just keep on reading.
Tools and materials:
- Crop top
- Tailor's chalk
- Ruler
- Scissors
- Pins
- Sewing machine
- O-rings
- Loop turner
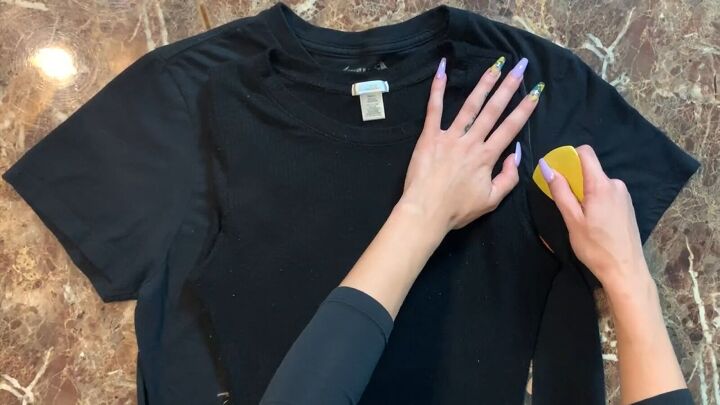
1. Trace the new shape
As a template for my new crop top, I just took one that I already had and liked the fit of. I don't have the time or the patience to make a whole new pattern from scratch so just use a crop top that you already have as the pattern. Place it on top of your band t-shirt, and trace around it with a ruler and some tailor's chalk.
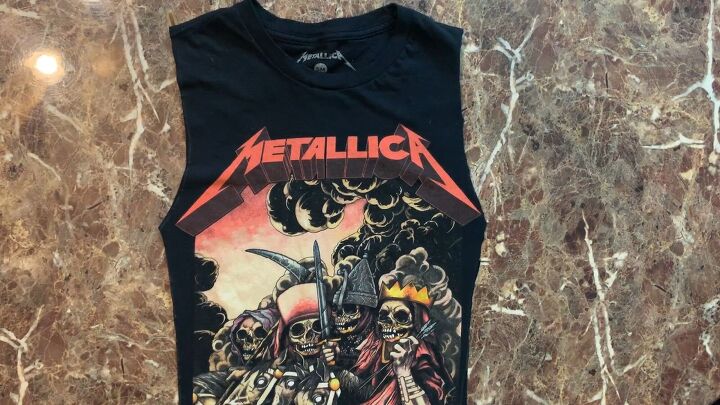
2. Cut the body
Once you’re done tracing, cut the new top out and remove the sleeves.
3. Cut the sleeves
Now we’re going to cut out new arms for the top. Simply trace the armholes, use the crop top to trace new sleeves, and cut them out.
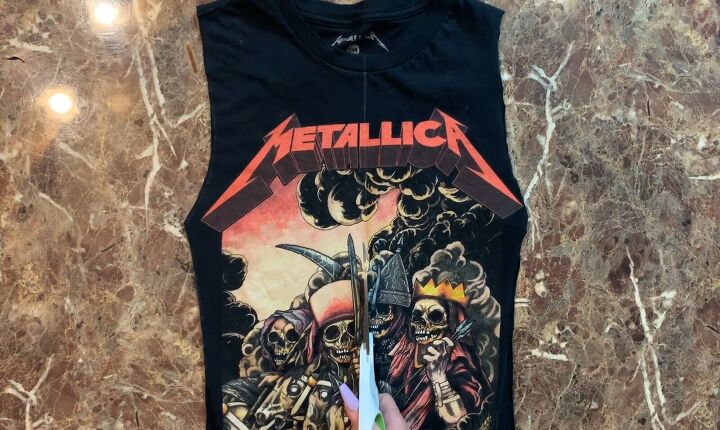
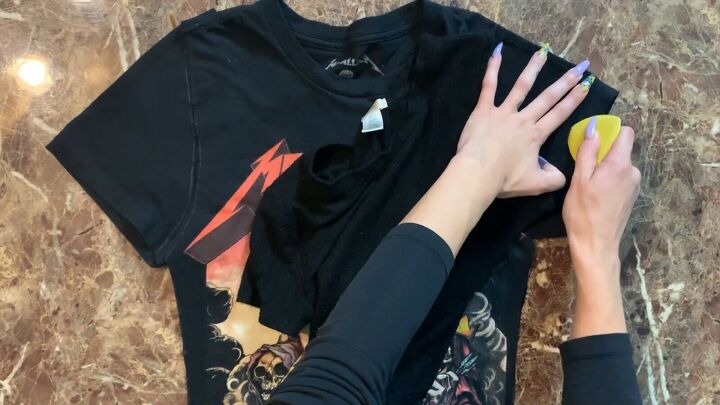
4. Cut in the center
Grab a ruler and in the middle of the shirt, draw as straight as a line as you possibly can and cut that out. This is where we're going to be adding the o-rings in later.
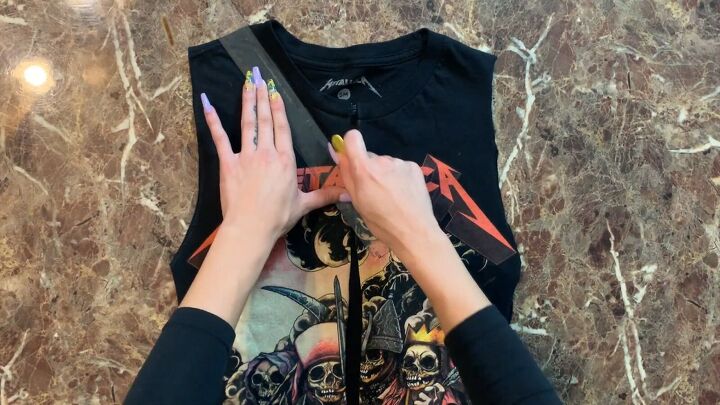
5. Make a v-neck
For the new neckline, draw two lines from the middle up to the shoulders to make a v-neck. Then cut both sides out and then cut the back out.
6. Attach the sleeves
Open up the t-shirt and place it so that the wrong side faces you. Now attach the new sleeves by lining them up with the body and pinning them down. Once they’re pinned, sew them with a zigzag.
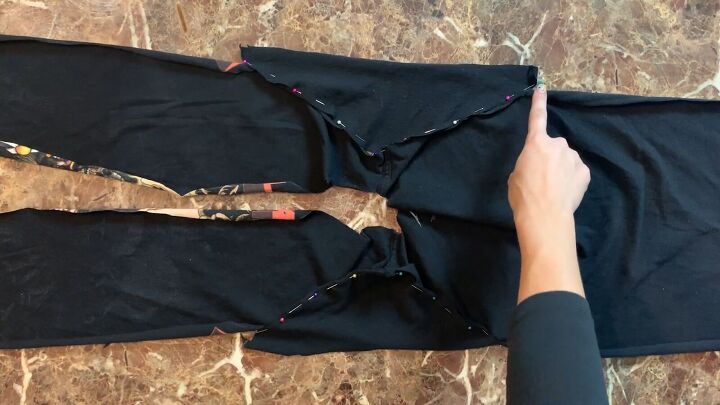
7. Sew the sides
Next, with the t-shirt inside out, line up the two side seams and sew down with zigzag stitches making sure to close up underneath the armhole.
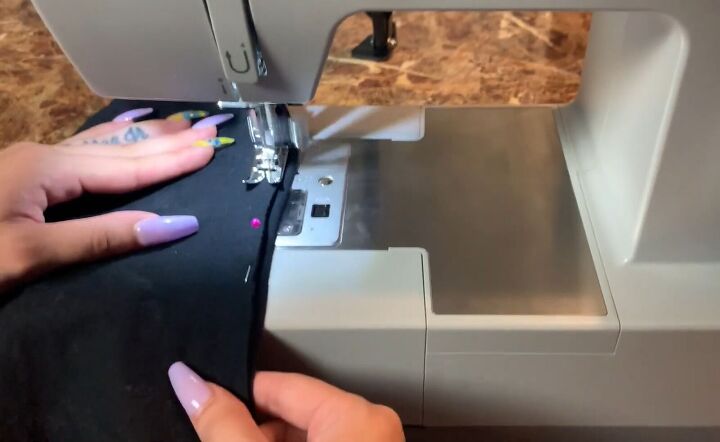
8. Hem the top
Now it's time to hem the two sleeves and the bottom of the t-shirt. I didn't want to do just a normal boring hem, I wanted to add a little flair and flavor, so I set my sewing machine to an
overlock stitch and folding the edges of the fabric over just a little bit, I sewed on the right side of the fabric with a bright orange thread.
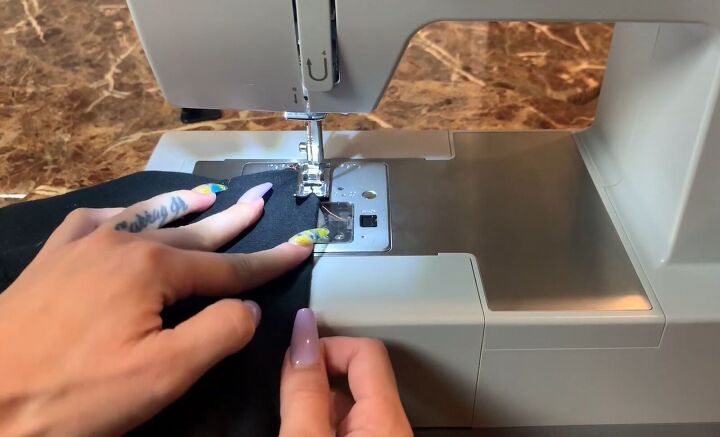
9. Make a big strap
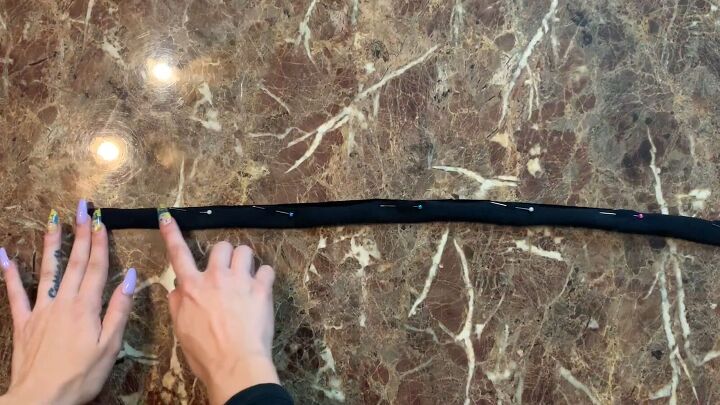
Now we can start working on adding in our o-rings, but before we can add them, we have to make the little straps that attach the o-rings to the top. So taking the leftover bottom of the t-shirt cut a long straight piece of fabric and fold the fabric in half with the right sides facing together. Then sew all the way down with a zigzag to create a big long tube. Once done, take your loop turner or a safety pin and turn the tube right side out.
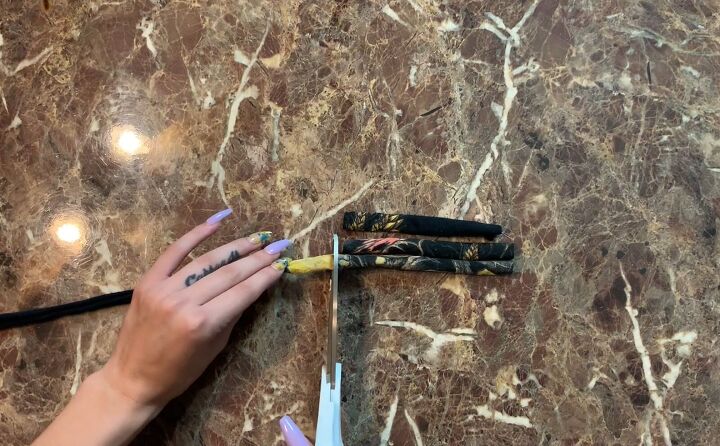
10. Cut smaller straps
Then take your ruler and cut the tube into 2-inch (5cm) straps. How long or short you make these straps will determine how much skin is going to be showing down the center of the shirt, so the longer the straps, the more skin will show. Keep in mind that each o-ring requires two straps, so if you have five o-rings, then you're going to need ten straps.
11. Attach the o-rings
Finally, the part we've all been waiting for is to attach the o-rings. Take a strap and put it through the o-ring, folding it in half. Then pin the strap to the inside of the fabric right on the edge and then take your other strap and do the exact same thing to the other side.
Once everything is pinned, we're going to sew on the right sides of the fabric using the same overlock stitch we did before while we were hemming. While we sew the two edges, it will attach the straps to the top so that the o-rings will be secure.
Just remove the pins at the very last second while you're sewing to make sure that the straps don't move. Once all of the o-rings were secured, I continued sewing that overlock stitch completely around the neckline.
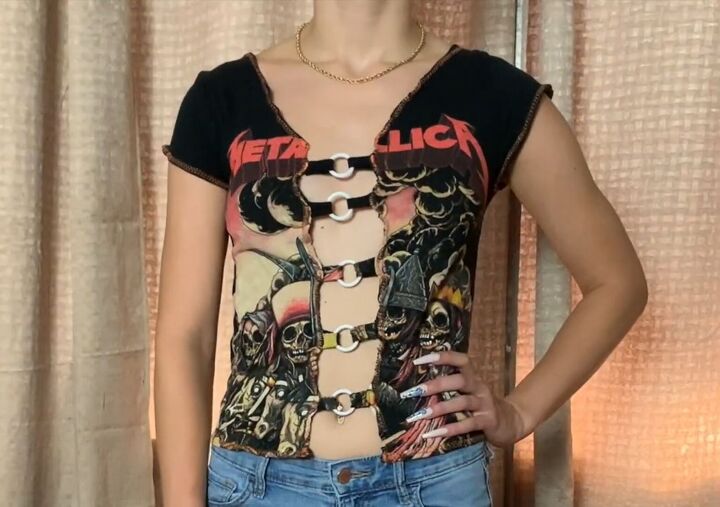
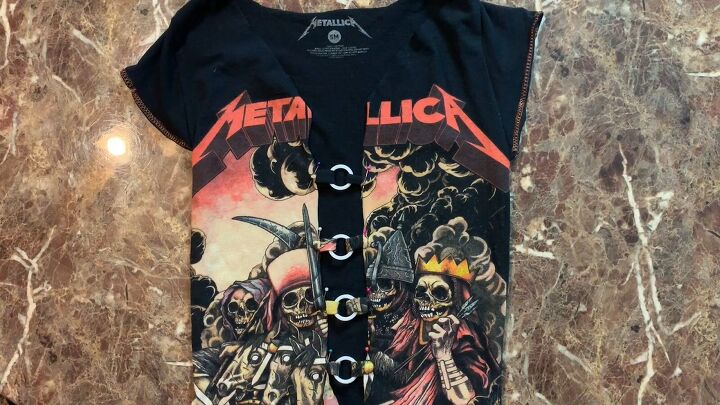
DIY O-ring crop top
Boom! Here's our final product. I hope you guys like this t-shirt transformation as much as I did. If you own a serger, it will probably be much easier overlocking than it is with the sewing machine, but we still got the job done.
I love how unique and edgy this top now looks, and I can’t wait to go out and rock it.
The author may collect a small share of sales from the links on this page.


Comments
Join the conversation