Easy Twist-Front Crop Top Sewing Pattern & Step-by-Step Tutorial

In this tutorial, I’ll show you how to easily make this super cute twist-front crop top! I’m using my downloadable Lola top PDF sewing pattern, which includes detailed instructions for the pattern and fabric layout.
This twist front crop top features a pretty little front twist with ruching at the bust making it something extra special and super cute.
Tools and materials:
- Lola top pattern
- Light to medium weight stretch knit fabric
- Stay tape or silicone elastic
- Twin stretch needle (optional)
- Sewing machine needle for knit fabric
- Sewing thread
- Sewing pins
- Scissors
- Measuring tape
- Fabric pencil
- Iron and ironing board
- Wooden tailor’s clapper
- Sewing machine
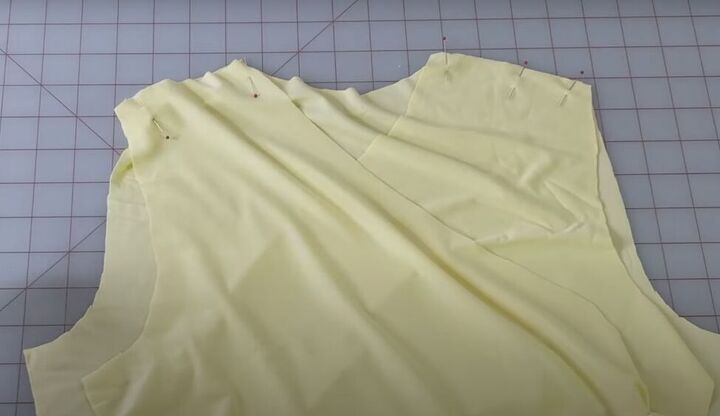
1. Sew the shoulder seams
With right sides facing, pin the two front pieces to the back pieces at the shoulder seams and sew in place.
Sew on stay-tape or silicone elastic to stabilize the shoulder seams.
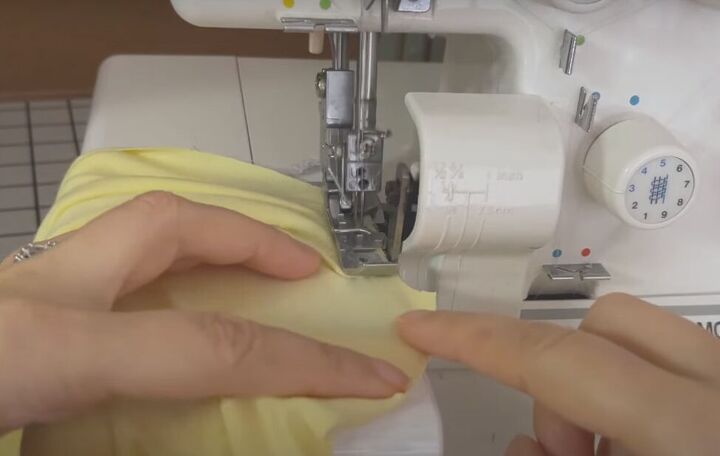
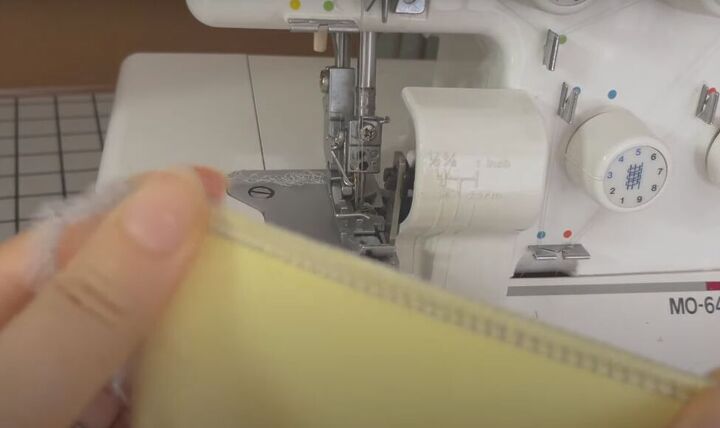
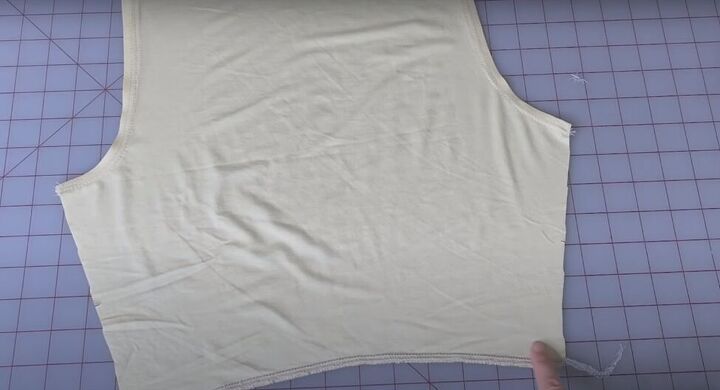
2. Serge the neckline and shoulder seams
Serge the neckline edge and the small circular opening at the bottom of the front pieces. Also, serge the armholes.
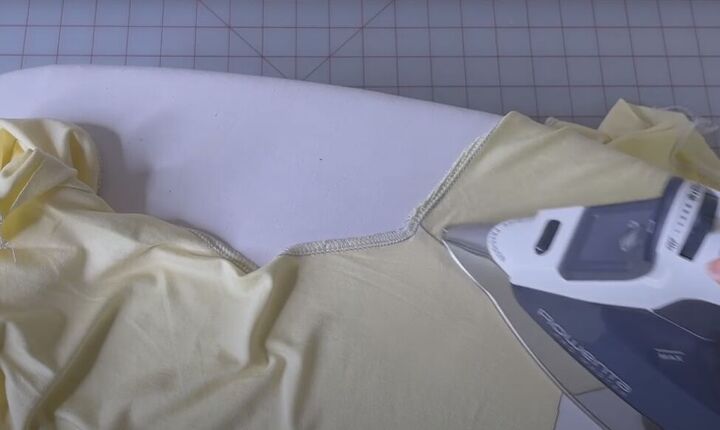
Then press the shoulder seams and the neckline edge in.
3. Finish the neckline
Fold the serged edge of the neckline 1 centimeter (0.39 inches) to the inside and pin in place. Then press.
Alternatively, you could use double-stick fusible tape to stabilize the neckline.
Do the same for the armholes.
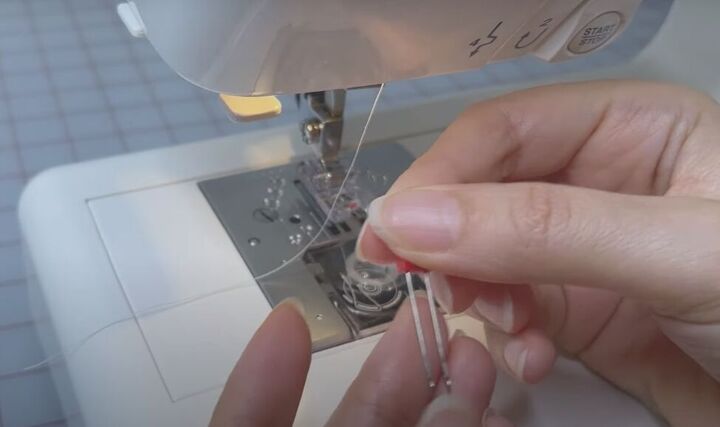
Now use a stretch twin needle to topstitch the neckline and armholes.
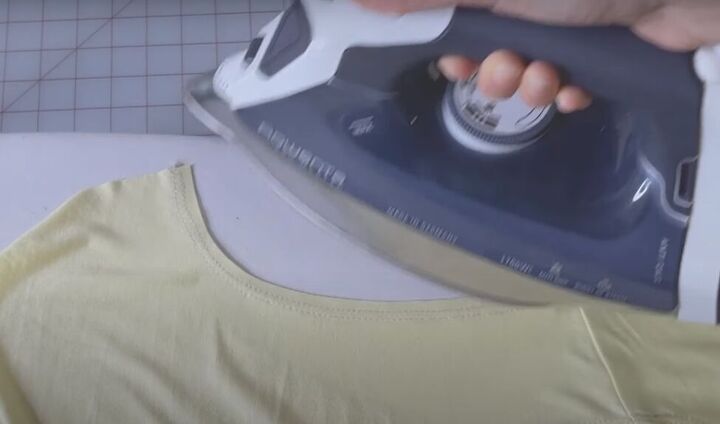
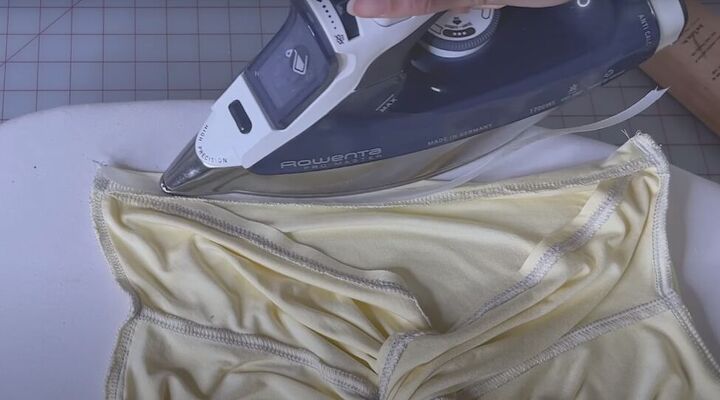
Press to remove any waviness that occurred from sewing, using a wooden clapper to cool the fabric after pressing.
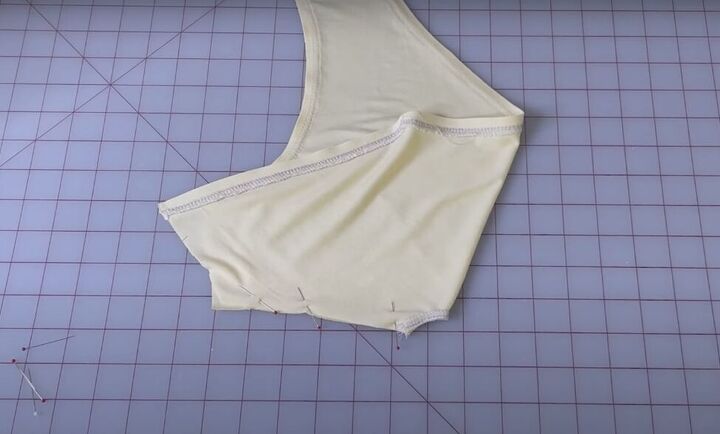
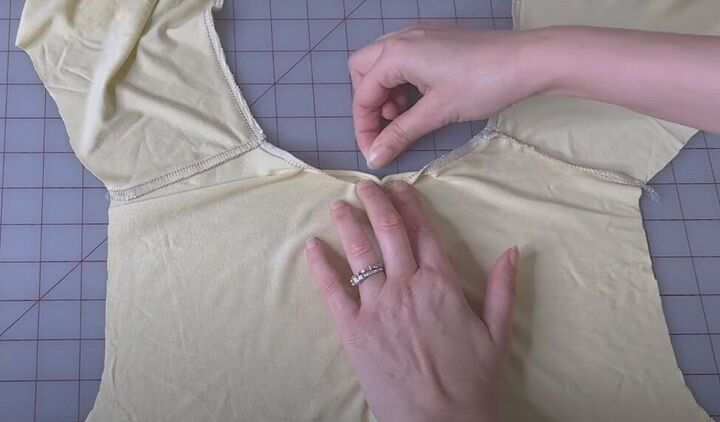
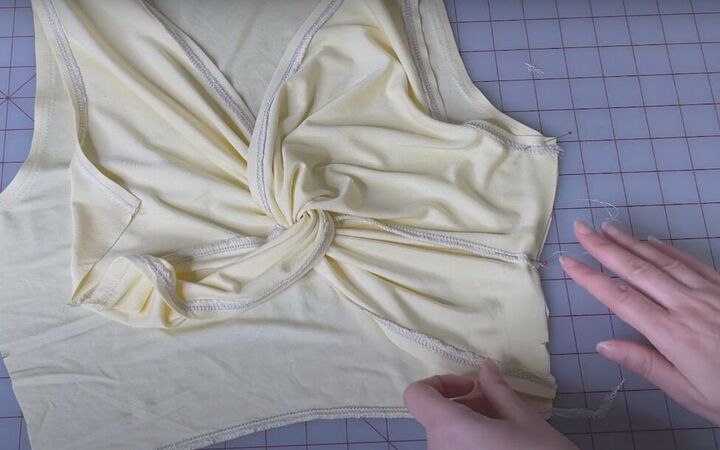
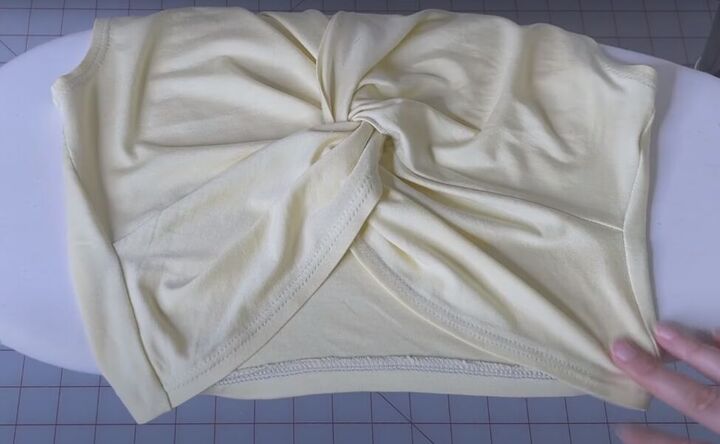
4. Create the front knot twist
With the right side facing in, fold the right half of the front back and pin the bottom edge together. Sew the bottom edge, leaving that small serged opening unsewn.
This is how it should look.
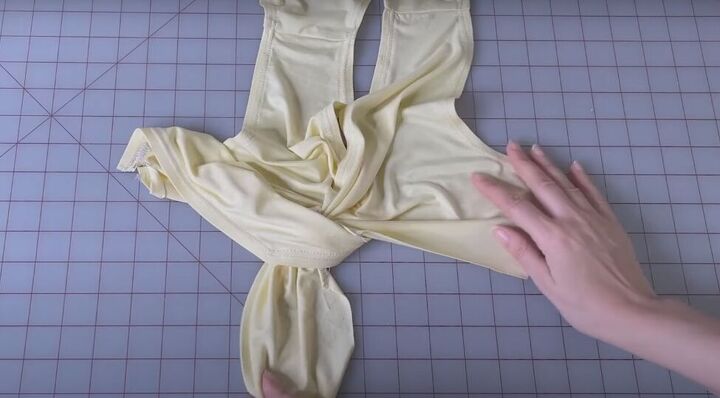
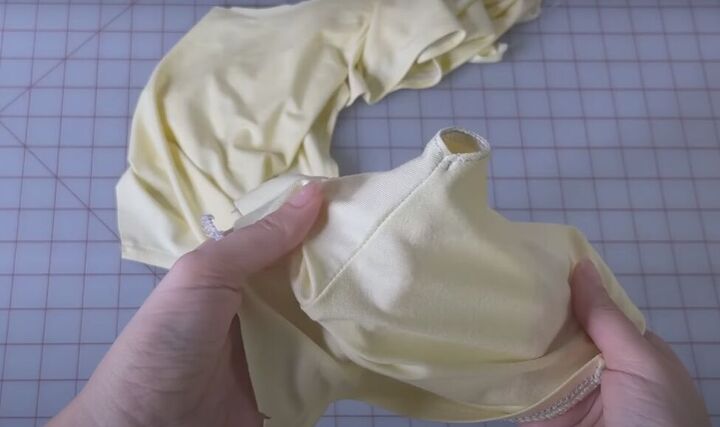
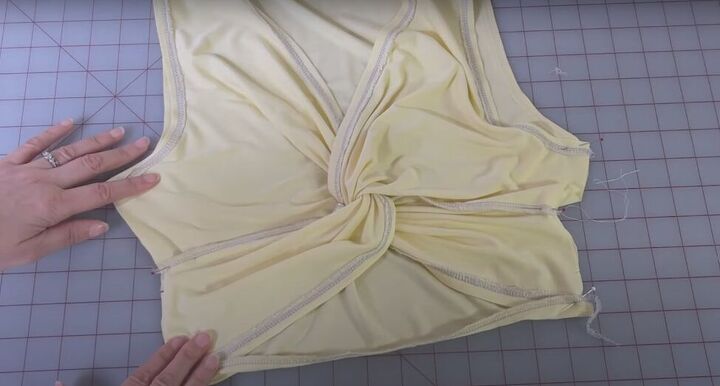
Pull the left half of the front of the crop top through the circular opening, going halfway underneath the right side.
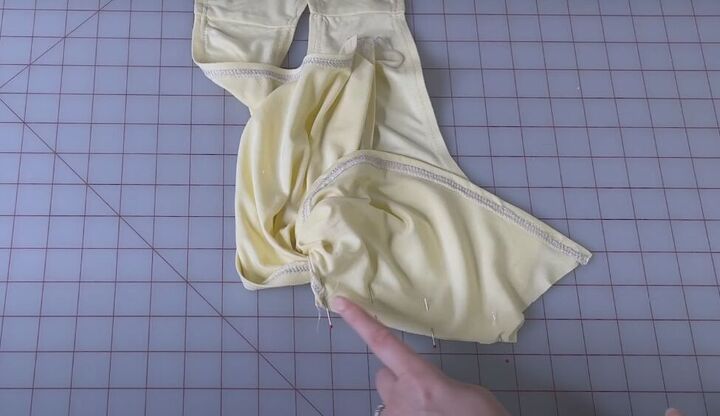
Then fold the left half of the front back and pin the bottom edge together from the edge of the circular opening to the side seam and sew it.
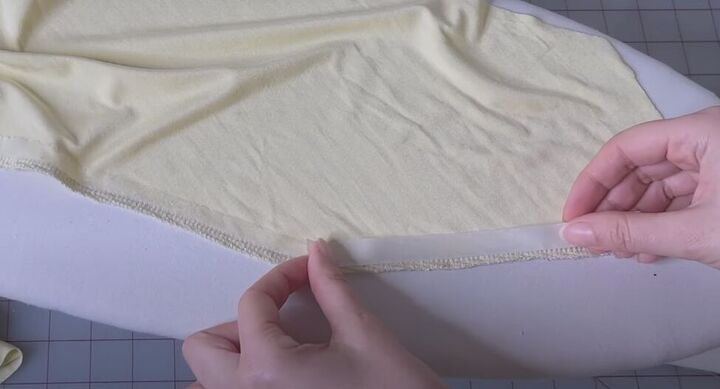
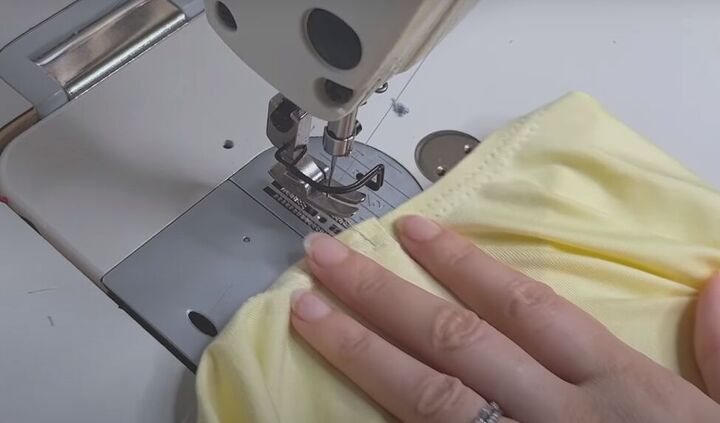
5. Sew the side seams and hem
Serge the bottom edge of the back piece of your top.
With right sides facing, pin the side seams. The sides of the front pieces are a bit longer than the sides of the back pieces to account for the bust, so you will need to either gather the front pieces a bit at the bust or add some small pleats.
Fold the hem of the back piece over the bottom of the side seams and sew the side seams in place.
You can reinforce your serged seam by topstitching back and forth over it at the bottom a couple of times.
You can reinforce your serged seam by topstitching back and forth over it at the bottom a couple of times.
Fold the bottom edge of the back of the top to the inside. Pin and press flat or use the double-stick tape to stabilize it.

Press in the side seams.
Topstitch the bottom hem using a twin needle, and then give the whole crop top a finishing press.
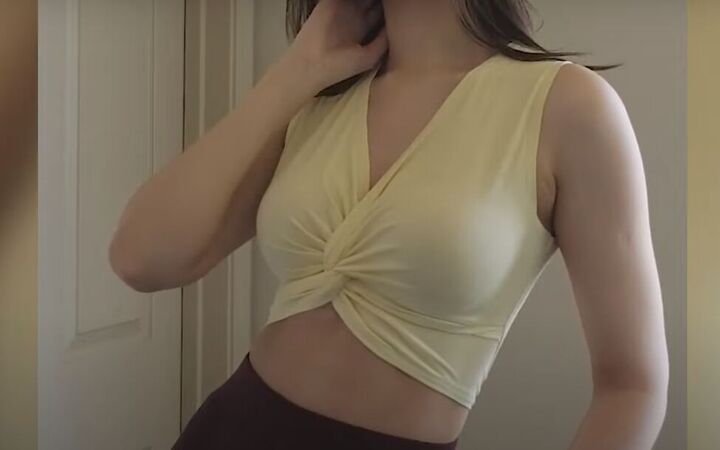
Crop top sewing pattern and tutorial
Here’s the finished twist front crop top. It looks so pretty and professional because of all the serging, stabilizing, and finishing touches included.
I hope you try making this DIY crop top and leave me a comment to let me know how you liked it.
The author may collect a small share of sales from the links on this page.


Comments
Join the conversation