Make 2 DIY Open-Back Tops in 5 Minutes Without Sewing a Stitch

In this tutorial, I’m going to show you how to make two different DIY open-back tops. They are no-sew tops, so if you don’t have any sewing skills, then that’s no problem as you don’t need any for this project.
The fabric we’re using to make this top, lycra, is a self-finishing fabric that does not fray, but it is not a solid fabric, meaning that the right and wrong sides are different.
Tools and materials:
- Lycra fabric
- Thin scuba fabric
- Measuring tape
- Pen
- Scissors
- Belt
DIY open-back top 1
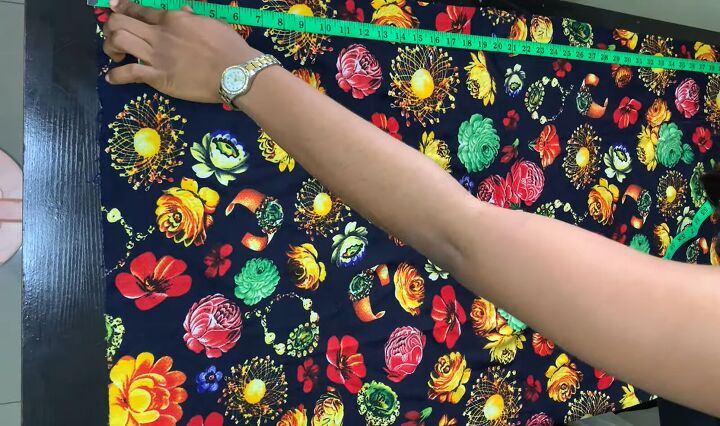
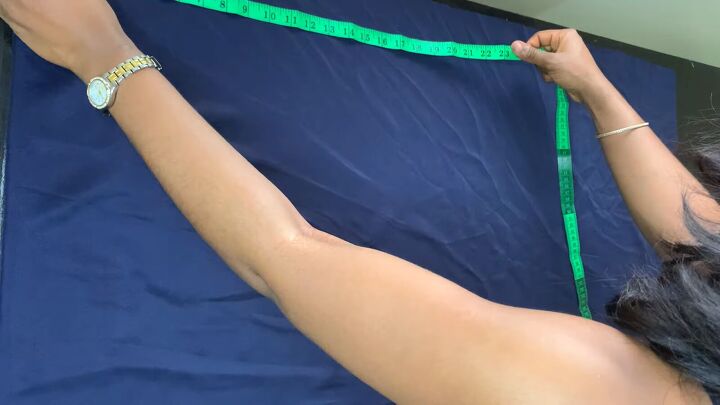
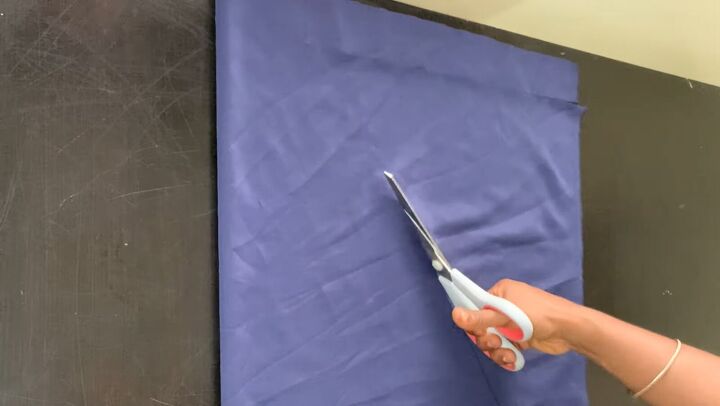
1. Measure and cut the material
For the first top, the width is 40 inches (101.6cm), and the length is 23 inches (58.4cm).
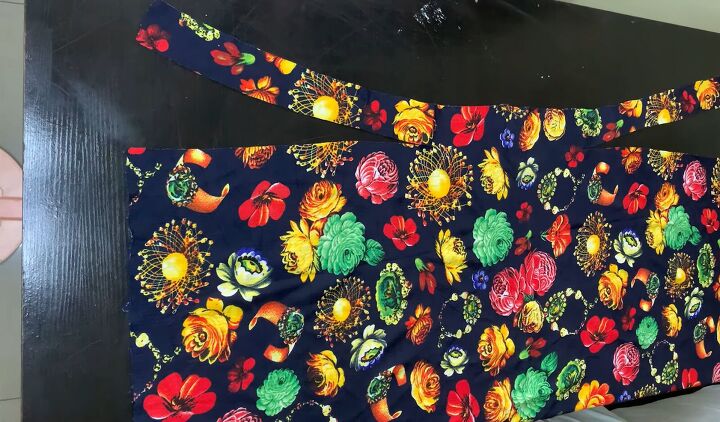
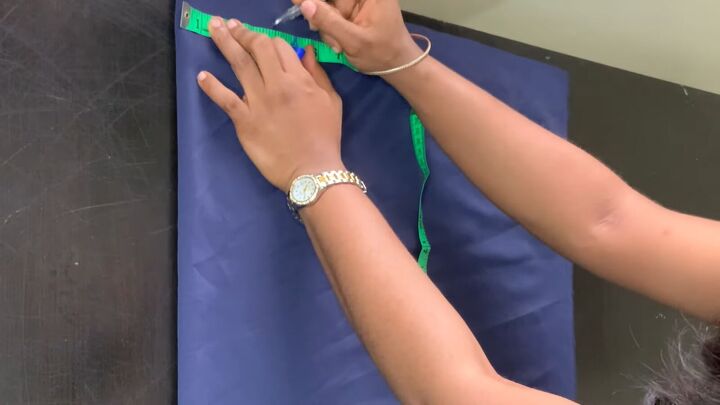
2. Mark and cut
Fold the fabric in half with the right sides touching. Then measure 5 inches (12.8cm) from the folded side.
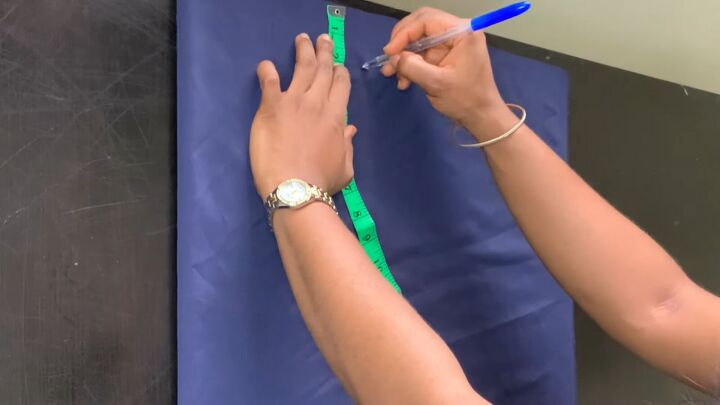
Then, from the other side of the fabric, mark 2 inches (5cm) from the top. Mark this all the way along the fabric until you get to the 5-inch mark. Proceed to cut along this line.
And there you have it; this is how to make the first DIY open-back top!
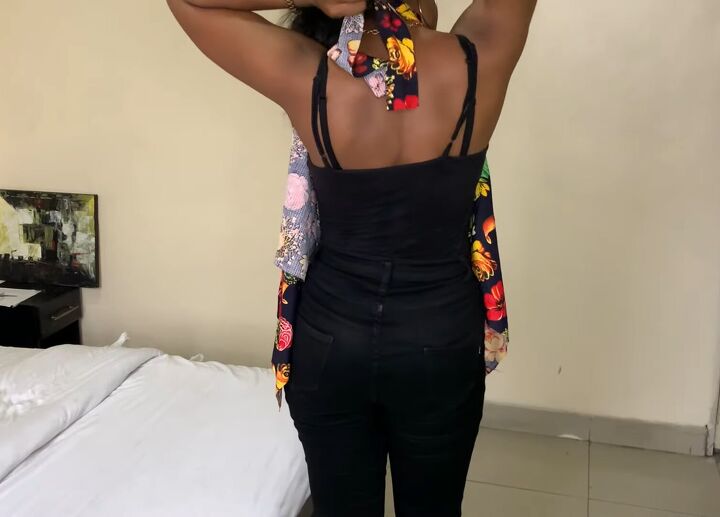
To put it on, simply tie the top straps around your neck, then place a belt over the top to gather the material at the bottom.

This is a very cute and pretty top, and I really love the fabric.
DIY open-back top 2
The second top I’m going to show you how to make is similar to the first one, but there are a few differences between them.
The next top is a turtleneck style made from thin scuba fabric, also a self-finishing fabric. The difference between it and the lycra fabric is that it is a solid fabric, meaning both sides are completely identical.
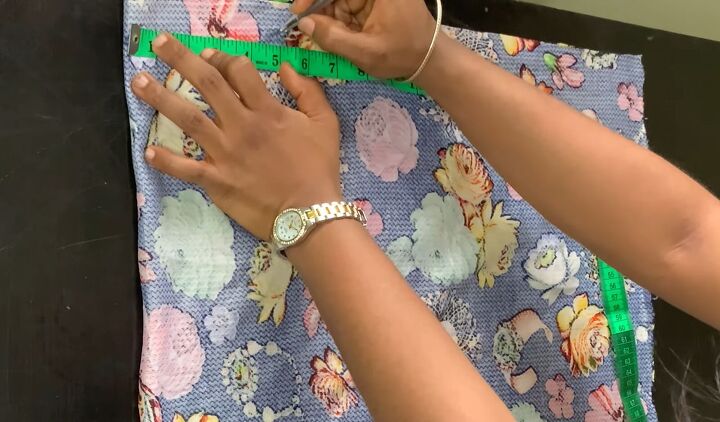
1. Measure and cut the material
For this top, the width is 40 inches (101.6cm), and the length is 27 inches (68.6cm).
2. Mark and cut
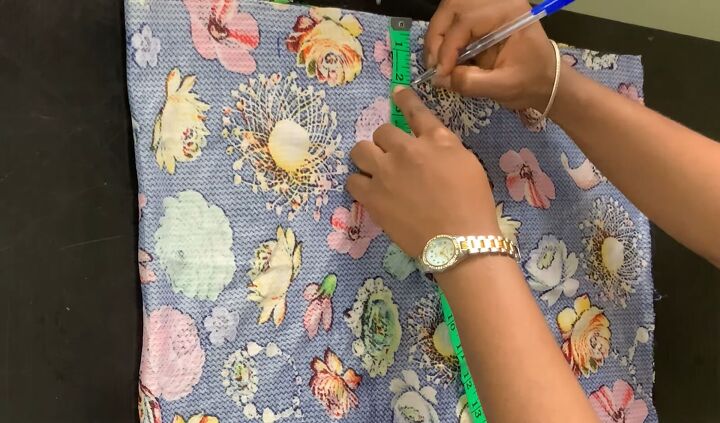
Fold the fabric in half and mark 4 inches (10cm) in from the folded side.
From the top of the other side, mark down 2 inches (5cm) and repeat the 2-inch mark until the 4-inch mark that you drew. Proceed to cut along the line just as you did with the first top.
3. Cut the body of the top
Next, from the bottom right-hand corner of the top, cut a diagonal line to meet the other line that you have just cut.
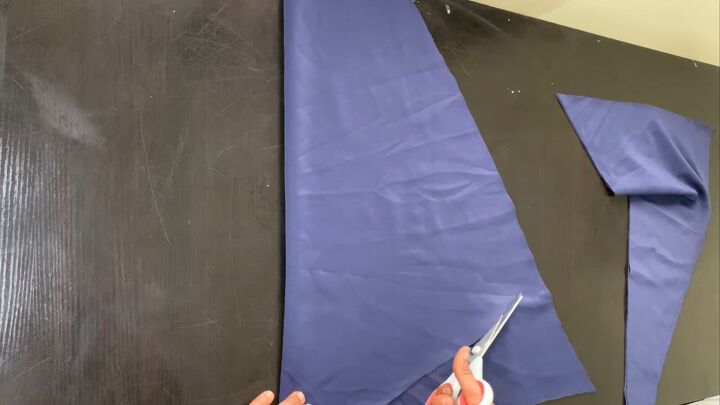
Then from the bottom-left corner, cut a curved line to meet the diagonal line. That completes the top!

To wear the top, just like the first one, simply take the straps and tie them around your neck into a little bow.
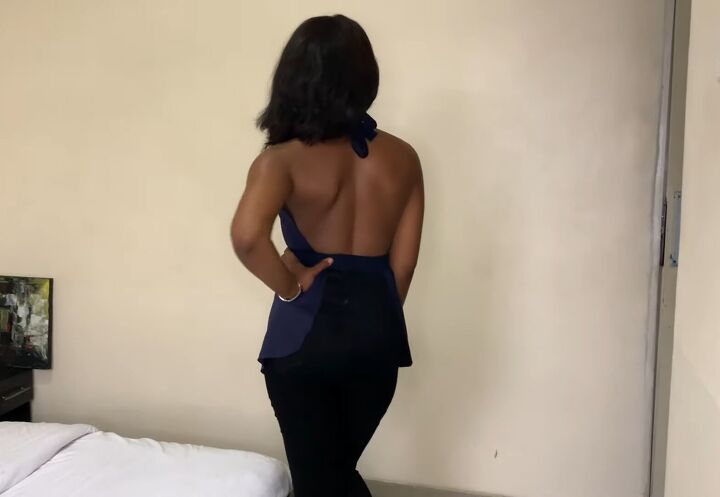
Then take a belt and put it around your waist to gather in the material. The difference between the tops is that with this one, the back is completely open, and it is also in more of a turtleneck style.

DIY open-back top tutorial
I hope you enjoyed learning how to make these two DIY open-back tops. They are so easy to achieve and don’t require any sewing at all. The finished tops look super cute and are perfect for wearing on a hot summer day.
Let me know what you think in the comments below.
The author may collect a small share of sales from the links on this page.


Comments
Join the conversation