A Beginner's Guide to Attaching Bias Binding to an Armhole

Attaching bias binding to an armhole on something you are sewing provides extra structure and support to the armhole. In this tutorial, I will show you how to finish sleeveless armholes with bias tape, so you can get that finished look too. It’s a quick and simple process, so let’s get started.
Tools and materials:
- Bias binding tape
- Sleeveless garment
- Measuring tape
- Scissors
- Sewing pins
- Thread
- Sewing machine
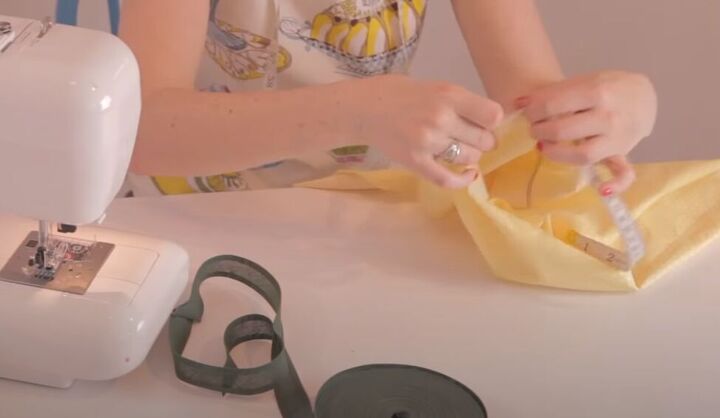
1. Prepare your bias binding
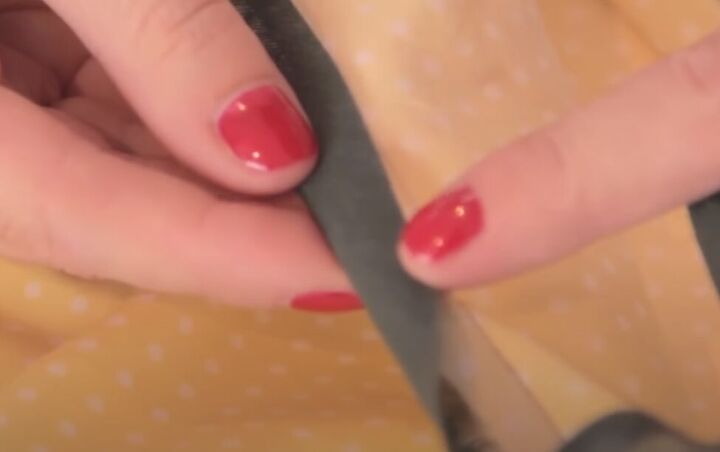
Measure the circumference of the armhole on whatever you are sewing to determine the length of bias binding to cut. Cut the bias binding on an angle.
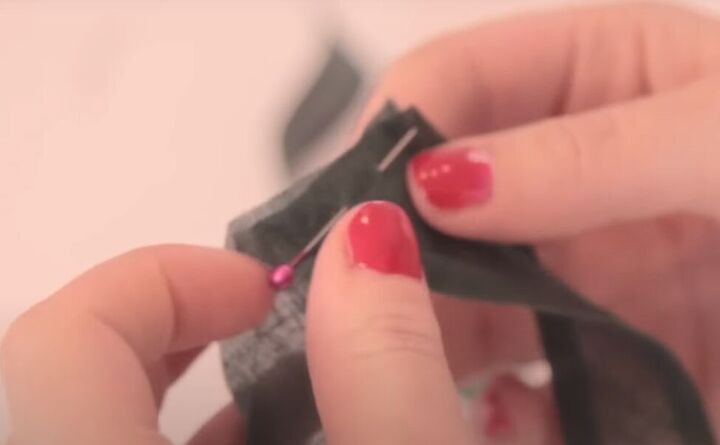
Unfold the edges at the ends of the cut bias binding and pin the two ends together. The points of the angled cut will extend on either end of the join like little Vs. Stitch the ends together from the one V to the other. Press the seam open.
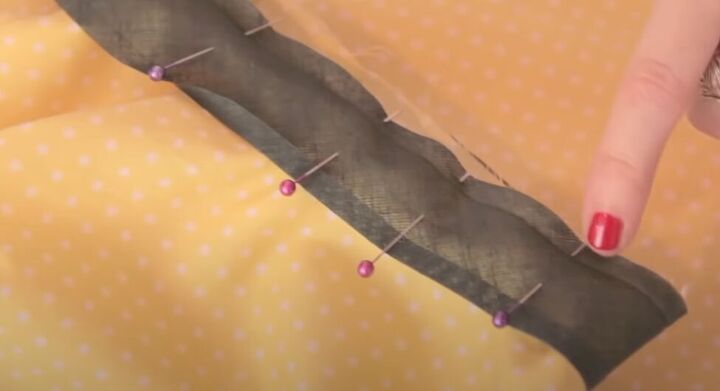
2. Attach the bias binding to your armhole
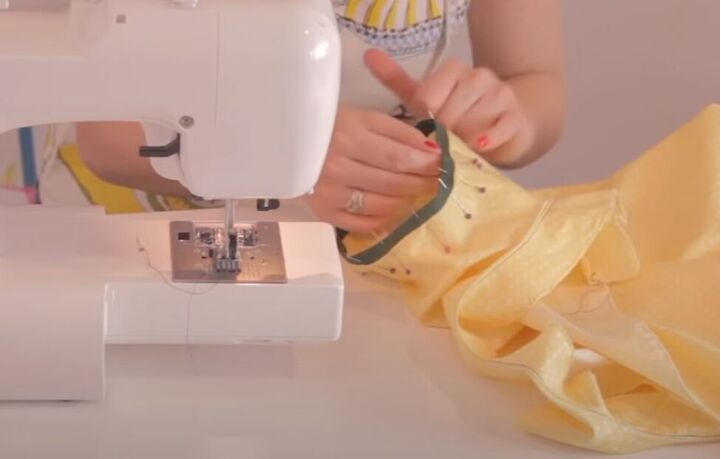
Starting at the underarm seam of your garment, and with right sides together, pin the bias binding to the armhole. Open the fold on the edge of the binding that aligns with the raw edge of the garment.
Then sew the bias binding in place along the groove from the bias binding fold that you opened. Begin sewing at the underarm seam.
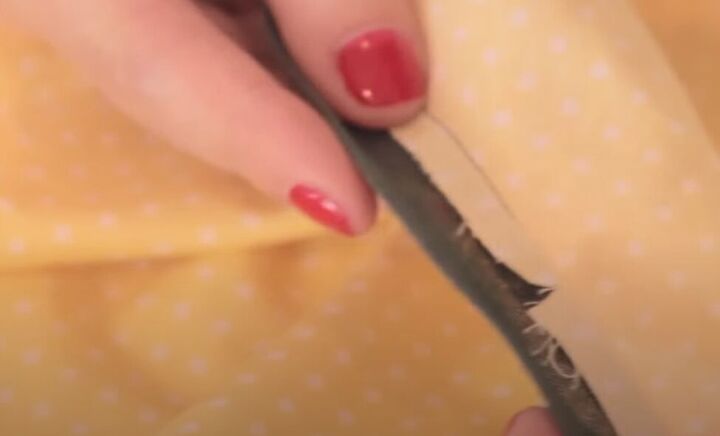
Iron the seam up towards the binding.
Now fold the binding over the seam allowance, so the seam allowance is sandwich inside the binding. The raw edge of the binding should sit at least 2 millimeters (0.08 inches) over your stitch line.
Pin the binding in place all the way around on the outside of the garment. Then sew the binding in place on the outside of the garment, making your stitches right on the edge of the binding.
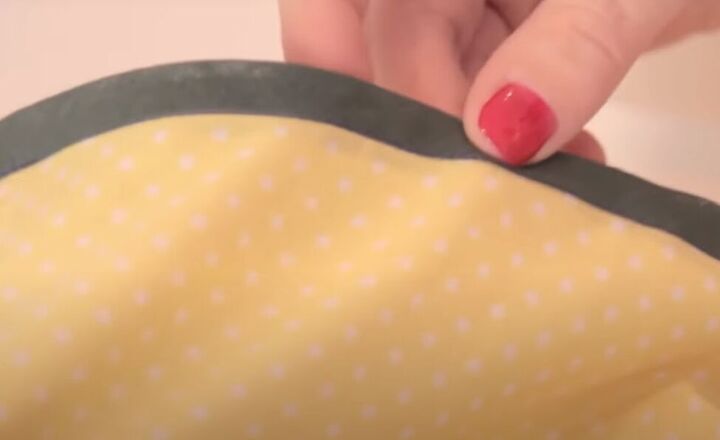
Attaching bias binding to an armhole
Here’s the finished look of the bias binding at the armhole. It really was quite simple, wasn’t it? And it gives such a nice, neat, finished look to your sleeveless armhole. Please give this a try and let me know how you liked this tutorial by leaving a comment.
The author may collect a small share of sales from the links on this page.


Comments
Join the conversation
Great upgrade for an "older" shirt! Like where edges have worn a little but it is still a favorite color!