Upcycle Men’s Jeans Into a Stylish Denim Jacket

This tutorial is so exciting because it features a DIY I have wanted to do for ages! I took men’s jeans and completely refashioned them to create a super on-trend denim jacket that has become one of my absolute favorite pieces! Follow a few simple steps and find yourself creating a gorgeous new jacket.
Tools and materials:
- Men’s jeans x2
- Pattern paper
- Pencil
- Measuring tape
- Chalk
- Scissors
- Pins
- Sewing machine
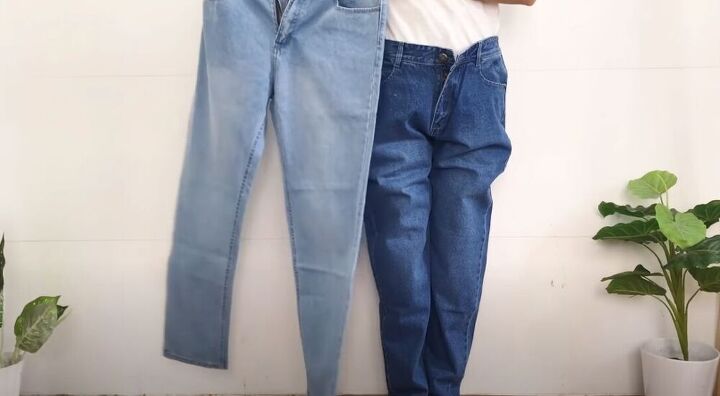
For this DIY, I would be using two pairs of men’s jeans. I chose to use two different washes.

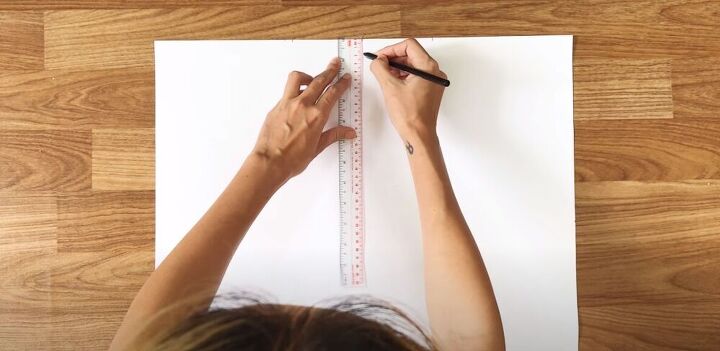
Draft a pattern
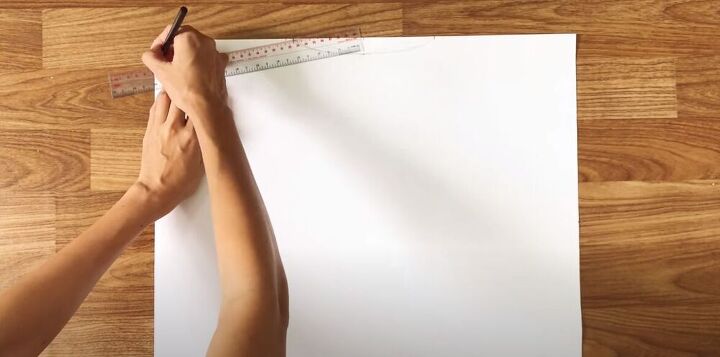
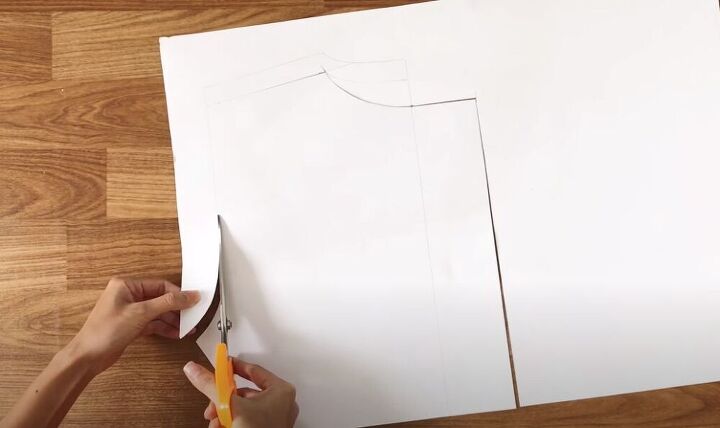
To create the pattern for this jacket, I made sure to cut a piece of pattern paper to size. The width of my paper was ½ my bust size multiplied by 1.5. For me, this came to 62cm ( 24 inches). The length of the paper was the desired length of my jacket. I made this 45cm (18 inches). I then went ahead and marked 18cm (7 inches) inward from each side at the top of the paper, dividing the top into 3 sections.
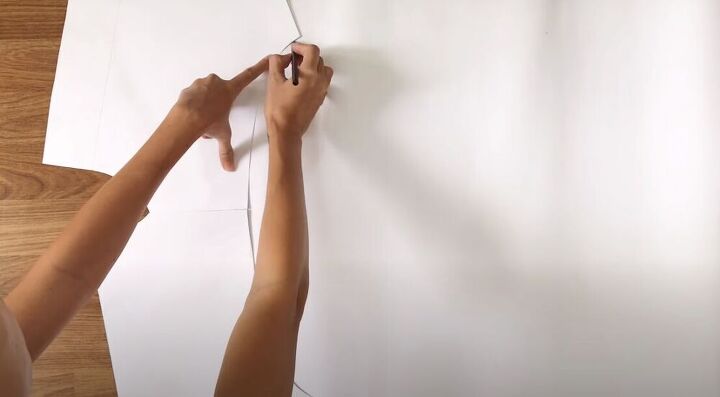
I made a marking in the center of the middle section. I then went down 2cm (1 inch) from that marking and made a new marking. I connected the two outer points to this new marking with straight, slanted lines. I then made this into a curved line for the neckline of my new jacket.
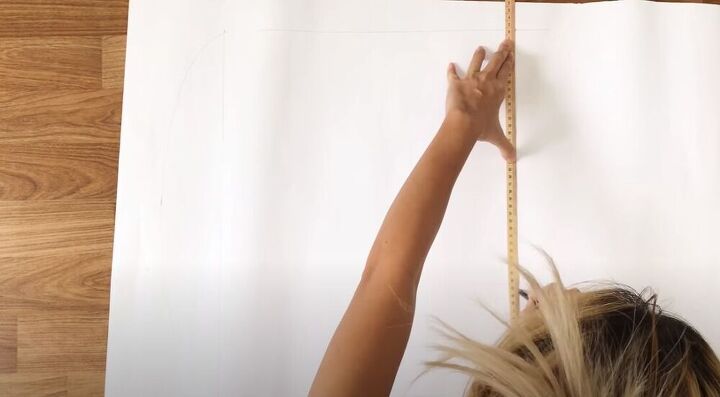
At the top of the right side, I marked down 3cm (1.2 inches) and connected this point to the edge of my neckline to create a slightly slanted shoulder. From that point, I measured down 26cm (10 inches) which is the width of the sleeve.
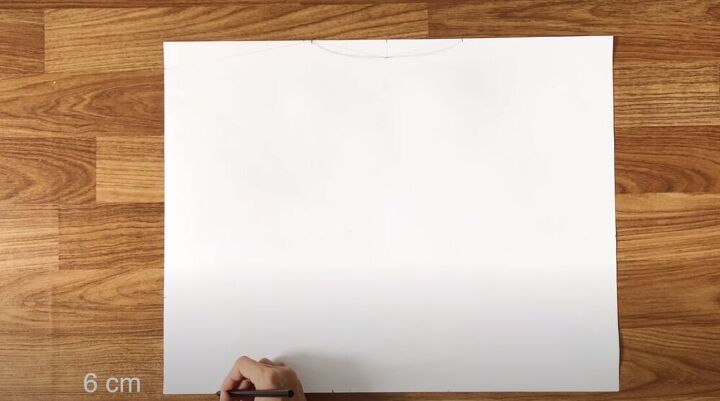
At the bottom right, I marked 6 cm (2 inches) inward. I used my ruler to connect that point to the point I had made for the sleeve. I moved back to the top right and marked 4cm (1.6 inches) inward. I did the same inside the sleeve area. I then drew a curved line to connect that top point to the sleeve line. I repeated the same on the other side and the back pattern for my jacket was ready. I cut it out using a pair of scissors.

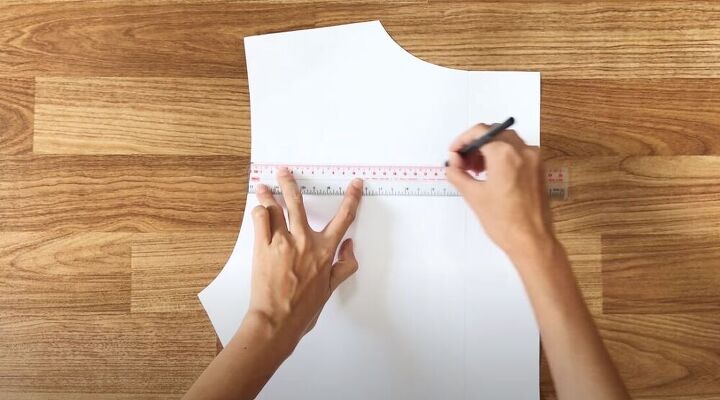
To create the front pattern pieces, I folded the back pattern in half and traced around it. The pattern needed a few alterations. Firstly, I pulled the shoulder line down by 2cm (0.8 inches).

I went down 3cm (1.2 inches) from the neckline and drew in a new neckline for the front.
I extended 7cm (2.8 inches) from the neckline and drew a line down which would be for the buttons of my jacket.
I then went ahead and cut out the front pattern piece.
I turned the front piece upside down and placed it along the paper. I then folded the back piece in half and placed it below the front piece, connected the shoulder seams. I traced the long curved line of the armholes onto my pattern paper. I drew a vertical line connecting the two ends of the curve and then drew a horizontal line from each end of the curved line.
I marked 40cm (15.7 inches) on each horizontal line and then connected those two points together. The 40cm represented the length of my jacket sleeve. On the new, vertical line I had just drawn, I marked 10cm (4 inches) from the top and bottom, leaving me with a wrist width of 30 cm (11.8 inches) for my sleeve. I then connected the 10 cm points to the inner corners of the pattern with a slanted line.
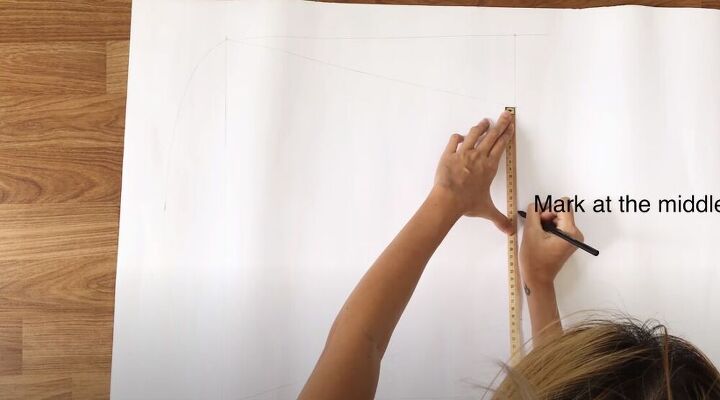
I made a marking at the middle of the 30cm line. I divided the sleeve pattern in half by drawing a line across the middle. I then divided each part of the pattern in half again.
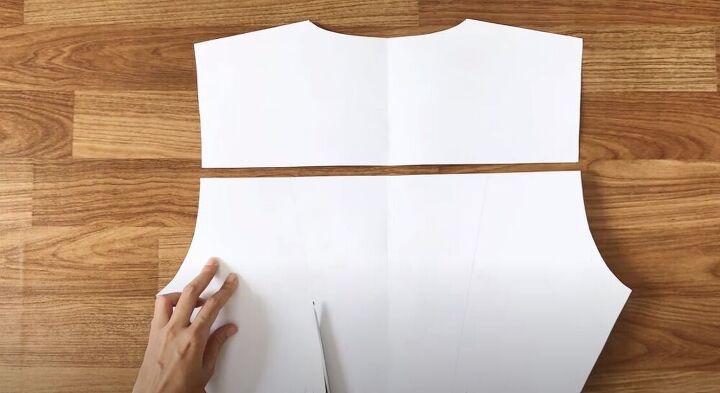
I cut the pattern into three parts according to my markings. Two smaller sections and one bigger piece. I used the small pieces to mark where it would meet the front pattern.
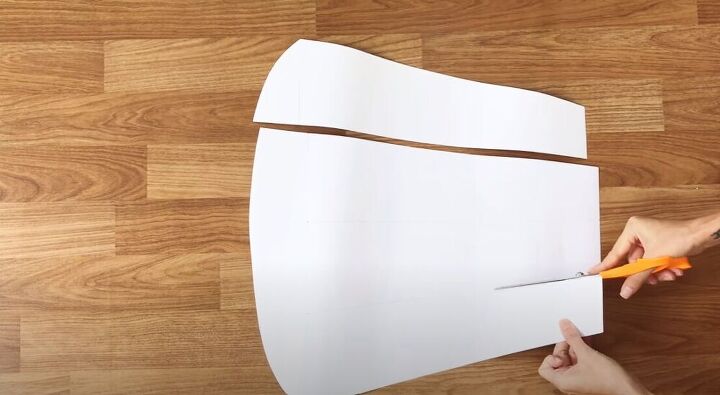
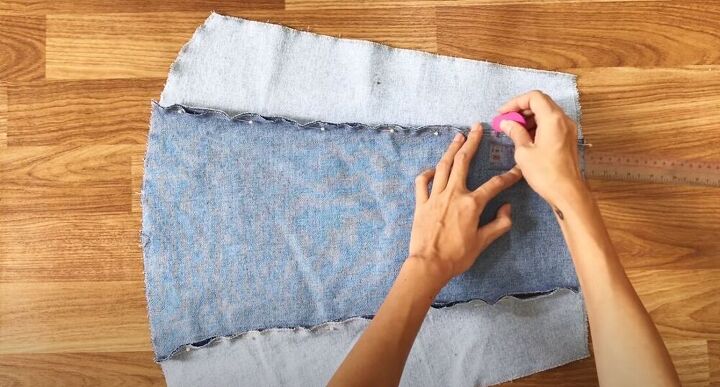
I then drew a horizontal line from that marking to divide the front pattern into 2 pieces. I cut across the line once I had drawn it. I repeated the same for the back pattern but I didn’t cut across straight away, I made a marking at 12cm (4.7 inches) on each side of the center on my horizontal line. At the bottom of the pattern, I marked 8 cm (3 inches) on each side of the centerline.
I connected the markings and started cutting. I would be left with four pieces of the back pattern. I made sure to add 1 cm (0.4 inches) for seam allowance. As I mentioned earlier, I would be using two pairs of men’s jeans for this project, so I marked each pattern piece with a number 1 or 2 so that I would know which pair of jeans to use for which piece of the pattern.
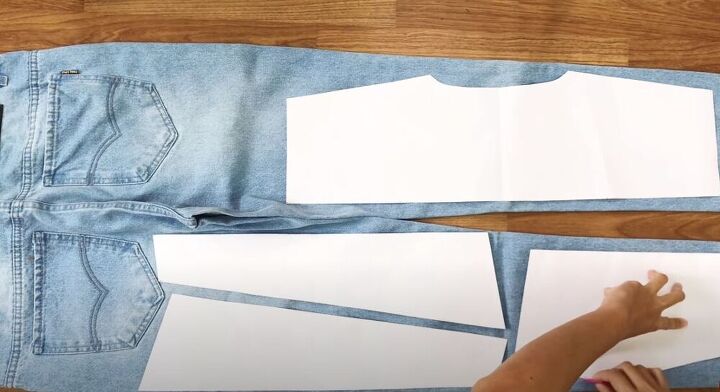
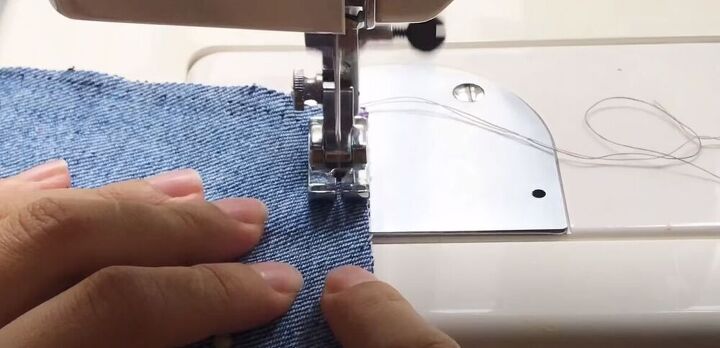
Cut the denim
I placed the pattern pieces on the two pairs of jeans and cut out the fabric. I made sure to overlock each piece before I started working on the jacket.
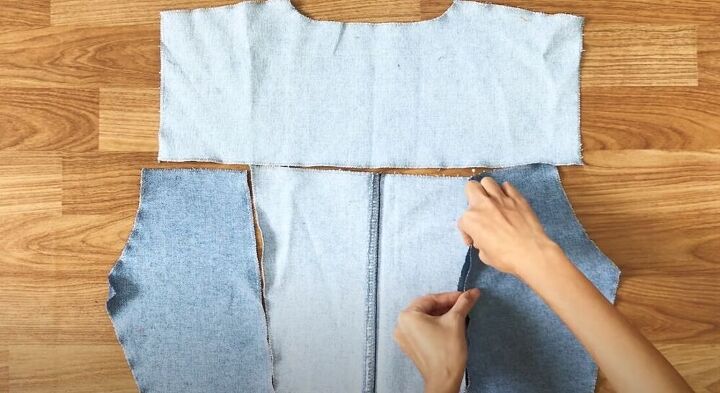
Sew the back pieces
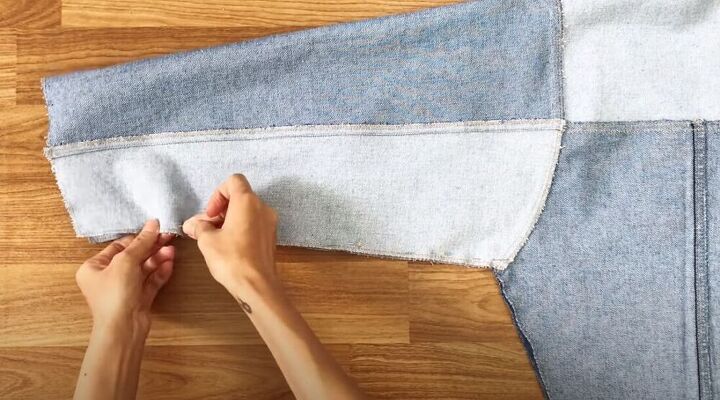
I laid out my back pieces and pinned and sewed the 3 bottom pieces together.
I then connected the bottom part to the top part to finish the back of the jacket. After I had sewed, I added two seams on the outside to give the jacket a nice finish.
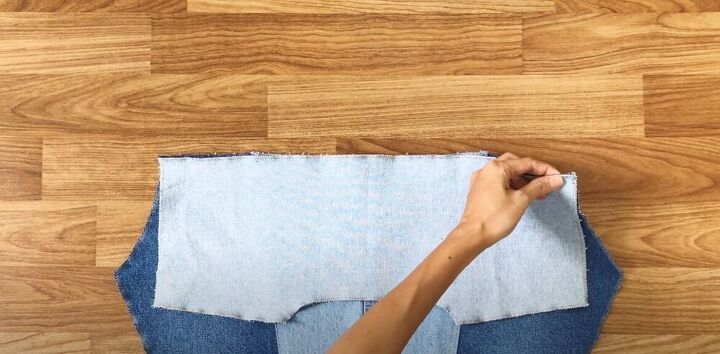
Sew the front
Next, I pinned together 2 parts of the front pattern and sewed. I repeated this to create the second front piece.
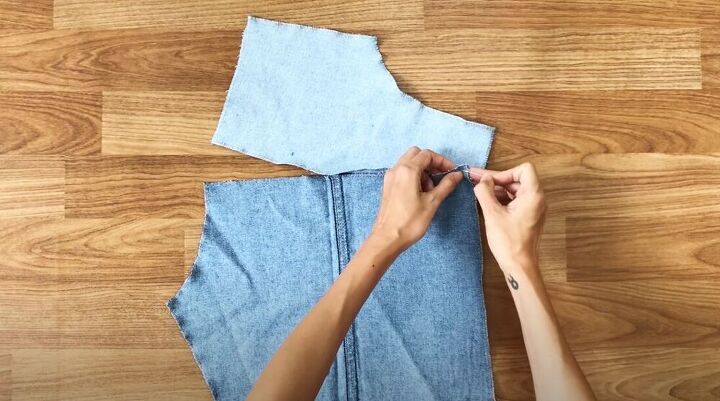
Sew the front and back together
In the next step, I laid the back and front pieces, right sides together, and sewed the shoulder seams together.
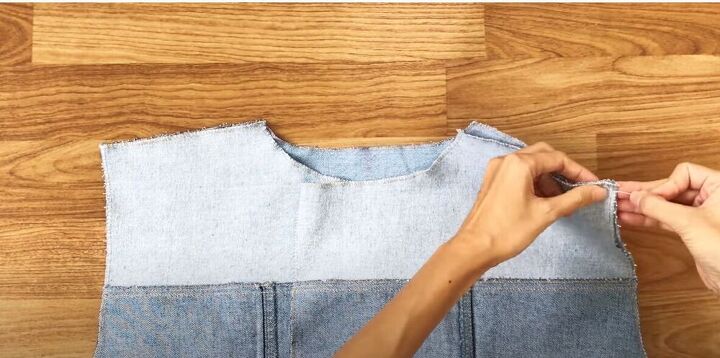
Attach the sleeves
I pinned the three sleeve pieces together and decided which one would be at the back of the sleeve. On that piece I marked 10cm (4 inches) from the wrist line. This would be the open part at the back of the wrist. I then sewed leaving the 10 cm I had just marked.

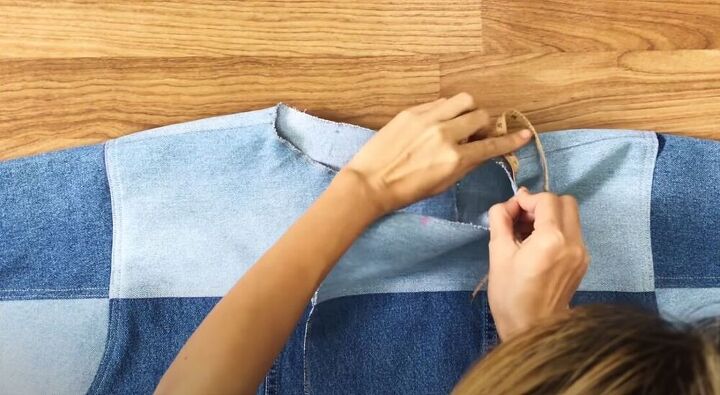
Then I attached the sleeve to the jacket. I made sure that the open part, near the wrist was at the back of the jacket. I pinned the sleeve to the armhole, matching up the fabrics so that the jacket would have a neat and professional finish. I then sewed on the sleeve.
I pinned and sewed the sleeves closed and also sewed the sides of the jacket.
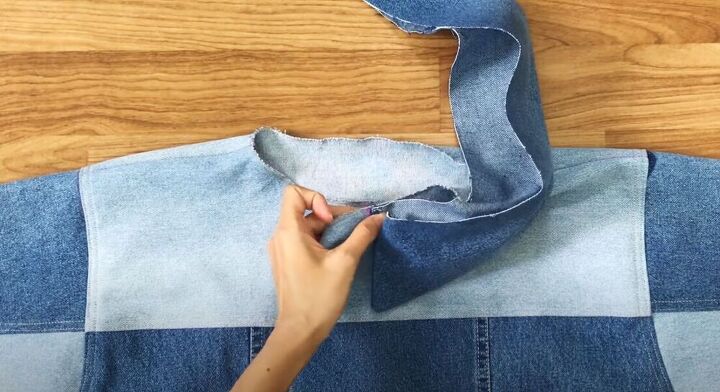
Add the collar
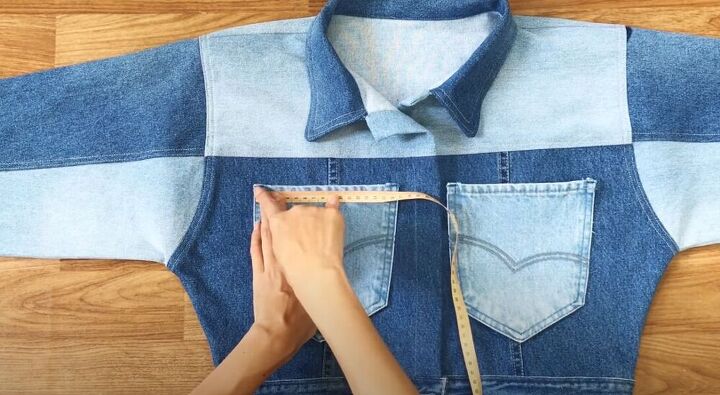
Next, I marked on each side of the front where the button area would be. I then measured around the neckline, between the two marks, with my measuring tape. It came to 51cm (20 inches).
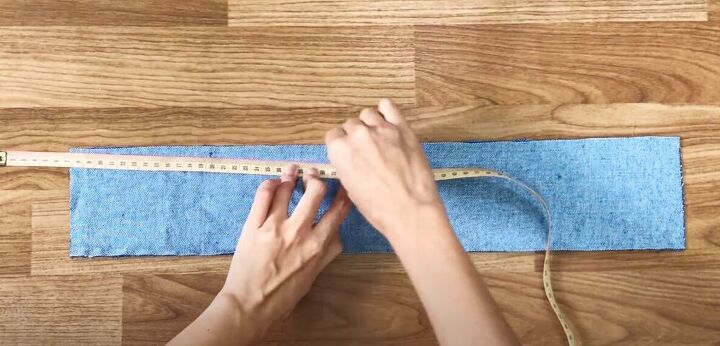
I cut out two rectangle pieces of fabric each 57cm (22.4 inches) long with a width of 12 cm (4.7 inches). I made a marking in the center and then came down by 2 cm (0.8 inches). I drew a curved line from that point to the two top corners.

I then marked 2 cm (0.8 inches) inward from each bottom corner of the rectangle and connected those points to the top edges. I then went ahead and cut according to my markings.
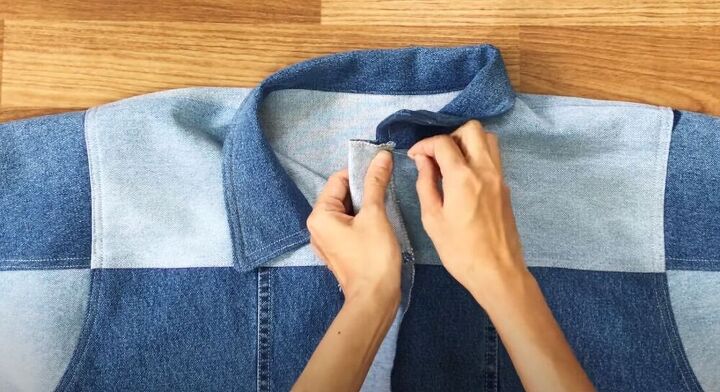
I pinned and sewed the two pieces, right sides facing, leaving the straight bottom edge unsewn.
I turned the collar right side out and sewed one side of it onto the neckline. I then folded the raw edge of the other side of the collar in slightly, and sewed it onto the jacket to finish off the collar.
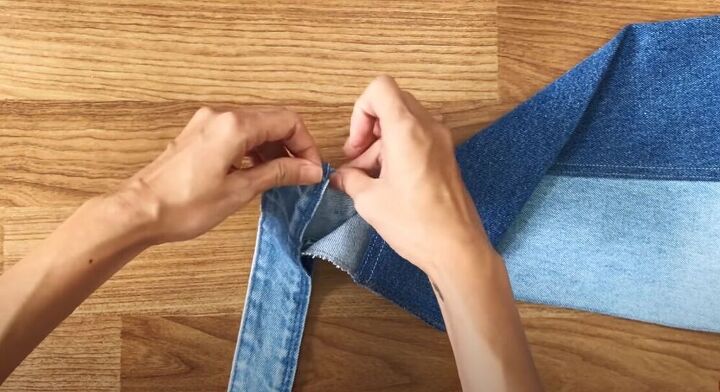
Finish the button placket
Next, I had to work on the button area, I folded the fabric over 4cm (1.6 inches) and sewed it at the top. On the other side, I folded the raw edge in by 1cm (0.4 inches) so that the button area would be 3cm (1.2 inches).

Add a waistband
The jacket was looking incredible! The next step was finishing the bottom of the jacket. I used the waistband from the one pair of jeans and sewed it onto the bottom of the jacket.
Finish the sleeves
In the same way, I used the waistband of the other pair to finish off the end of each sleeve.
Add pockets
I added pockets from the back of one pair of jeans to the front of the jacket. I measured to make sure they would be symmetrical and then sewed them on. In the end, I decided not to add buttons down the front of the jacket because I loved how it looked without buttons.
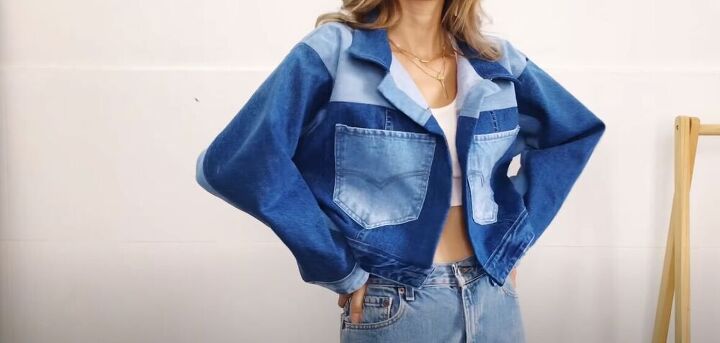
This upcycled denim jacket is too cool! I am totally in love with it! Let me know if you have any other men’s jeans upcycle ideas in the comments!
How to fold a jacket
The author may collect a small share of sales from the links on this page.


Comments
Join the conversation
Headed to the Goodwill now to get some jeans!
I LOVE denim jackets. What a great way to upcycle old jeans...thanks for sharing!