Sewing Tutorial: How to DIY an Ugly but Cute Jacket

I had a lot of fabric scraps that I hated to throw away, so I made an ugly jacket from a free sewing pattern.
Actually it's not so ugly although it's not really my style. It was a great way to use up the scraps and the tutorial shows you how to put together a women’s patchwork jacket.
Best lightweight sewing machine!
Tools and materials:
- Annie Jacket pattern
- Paper for pattern
- Fabric scraps
- Interfacing
- Snap fasteners (optional)
- Pins
- Scissors
- Sewing machine
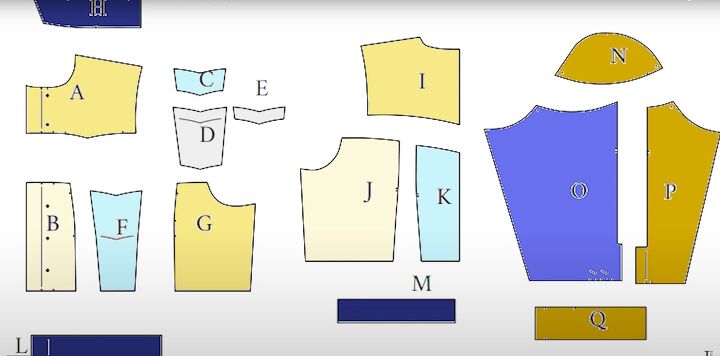
1. Choose color scheme
Sort through your fabric scraps and choose two or maximum three colors for your jacket.
I color coded each pattern piece and decided to use only blue and tan fabrics.
2. Prepare collar
Iron interfacing to one side of the collar and press the upper edge of the collar in by half an inch (1 cm).
Sew the top and side edges together with right sides facing and turn the collar right side out.
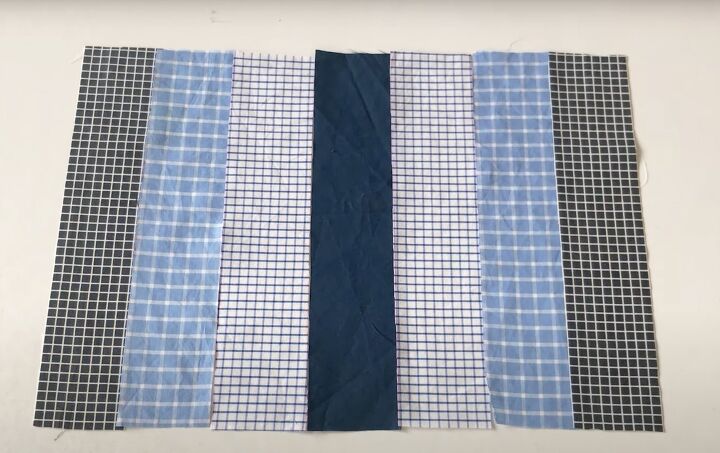
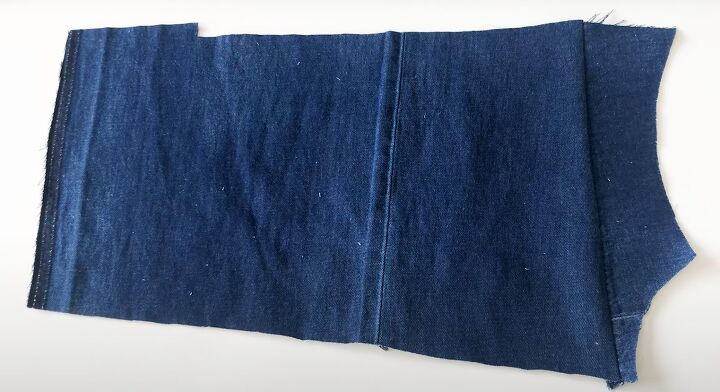
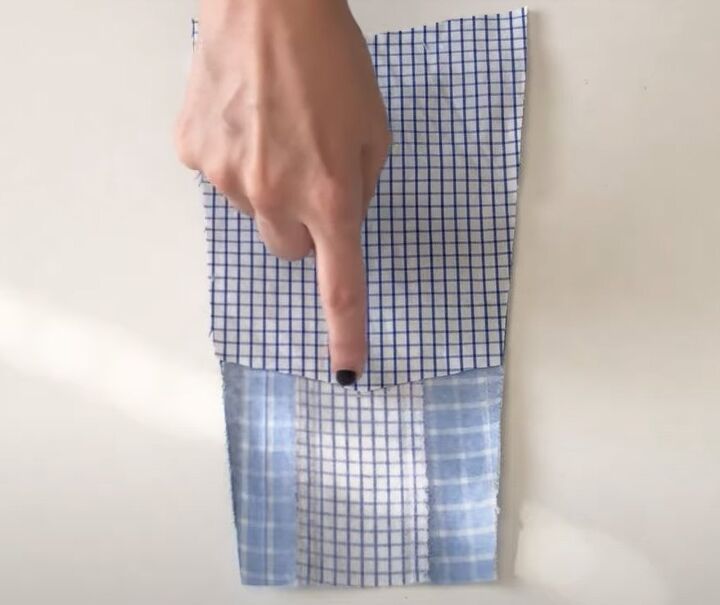
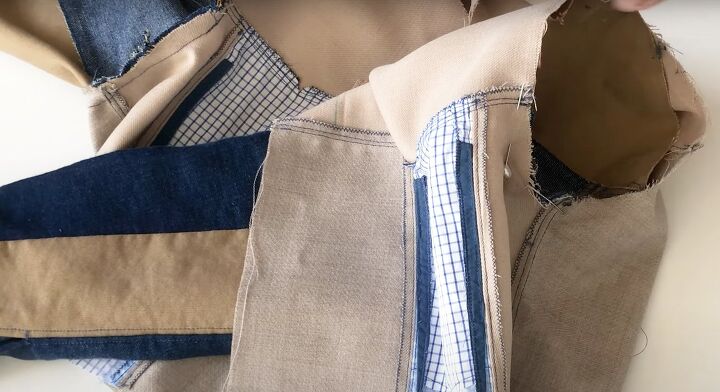
3. Prepare front and back panels
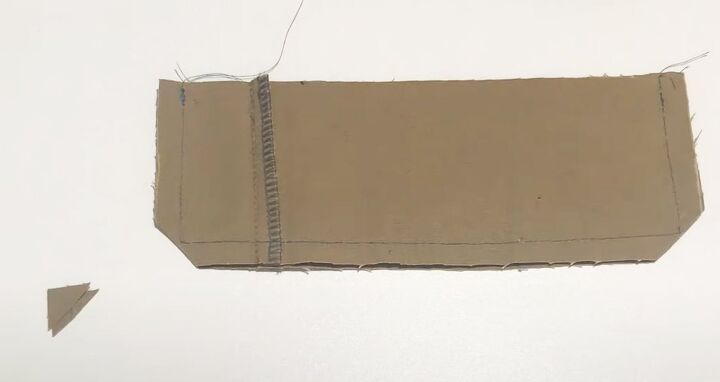
Sew strips of fabric together until you have a piece large enough to cut the back section from.
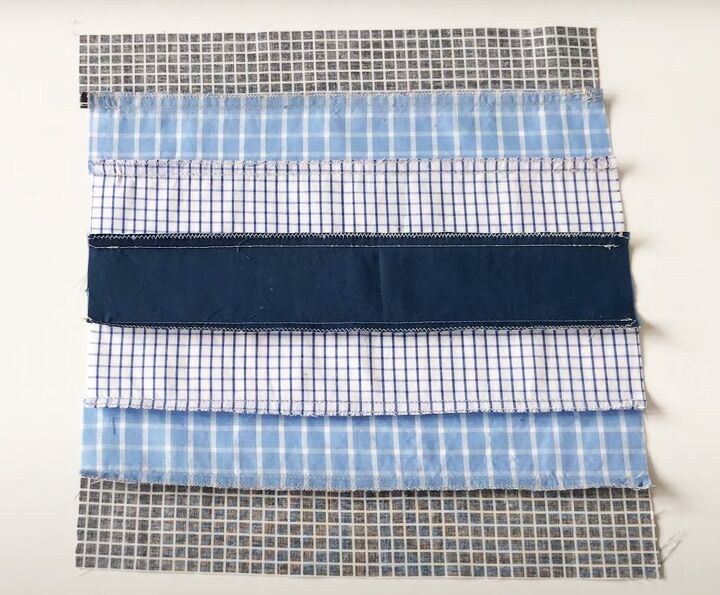
Zigzag stitch the seam allowance and press all the seams in the same direction.
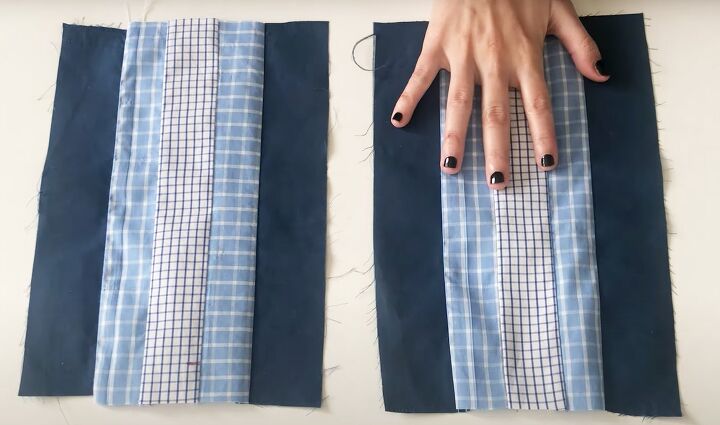
Prepare the front panels in the same way.
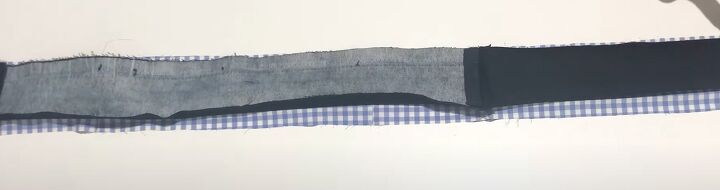
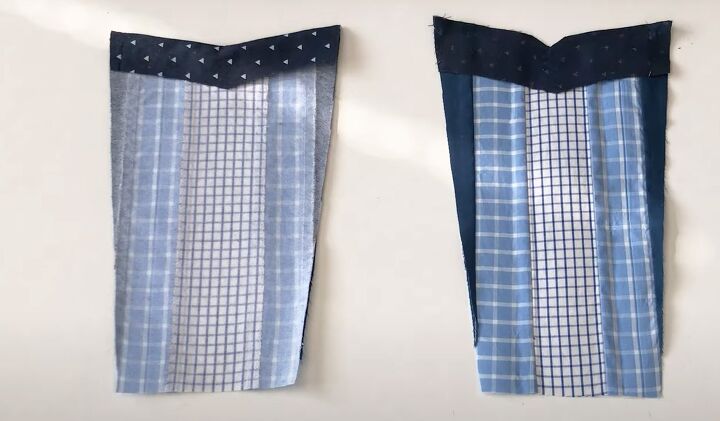
4. Prepare sleeves
I added an extra piece of a similar fabric so I could make half of the sleeve in one color.
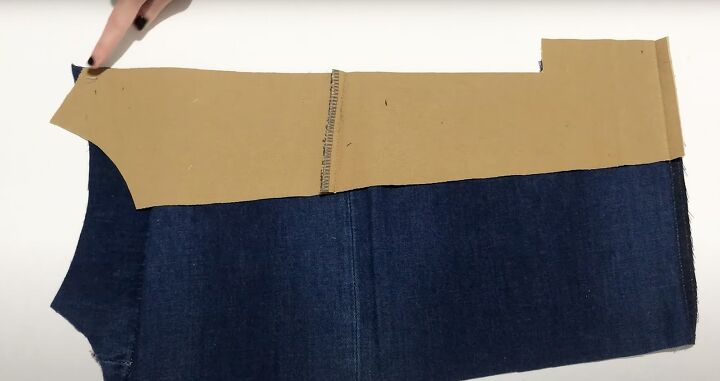
Cut the other half of the sleeve and join the straight edges with right sides facing.
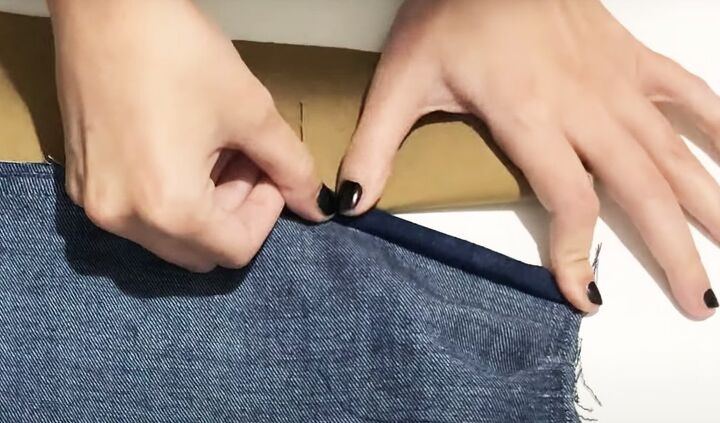
Sew the pleats in place at the cuff end of the sleeves and turn in and sew the facings.
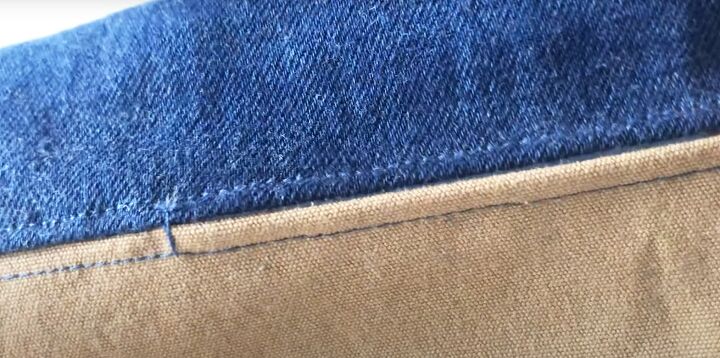
Top stitch both sides of the seam on the right side.
Add the sleeve cap and top stitch the seam.
Fold the sleeve lengthways with right sides facing and sew the sleeve seam.
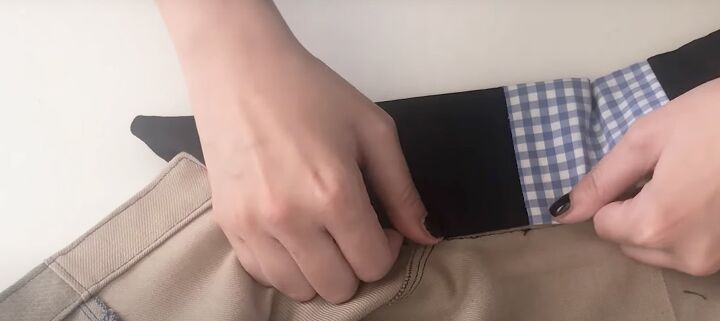
5. Add cuffs
Join the inner and outer cuffs along the side and lower edges with right sides facing. Snip the excess fabric at the corners and turn the cuffs right side out.
Press the open edges to the inside by half an inch (1 cm).
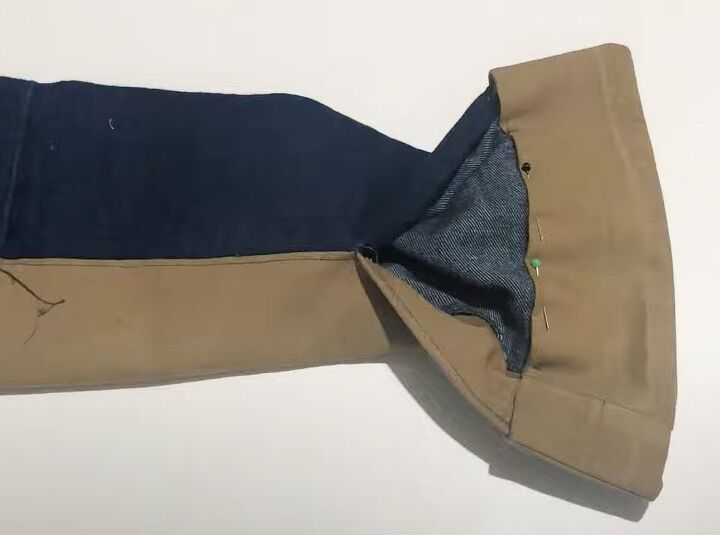
Pin the end of the sleeve between the two layers of the cuff. Top stitch around the entire cuff.
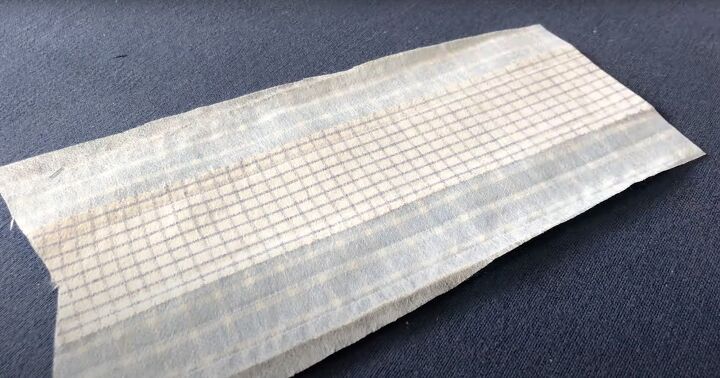
6. Prepare patchwork sections
Cut out the patchwork pieces and iron interfacing to the wrong side of each.
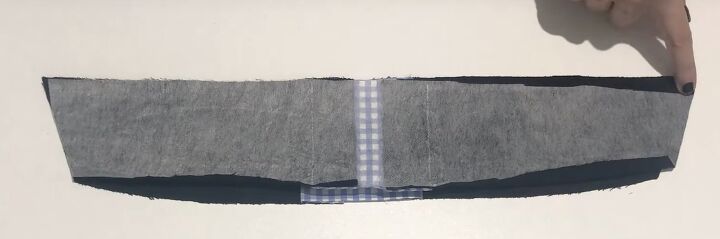
7. Prepare waistband
Join the three sections of the waistband at the short edges and sew the waistband lining in the same way.
Sew them together along three sides as you did for the cuffs.
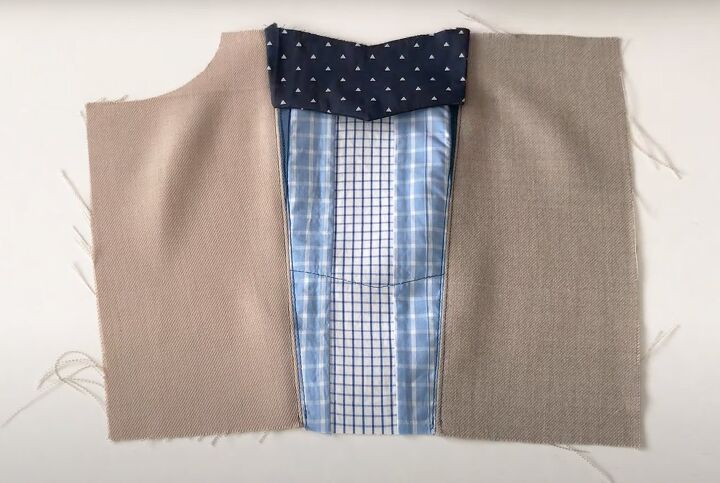
8. Front and pocket pieces
Sew the top facing to the pocket with the right sides together and press it to the inside.
Place the pocket lining on the pocket, approximately a half inch (1 cm) above the top edge.
Sew them together along the bottom and side edges of the lining.
Sew the front sections to the pocket. Finish the seams with zigzag and top stitching as before.
Sew the inner and outer pocket flaps together around three edges and turn them right side out.
Top stitch the flap to the top edge of the pocket.
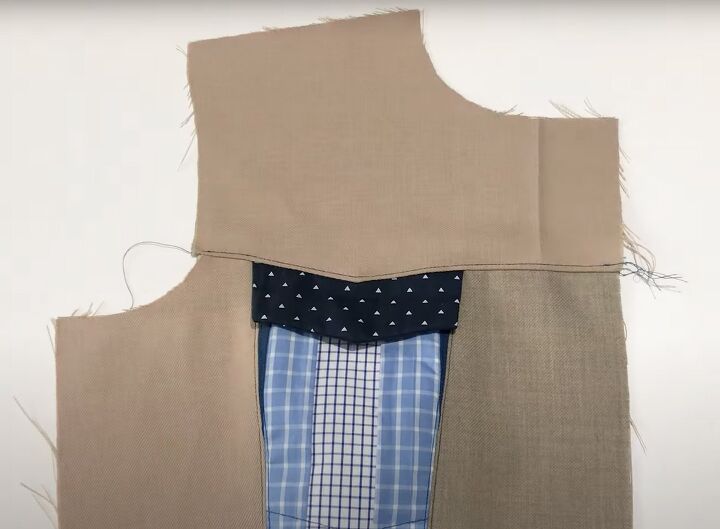
Sew the front yoke to the top edge of the front sections.
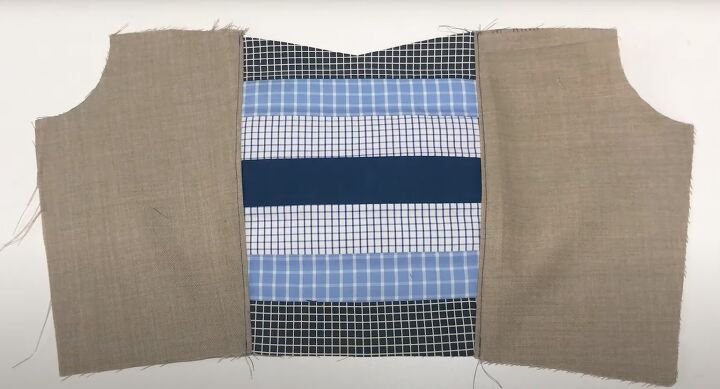
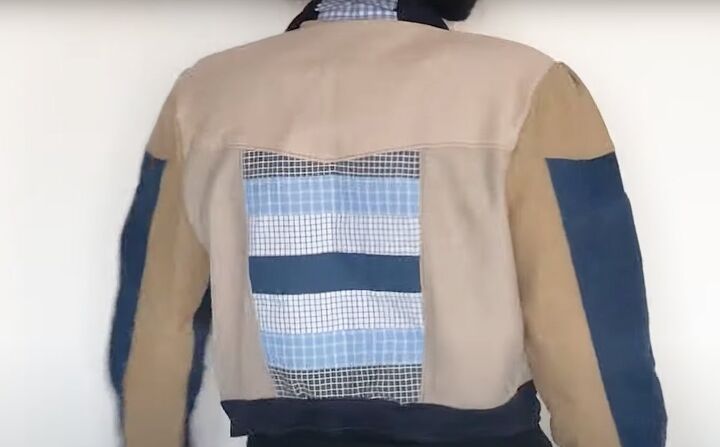
9. Assemble back pieces
Join the back side pieces to the center patchwork section.
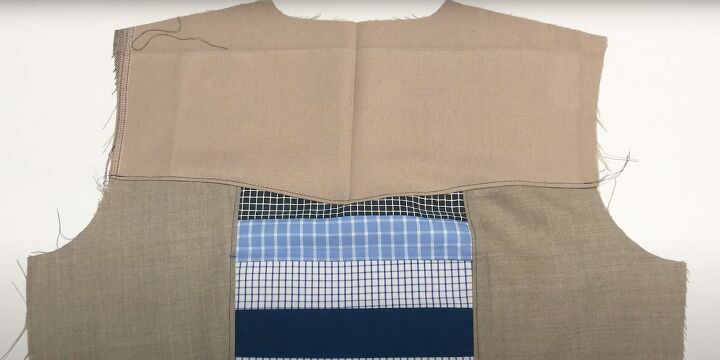
Add the back yoke and top stitch the seam.
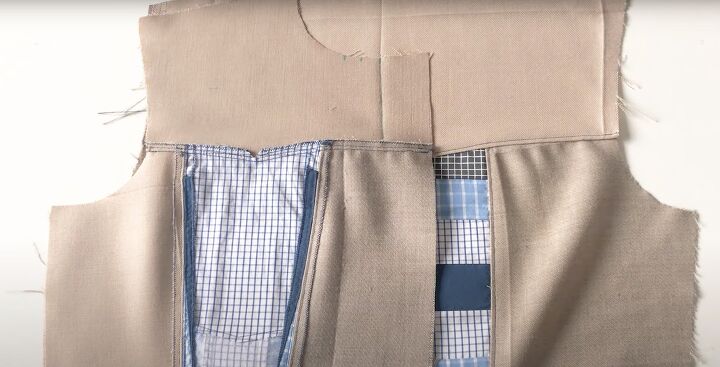
10. Join front and back
Join the front pieces to the back at the side and shoulder seams.
11. Insert sleeves
Lay the jacket flat with the wrong side out. Turn the sleeve right side out and insert it into the armhole.
Pin and sew the sleeve in place around the armhole, matching the side and sleeve seams and gathering it to fit.
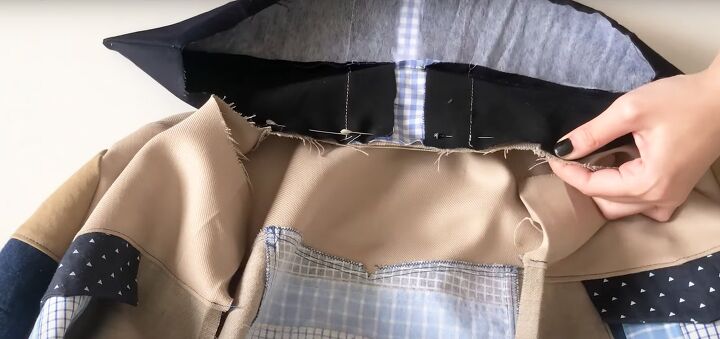
12. Attach collar
Pin the center of the lower collar to the center back of the neck edge, with right sides together, and sew in place.
Turn in the front edge by half an inch (1 cm) and press, then turn it to the outside by 1 inch (2.5 cm) and sew as shown in the pattern.
Turn it right side out and top stitch around all four edges.
Pin and sew the other half of the collar to the jacket, enclosing the raw edges.
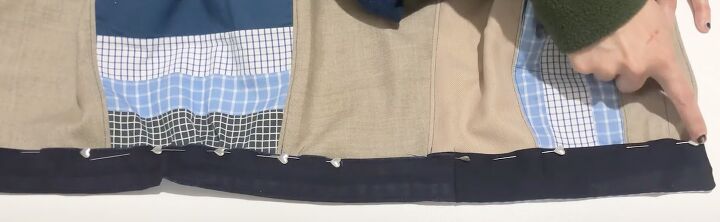
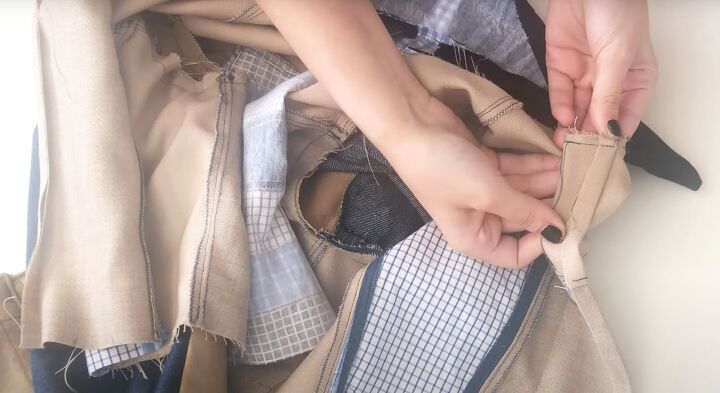
13. Attach waistband
Sew the waistband to the jacket, in the same way as you did the cuffs.
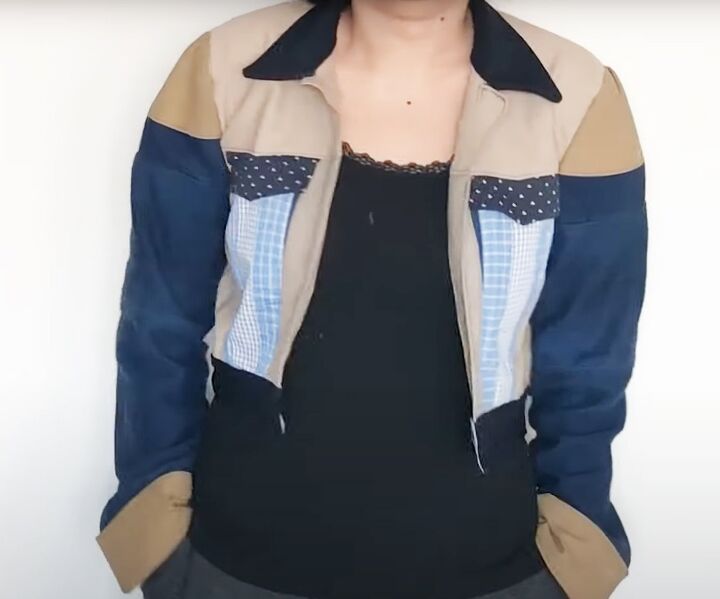
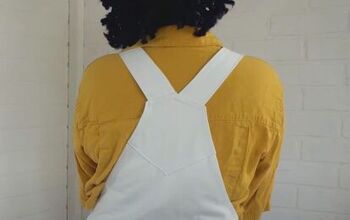
DIY ugly jacket
I decided not to add snap fasteners to the front and cuffs in the end.
This upcycled jacket would also look very good with a plain lining, to pull the design together!
Overall, I think it looks pretty good for something made entirely from fabric scraps.
I'd love to see what you put together if you make this - please let me know in the comments.
The author may collect a small share of sales from the links on this page.


Comments
Join the conversation
Loving it! Too Cool! Great job, Great idea!