How to DIY a Cute and Easy Summer Dress

I loved this boho print fabric that I found and immediately wanted to turn it into a simple DIY summer dress. I came up with a cool, relaxed dress.
The measurements I give are for size 38 European, but there are options for S, M and L as well.
It's very easy to make without a pattern. Follow along and learn how to sew a dress even for beginners.
Tools and materials:
- 47 inch (120cm) wide fabric
- Tailor's chalk
- Ruler
- Pins
- Scissors
- Sewing machine
- Serger (optional)
1. Cut out the dress
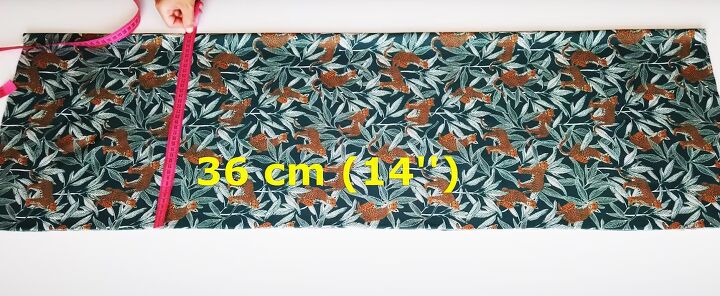
Fold your fabric in half widthways and in half again.
Trim off the selvedges and the second fold so you have two pieces of fabric that measure 47 inches (120 cm) wide by 14 inches (36 cm) deep when folded.
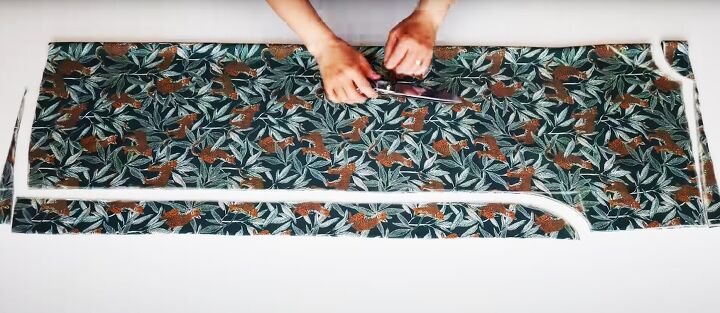
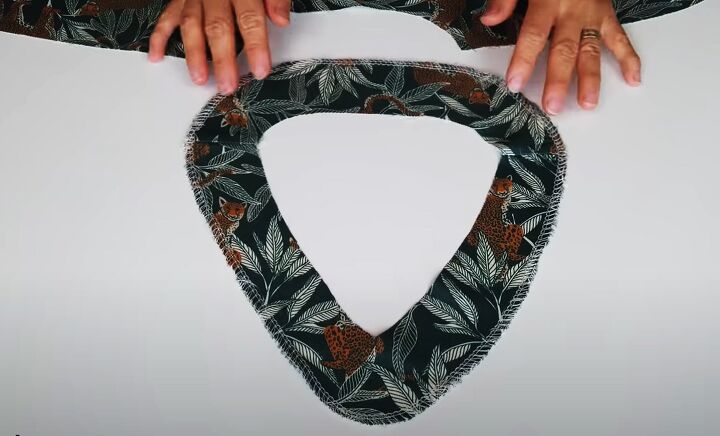
Watch the video from 0:55 to 2:57 to see exactly how I draw out the dress shape and cut the V neck at the front.
2. Cut out the neck facings
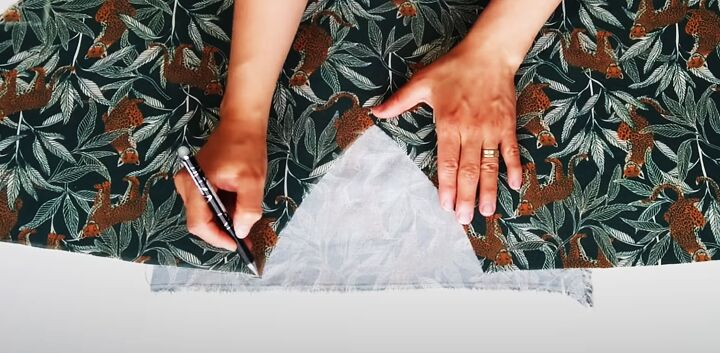
Separate the two parts of the dress. Open the front out flat.
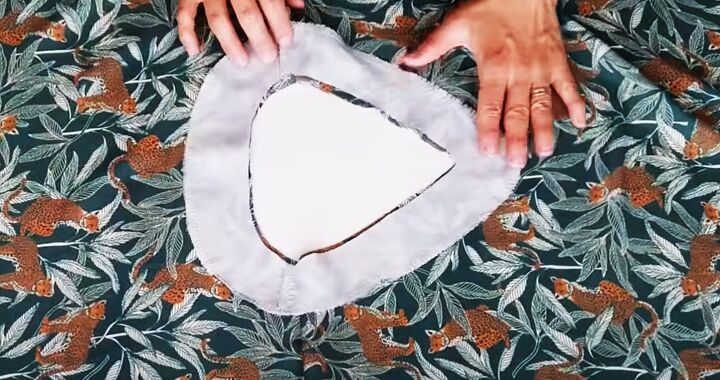
Place a spare piece of fabric under the V neck, with the wrong side uppermost. Trace around the shoulders and the V neck on to the fabric.
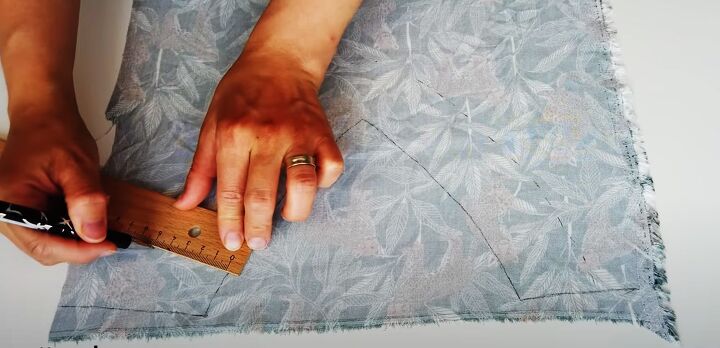
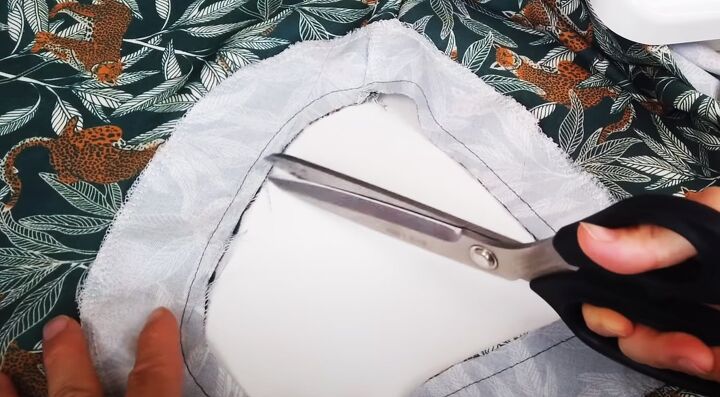
Use your ruler to mark a depth of 2 inches (5 cm) around the traced line to make the facing.
Cut out the facing.
Make a 2 inch (5 cm) facing for the back neckline in the same way.
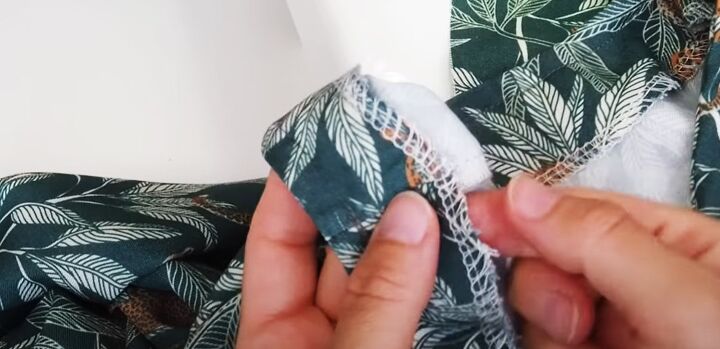
Join the short ends of the facings with the right sides together. Serge or overlock stitch around the outer edge.
3. Attach the neck facings
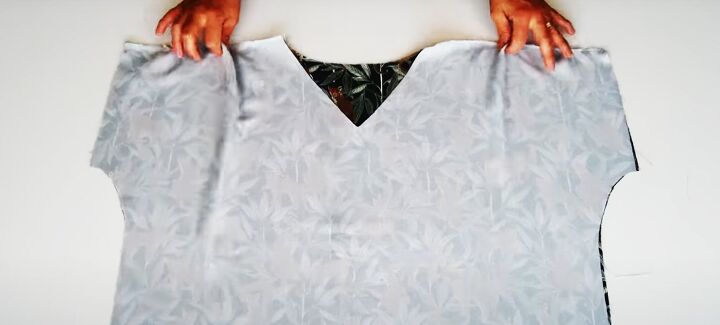
Join the front to the back along the shoulder and upper sleeve seams.
Open the back and front out flat with the right side uppermost.
Pin and sew the neck facing to the dress with the right sides together, matching the seams.
Clip the curve and turn the facing to the inside.
Topstitch around the neck edge on the right side.
Hand sew a few stitches to catch the facing to the shoulder seams on both sides.

4. Sew the side seams
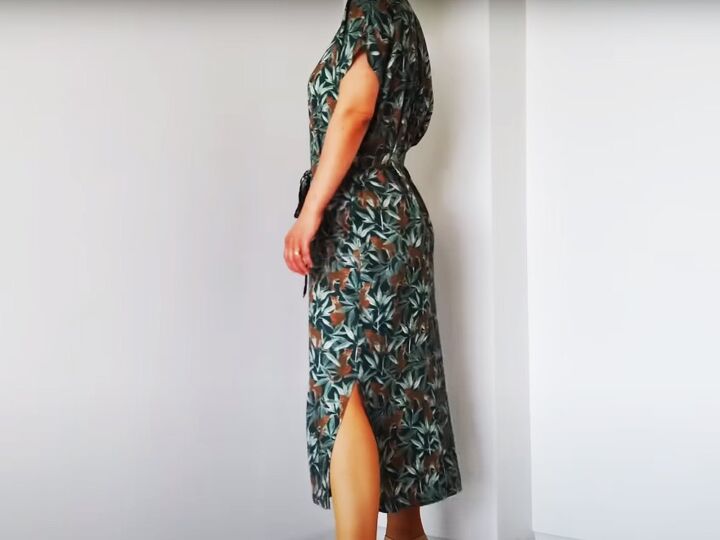
Measure and mark 13 inches (33 cm) from the lower edge up the side seam on one side of the dress for the side slit.
Serge or overlock stitch the raw edges.
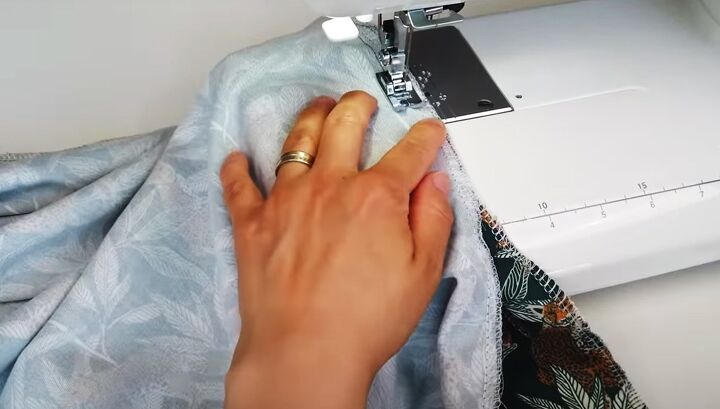
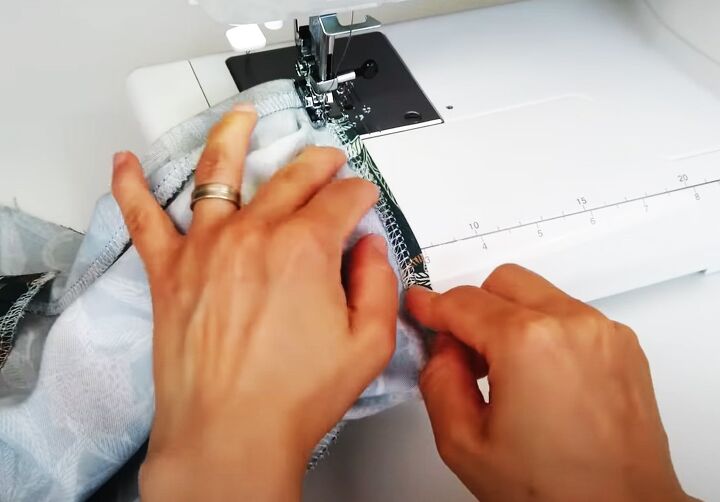
Pin and sew the side seams together, starting one seam from the top of the slit to the edge of the sleeve.
Sew the other seam from the lower edge to the end of the sleeve.
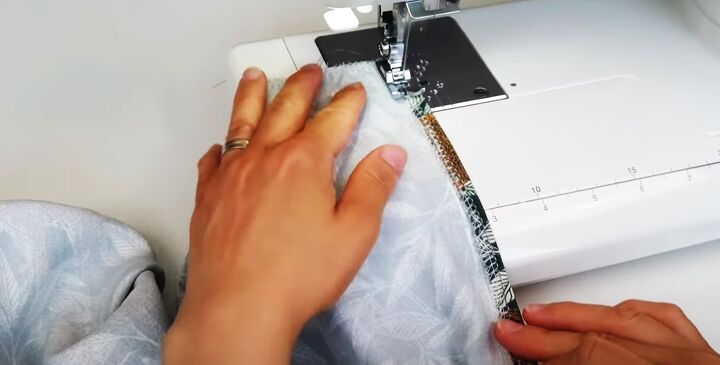
Starting at the lower edge, turn the edges of the slit to the inside to match the seam allowance.
Sew them in place along each side and across the top of the slit.
5. Finishing
Finish the raw edges at the lower edge and the bottom of the sleeves.
Turn up and sew single or double hems.
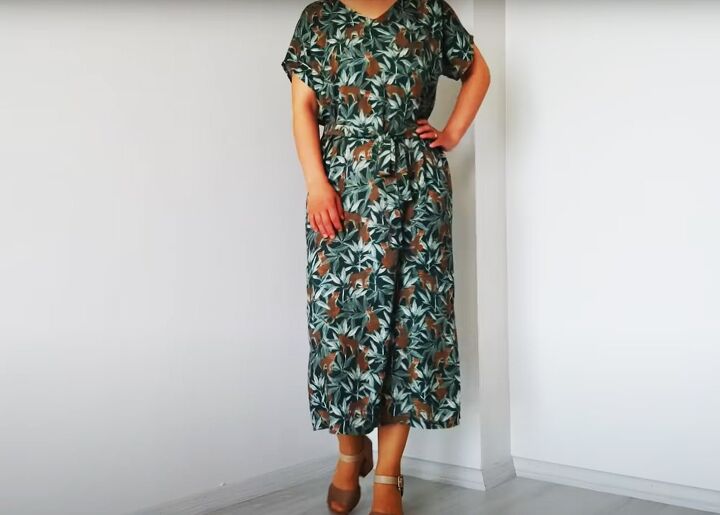
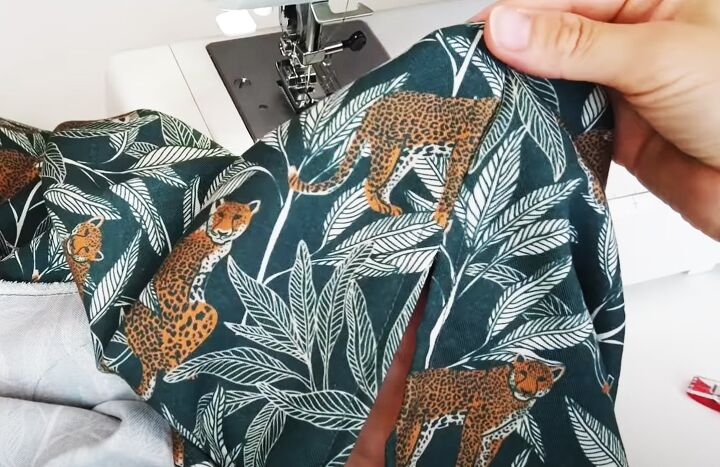
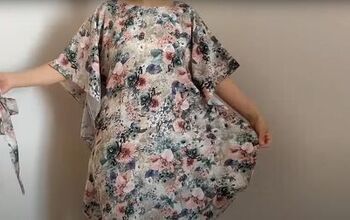
DIY summer dress
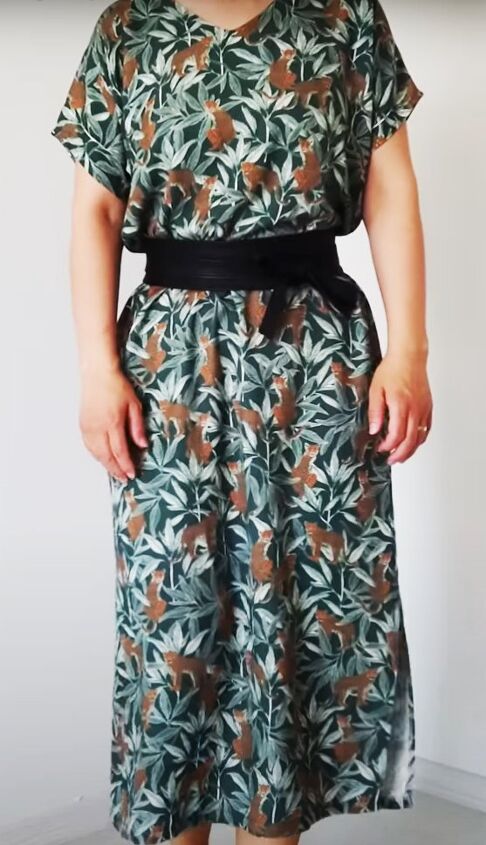
You can, if you wish, make a tie belt from the same fabric as the dress, if you have enough left. I think it also looks very elegant with a wide wrapped or elasticated belt.
However you wear it, this simple DIY summer dress will look cool and relaxed in the hot weather.
It's really very quick to make and suits a wide variety of fabrics. You can size it up or down very easily as well.
I'd love to know what you think of it. Please leave me a comment below and for more sewing tips and patterns, follow me on TikTok: @tugbaisler
The author may collect a small share of sales from the links on this page.


Comments
Join the conversation