How to DIY 2 Denim Bags From Old Jeans

Hi everyone! In this tutorial, I’m going to show you how to make a DIY denim bag in two different ways. Let's get started.
Tools and materials:
- Pair of jeans
- Miscellaneous denim fabric
- Scissors
- Fabric chalk
- Hot glue
- Sewing machine
- Iron
DIY denim bag 1: Tote bag
1. Cut out the legs of the jeans
To start making this jeans bag, lay your jeans out flat. Then, measure 15 inches from the hem of a pant leg and then cut across both legs.

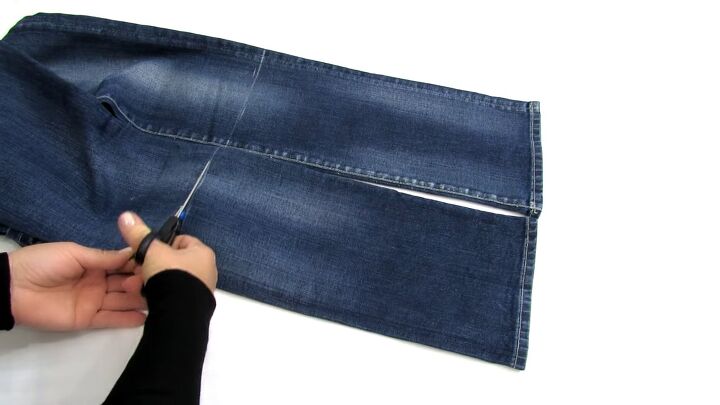
Step 2: Cut the seam
Cut along the side seam on both pant legs.
Then cut off the seam on the outermost edge.
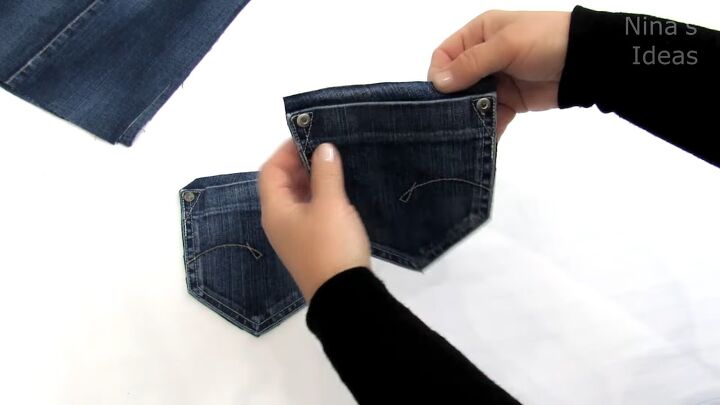
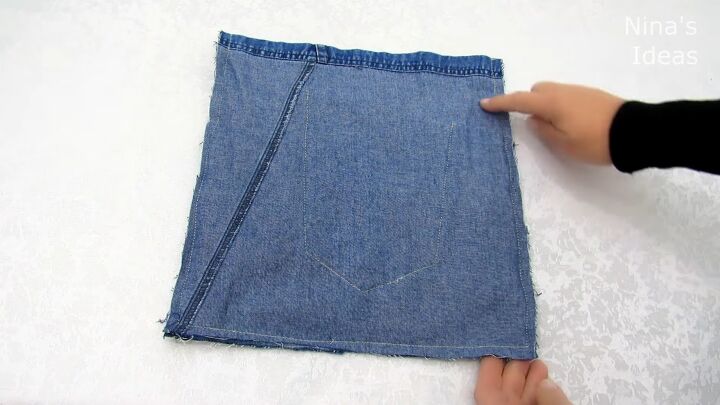
3. Cut out the pockets
Cut out the pockets on the back of the jeans, leaving a ½ inch gap on the top of the pocket.
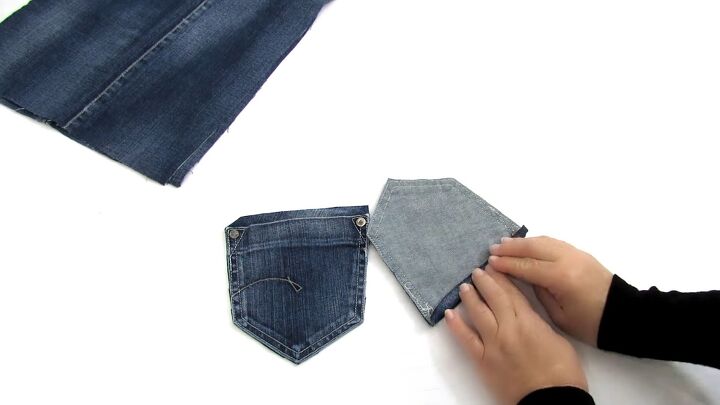
Fold back the ½ inch gap and glue it down.
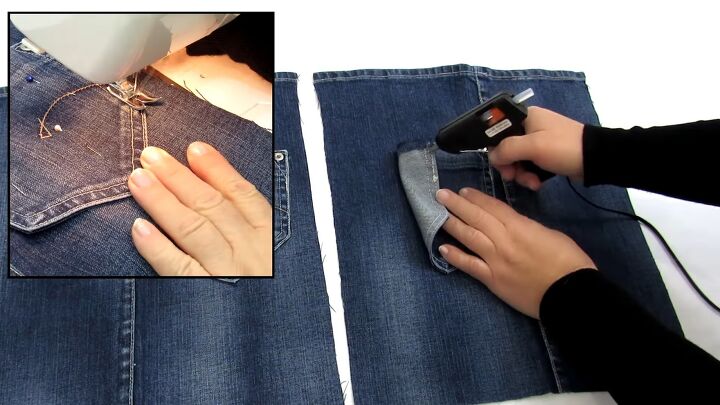
4. Glue down the pockets
Place and glue, or sew, the pockets to the pant legs you cut out.
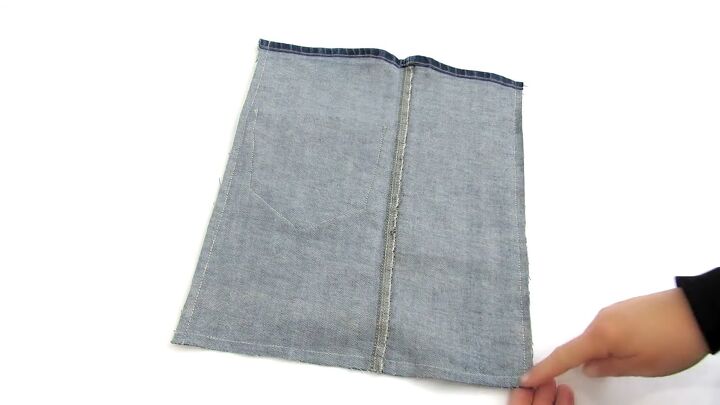
5. Sew the pants together
Place the pant legs so they’re right sides facing and glue or sew all sides except the side with the hem. This will be the top of the bag.
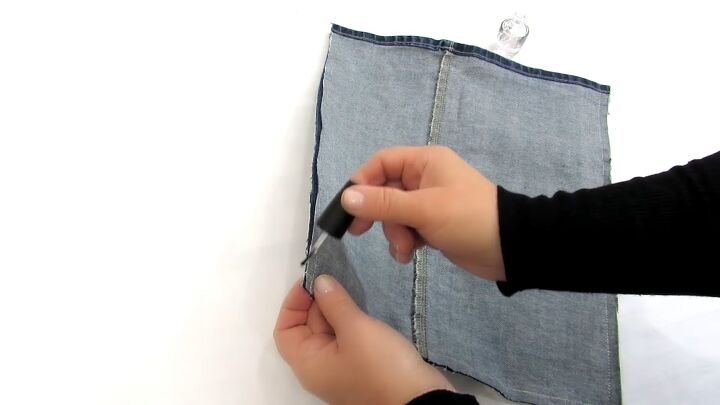
Finish the edges with a zigzag stitch or nail polish to prevent fraying.
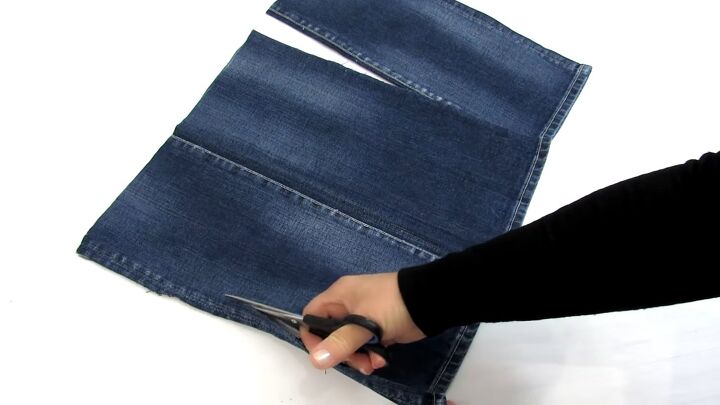
6. Cut out two rectangles
Cut out two rectangles from the remaining legs of the jeans that are 20 inches x 4 inches.
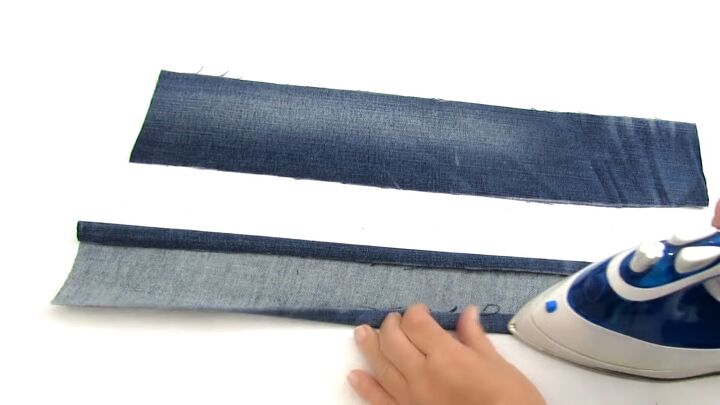
7. Fold and sew the rectangles
Fold and iron the outermost edges.
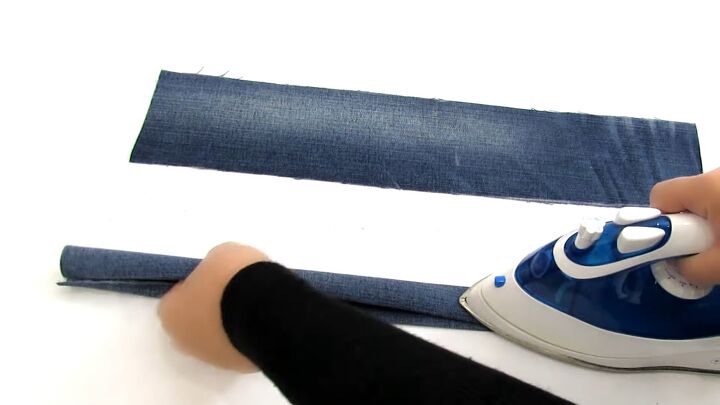
Then fold the entire strip in half so the folded edges meet. Iron flat.
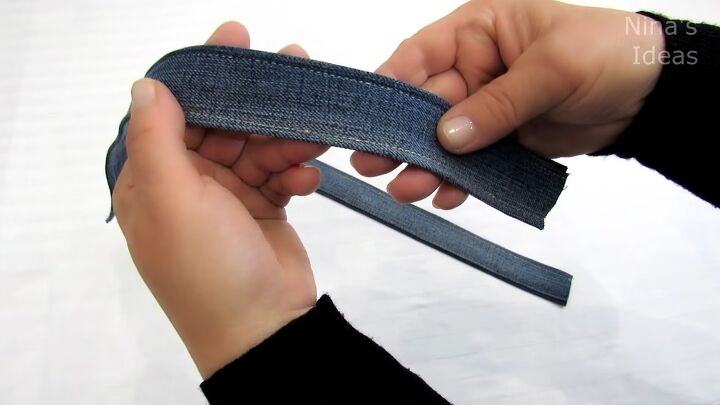
These will be our straps, so sew on both edges.
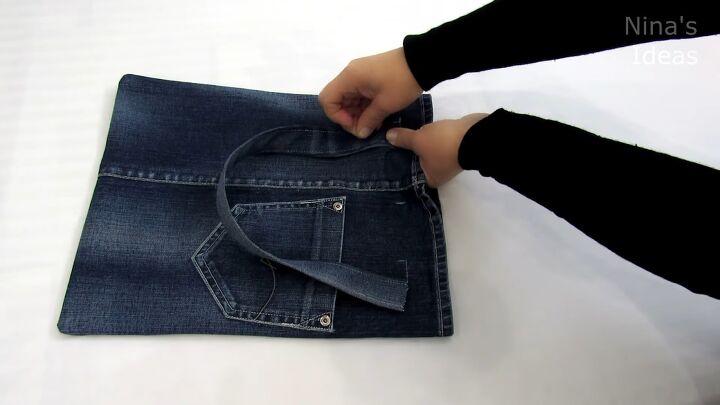
8. Sew on the straps
Mark the middle of the bag and then mark 3 inches out from that point on both sides. This is where the straps will go.

Pin and sew.
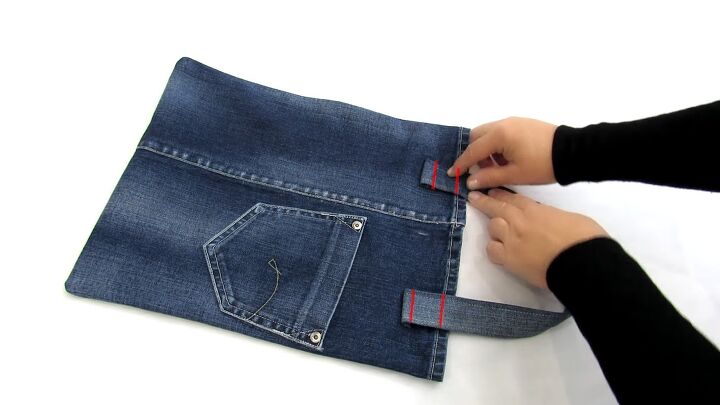
Flip the strap over and sew where it folds and where it meets the hemline.
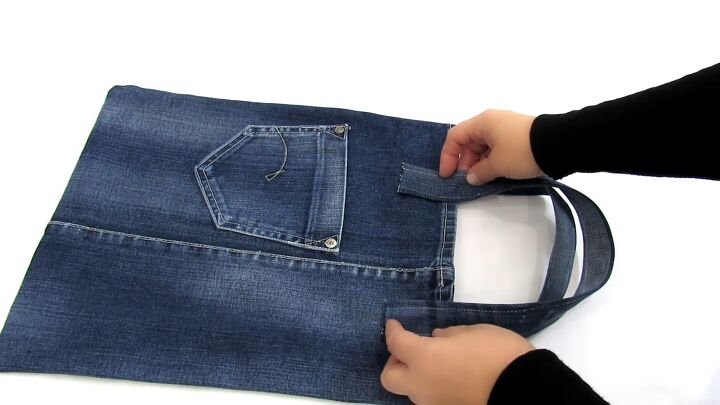
Repeat on the back.
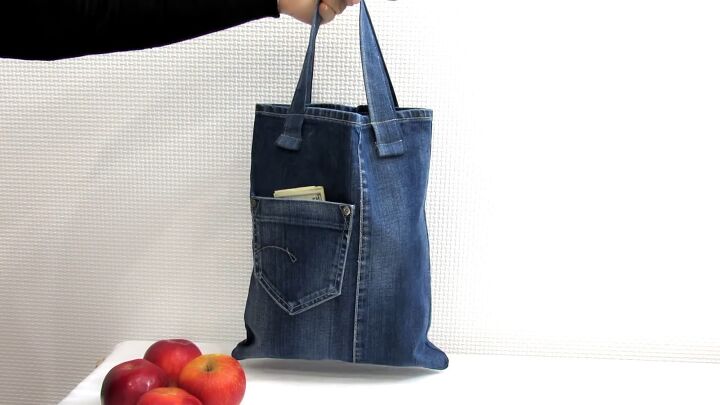
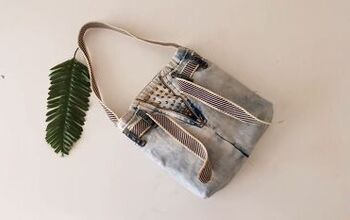
Here’s the finished DIY denim bag!
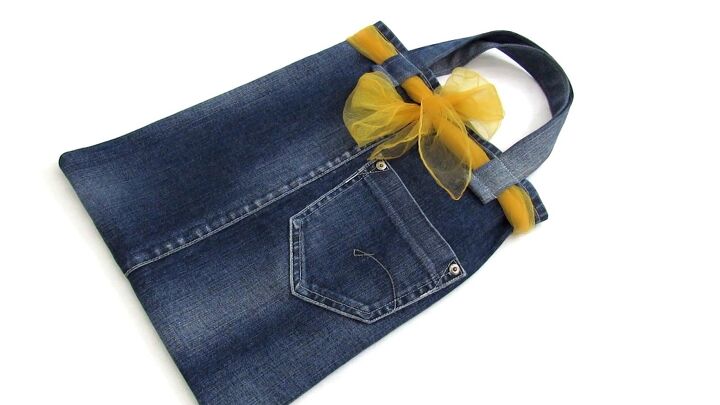
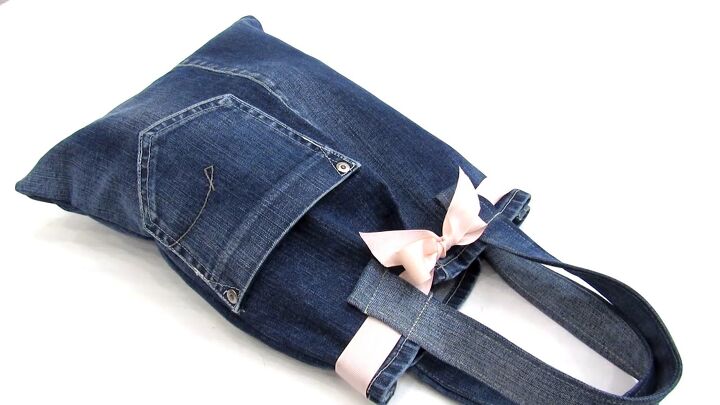
You can leave it like it is or you can loop some pretty fabric or ribbon through the strap’s loops and tie it in a bow.
Mix and match your fabrics for each outfit and you have a pretty unique denim upcycle!
DIY denim bag 2: Crossbody bag
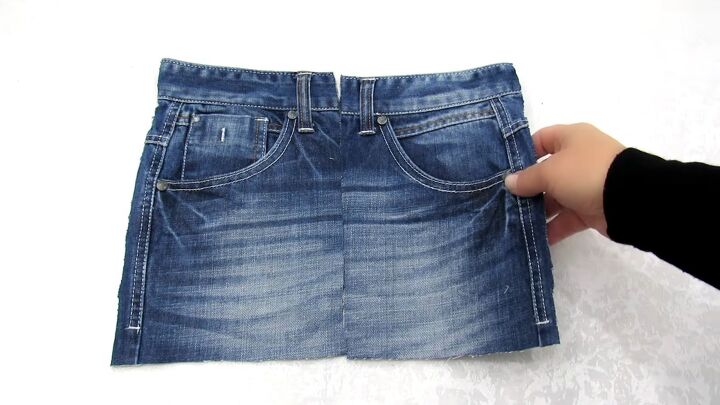
1. Cut out the top of the jeans
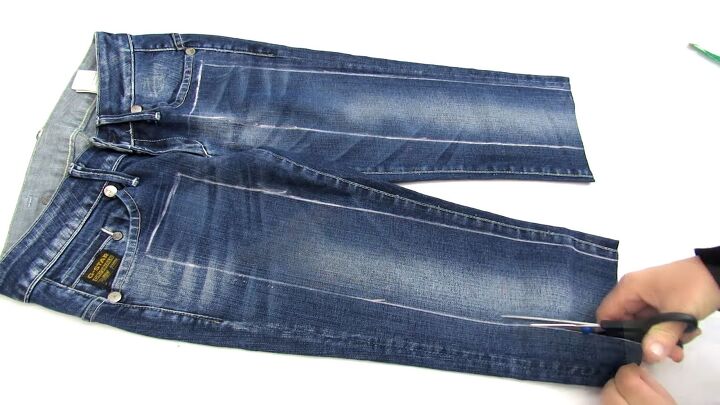
You only need the front panels of the jeans, so when cutting, separate the front of the jeans from the back.
Cut out the zipper in the middle. Leave seam allowance a bit past the side seam.
2. Sew the two halves together
Fold the two halves right sides facing and sew along the inner edge with a zigzag stitch.
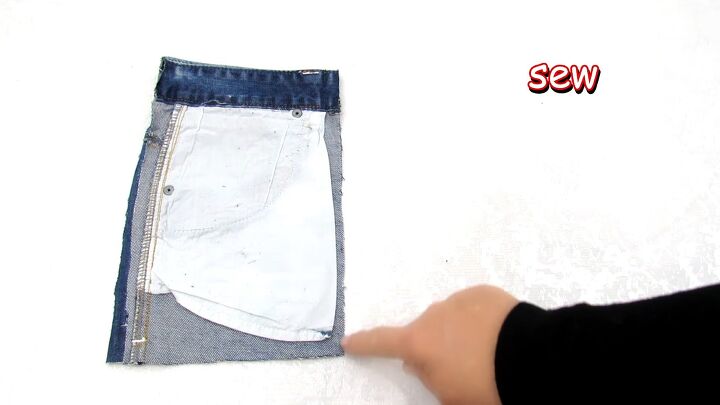
3. Cut out the pockets
Cut out the pockets on the back of the jeans, leaving a ½ inch gap on the top of the pocket.
4. Fold and glue the gap
Fold back the ½ inch gap, iron it, and glue it down.
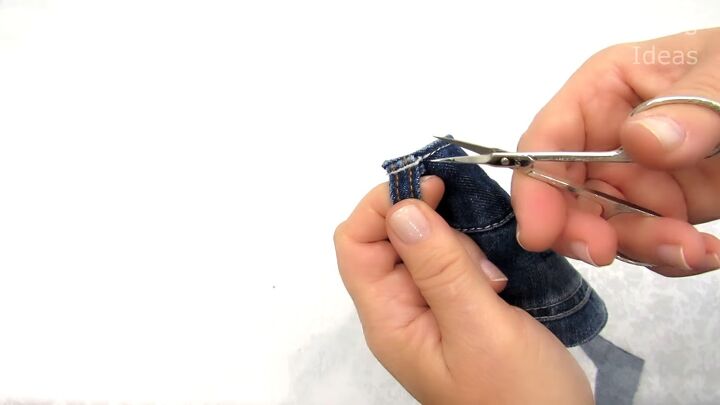
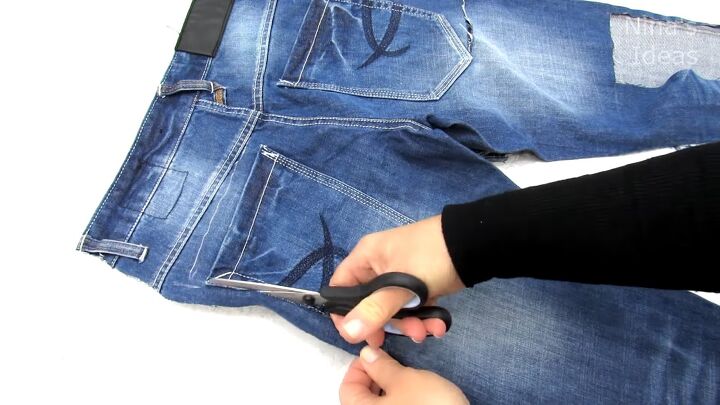
5. Remove the belt loops
Remove two belt loops from the jeans with scissors.
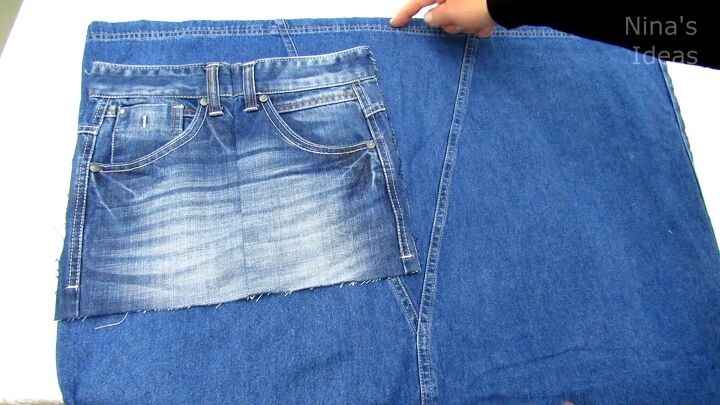
6. Cut out two pieces of denim fabric
Using any extra denim fabric, trace around the jeans fabric you already have and cut it out, leaving some extra space at the top.
You’ll need two. I’m using a skirt, but you can also use pants or a jacket. These are going to form the main body of the bag.

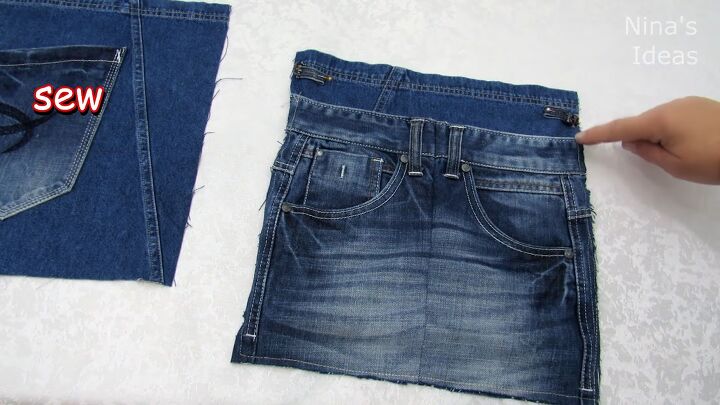
7. Sew the pocket and jean panel
Pin and sew down the pocket and jean panel to both pieces of denim. The jean panel will be a pocket, so don’t sew the top.
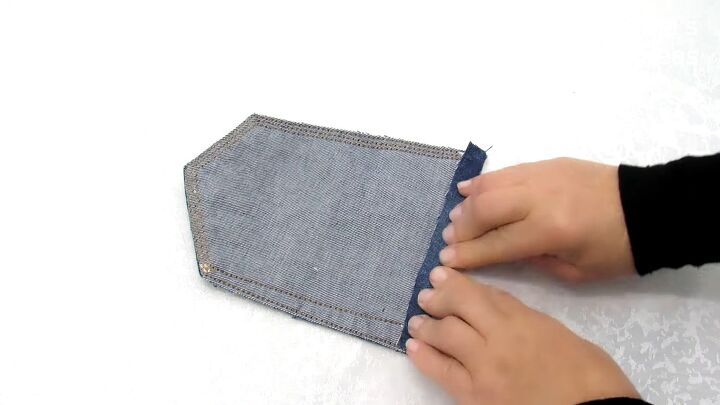
8. Sew the belt loops
Pin the belt loops to the side and sew them down on one end.
9. Sew the bag together
Place the two bag panels right sides facing and sew on all sides except the top using a zigzag stitch.
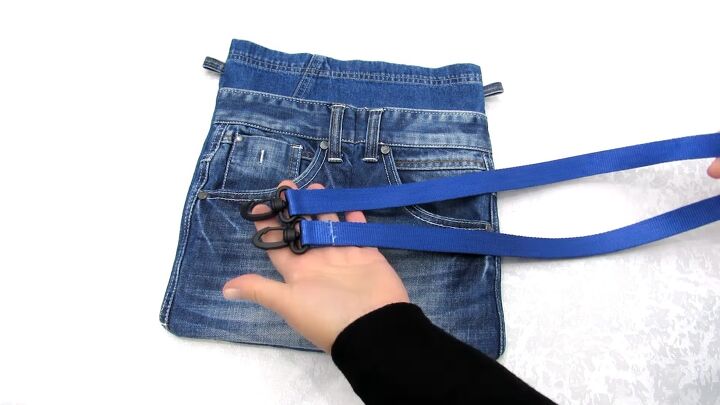
10. Attach the straps
Use a strap with a hooking mechanism to attach to the belt loops.
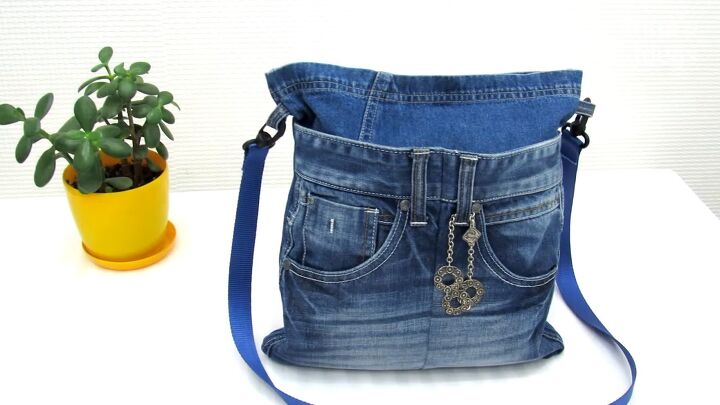
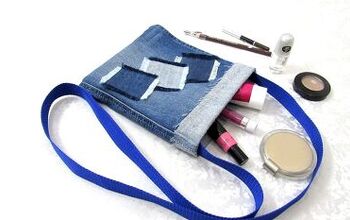
DIY denim bag
Here’s the finished denim crossbody bag!
Which bag is your favorite? Let me know what you think of this denim purse DIY tutorial down below!
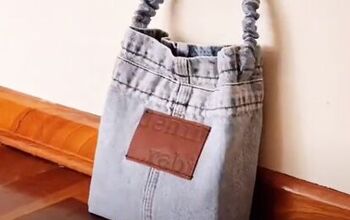
For more DIY denim bags, check out my post on How to Make a Purse Out of Jeans in 4 Super Cute and Easy Ways.
The author may collect a small share of sales from the links on this page.


Comments
Join the conversation