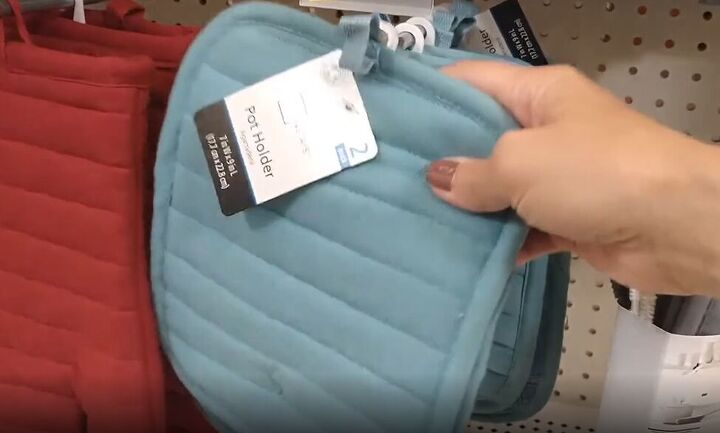
How to Make 3 Fun and Easy Potholder DIYs

Go get some inexpensive potholders and then follow this tutorial to learn three great ways to use them. I’ll show you how to turn a potholder into a DIY glasses case, a potholder purse, and a clutch bag. Ready to get crafty with potholder DIYs? Let’s get started!
This post was transcribed by a member of the Upstyle editorial team from the original UpstyleTV episode.
Tools and materials:
- Inexpensive potholders
- Hot glue
- 1 button
- Decorative trim
- Thread and sewing machine (optional)
Make a DIY potholder purse
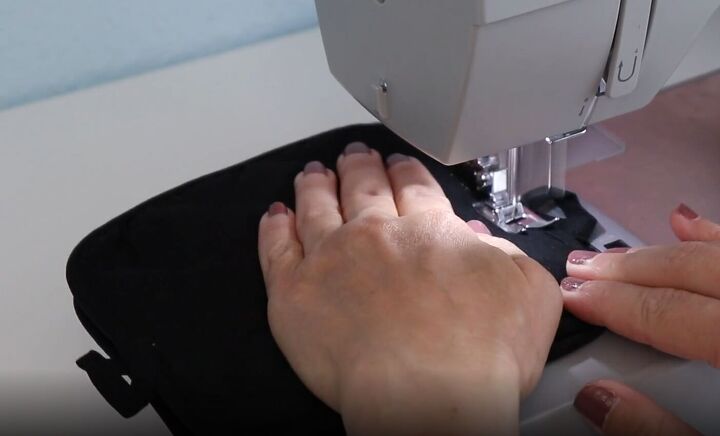
1. Start with two matching square potholders with loops for hanging them
Place the potholders on top of each other, with one loop protruding on each side. Then sew the two potholders together along the bottom and both sides but leave the top open.
Note that there is no right and wrong side for potholders, so just place them together so the loops are on opposite sides. If you don’t want to sew, then you could use hot glue to attach the two potholders.
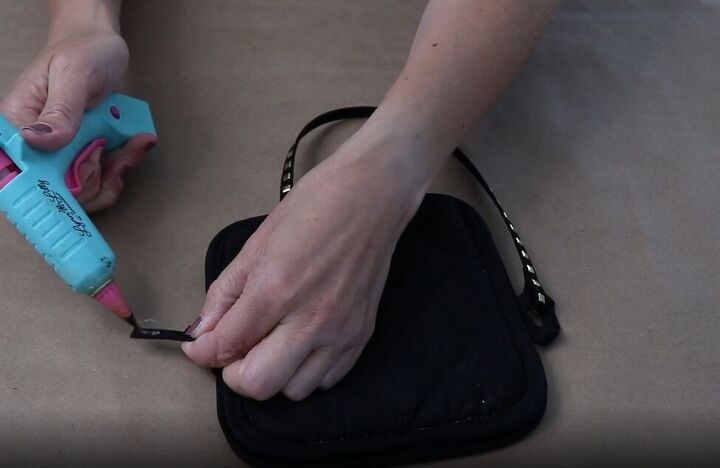
2. Add a handle
Choose some fun trim for your handle. I picked some black trim with gold square rivets.
Cut your trim to the length you want for your purse handle. Then loop each end of the trim through one of the potholder loops and hot glue the trim end to hold it in place.
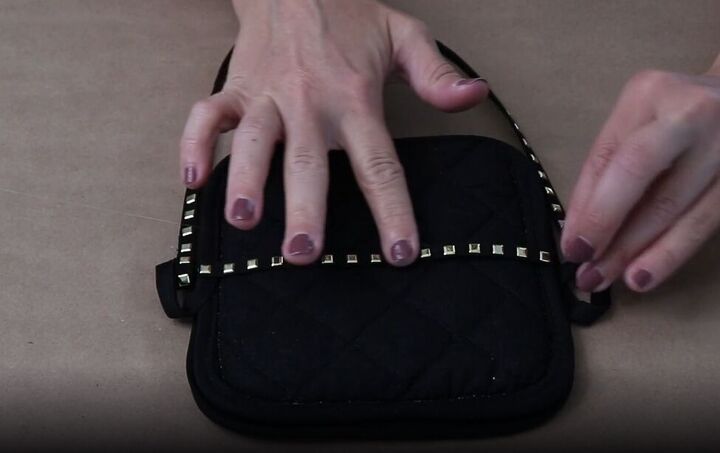
3. Add embellishment
Glue more of the same trim to the front of your purse for extra embellishment.
Alternatively, you could choose a different trim, some chain, or other decorative features you want.
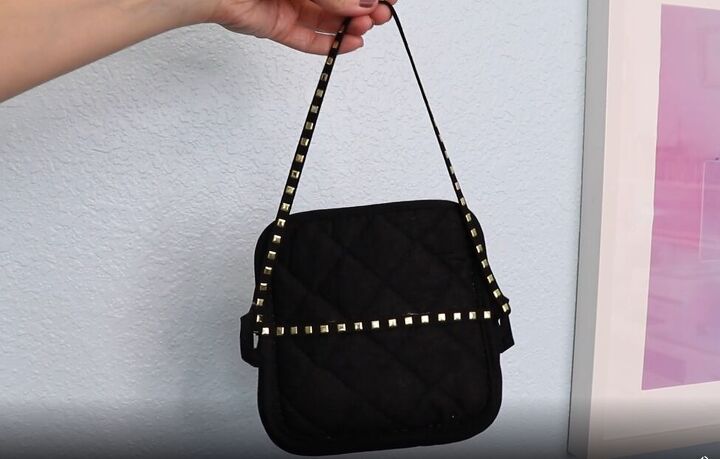
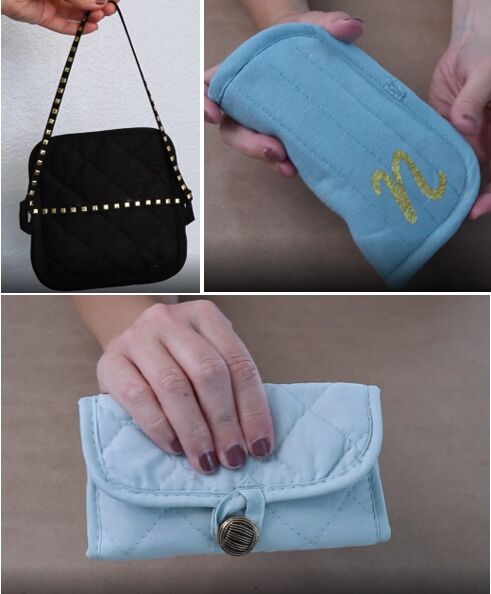
Here’s my finished bag, ready to carry my essentials. The open top makes it easy to get everything in and out!
Make a potholder eyeglass case
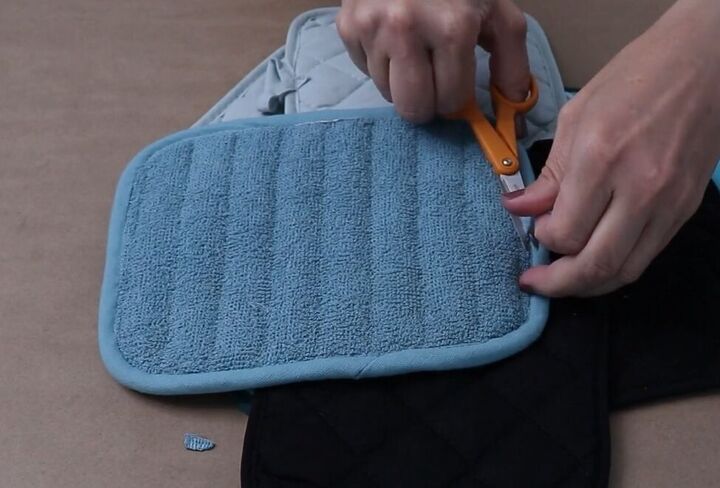
1. Use one square potholder and this time cut off the loop
The potholder I chose for this has a different texture on each side. I want the soft side (shown in the image above) to be the inside of my eyeglass case and the smooth side to be the outside.
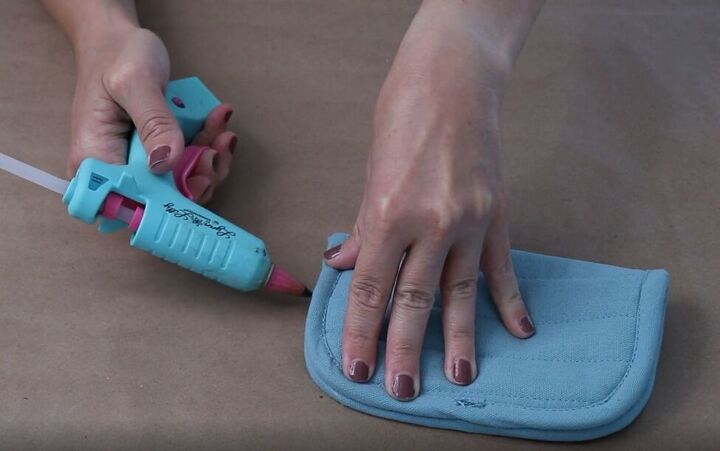
2. Fold and glue
The potholder I chose is fairly thick, so I chose to use hot glue rather than my sewing machine. You can determine what will work best on your potholder.
Fold the potholder in half and hot glue or sew along the long edge and one short edge, leaving the other short edge open.
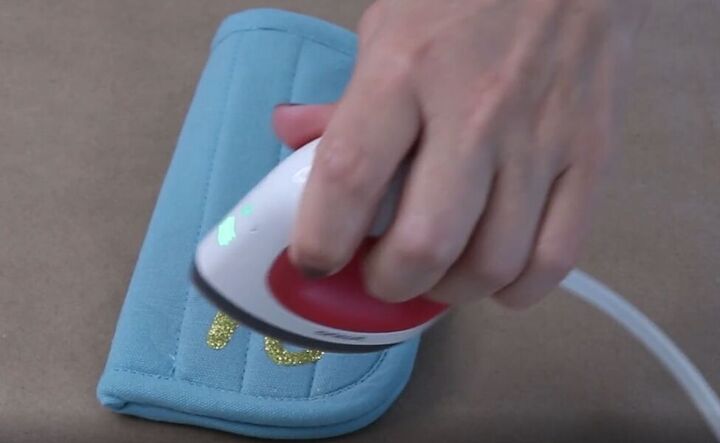
3. Embellish however you want
This eyeglass case is really a blank slate, and you can embellish it however you want. I chose an iron-on sparkly gold initial that I picked up at the craft store.
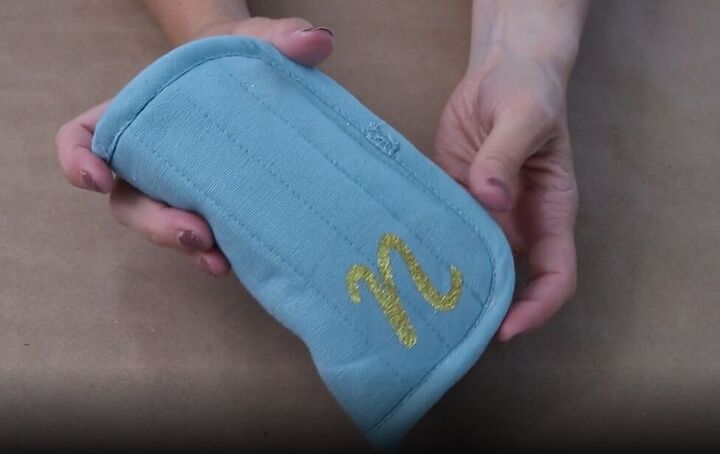
This eyeglass case is thickly padded and soft inside, so it will keep my glasses safe!
Make a DIY clutch bag
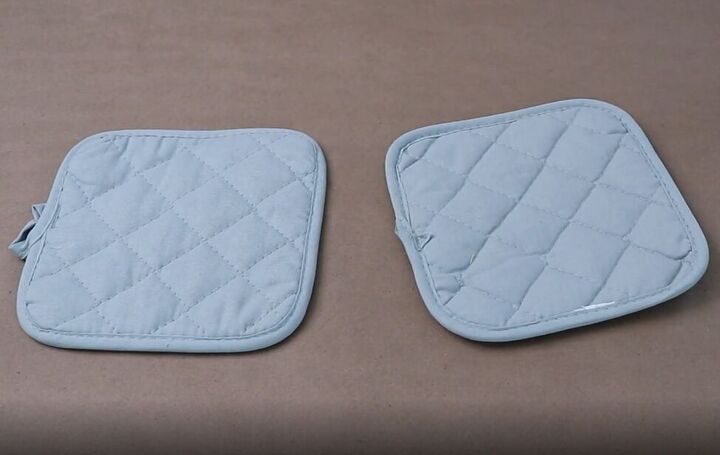
1. Use two matching square potholders
Cut the loop off of one potholder and leave it on the other one.
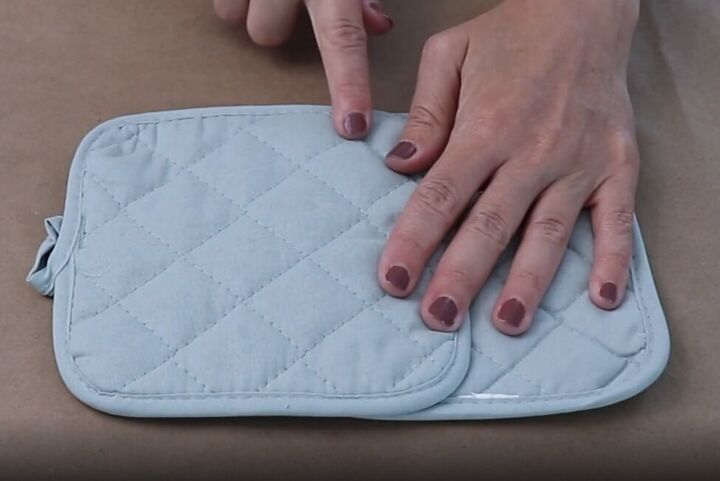
Lay the potholder with the loop halfway on top of the other potholder, and sew the overlapping side edges.
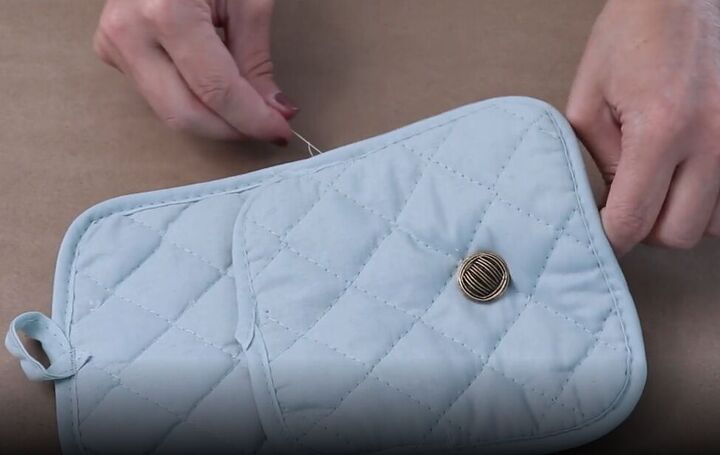
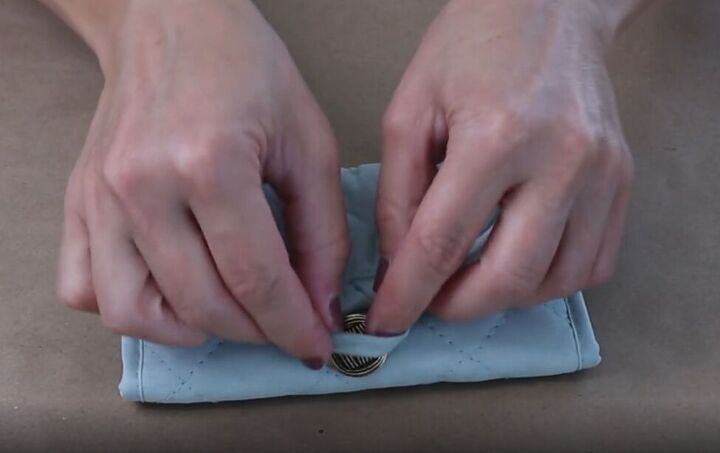
2. Add a button
Place your bag so the open edge is facing up – that’s the front of your bag.
Sew a button to the front of your bag, about one-third the way up from the bottom.
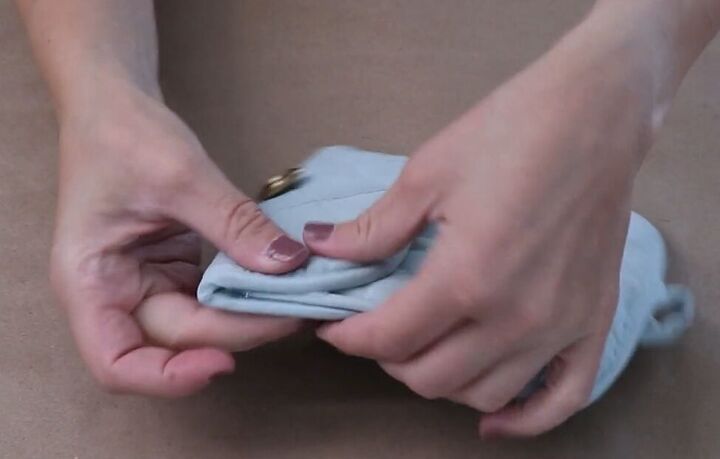
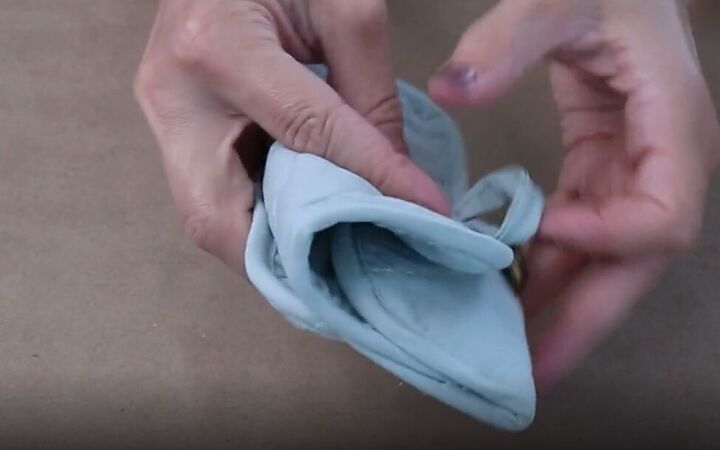
3. Fold, glue and close
Flip your bag over and fold the bottom third up. Glue the sides of the folded part in place.
Now fold down the top and use the loop and the button to close your clutch bag.

This is the finished clutch, but wait for the magic!
You have one closed section on the front of your clutch and an open pouch on the back!
Now are you ready to go pick up an inexpensive potholder 2-pack and make your own DIY potholder crafts?
Potholder DIY
These were so simple but turned into such useful items. Leave a comment to let me know which one(s) you tried, or if you have more ideas for potholder DIYs.
The author may collect a small share of sales from the links on this page.


Comments
Join the conversation
NICE. I have sewn in a few small zip lock bags.....sewed them down the middle and put a button on to hook the pot holder closed. It keeps in tweezers, pen and paper, eye class cleaner wipes, band aides, and misc. items in my purse. I always know were they are with out finding them at the bottom of my purse.