How to Make a Fanny Pack From Scratch in 7 Simple Steps (Free Pattern)

Learn how to make a fanny pack with this free pattern and tutorial. I’ll also show you how to make a lining so that your DIY fanny pack has a finished look. Ready to start your fanny pack? Then let’s begin!
Tools and materials:
- Free fanny pack sewing pattern
- Exterior and lining fabric
- Iron-on interfacing
- 30-centimeter (11.8-inch) zipper
- 4-centimeter (1.6-inch) clip buckle
- 4 x 25-centimeter (1.6 x 9.8-inch) strap
- Sewing pins and thread
- Scissors
- Sewing machine
- Iron
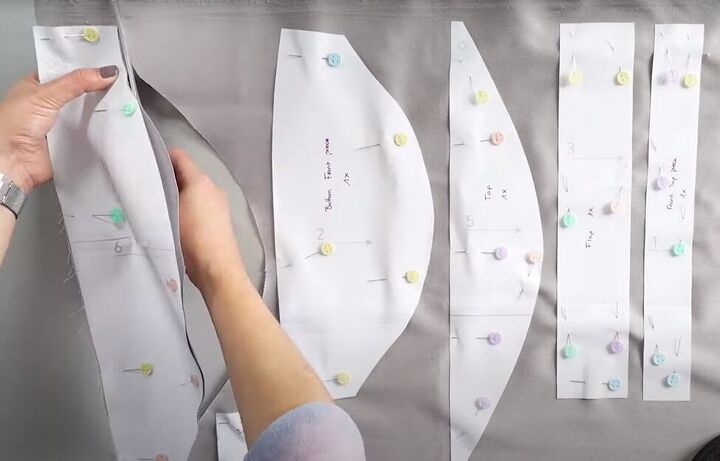
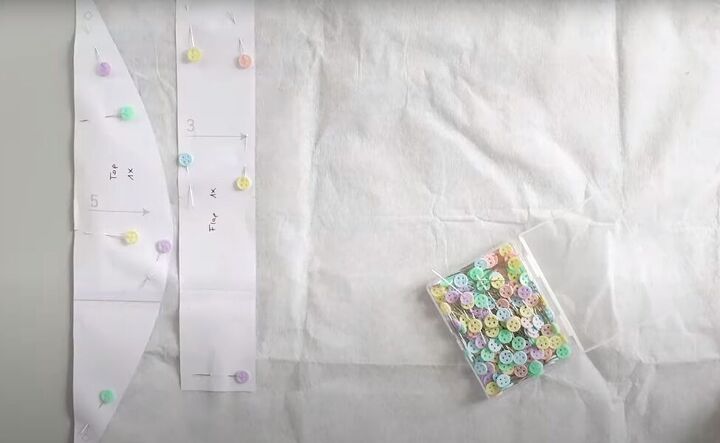
1. Cut pattern pieces
First, download and print the free fanny pack sewing pattern for this DIY fanny pack (you may need to register to get the pattern). Cut all of the pieces from both your main fabric and your lining fabric.
Also cut pieces number 3 and 5 from your interfacing fabric.
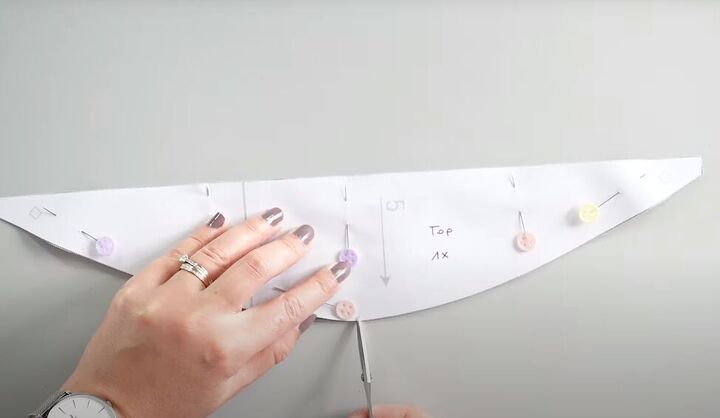
Snip notches on the fabric, lining, and interfacing pieces.
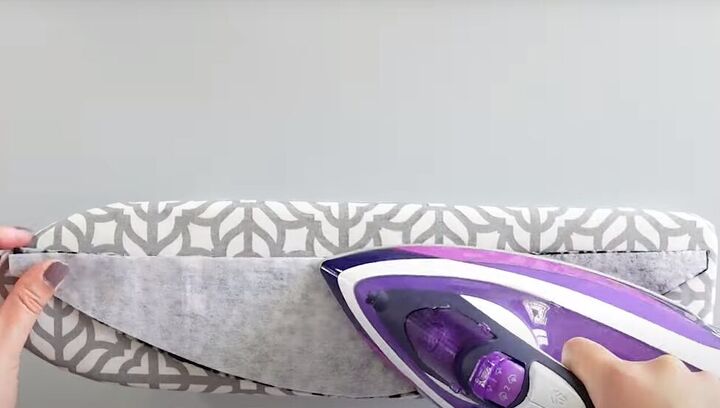
2. Attach interfacing
Iron the interfacing to the back of their corresponding fabric pieces.
3. Sew the pattern
For pattern pieces number 1 and 2, attach the lining pieces to their corresponding fabric pieces.
Overlock the lower long edge on piece number 1, and the long straight edge on piece number 2.
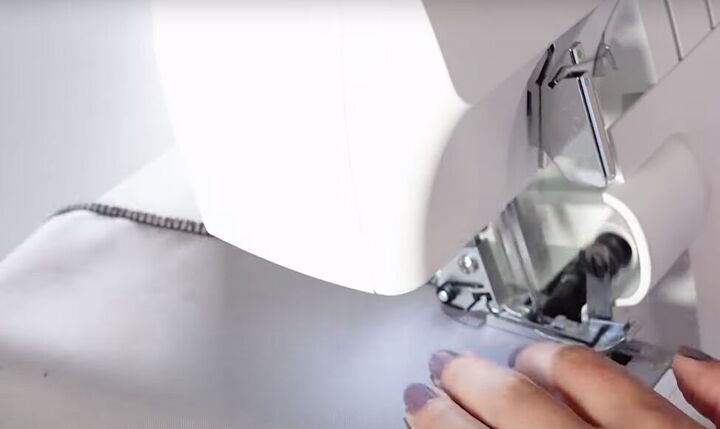
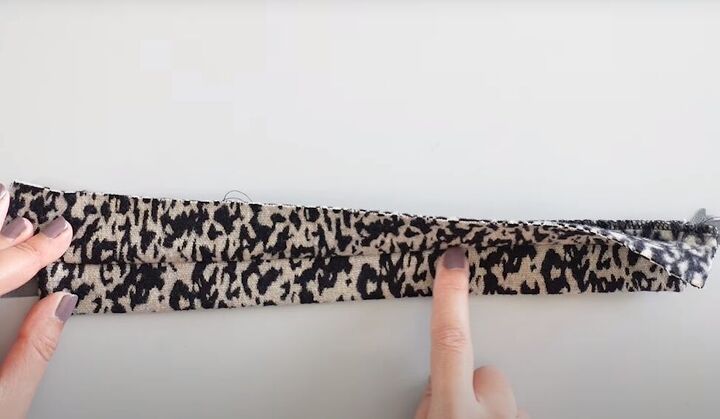
Fold piece number 3, with the interfacing, in half lengthwise with the right side facing in.
Sew the two short ends of the piece.

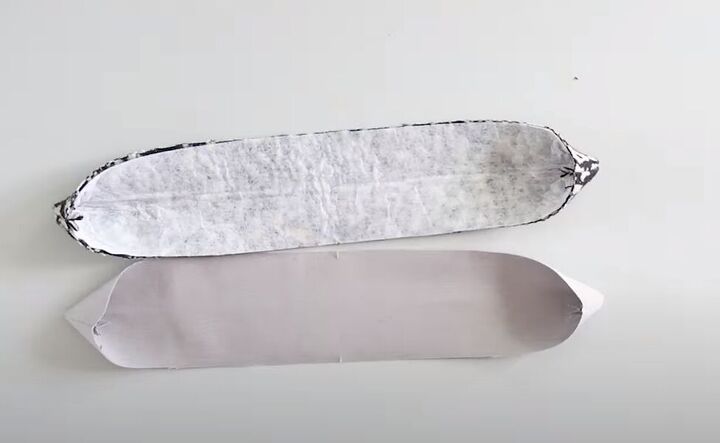
Fold and sew the corresponding lining piece number 3 the same way.
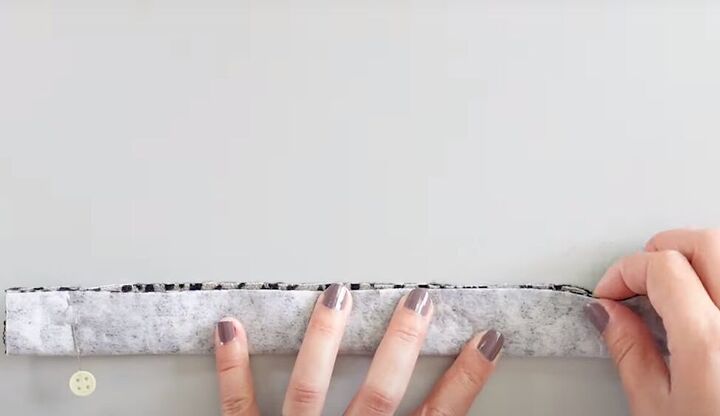
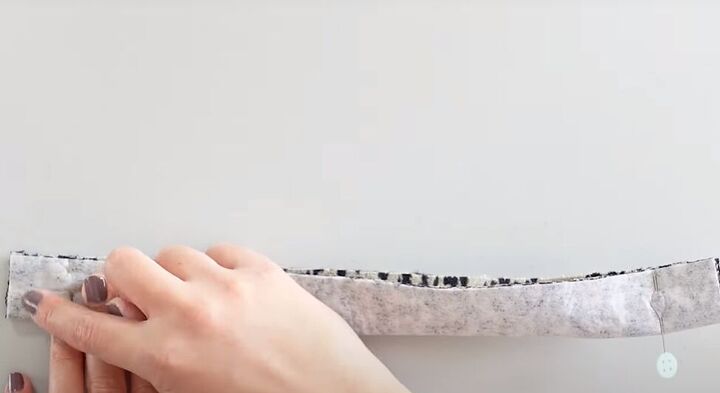
Snip off the corners and turn both pieces right side out.
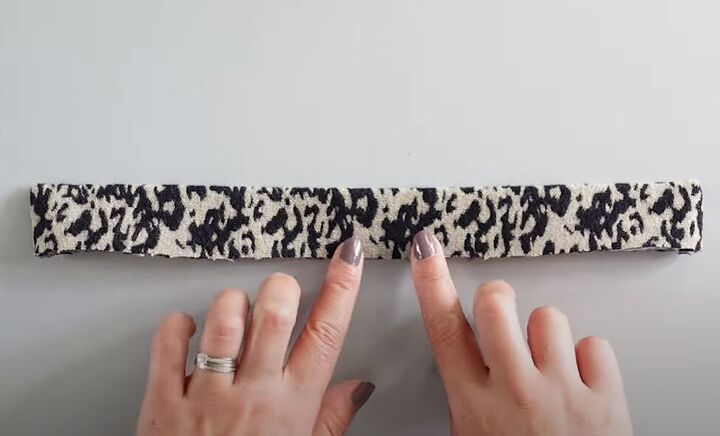
Iron both pieces flat and then overlock them along the raw open edge.
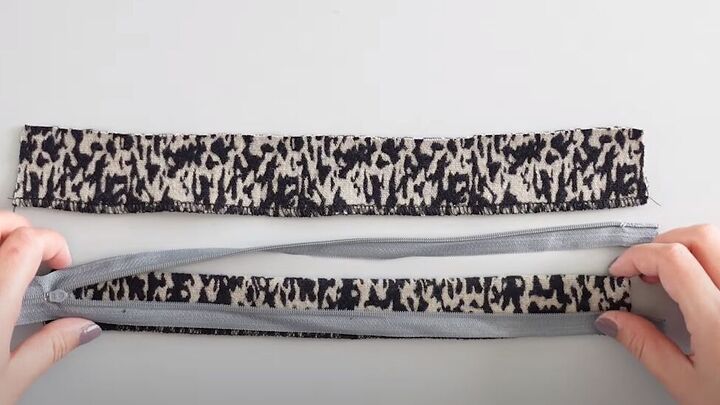
4. Install the zipper
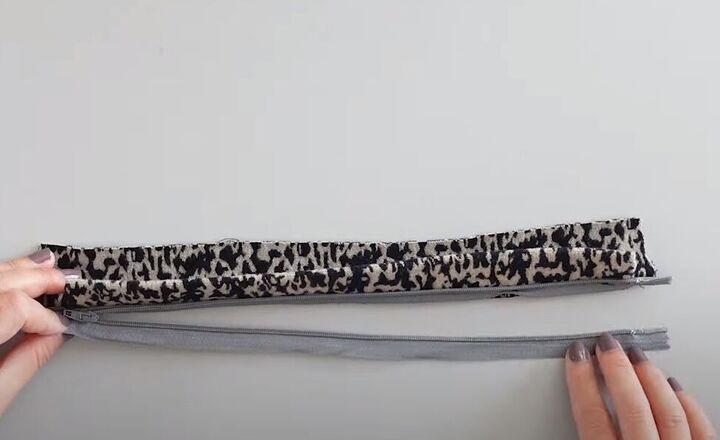
Take the flap, zipper, and front top piece (pattern piece number 1). Place the zipper upside down on the lower edge of the flap piece.
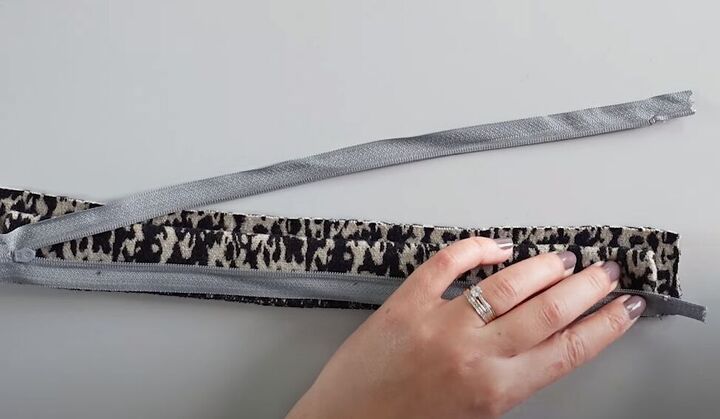
Carefully place the flap and zipper on top of the front top piece aligning the overlocked edges. You will have 1 inch of seam allowance on the front piece, beyond each end of the flap.
Pin and sew all the layers together along the zipper edge.
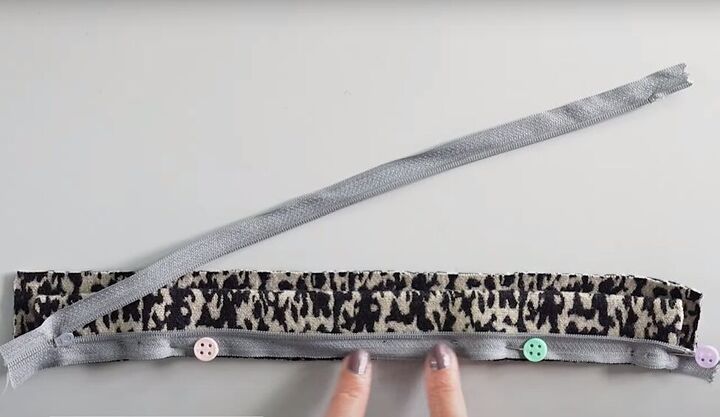
Lay the pieces flat with the flap and zip down and the seam allowance of the front top piece folded up.
Topstitch 2 millimeters (0.08 inches) from the seam through the layers of the top front piece and the seam allowance underneath it.
Here is what it should look like now.
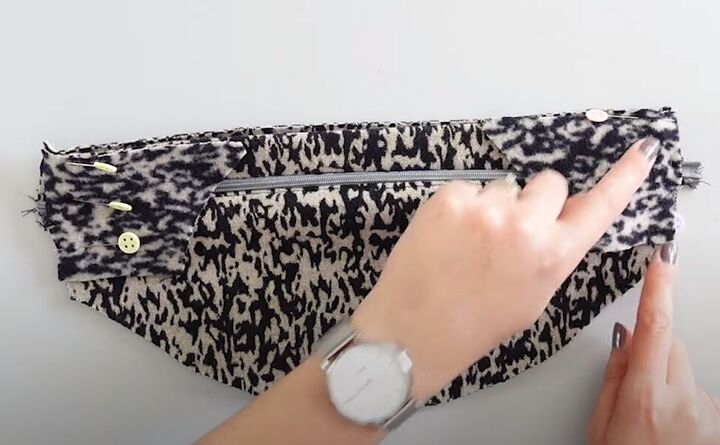
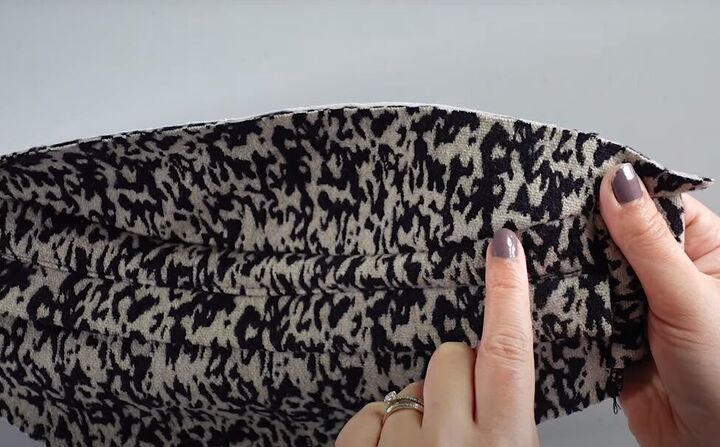
With right sides facing and aligning the notches, pin the other side of the zipper to the bottom front and sew it in place.
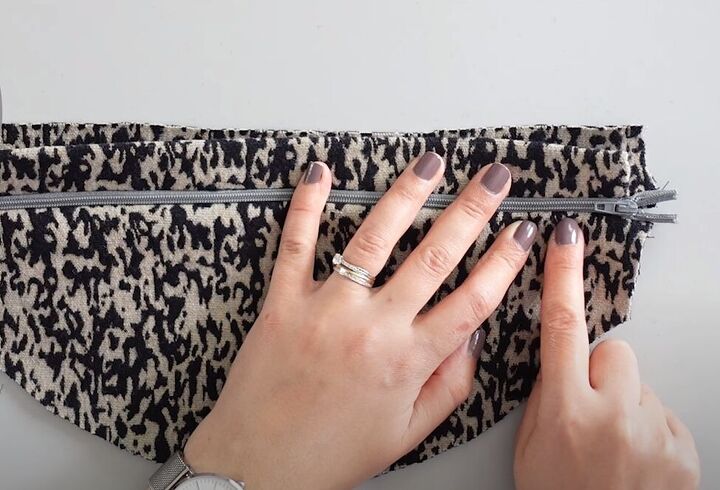
Flatten the top piece and topstitch through all layers 2 millimeters (0.08 inches) from each side of the zipper. You will be sewing through the top front piece, the zipper, and the seam allowance.
5. Assemble the DIY fanny pack
With the right sides facing, pin the number 4 pieces on top of the outer corners on the front of the fanny pack.
Sew, then overlock the sides and trim any excess fabric.
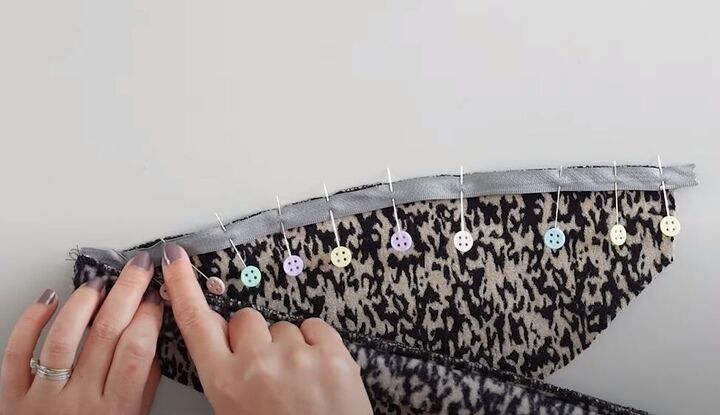
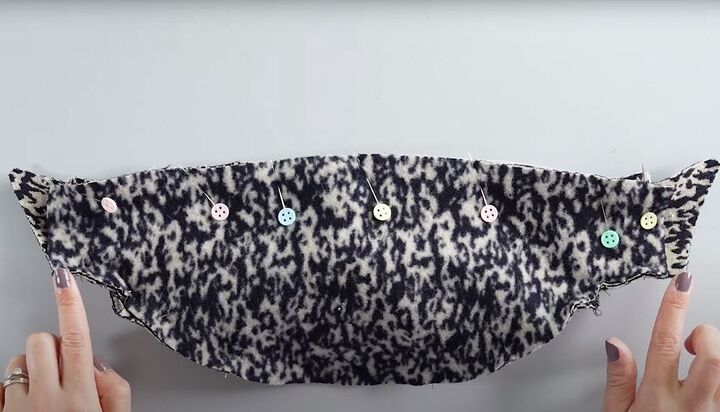
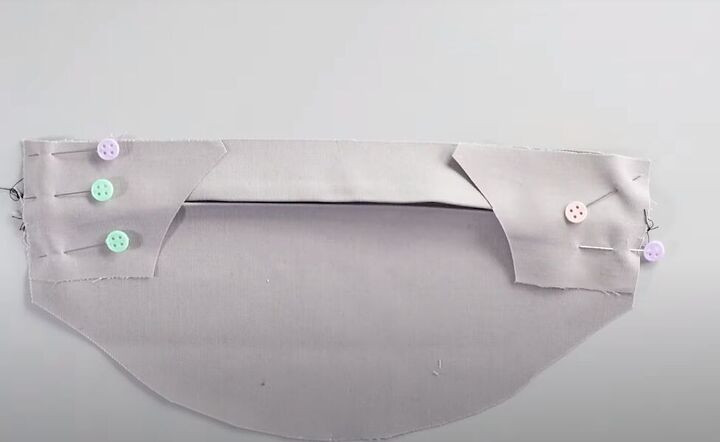
Place pattern piece number 5 on top of the corresponding fabric piece and place a pin on the fabric at the points indicated on the pattern. If you prefer, you can put a basting stitch, rather than a pin, at those points.
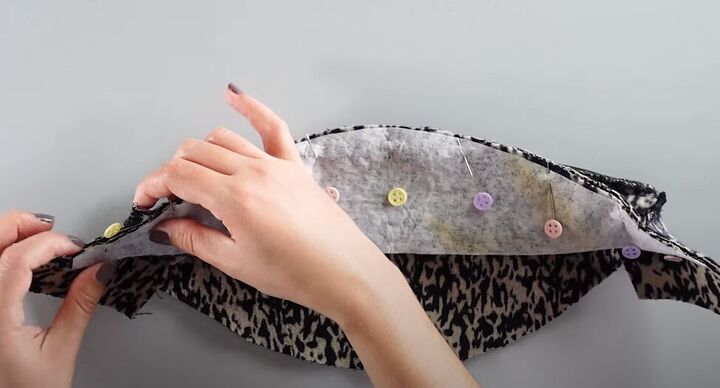
Pin the curved edge of piece number 5 to the top of the front piece, between the two marked points.
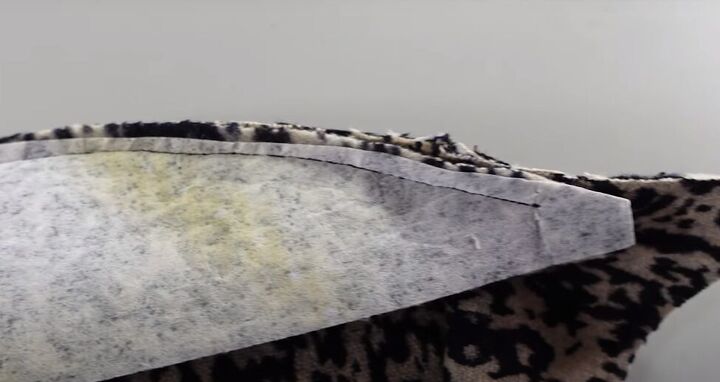
Sew, then overlock that edge between the end pins.
Fold the seam allowance upwards and topstitch through all the layers.
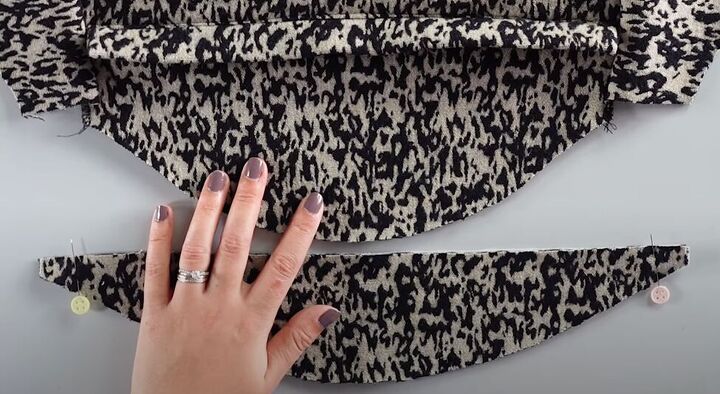
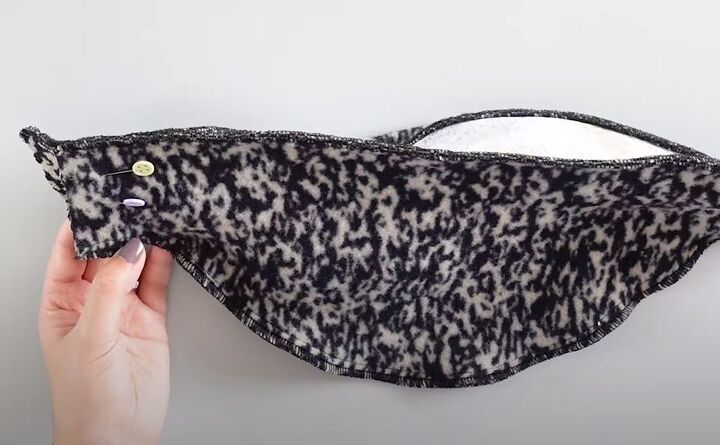
With right sides facing, place the straight edge of piece number 6 on top of the straight edge of the top piece, matching up the notches.
Open the zipper a little, and then pin the curved edges of both pieces together.
Sew and then overlock the top and bottom edges.
6. Add the strap
Pin the strap to the inside of the bag with the ends aligning with the raw edge of the fanny pack. Then sew the strap ends in place through all layers of fabric and trim off excess fabric from the seam allowance.
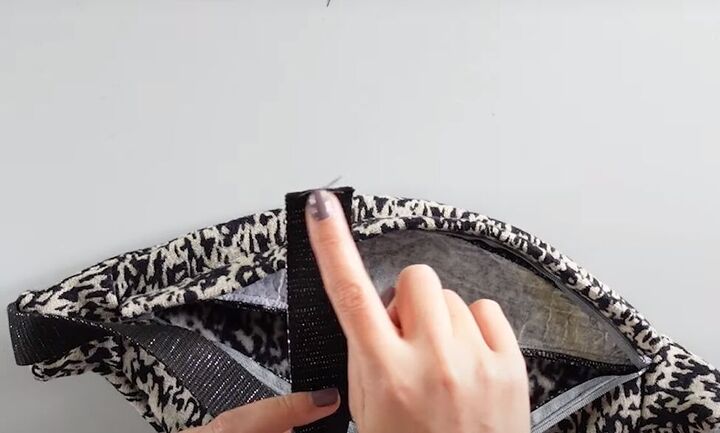
Turn the fanny pack right side out and then overlock the raw strap edges.
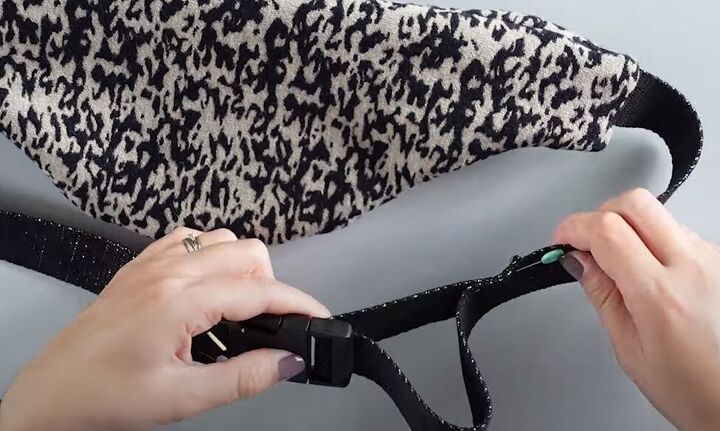
Check the length you want for the straps. Slide the strap buckle over one end of the strap and pin and sew it in place on the strap using a Box X stitch formation.
Pull the strap through the buckle and attach the end to the strap on the other side, again using a Box X stitch.
7. Line the DIY fanny pack (optional)
The pattern does not include a lining, but I wanted to add one anyway. Sew the lining in the same way as the main fabric and attach it following the video from 10:05 to 13:00.

How to make a fanny pack
Now you can strap on your fanny pack and head out with your hands free! Leave a comment to let me know how you liked this DIY fanny pack tutorial. Thanks for joining!
The author may collect a small share of sales from the links on this page.


Comments
Join the conversation
Your fanny pack is really cute!!! I love your pins also!!! I have never seen any like that!!!
Hi Carol! Thank you very much for your lovely comment! I got these pins on Amazon, you can also find them with flowers and heart shapes 😍