Learn How to Sew an Adorable Mini Pouch for Face Masks

After wearing my face mask, I didn't just want to put it down anywhere when I got home. I also wanted to have a place to keep spare face masks when I was out of the house. I decided to DIY an absolutely adorable mini pouch, perfect for holding face masks while they’re not in use. I chose my fabric, made sure to add a key ring for fun and functionality and I was so pleased with the results. If you want to make one of your own mini pouches, follow my step-by-step tutorial, and get started!
Tools and Materials:
- Pattern
- Fabric
- Keyring
- Keyring strap
- Sewing machine
- Needle and thread
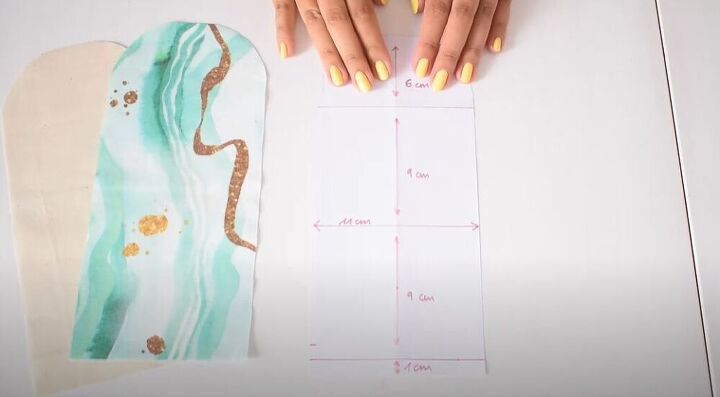
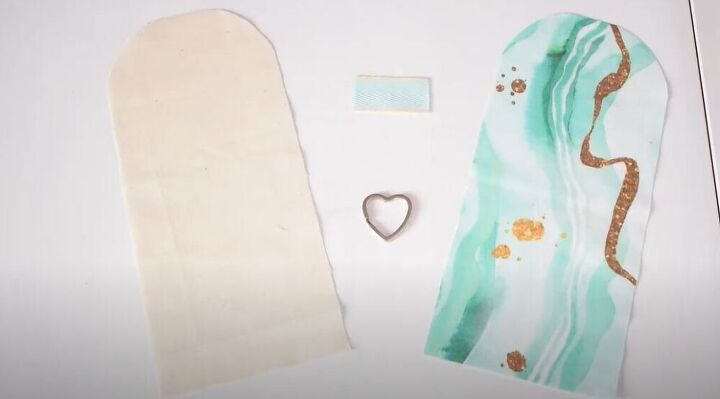
Cut my fabric pieces
To cut my two pieces of fabric which were 25 cm by 11 cm I made sure to draw a small pattern for myself. In the end, the actual pouch would only be 9 cm by 9 cm which is the perfect size to hold a face mask!

Sew the fabric together
To get started on this gorgeous pouch I placed my two pieces of fabric, right sides together. Make sure you choose a fabric that you love since the pouch is going to be for you!
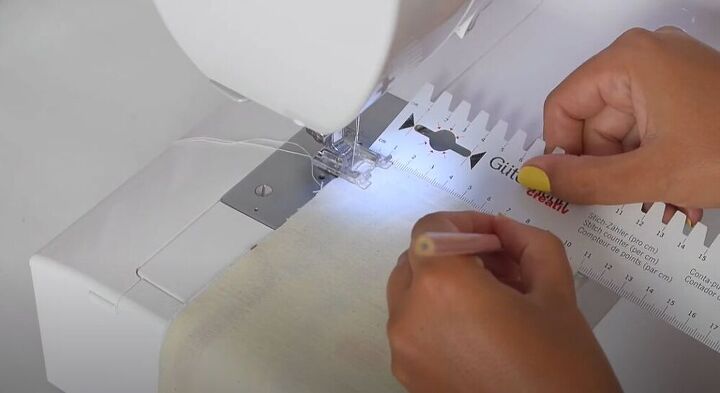
I then measured 1 cm from the bottom of my pieces and marked them. I sewed along my marked line, connecting the two pieces of fabric.
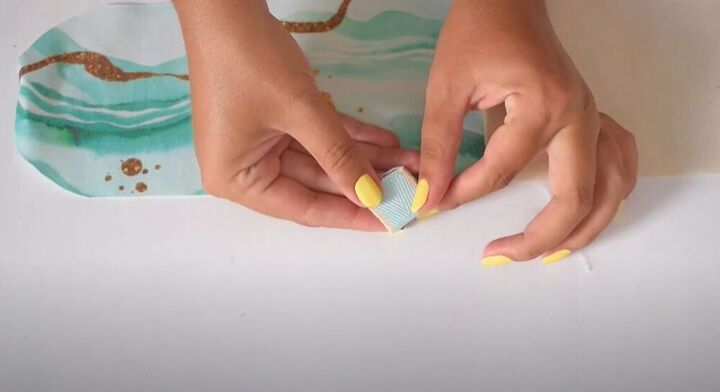
Attach a keyring strap
I clipped on the cute blue and pink keyring strap onto the side of the pouch. This is such a fun element because it means you can attach the pouch to a bag.
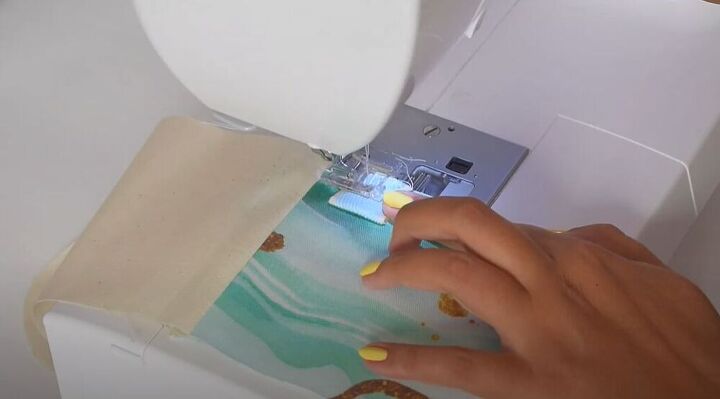
Once it was in place, I sewed it on.
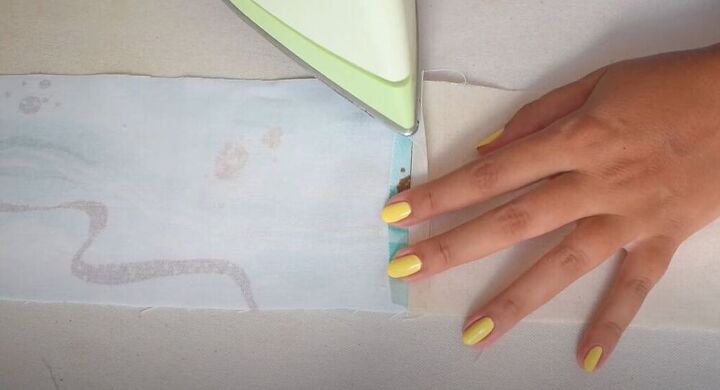
Press down the fabric
I then turned out the folding at the edges of my two pieces and pressed them flat. This really helped get the fabric to sit the way it needed to. I then folded the fabric so that it was right sides out and pressed along the edge again.
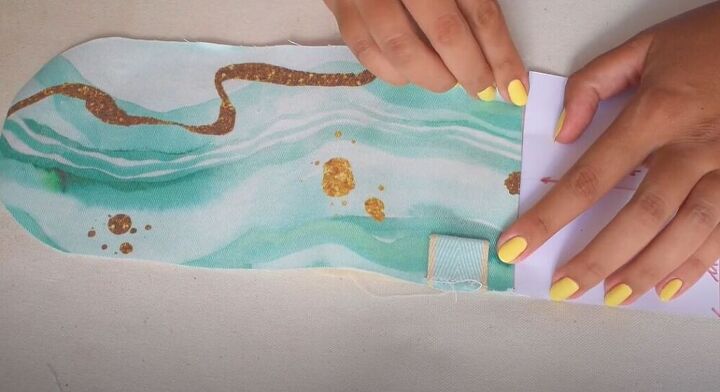
Fold the fabric
In this next step, I used my pattern paper and folded it so that The curved 6 cm long edge was showing. I placed it on the curve of my fabric and then pulled the other piece of fabric up to meet the paper. I then folded the second curve over so that it matched perfectly with the other piece.

With all the folds in place, I clipped the fabric so that it would be held in position.
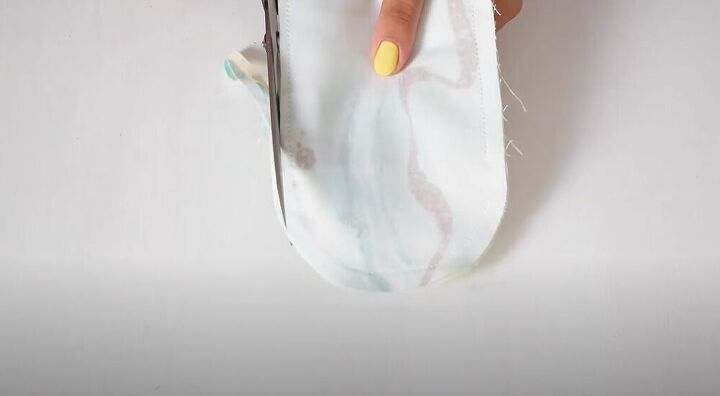
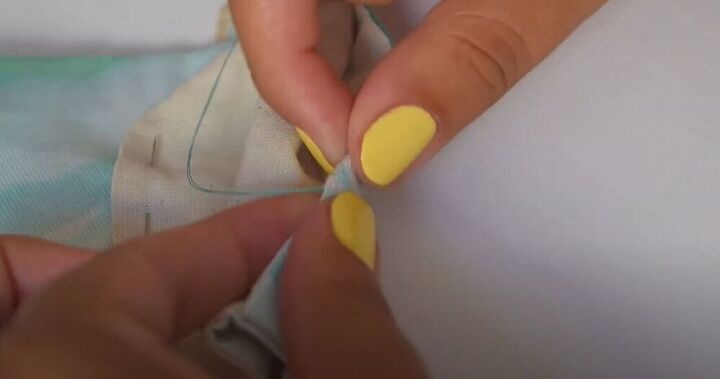
Cut off the raw edges
I sewed around the sides and curve of the fabric and then cut off the fraying fabric, as close to the stitch as possible.
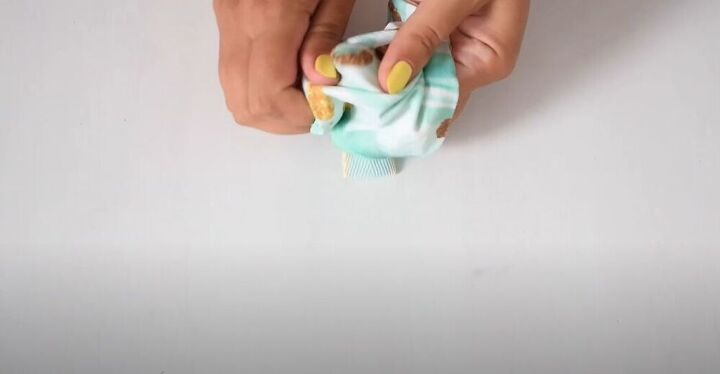
Turn right side out
Step: Turn the pouch right side out
Finally, I could turn my little pouch right side out.

So far my pouch was looking amazing! I just had to add a few finishing touches and it would be ready to go.
I sewed the inner edge of the pouch together so that the fabrics would be connected.

Then it was time to add the button. I hand-sewed the button onto the flap of the pouch.
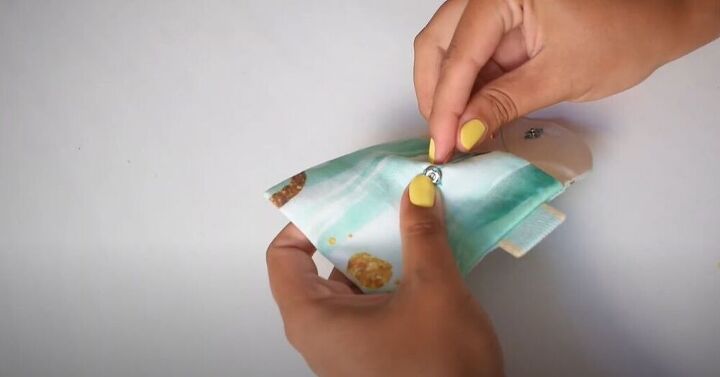
I then closed the pouch to measure where I would need to place the other side of the button. Once I had the exact place, I sewed it in.
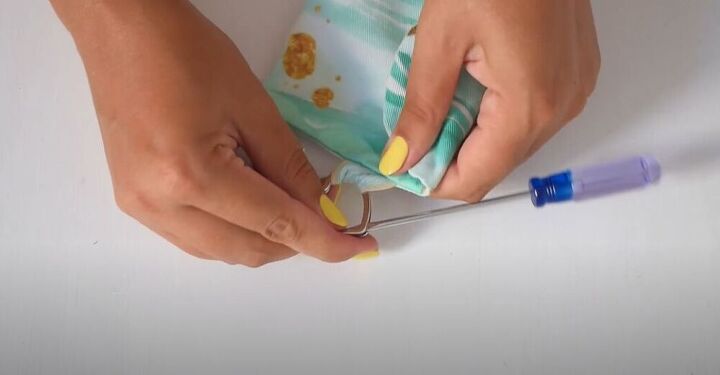
Add a keyring
For the final step, I added on my cute little heart key ring that really added to the aesthetic of the pouch.
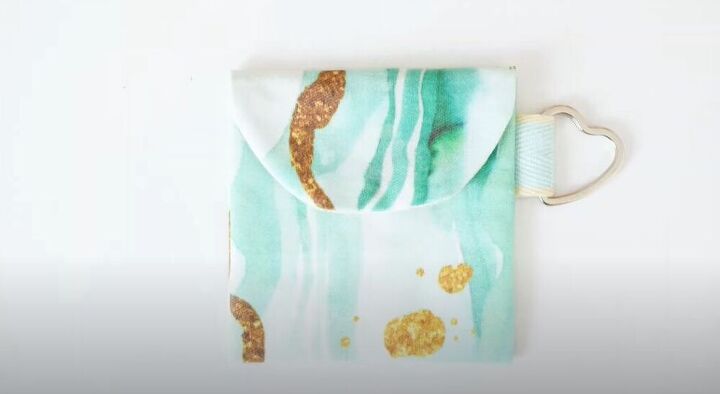
I am so obsessed with this face mask pouch! What else would you use this piece for? Let me know in the comments below!
The author may collect a small share of sales from the links on this page.


Comments
Join the conversation
I agree with that snaps were used.
You would need a button hole if you'd used a button and there isn't one.
You could also use magnets that sewn into place.
I believe masks are to be aired out for a few days before reuse. One for your purse is practical, but not for storage.