How to Sew Hair Scrunchies - Quick & Easy Scrap Fabric Project

DIY hair scrunchies come in super handy, especially as adorable homemade gifts. In this tutorial, I’m going to show you how to sew hair scrunchies in a super-easy and fast way.
This is the perfect tutorial if you have scrap fabric lying around or want to really spruce up your style and make a scrunchie to complement your outfit by using the same fabric or color palette.
All-in-one video creator I use: Click for an editor, converter, screen recorder and more.
Tools and materials:
- Fabric
- Elastic
- Sewing machine
- Needle
- Thread
- Measuring tape
- Scissors
- Pins

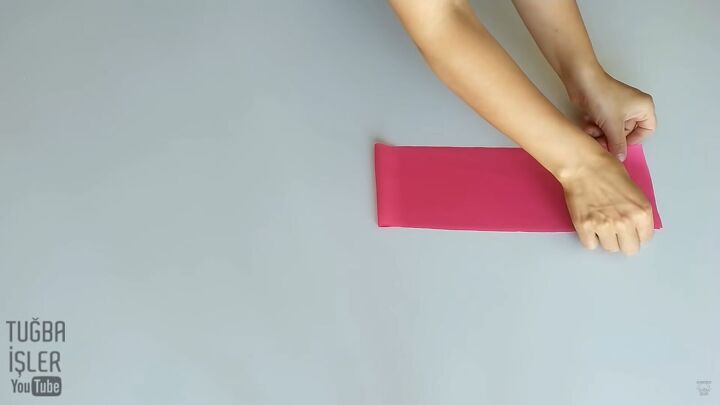
1. Cut the pattern
So, the scrunchie sewing pattern is pretty straightforward. All you need to do is cut a piece of fabric that measures 4.3 x 26 inches.
2. Fold the fabric
Fold the fabric lengthwise and stitch the ends together.
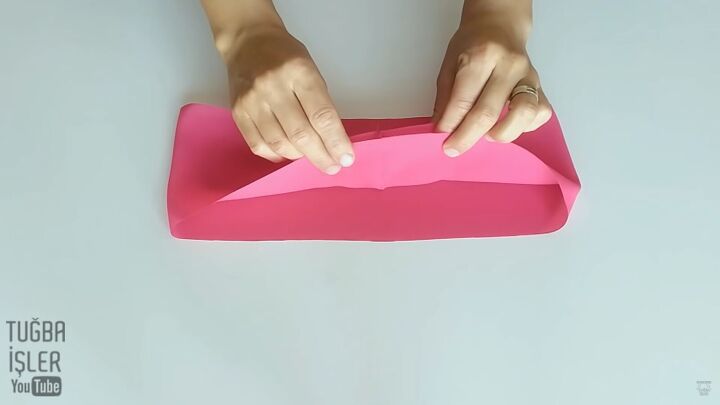
You should now have a circle to work with. At the seam line, fold the fabric together, as shown.

Then, pull the back layer from underneath over the folded top layer to meet the bottom of the layer underneath.

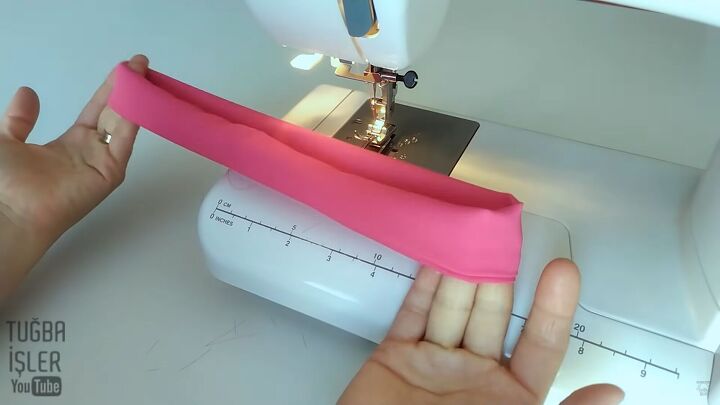
3. Sew the scrunchie
Pin the middle section, leaving the ends open. Then, sew to secure. You should be sewing through two layers.
This is where the technique gets interesting. As you sew through the two layers, pull the inner two layers and carry on sewing the outer layers once you reach the end.
This technique is pretty easy, and it allows you to sew the outer edges effortlessly. Be sure to leave a gap so you can turn the piece inside out.
Tip: Watch my video from 1:02 minutes to see this technique in action.
Here’s your fabric piece! Sewing a scrunchie is super simple with this trick!
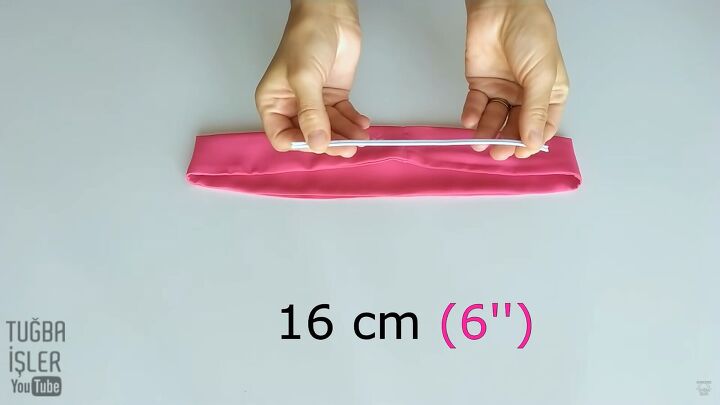
4. Add the elastic
Now, cut an elastic that’s 6 inches long.
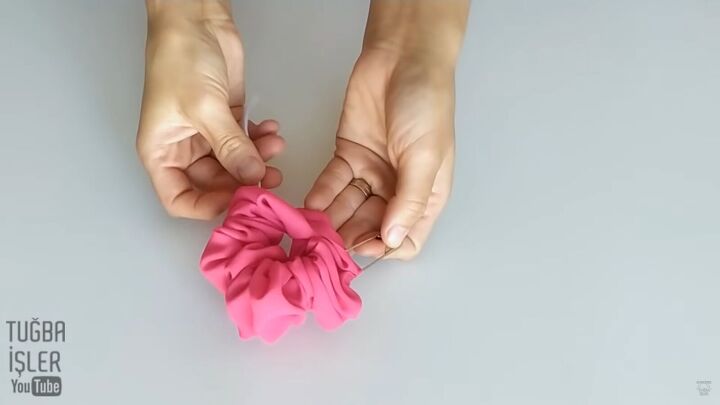
Pin a safety pin to one end of the elastic and insert it through the gap. Push the safety pin through the whole circle piece.
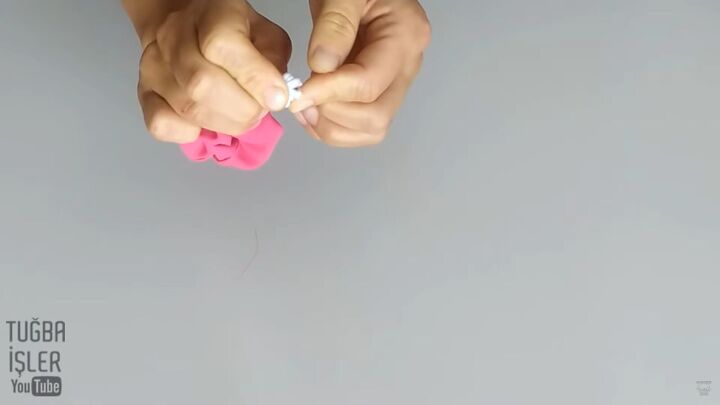
Remove the safety pin and tie a knot. Make sure the knot is super tight by pulling and tugging at the elastic.
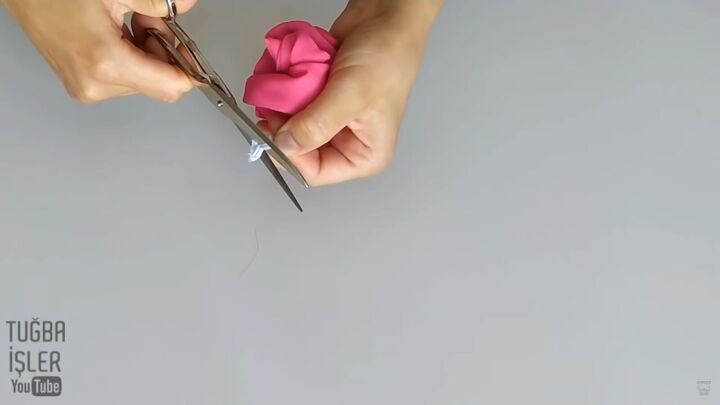
Cut the excess elastic at the tip.
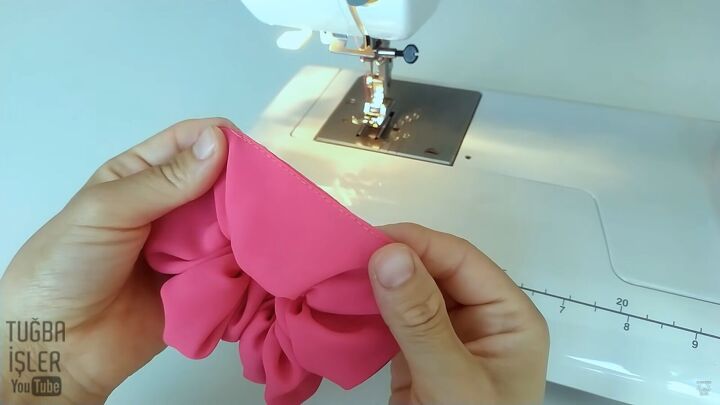
5. Close the gap
One more step before you complete your DIY scrunchie. Head back to your sewing machine and stitch the gap closed.

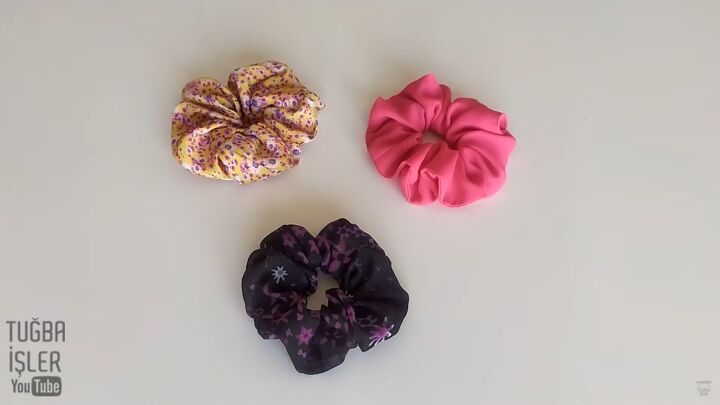
How to sew hair scrunchies
Your DIY scrunchie is complete! It’s so easy to make. It’s seriously a great accessory to have and it’s also the perfect solution to put those fabric scraps to good use. Enjoy!
To see more of my DIY sewing tutorials, follow me on TikTok @tugbaisler.
The author may collect a small share of sales from the links on this page.


Comments
Join the conversation
Sorry, but lost me in the instructions. I would need a video I guess.
Lost me too