How to Make Your Own Bridesmaid Robes in 7 Simple Steps

Welcome to the first tutorial in my wedding series, in which I’m going to share with you everything I make for my upcoming wedding! Today, I'm going to show you how to make bridesmaid robes.
As a perfectionist, I want to prepare everything for my wedding. And as a sewing lover, I always want to make things for people I love. That's why I made this bath robe/kimono for my bridesmaids.
This robe is a part of my bridesmaid proposal set that I will send to my girls who will be a very important part of my big day.
Tools and materials:
- 2.2 yards of silk fabric (per robe)
- Pattern paper
- Pencil
- Sewing machine
- Thread
- Pins
- Scissors
- Ruler
- Long stick
- Iron

1. Make the pattern
The first step is to make the pattern for the bridesmaid robe. Watch the video from 1:00 to 4:20 to see all the measurements needed for the pattern. You can adjust using your own measurements (or the measurements of your bridesmaids!)
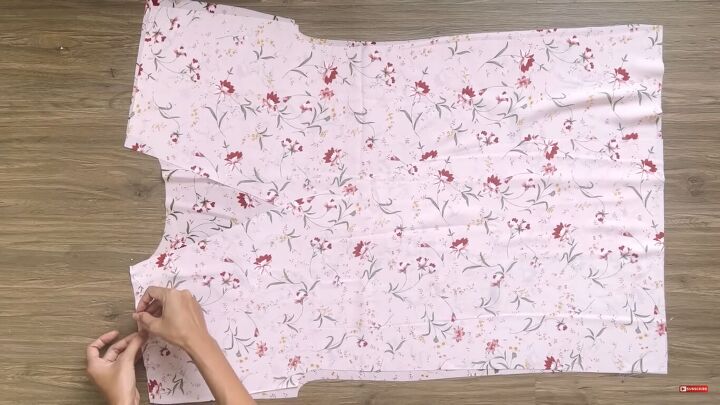
2. Sew the shoulder and side seams
Cut out one piece of the back pattern and two pieces for the front pattern (for opposite sides), then pin them together at the shoulder and side seams, right sides together. Then, sew the seams.
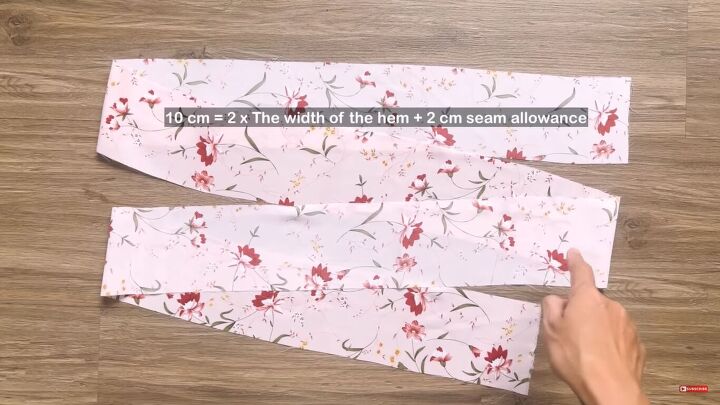
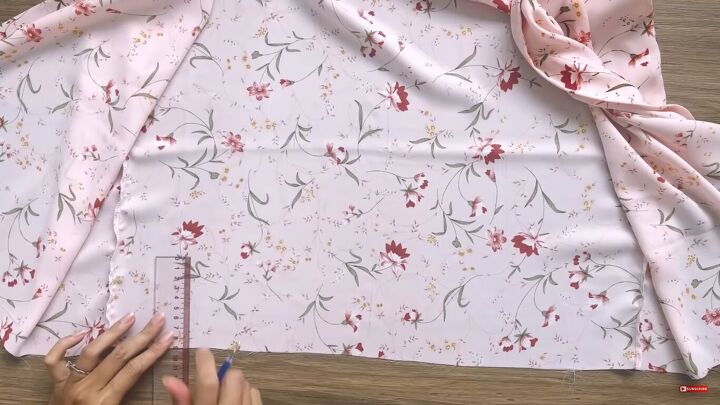
3. Finish the front edges
Measure the length of the robe. Then, cut a long rectangle to this length with a width of 10cm (4 inches), which is the width of the hem, plus a 2cm (⅘ inch) seam allowance.
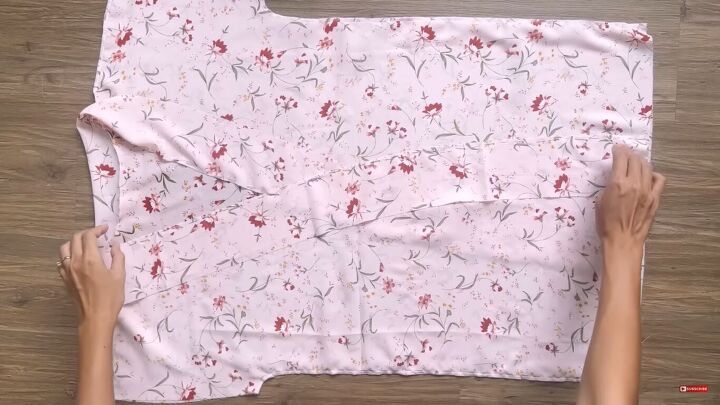
Pin this rectangle to the front of the robe and sew it down.
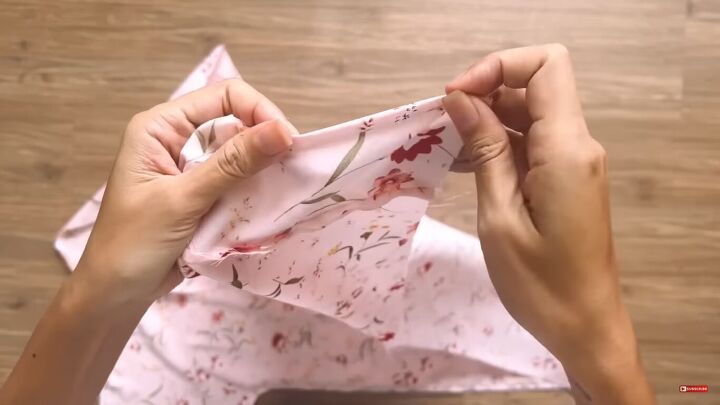
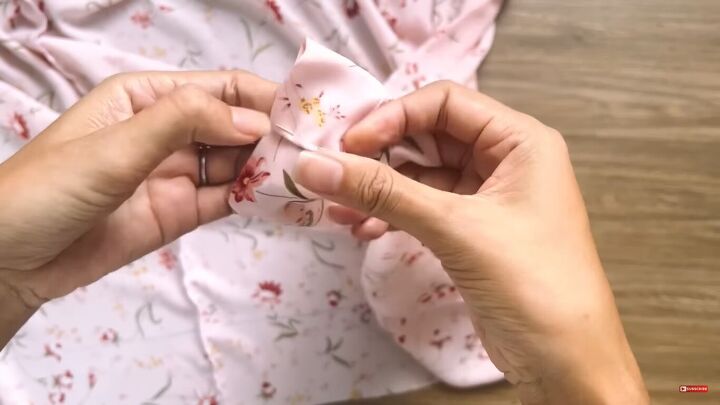
Once sewn, fold the edge in by 1cm (⅖ inch)...
…then fold it over the first seam to make the second seam. Pin, then sew.
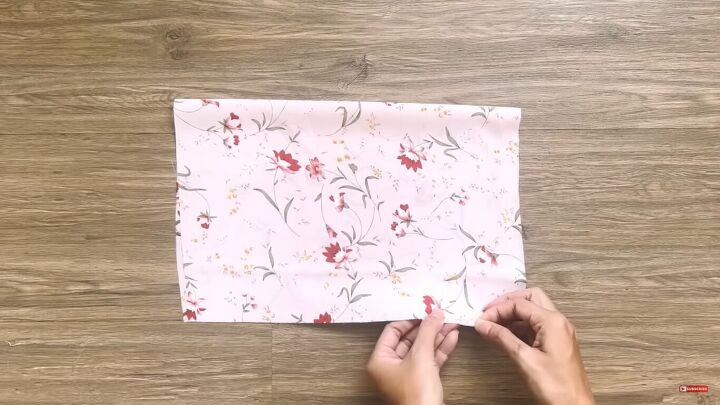
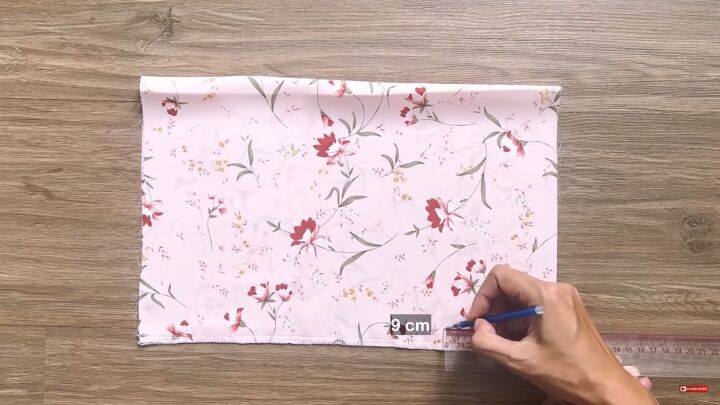
4. Finish the bottom of the robe
At the bottom of the robe, measure up 9cm (3.5 inches) and draw a line across.
Fold the bottom of the robe in 1cm (⅖ inch) first, then fold at the line drawn to meet the bottom. Sew down. Similar to above, this will finish the end of the robe.
5. Sew the sleeves
Fold the sleeve pattern at the width line, right sides together, then pin and sew along the bottom edge.
From the end of the sleeve, measure 9cm (3.5 inches) in and draw a line across.
The same as above, fold the edge in 1cm (⅖ inch) first, then fold at the line drawn to meet the bottom. Then, sew down to finish the ends of the sleeve.
Repeat the steps for the second sleeve.
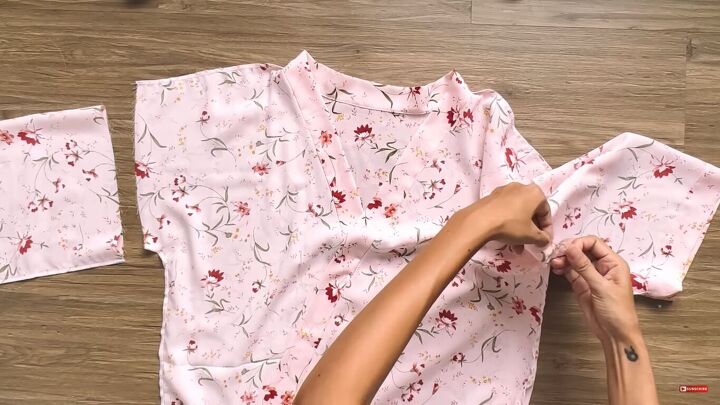
6. Attach the sleeves
Connect the sleeves to the body by pinning right sides together. Then, sew down.
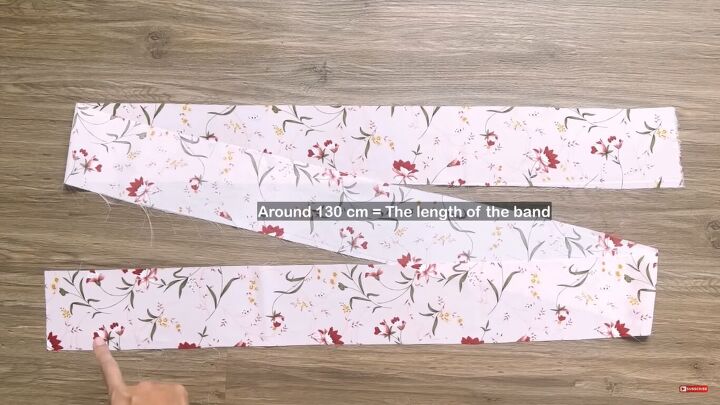
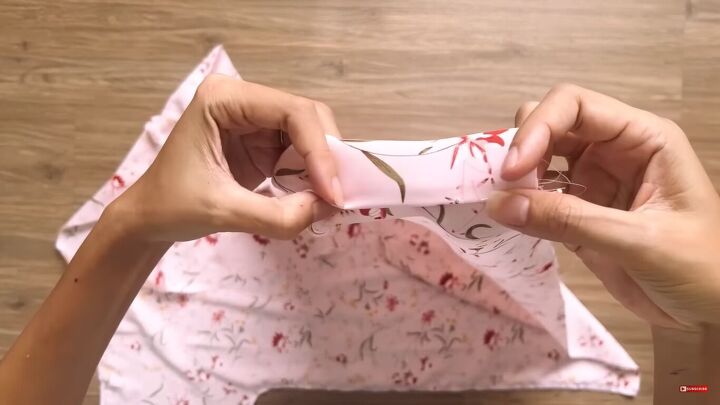
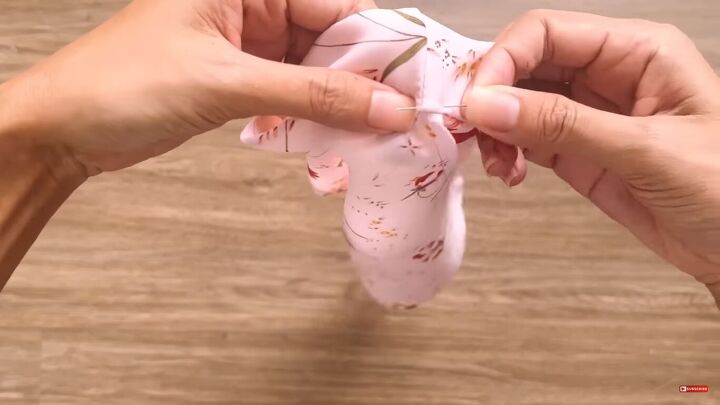
7. Make the robe tie
Cut out a rectangle measuring 130cm (51 inches) in length and 10cm (4 inches) in width, which is twice as long as the finished width of the robe tie will be, plus a 2cm (⅘ inch) seam allowance.
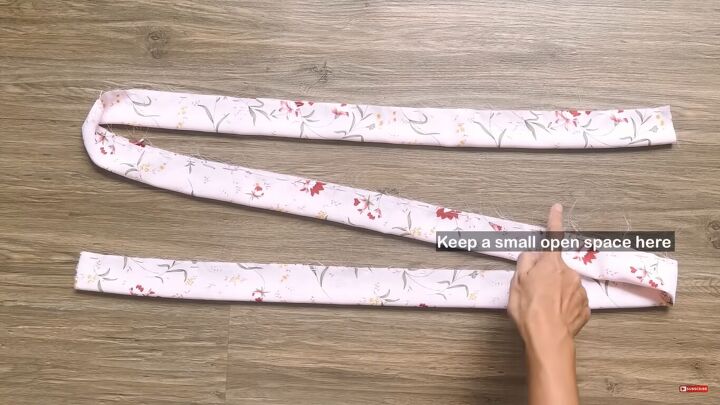
Pin along the long edge, then sew down, but keep a small space in the middle unsewn, so you can turn the robe tie to the right side later.
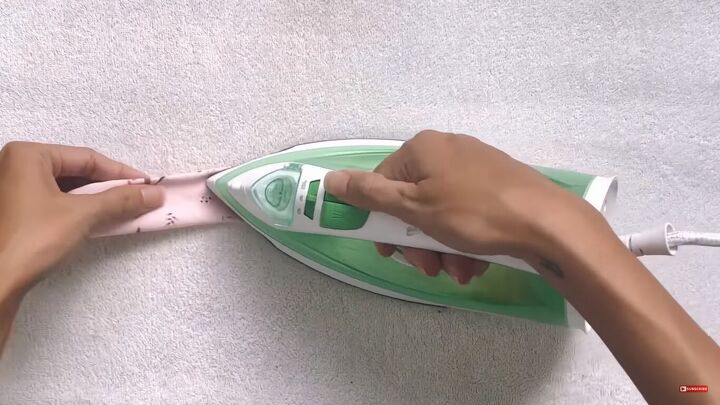
Once sewn, turn the robe tie to the right side (I used a long stick for this), then iron it to make it look nicer.

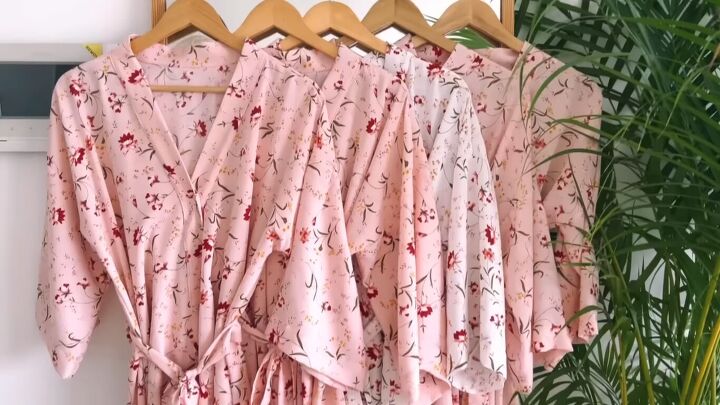

How to make bridesmaid robes
Here are the finished bridesmaid robes! I popped them in a box with some other gifts as part of my bridesmaid proposal, then we can wear them for the bachelorette party and the night before the wedding too.
Of course, you don’t need a wedding as an excuse to make this; it’s a really fun and simple project, regardless of the occasion. Let me know your thoughts and feedback in the comments below.
The author may collect a small share of sales from the links on this page.


Comments
Join the conversation