How to Make Open-Toe Slippers in 2 Different Styles (Free Pattern)

Let me show you how to make open-toe slippers. It’s so easy and once you make one pair, you’ll want to make a pair for your family and friends.
Did you know how much healthier houses are when shoes aren’t worn in the house? Shoes trap and keep dirt, bacteria, and other dangerous substances that are tracked through the house when you keep them on. These soft, pillowy slippers are perfect to wear around the house, keeping you and your family healthy!
Below I have my free slipper sewing pattern in 3 different sizes to download so you can make slippers for your entire family.
Let’s get started with slipper patterns to sew.
Tools and materials:
- DIY slipper pattern
- Prequilted batting: white quilted fabric polyester cotton
- Quilted non-slip fabric
- Outer fabric
- Clips
- Sewing machine
- Scissors
- Needle and thread
- Awl
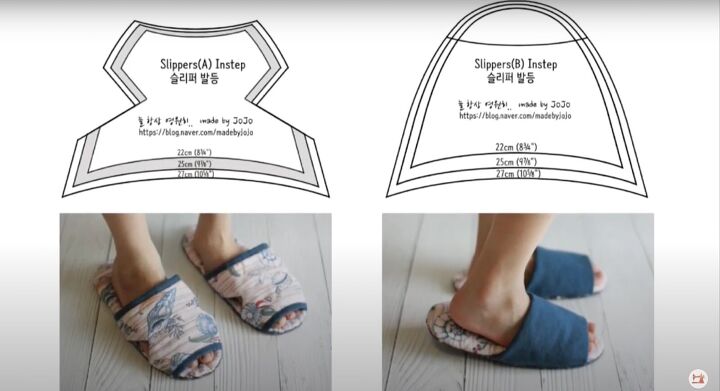
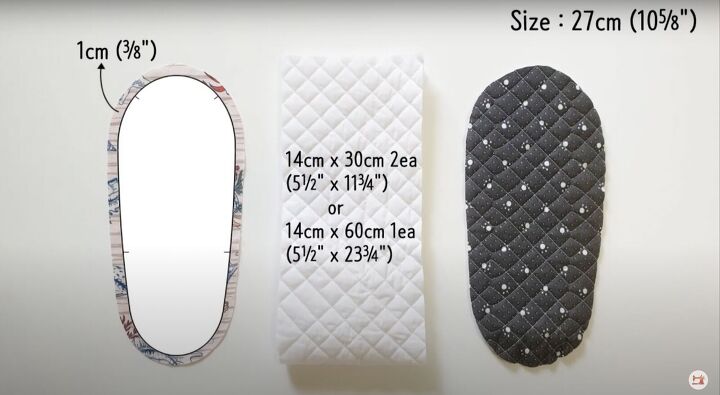
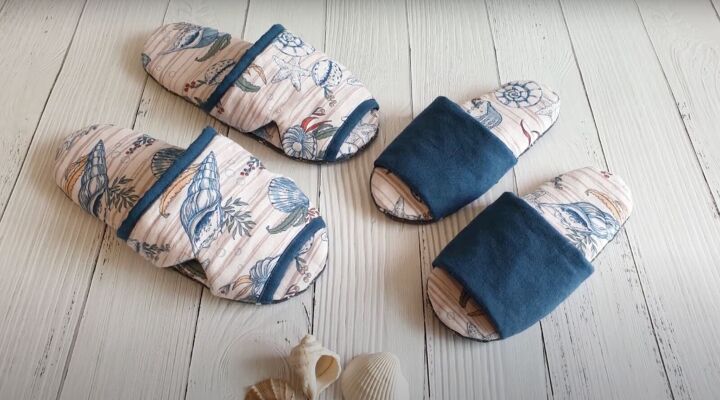
There are 2 patterns: one with a peek-a-boo window on the sides, and the other with a standard instep. There are also 3 different sizes so you can make slippers to fit anyone! Three sizes: 8¾ inches (22cm), 9⅜ inches (25cm), and 10⅝ inches (27cm).
Download, print, and cut out the free slipper sewing pattern. Cut the fabric, lining, and batting.
1. Make the instep (upper part of the slipper)
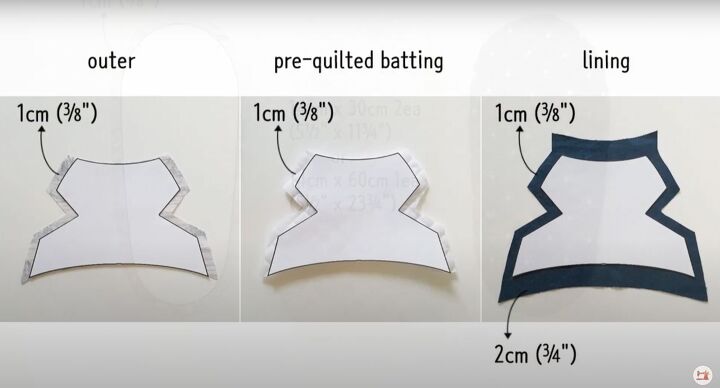
Cut the instep batting, lining, and outer fabric following the pattern, with a ⅜-inch (1cm) seam allowance. For the peek-a-boo window version, leave a ¾ inch (2cm) seam allowance in the lining at the top and bottom.
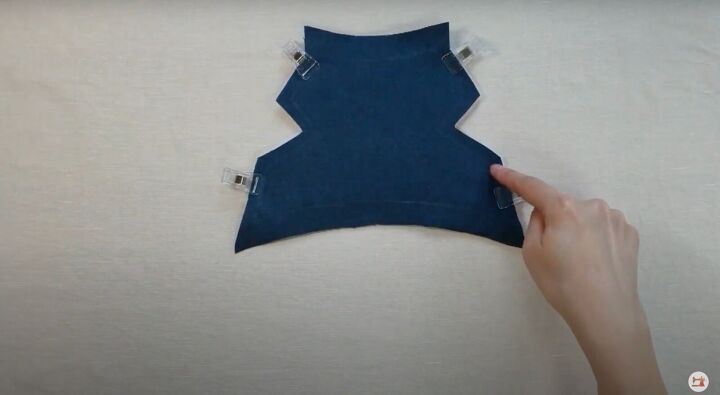
Layer the batting, outer fabric, and lining. Clip into place.
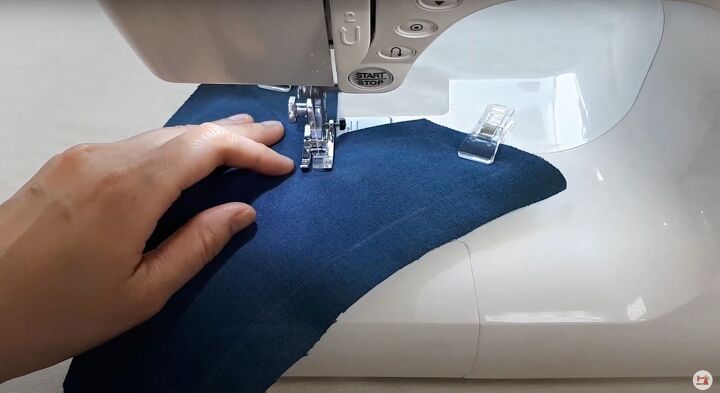
Sew the V-shaped window only.
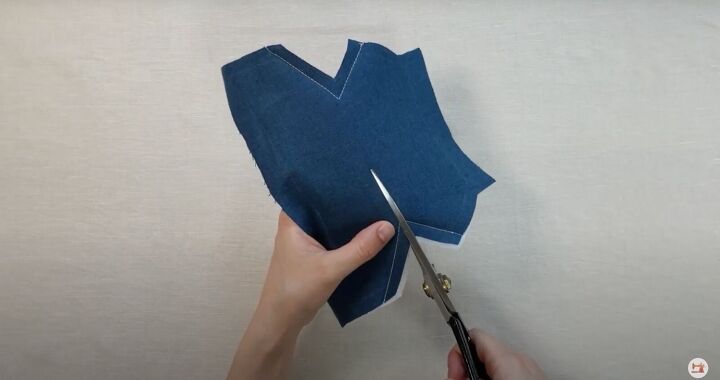
Snip the V to the seam.
Trim the excess batting. Turn the instep inside out.
Fold in the excess seam allowance of the lining and clip into place. Sew across the bottom.
Clip the top into place and sew.
2. Make the bottom of the slipper
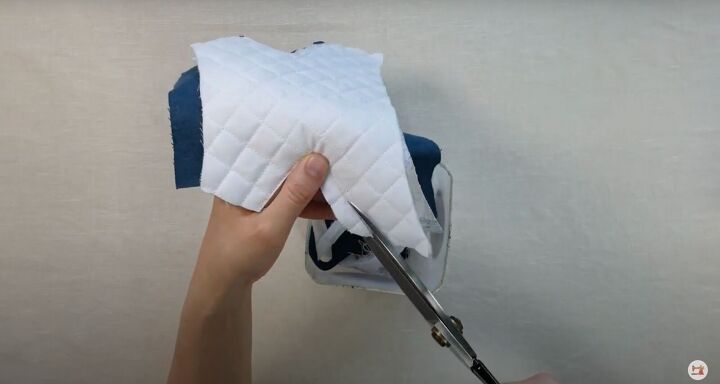
For each slipper, cut the batting width to 5½ inches (14cm). You can either cut it into 2 pieces, each one measuring 11¾ inches (30cm), or fold over a piece that is 23¾ inches (60cm) long.

Lay the batting down. Place the outer fabric on top and clip into place.
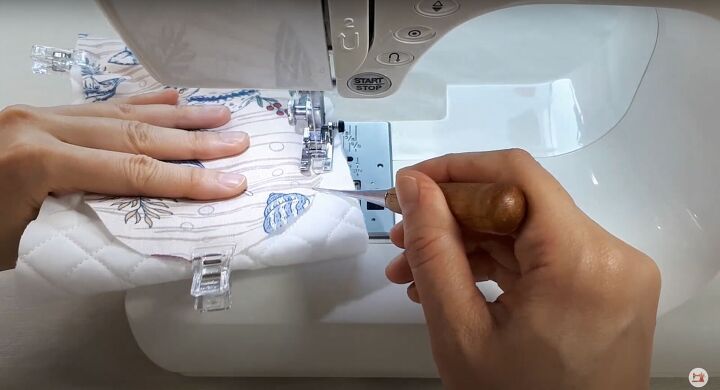
Sew following the pattern outline.
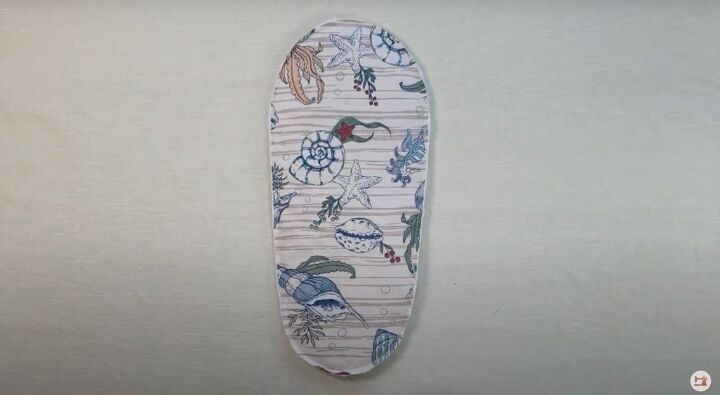
Trim the excess.
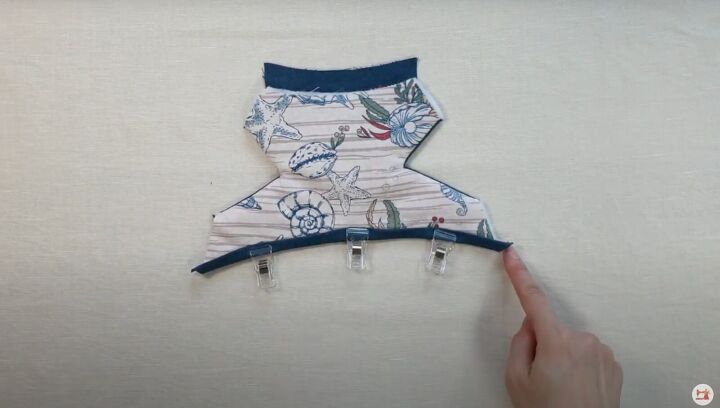
3. Attach the instep
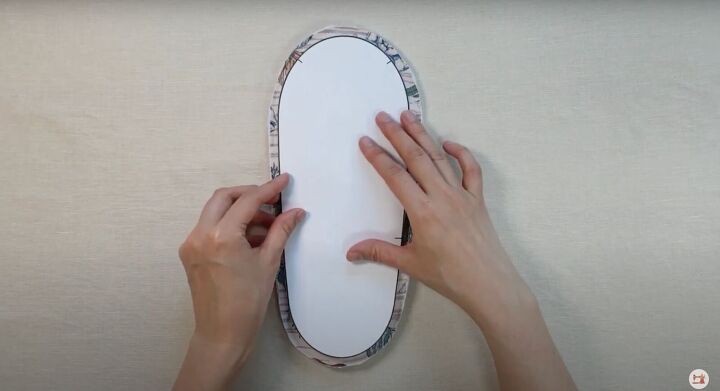
Lay the paper pattern on top of the sewn fabric and mark the 4 notches at the top and center.
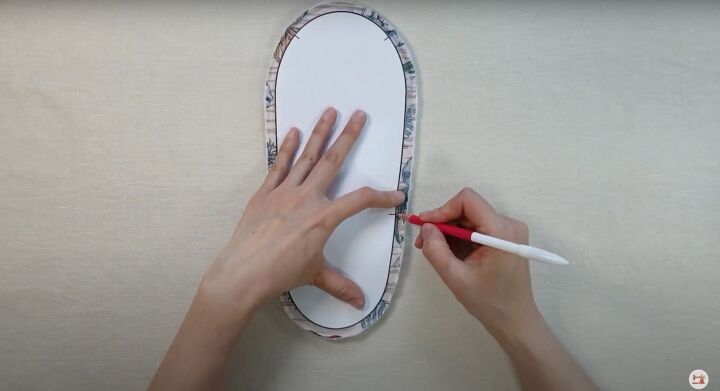
This is for the placement for the instep.
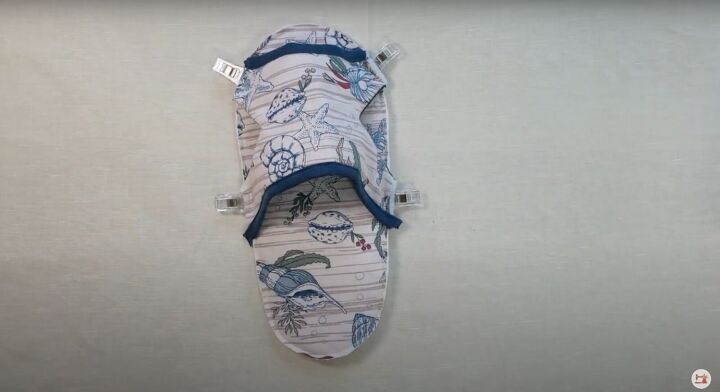
Line up the instep at the marks. Clip into place. Sew up the seams at the marked and clipped areas. Trim any excess threads.

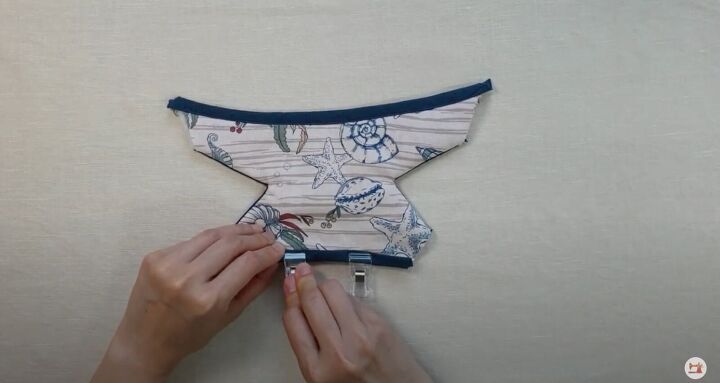
4. Finish the slipper
Fold the instep down.
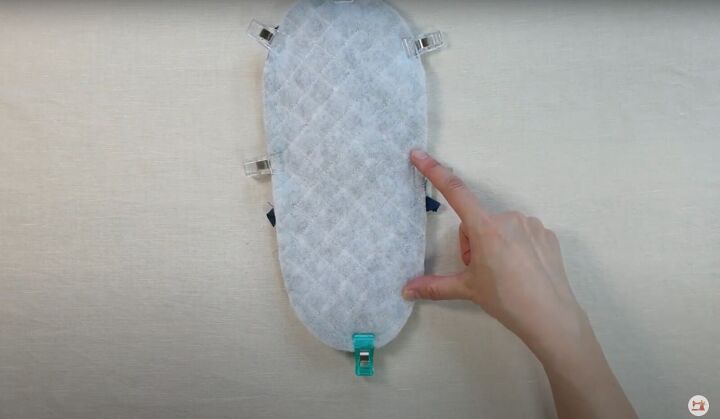
Lay the non-slip quilted batting on top, right sides together. Clip into place.
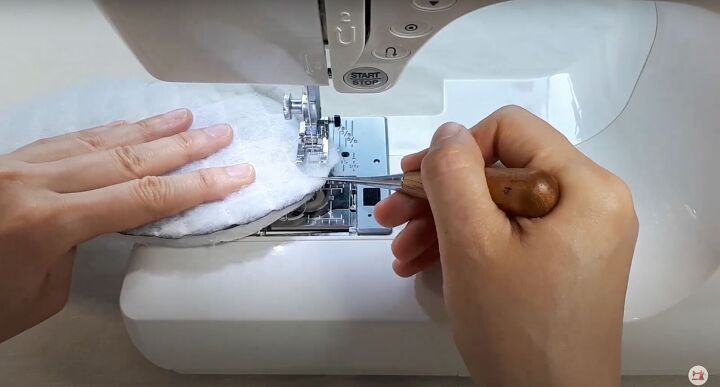
Sew all around, leaving a 4-inch (10cm) space unsewn towards the bottom away from the instep.
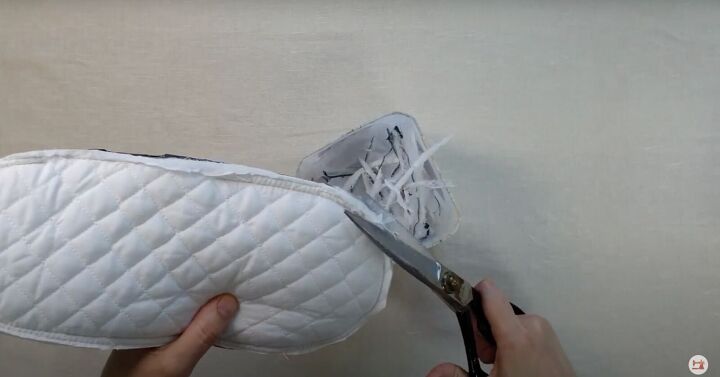
Trim the excess close to the seam.
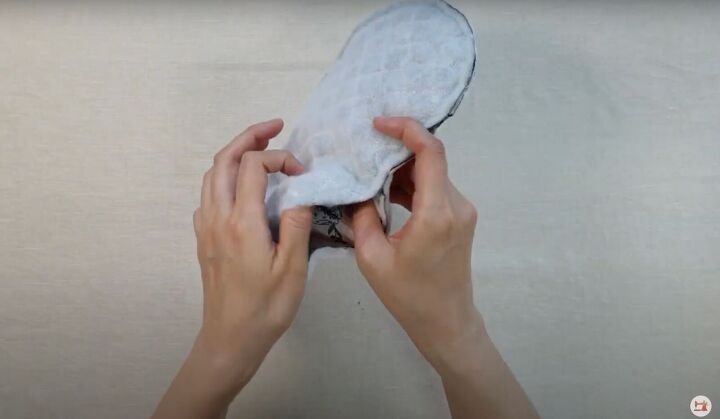
Insert your fingers into the unsewn space to turn the slipper inside out. Use your scissors or awl to help you sharper the corners.
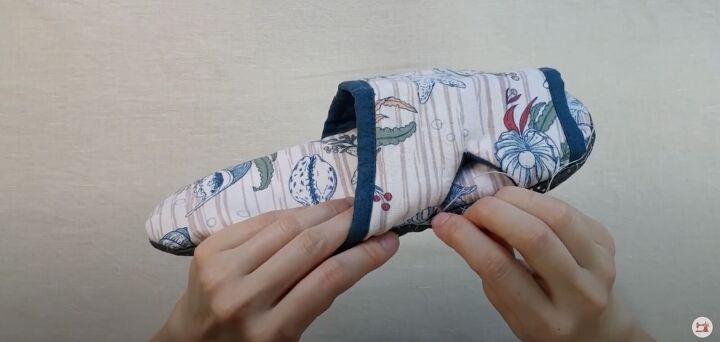
Hand-stitch the hole closed.
How to make open-toe slippers
I hope I showed you how to sew a slipper. Please let me know in the comments if you used my free slipper sewing pattern to make slippers for your family and friends! Thanks for joining.
The author may collect a small share of sales from the links on this page.


Comments
Join the conversation