Need a Cute & Easy Sewing Project? Try This Shirred Skirt Tutorial

Welcome to this shirred skirt tutorial. I’m going to show you how to sew a shirred skirt with ruffles, and along the way, I’ll be giving you my tips for how to shirr successfully.
Tools and materials:
- Fabric
- Elastic thread
- Pens
- Paper
- Scissors
- Sewing machine
- Ruler
- Iron (with a steaming function)
Before we begin the tutorial, I’m going to start by giving you some useful tips for shirring fabric because it can be quite a difficult process if you’re new to it.
Elastic
I highly suggest you get a high-quality elastic, and in my opinion, the best thickness for the elastic is 0.5cm (5mm) of thickness. If you work with a bad quality elastic then the shirring may not work very well.
Bobbin
Don’t work with a bobbin winder on your machine; just take elastic and wind your bobbin manually. This is because the tension on your machine is quite strong, and usulaly when it comes to shirring, it will not work.
Tension
With every sewing machine, it might be different but on my machine, what works is to go completely to 0 with the tension, and I use the longest stitch that is available to me as well as a simple straight stitch.
The setting of your sewing machine
The last thing is, do your testing. Test test test on scraps of fabric. Not on different types of fabric, rather on the fabric that you are going to use.
Now let’s get into making the dress.
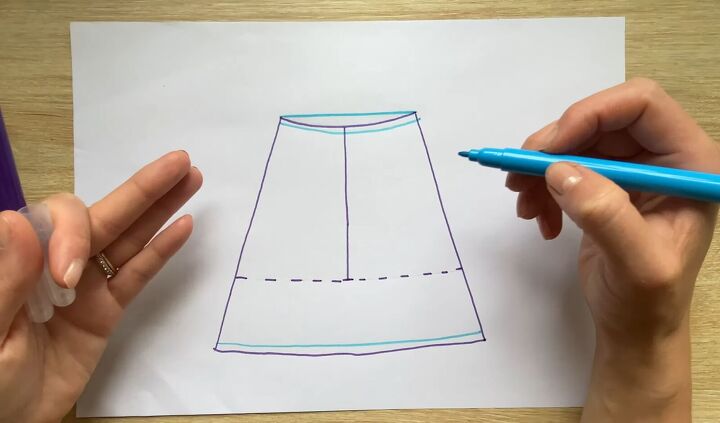
1. Create the pattern
For the pattern, you will need a simple A-line skirt. You can either find a pattern for this or you can simply measure yourself and based on your measurements draw your own pattern.
You will need to measure from the waist until the crotch line. This is where the shirring will be because in my opinion and experience this is the most flattering.
The part under the crotch line will be the ruffle; measure from the crotch line how long you want the ruffle to be. Remember to add a seam allowance on the bottom and the top.
The difference between the front and the back piece is that the front piece will have a slightly bigger curve around the waist, whereas the back piece will have a straight line at the top.
If you want to do shirring, you have to make the pattern wider as the design will shrink, so whatever width measurements you have in the pattern, multiply by 1.5.
Also, make sure that the measurements are wide enough so that the skirt will go over your hips. Watch the video from 4:05-4:51 to see how to check that your measurements are right.
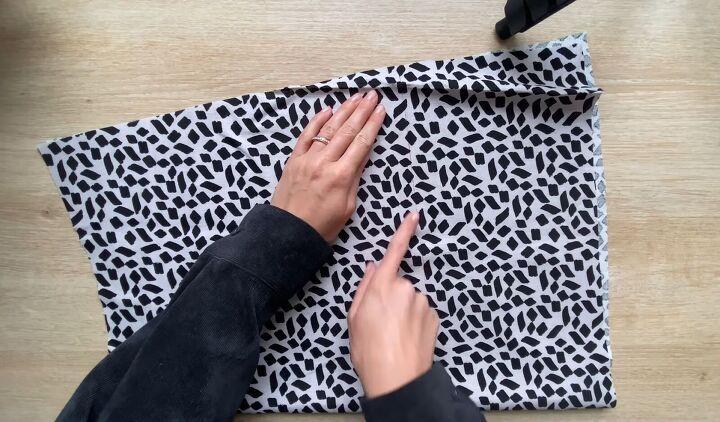
2. Cut the fabric
Proceed to cut out your fabric. You can either do this by sizing up your pattern so that it is to scale and cutting around it, or you can cut your fabric by measuring and marking it.
Once your fabric is cut, draw a line to mark where you will stop shirring the fabric. The part of the skirt below this line will be the ruffle.
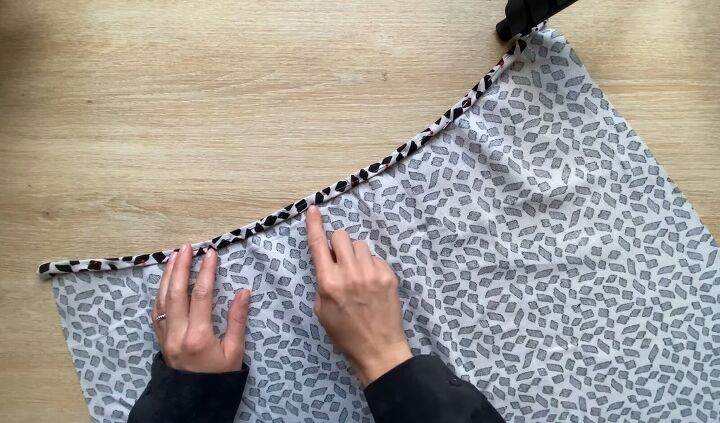
3. Hem the skirt
Fold the edges on the top of the skirt twice and sew a straight stitch to hem the top. Repeat this on the other piece.
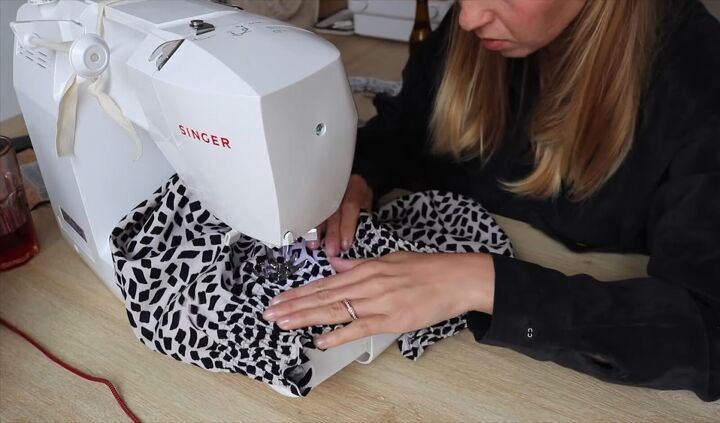
4. Shirr the fabric
Now we will start shirring the fabric. Make the first stitch just below the hem.
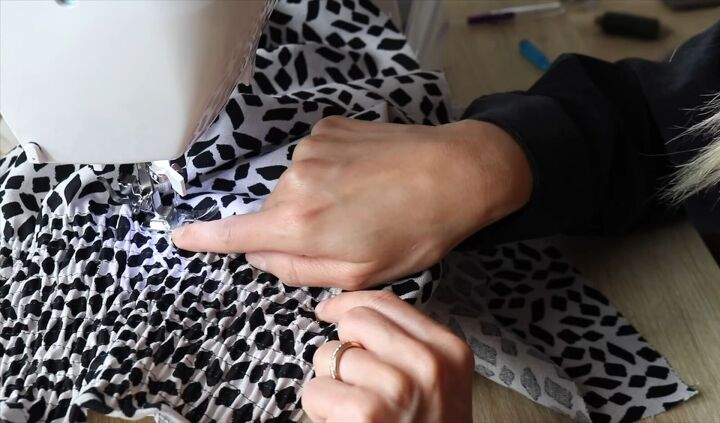
When you are sewing you don’t need to draw any lines before because that will just waste so much time.
My top tip to know where each line should be is that the top of the foot is just below the line above. This guideline works perfectly, and it also creates a good distance in between the stitches to create a really nice shirring effect.
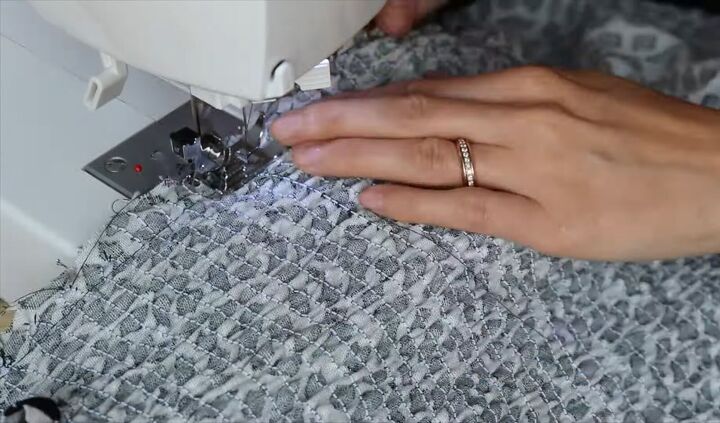
Continue shirring all the way down until you reach the line that you marked before. When you get to the end of one row, simply turn the skirt around and slowly start again with the next row.
This way of doing it means that there are no threads hanging around, nothing can unravel, and you also save more elastic.
When you’ve done one side of the skirt, repeat the whole process with the other piece.
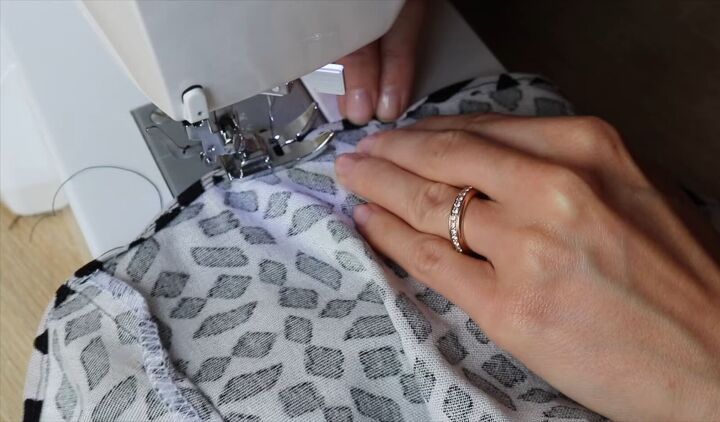
5. Attach the front and back
Now you have your two shirred skirt pieces. Place them together so that the right sides are touching and sew the edges together.
Once done, fold the fabric from the top over twice and sew over your stitch at the top again.
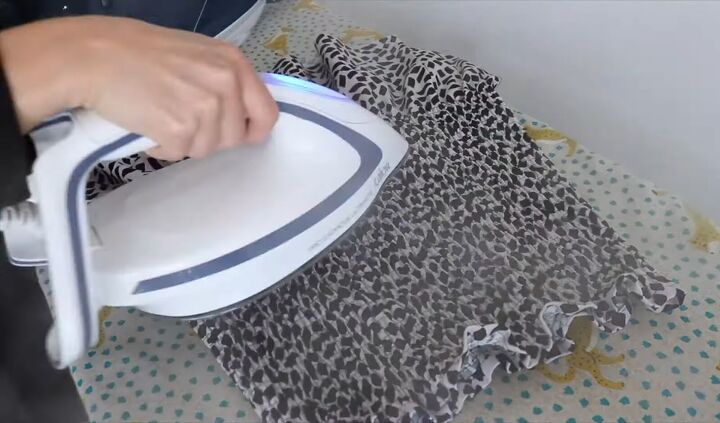
6. Steam the skirt
Next, steam the skirt as this will cause the gathers to come together and be tighter.
7. Hem the bottom
The final step is to hem the bottom of the skirt.
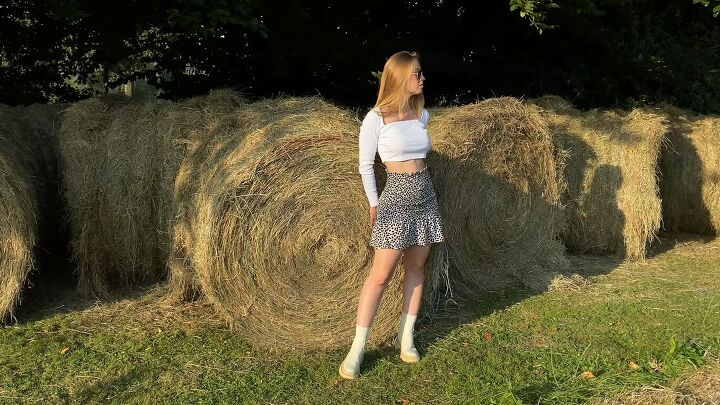
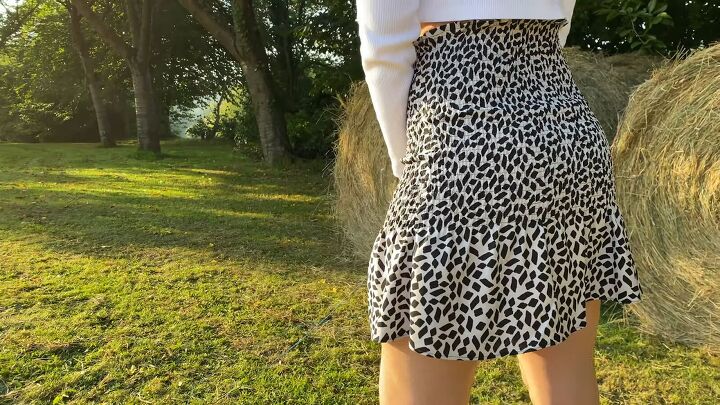
Shirred skirt tutorial
Check out the final look guys! I am in love with this shirred mini skirt. The shirred effect is very flattering, and then the little ruffle at the bottom is super cute.
I hope you enjoyed this shirred skirt tutorial and that you now feel more confident when it comes to shirring as a sewing technique.
The author may collect a small share of sales from the links on this page.


Comments
Join the conversation