Modifying a Bodice Pattern to Fix a Bulging Zipper in Six Simple Steps

In this tutorial I am going to show you how to fix a bulging zipper on a dress. Of course, this technique is the same for fixing any zipper that sticks out, whether on a dress, skirt or top. Once you get rid of the zipper bulge, your clothing will lay much smoother and look better.
Tools and materials:
- Basic bodice pattern
- Ruler
- Marker
- Scissors
1. Start with a basic bodice pattern
If you don’t know how to draft a basic bodice pattern, you can watch my tutorial on that to help you.
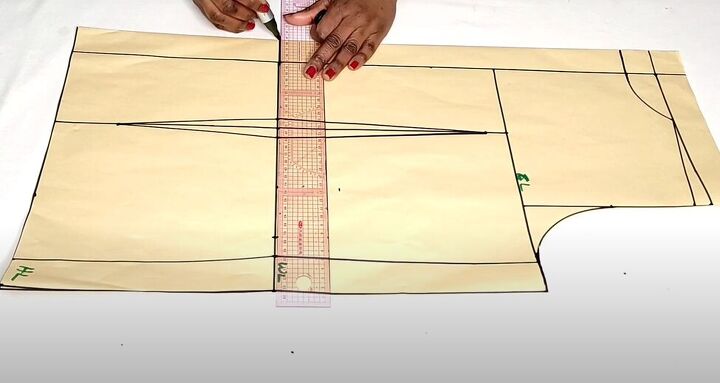
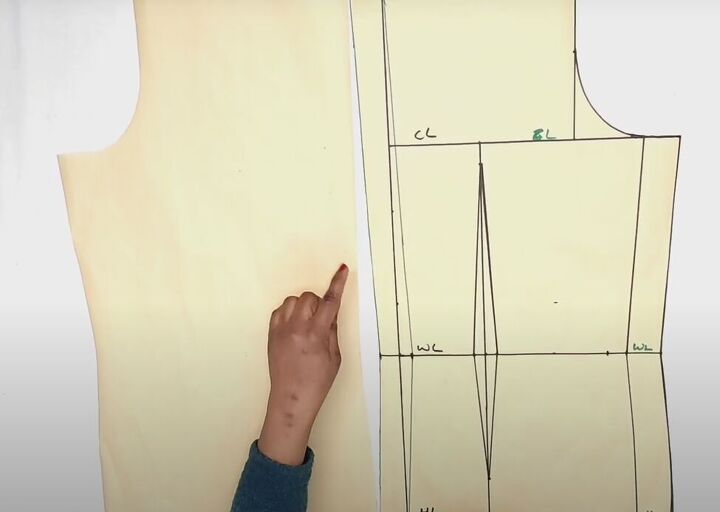
2. Extend and mark the waistline
At the center back of your basic bodice pattern, extend the waistline through the zipper allowance right to the fold.

Now make a mark on the waistline, ½ an inch in from the zipper allowance line.
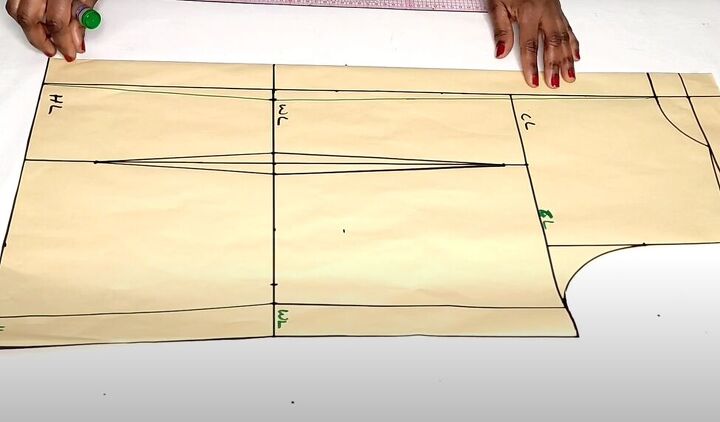
3. Draw diagonal lines
Use a ruler to draw a diagonal line from that ½-inch mark to where the zipper allowance line intersects with the neckline. Draw another diagonal line from the ½-inch mark down to where the zipper allowance line intersects with the hemline.
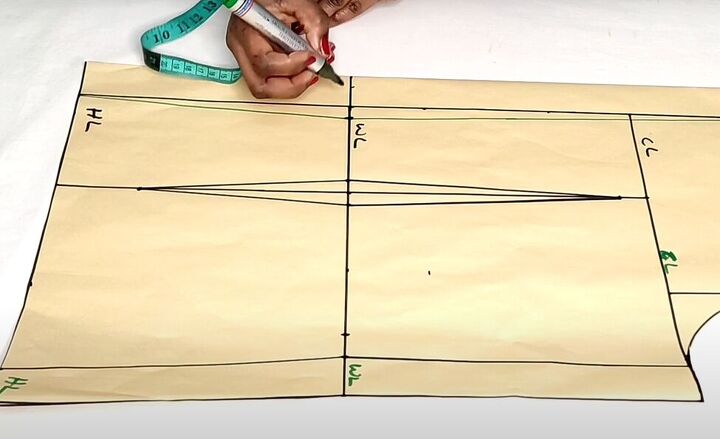
4. Marking new zipper allowance
Mark the waistline ½ inch from the fold of the bodice pattern.

Draw diagonal lines from that point up to the neckline at the fold and down to the hemline at the fold. Those sets of diagonal lines will be your new zipper allowance.
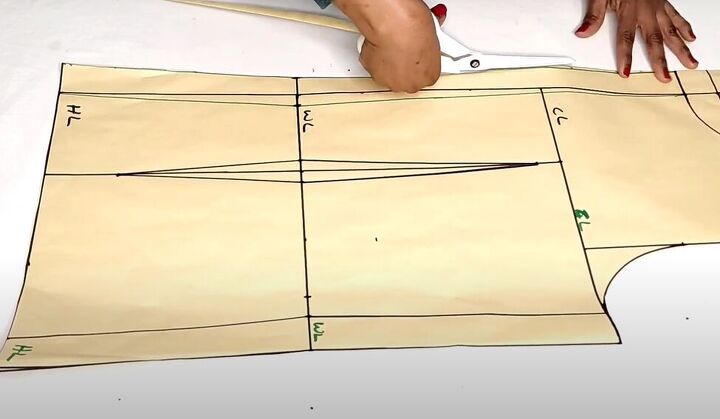
5. Cut off the excess zipper allowance
Cut off the excess zipper allowance at the folded edge of your bodice pattern.
6. Finishing
When you line up the back bodice pieces, you can now see where the usual zipper bulge area has been removed. Sewing your zipper into your new indented zipper allowance is what will get rid of your zipper bulge.
How to fix a bulging zipper on a dress tutorial
I hope this tutorial has been helpful. Please leave a comment to let me know if you try this technique to fix a zipper that sticks out.
The author may collect a small share of sales from the links on this page.


Comments
Join the conversation