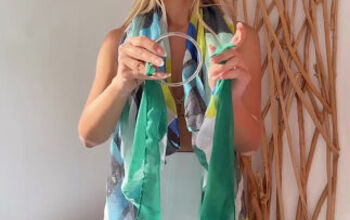
How to Sew a Scarf Into a Top That's Perfect for the Summer

If you have scarves to spare, but need more tops, then here’s a perfect solution! Follow this easy tutorial to learn how to sew a scarf into a cowl-necked top.
If you don’t want to sacrifice any of your scarves, then just pick up a few at a thrift store. This makes a great, soft, summer scarf and you just may want to make several.
Tools and materials:
- Large scarf
- Scissors
- Measuring tape
- Sewing pins
- Dress form
- Thread
- Sewing machine
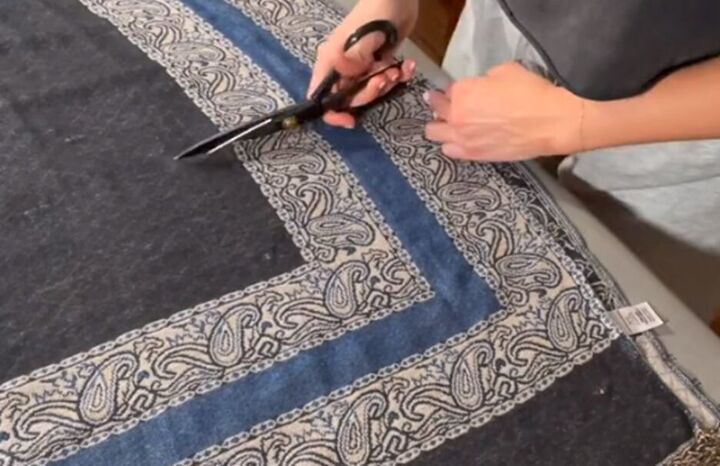
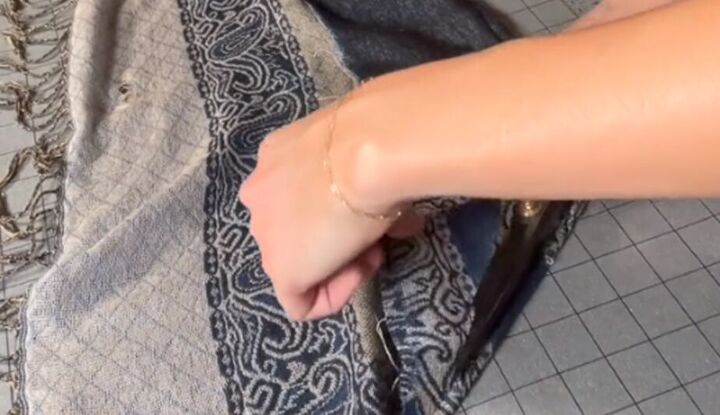
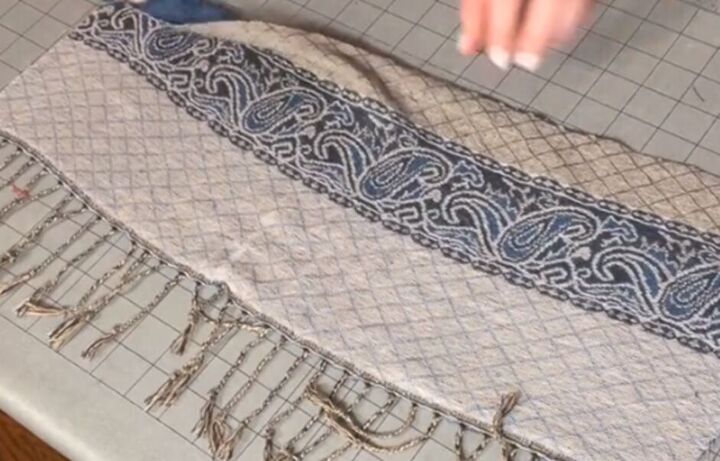
1. Cut your scarf
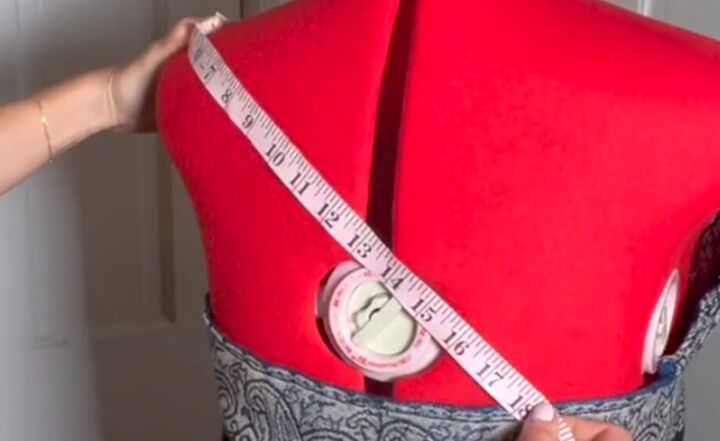
Measure the length of your torso. Then fold your scarf in half widthwise and check that the folded link is sufficient for your top.
The scarf will likely be longer than you need. Add about 4 inches to your torso measurement for the top seam allowances, and then measure your scarf up from the bottom. Cut your folded scarf at that measurement.
If your scarf is very long, you can see my previous tutorial on how to turn a scarf into a dress.
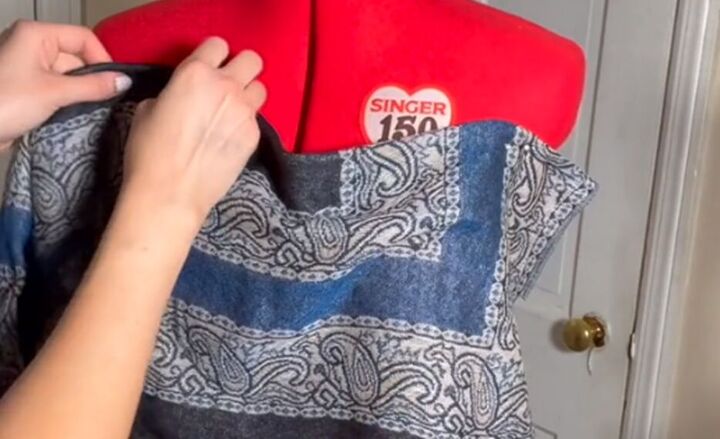
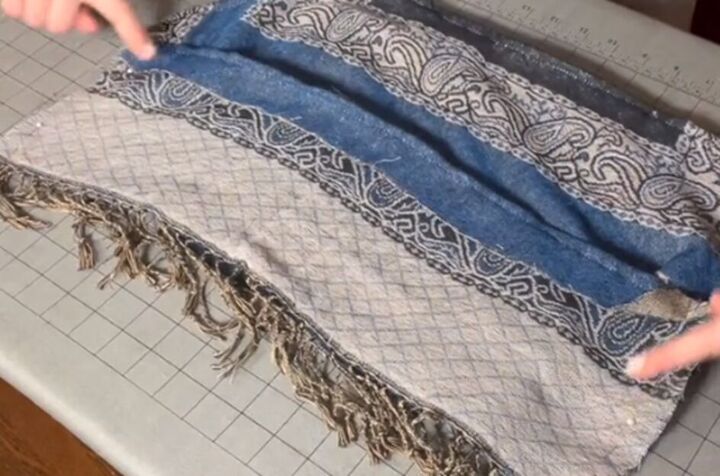
2. Check the sizing
Drape and pin the front piece of your scarf top to a dress form with the top edge just under the arm.
If the fabric is too wide, adjust the size by cutting from the sides on the front and back piece equally. If your scarf is patterned, then you will want to cut from both sides to keep the pattern symmetrical.
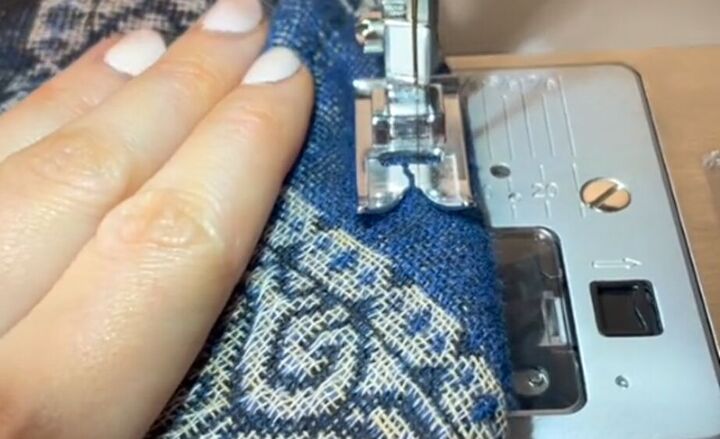
3. Sew the top hem
Fold and pin down the top edge 4 inches on the front piece. Sew along the folded edge.
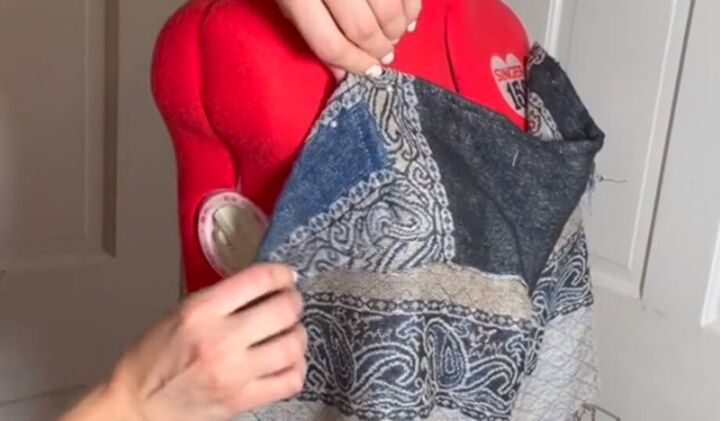
4. Make armholes
Drape and pin the top front to your dress form again, with the right side facing in. Fold down the top corners and pin, to fashion armholes.
Sew down the armholes at the folded edge on both sides of the fabric.
Trim off the excess fabric from the armholes.
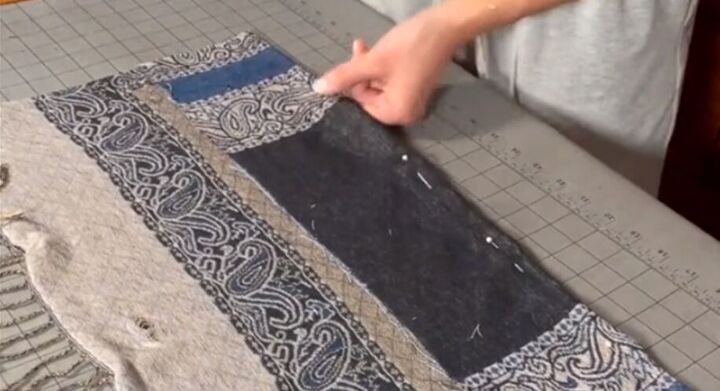
5. Make the back piece
With the right sides facing in, lay the back piece on top of the front piece, matching up the side seams. Cut the back piece only so you have a simple rectangle that fits onto the front below the armhole, allowing for a 4-inch seam allowance at the top.

Fold and pin the top edge of the back piece at 4 inches. Sew the back piece top hem close to the folded edge.
6. Attach the front and back pieces
With right sides facing in, pin and sew the side seams to attach the front and back pieces of your scarf top.
7. Add shoulder straps
Pin the top onto your dress form and measure the length of straps you will need to go from the top of one shoulder, over the shoulder, and to the top of the back on the opposite side.
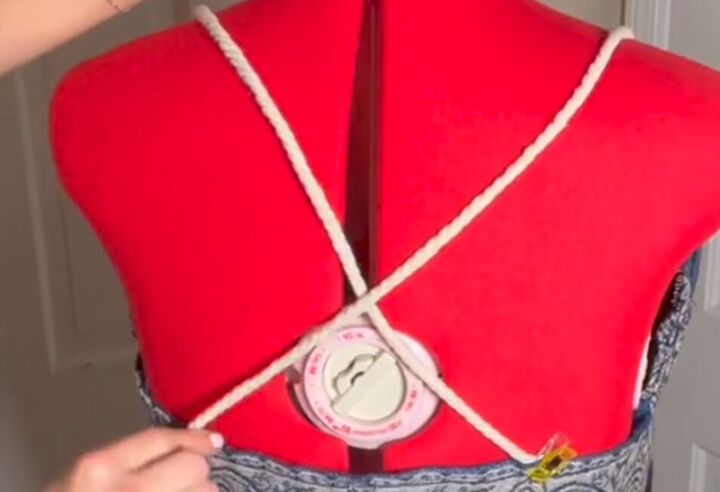
Cut your shoulder straps from cotton cord and pin them to your top while it’s on the dress form.
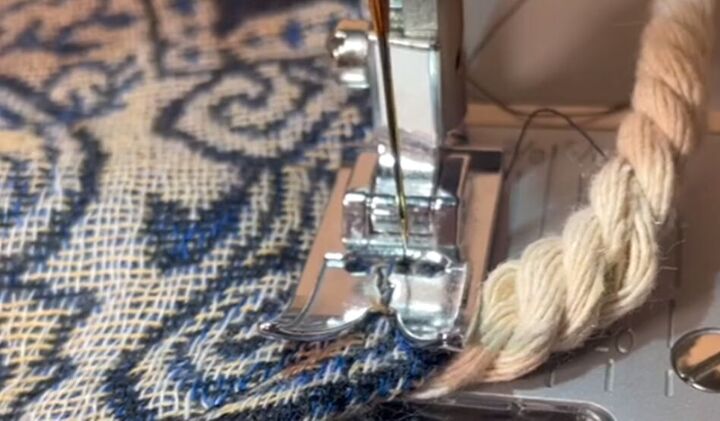
Sew the cord straps in place.
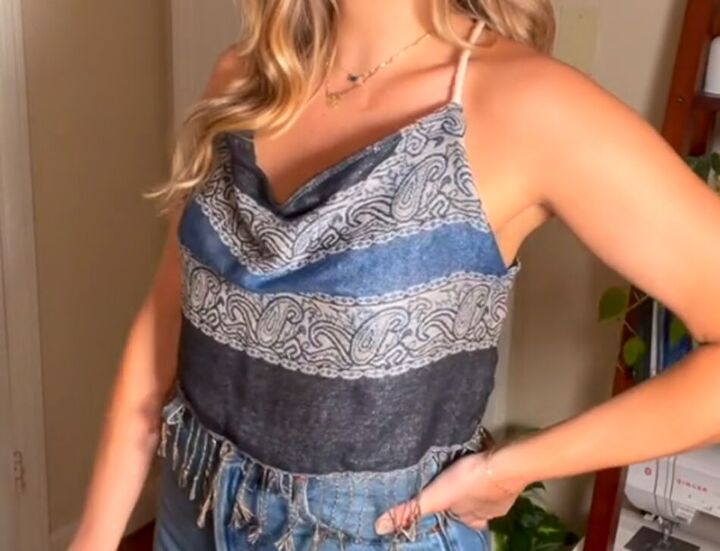
How to sew a scarf into a top
Now you have a really cute summer scarf top with crisscross straps. I hope you try this scarf into a top tutorial. If you do, please leave me a comment to let me know how you liked it… and how many you are planning to make!
The author may collect a small share of sales from the links on this page.


Comments
Join the conversation
Super Cute!
Not everyone has a dress form. I think more folks would appreciate instructions without a dress form.