How to Make a Hood 2 Different Ways: DIY Balaclava & DIY Bonnet

I was recently inspired by some Instagram images with these funky hooded styles. So, I decided to take matters into my own hands and make a DIY balaclava and DIY bonnet for myself.
I’ll show you how to make a hood easily so you can also jump on the fashion wagon and add this to your winter collection; I actually made two different styles from old sweaters I had lying around. Let’s get started!
Tools and materials:
- Stretchy sweater or fabric
- Matching thread
- Sewing machine
- Measuring tape
- Pins
- Scissors
- Chalk
DIY balaclava
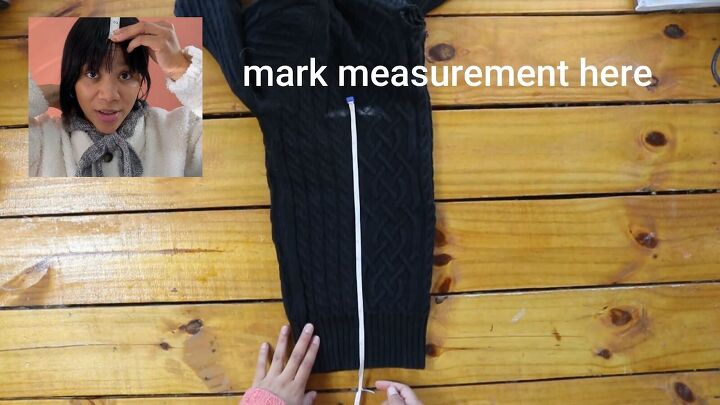
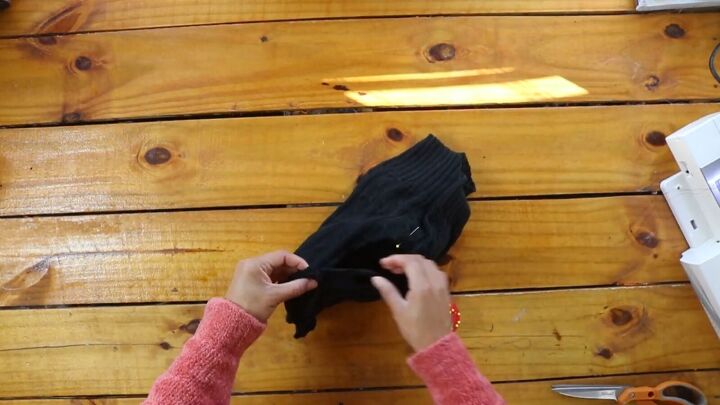
Measure your head starting from your forehead going to the back of your neck. Fold your sweater in half and mark this measurement accordingly.
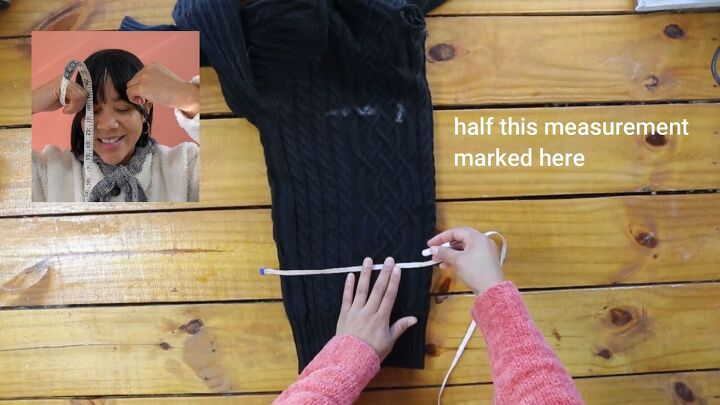
Measure around your head, stopping at the temples. Then, divide this measurement by two and mark it on ⅓ up from the bottom of the sweater.
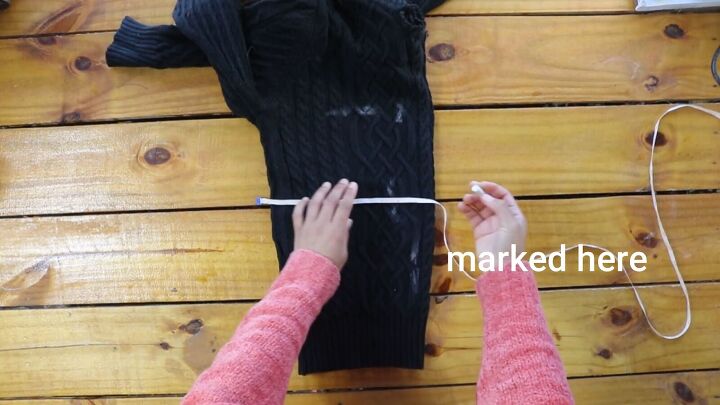
Then, measure from the top of your forehead to your chin and place this measurement in the middle.
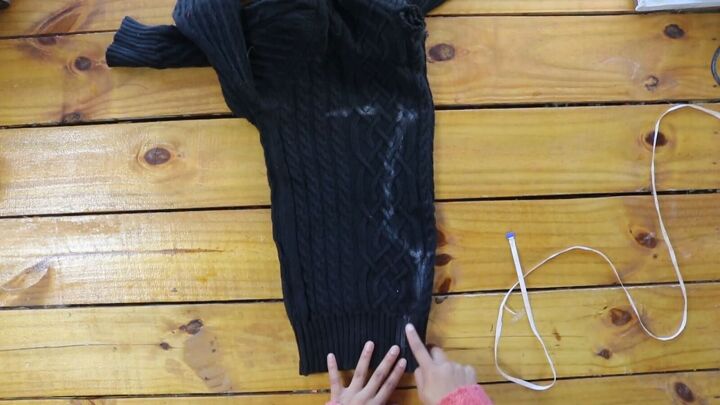
Draw a curved line from the top to the bottom, and draw a straight line from the bottom mark downward, making sure the bottom width is wider than your neck measurement.
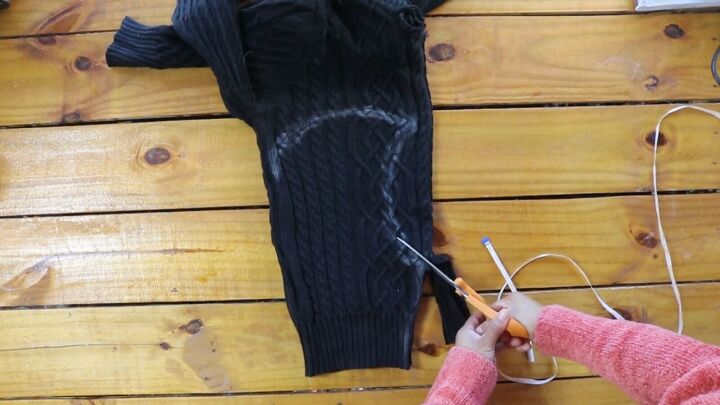
Draw a curved line along the top edge and cut out the DIY balaclava pattern.
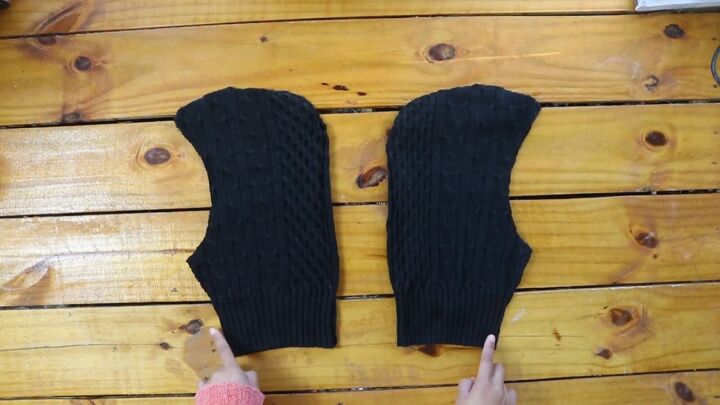
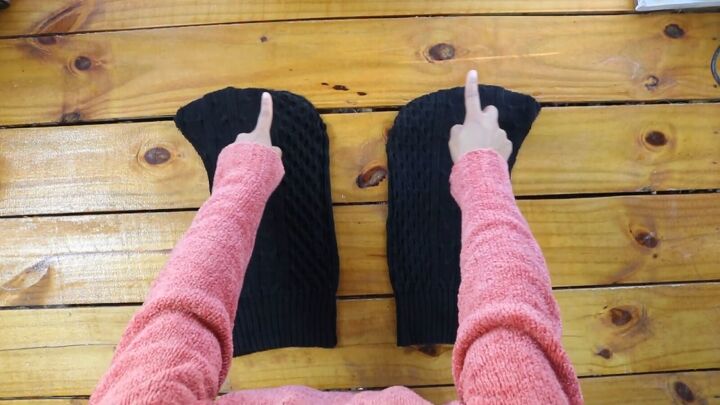
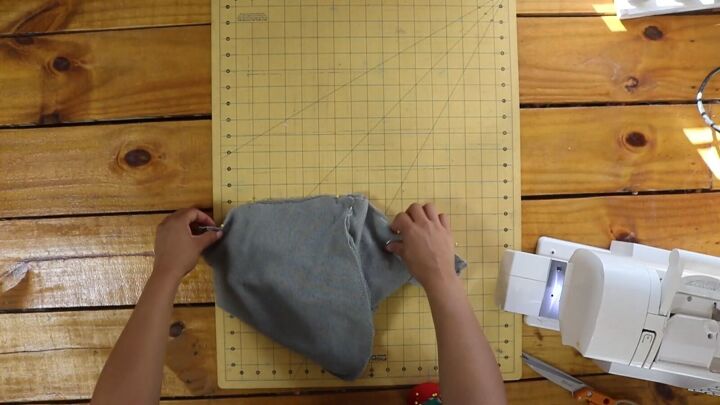
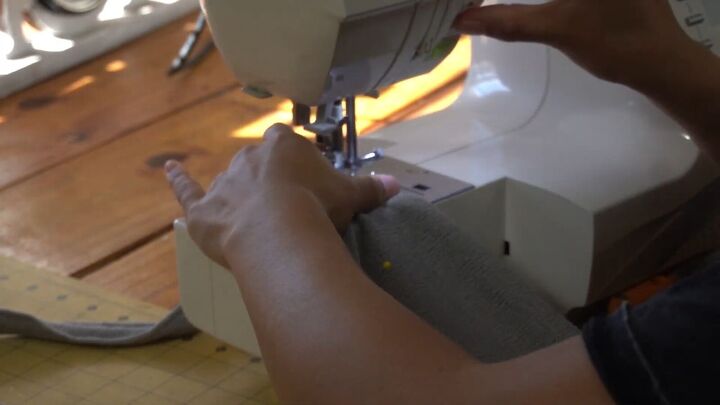
You should have two folded pieces. Turn each piece so that the right sides face each other and sew along the bottom edge and the curved top edge.
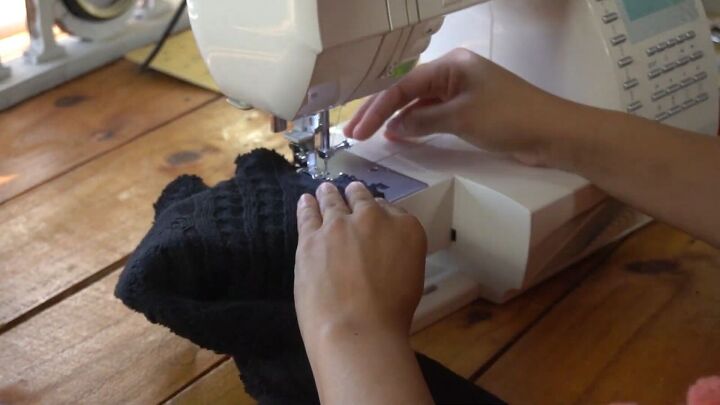
When sewing this, use a stretch stitch as you want the balaclava to stretch, especially around the neck area.
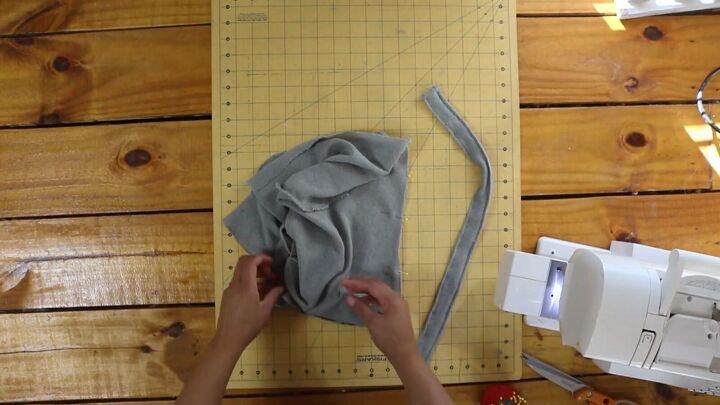
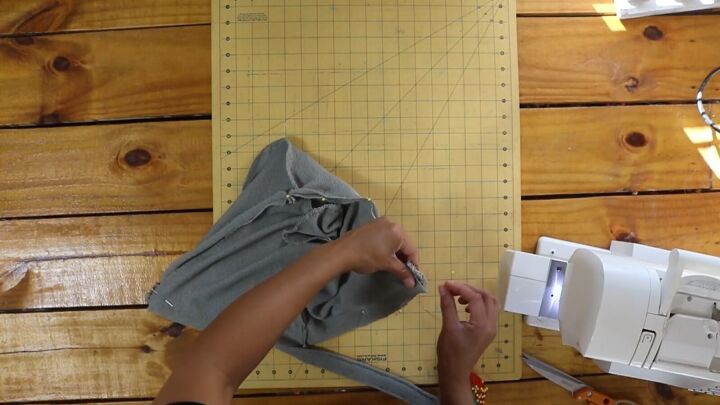
With one hood inside out and the other right side out, place the right sides out hood into the other one and pin along the circular edge (face opening).
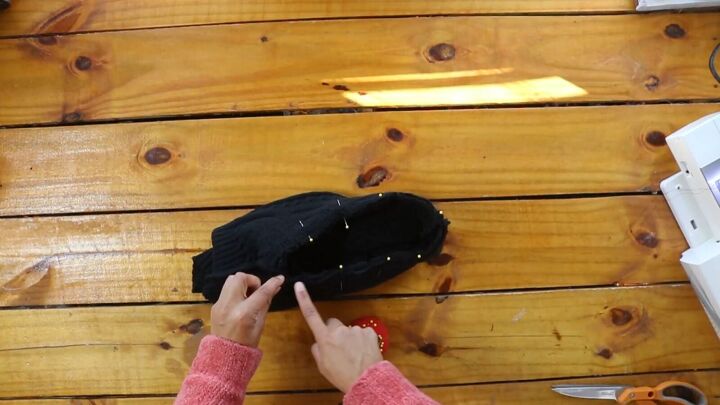
Sew both layers together with a stretch stitch.

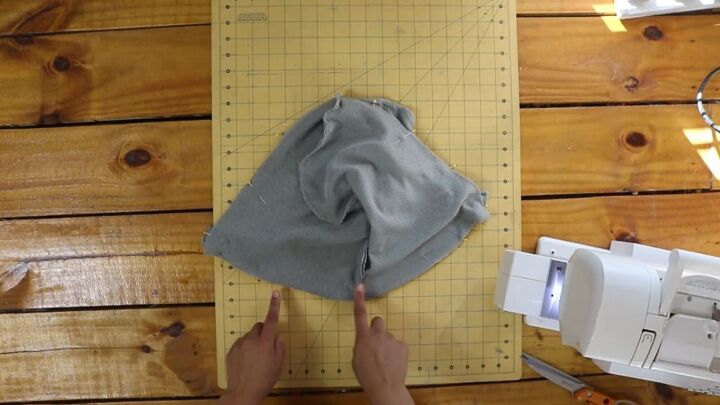
Now, pull the balaclava right sides out.
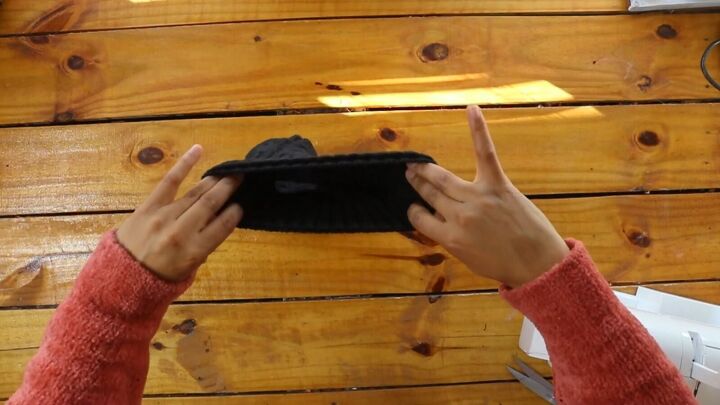
You can sew a straight stitch along the bottom edge to secure both layers, also, along the face opening. I chose not to do it, though.

That’s how you sew a balaclava! I love that it keeps me so warm and snug, and it’s perfect for winter.
DIY bonnet

I used my pullover hoodie as a guide for my DIY bonnet. Place the hood on top of your folded fabric, and cut around, excluding the neck area (fold up the neck portion).
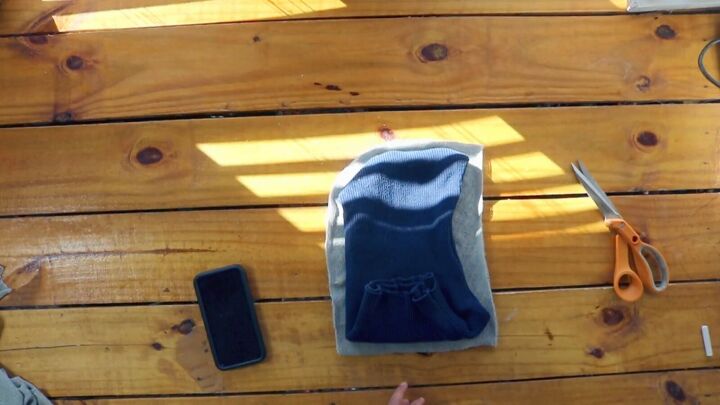
Ensure that you do not cut a curved face opening, it should be straighter than the balaclava.
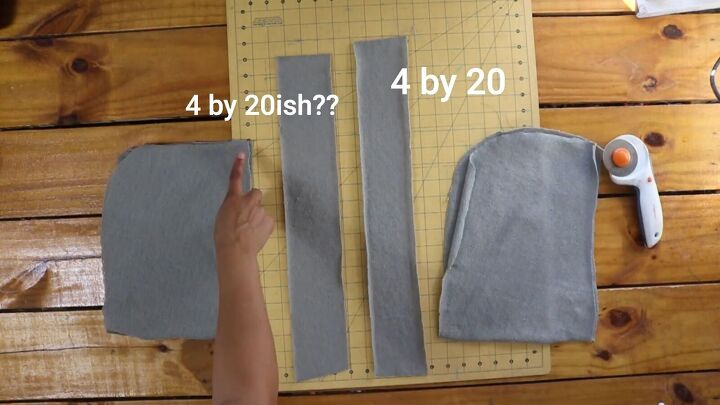
Cut out 4 head pieces and 2 strips measuring around 4x20 inches for the bonnet ties.
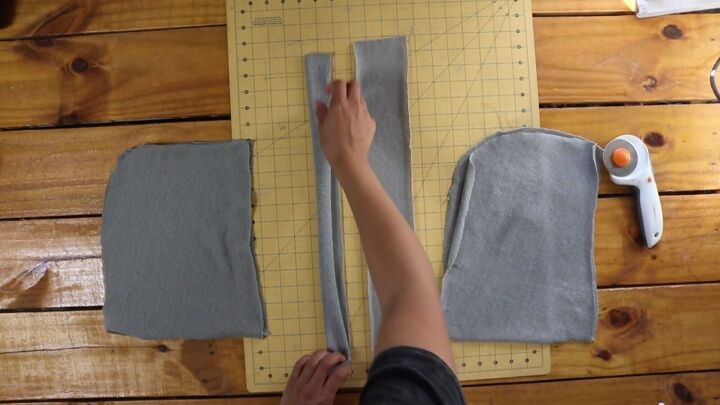
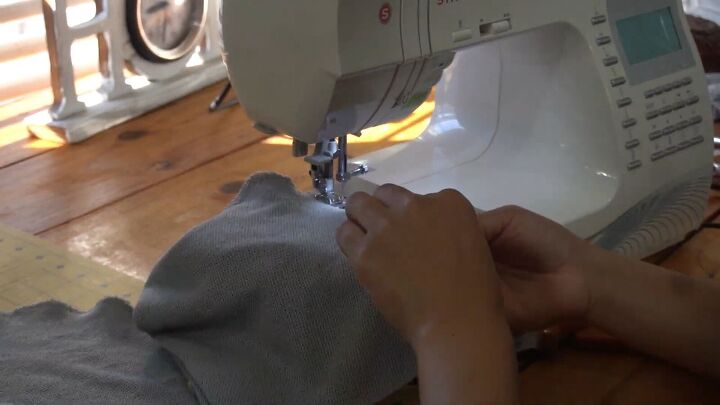
Sew two pieces of the bonnet together along the curved edge, fold the ties in half, and sew along the edge and one of the short ends.
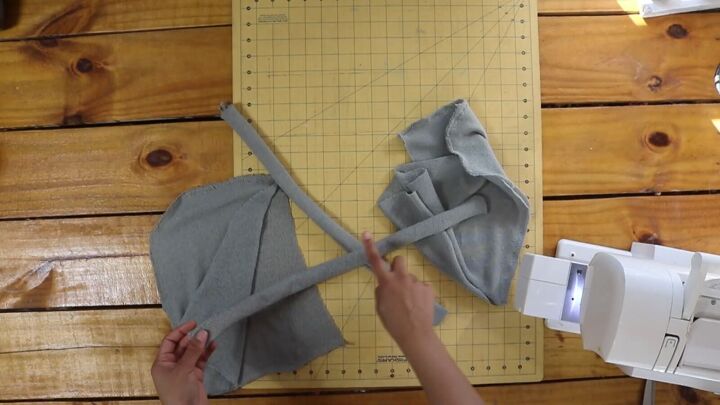
Pull the ties right sides out, and topstitch along the entire edge, including the opening.
Line up your ties and pin the two halves of the hood. Make sure to pin each tie on each end of the hood, right sides facing. The tie should be sandwiched between the hood.
Leave a gap along the bottom edge so that you can turn the DIY bonnet right sides out,
Pin around the edge of the hood and sew to secure (except for the opening).

Turn the hood right sides out and pin the opening closed.
You can topstitch around the edge if you like, but I just did a short stitch around the top part of the hood, and I topstitched along the bottom edge for a cleaner finish.

Here’s the final result of the DIY bonnet!
How to make a hood
I hope you enjoyed this tutorial on how to make a hood. I hope you find it useful. Please comment below with which hood style you liked best! See you soon.
The author may collect a small share of sales from the links on this page.


Comments
Join the conversation