Turn 2 Plain Thrifted Pieces Into 1 Stunning Dress With This Makeover

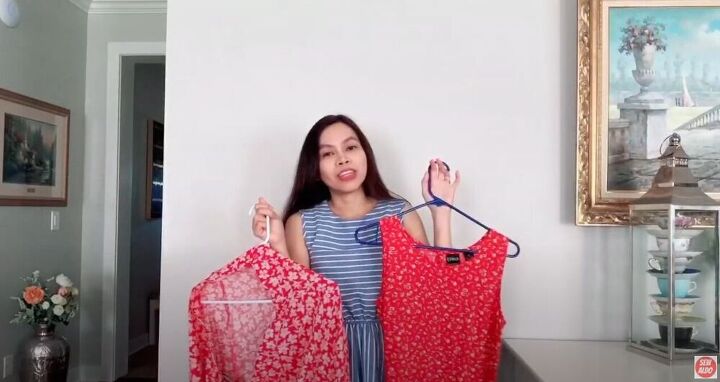
I recently found two pieces of clothing at my local thrift shop with really fun prints that happened to go together, so I decided to do a merger! What is a merger, you may ask? A merger is when you take two pieces of clothing and merge them to create a new piece of clothing. In this merger, I’ll be making a dress out of a skirt and another dress. Check out my tutorial below to see how I did it!
Tools and Materials:
- Dress
- Skirt
- Butcher paper
- Marker
- Fabric scissors
- Sewing machine
- Clips

I checked out Pinterest and Google for some inspiring ideas for my design. I specifically looked for designs that mixed prints, as that’s what I would be doing in my project.
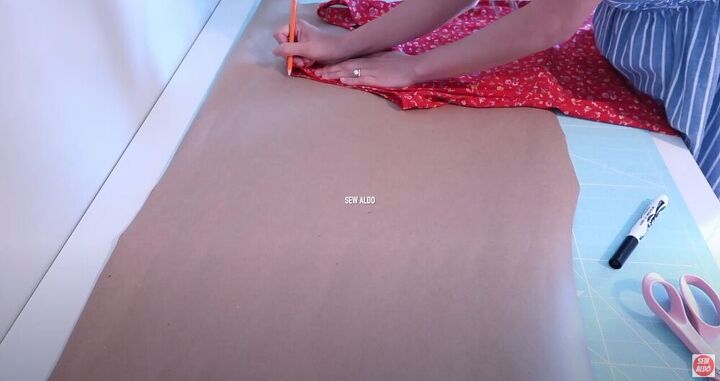
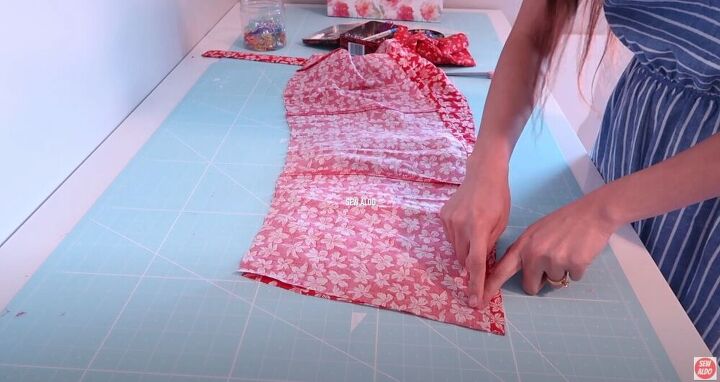
I decided that I wanted to use the skirt to create sleeves for the dress. I traced the armholes onto butcher paper and then drew out the length of sleeve that I wanted.
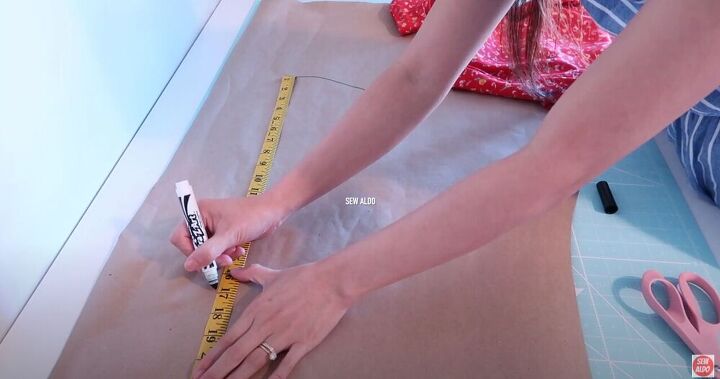
I wanted a ¾ length sleeve, so I measured 17 inches, which included the seam allowance.
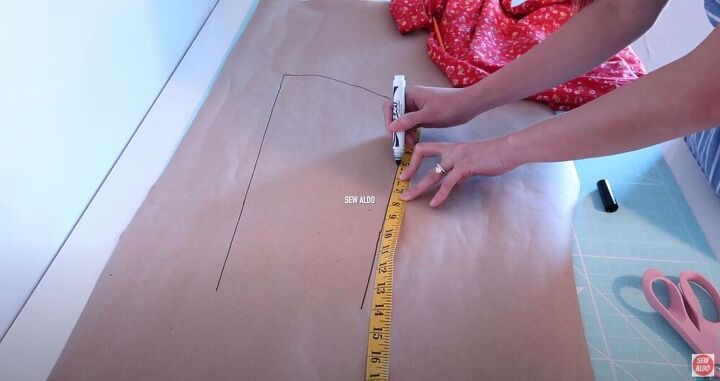
The inseam would be 14 inches and I slightly angled it to taper the sleeve a little bit.
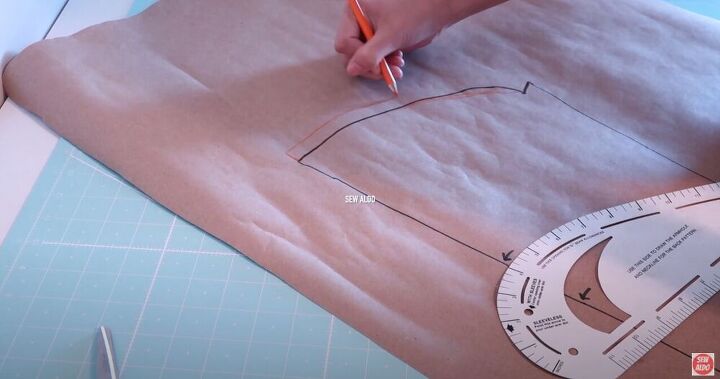
I also added a 1 cm seam allowance to the edge of the sleeve and cut out the pattern.
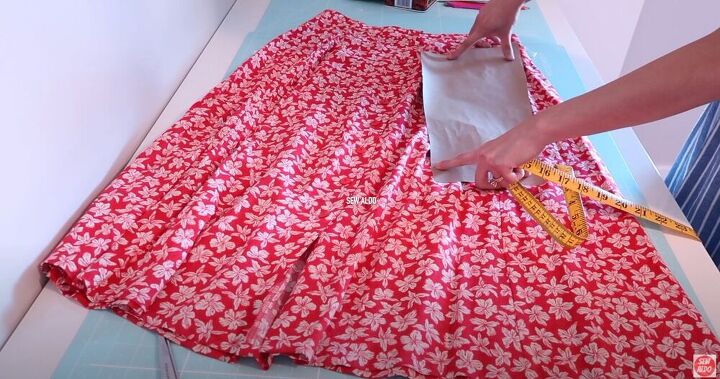
I started with the skirt by checking to make sure that I had enough to make the sleeves.
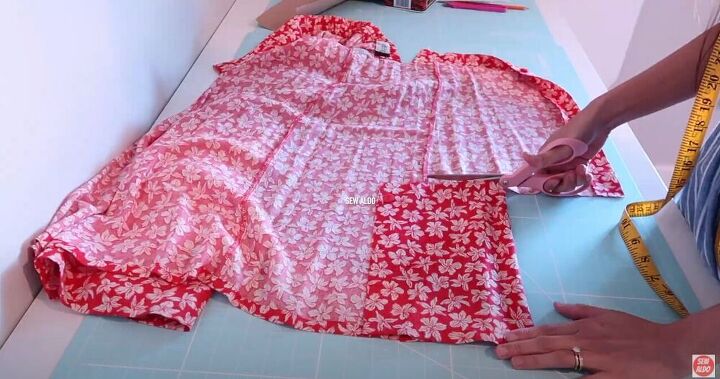
Once I was sure that I had more than enough material to create the sleeves, I cut about 11 inches off the hemline to use as a ruffle at the bottom of the dress.
Then I placed the pattern for my sleeve on the side fold of the top part of the skirt and traced it. I had a happy little accident here, with the waistband of the skirt working perfectly as the cuff for my new sleeve! I love it when things like this happen! I repeated this on the other edge of the skirt for the other sleeve.
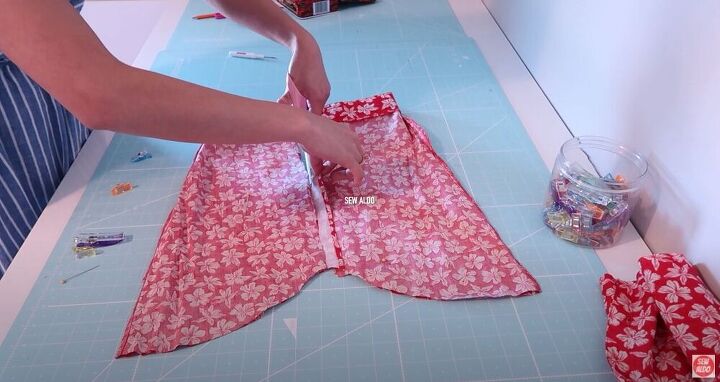
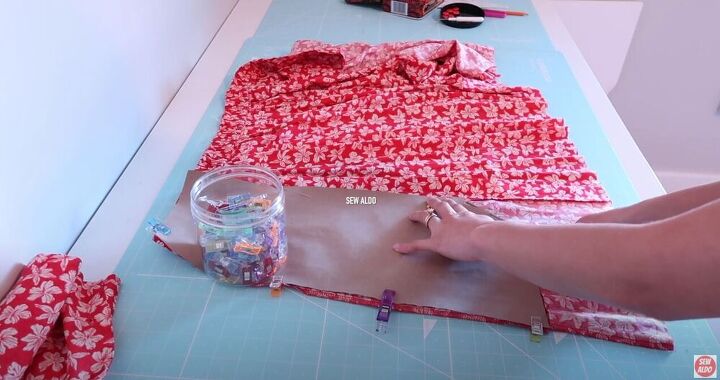
I also removed the plackets to get rid of any unnecessary bulk.
Then I seamed the sleeves, making sure to backstitch the edge of the sleeve to secure it.
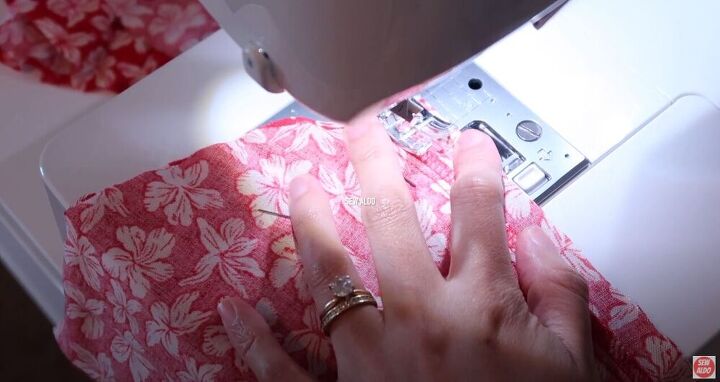
I turned the sleeve inside out and inserted it into the armhole of the dress. I matched the underarm seam and pinned it in place. I always like to start with the underarm seams and then the centerfold.
Then I sewed the sleeve in place. I repeated this process on the other sleeve.
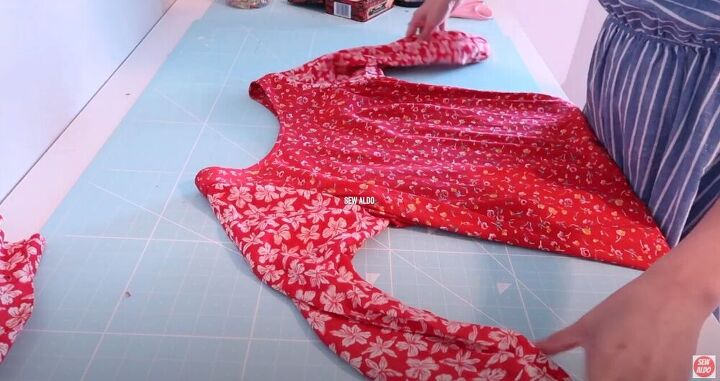
And now my dress had sleeves!
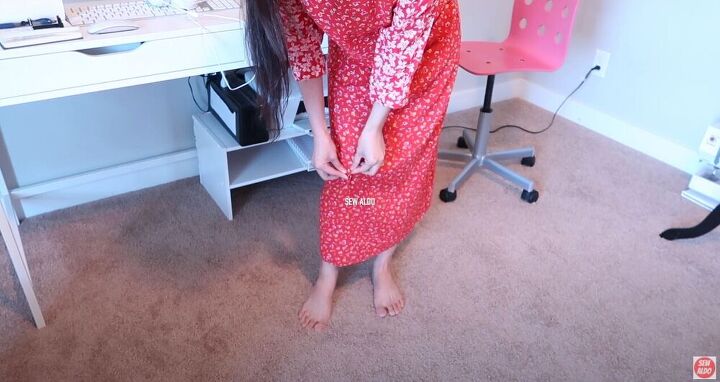
I tried the dress on to see how much fabric I wanted to remove from it before I attached the ruffle. Once I had determined how much I wanted to remove, I placed a pin in the fabric where I wanted the hemline to be.
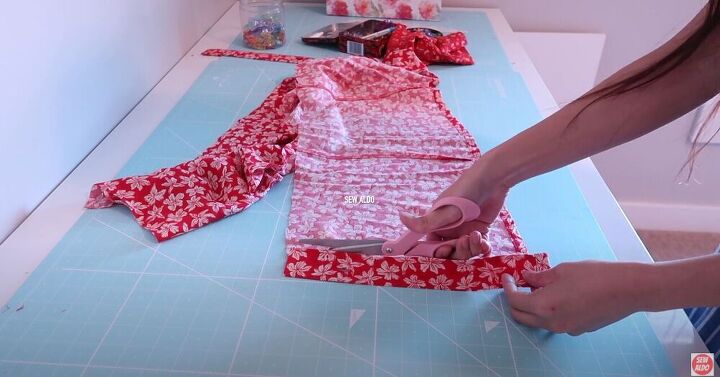
I cut off the excess fabric from the dress.
Tip:
When removing fabric from a garment, especially dresses and skirts, it’s helpful to work in small pieces and fold as you go. This will help keep your line as straight and even as possible.
I took the fabric from the skirt and removed the plackets.
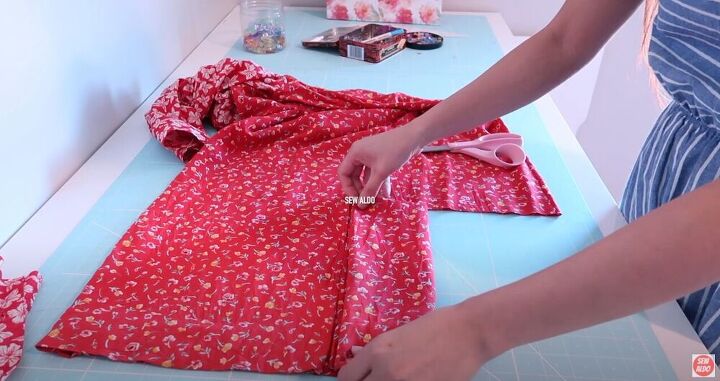
Then I folded the fabric with the right sides facing each other, matched the side seams, and sewed them together.

I also finished the raw edge by fold it over itself and sewing it in place, and then repeating this. You could do a double-fold if you’re comfortable with it, but doing it this way is a bit easier for beginners. It was also easier to do it this way because the fabric was quite soft.
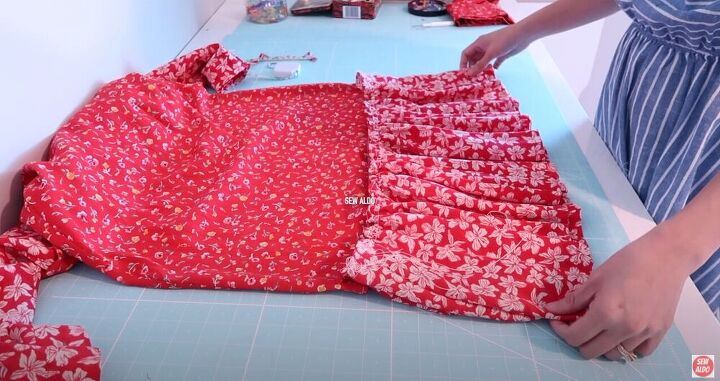
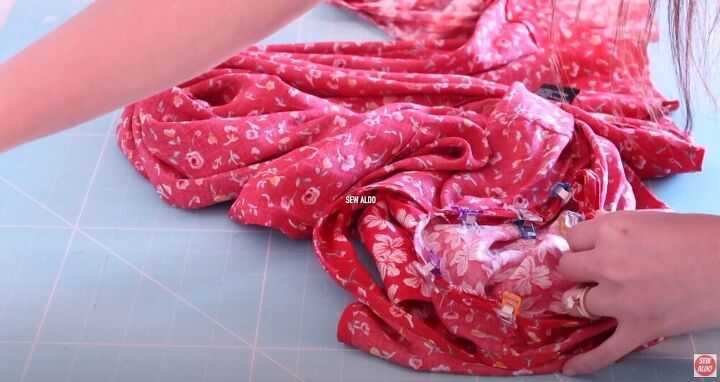
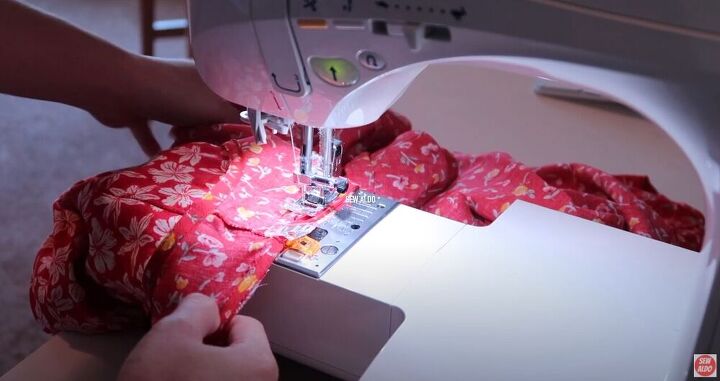
I added two rows of baste stitching to the top of the ruffle. Then I pulled one them, gathering the ruffle until it was the same width as the top part of the dress. I played with the ruffle a bit to make sure that it was evenly distributed before sewing it to the dress.
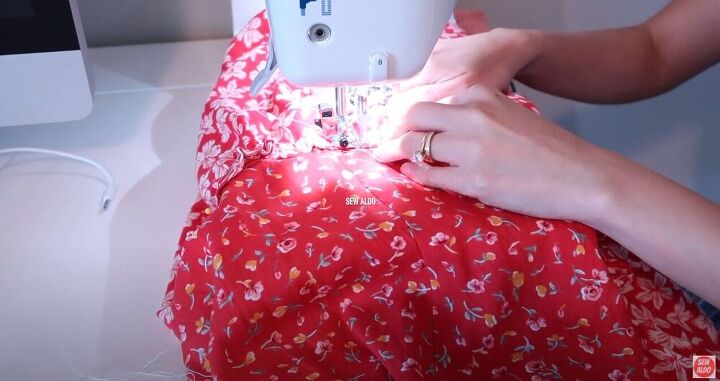
I sewed the ruffle on the right side of the fabric. I wanted the top bit of the ruffle to show, which is why I finished the raw edge earlier. I took my time with this part as I didn’t want to ruin the gathering that I had created when I pulled the baste stitch.
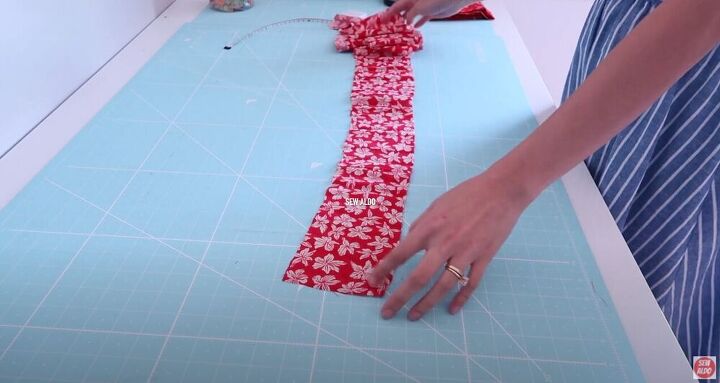
To pull the look together I made a belt out of the extra fabric I had from the skirt. I used a piece of fabric about 60 inches long and 4 inches wide.
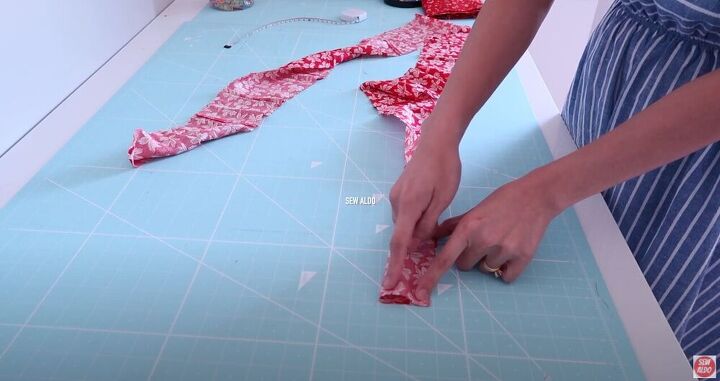
I folded the fabric over itself lengthwise, with the right sides facing each other.
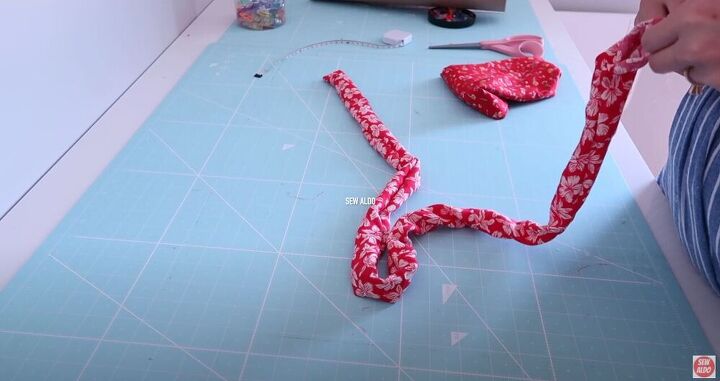
I left an opening at one end so that I could turn the belt right side out using a pencil, pressed it, and I was done!

I just love how this dress turned out! The patterns complement each other perfectly! Do you like to mix and match patterns? Let me know in the comments below!
The author may collect a small share of sales from the links on this page.


Comments
Join the conversation