How to Embellish Shoes With Broken Jewelry
Most of us have it stashed somewhere, a box full of twisted and knotted abandoned costume jewelry. Maybe you can’t quite get rid of it yet because there are memories attached, or you’ve been “saving” it for that project you just haven’t thought up yet.
Today we're going to get those sparkly jewels out of the closet and onto a staple in your wardrobe that you’ll actually wear again.
Check out the video above for an easy no-glue, failproof tutorial about how to make your own pair of embellished flats with broken jewelry, and two other styles that will LAST.
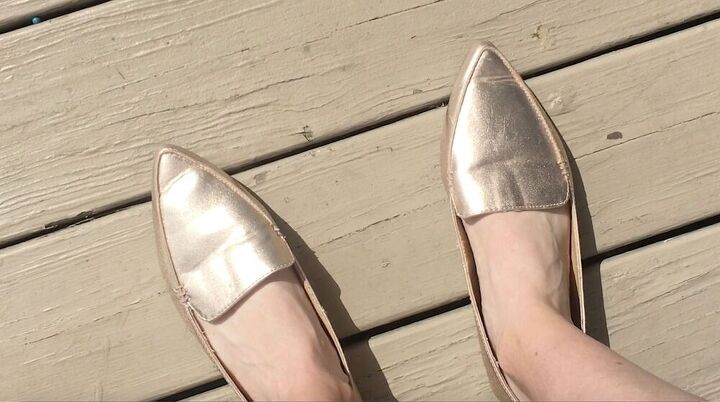
I'm starting off with these rose gold metallic loafers I purchased during a half-off sale at thrift store for $2. They're the Target brand, "A New Day, " and look like they've never been used. The color is cute, but it felt like they were missing something major.
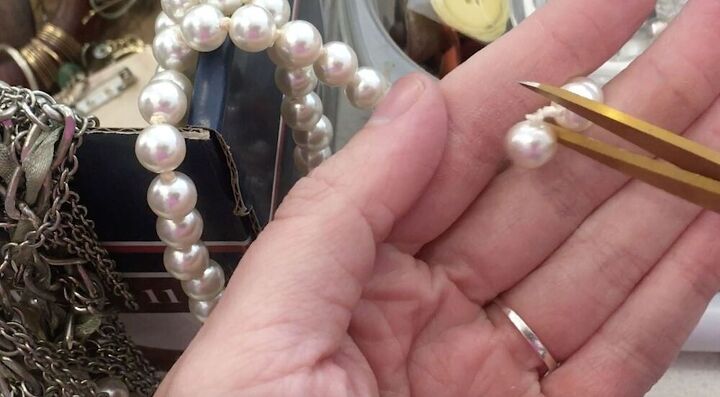
I raided my broken jewelry shoe box and started taking apart already broken necklaces to see what I had to work with. I cut pearls off of a destroyed necklace ...
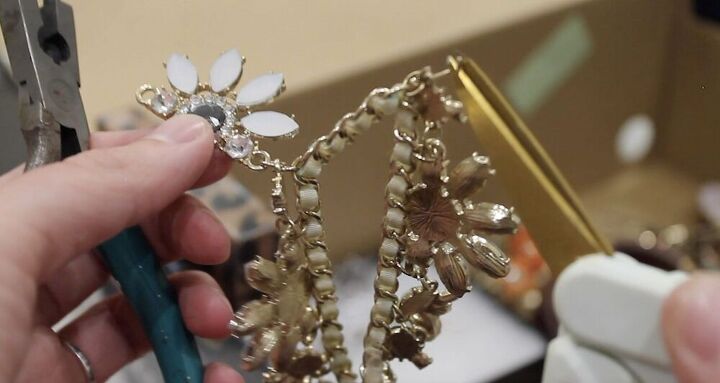
Then used a small jewelry plier/scissor tool to remove pendants from various broken "chunky" necklaces leftover from my former obsession with the Kohl's clearance jewelry section. I loved the styles, but the necklaces always fell apart on me eventually! I set all of my pieces aside.
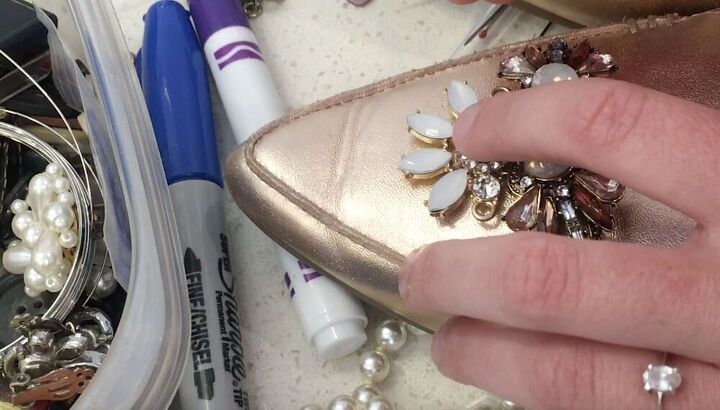
With all of my pieces unattached, I started the planning process, laying pieces on the shoes to finalize the design and placement I wanted. This part took the longest, I tried so many different designs. Once I finally felt confident in where I wanted the jewels to go I used a pen to mark small points where I would be sewing them onto the shoe.
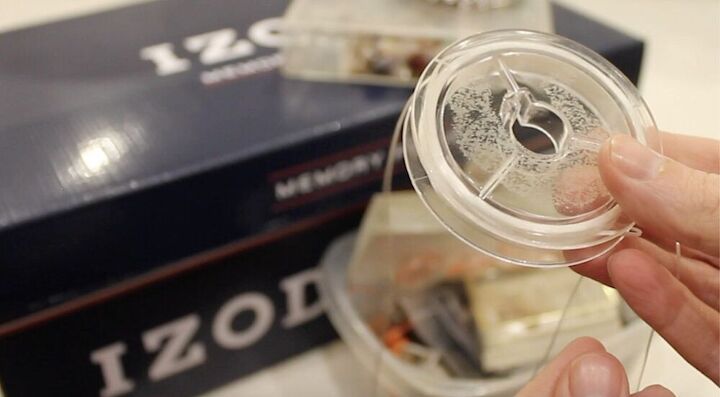
Living in the humid Southeast, I wasn't confident glue would keep the embellishments on my shoes so I opted to actually sew the little jewelry pieces on with elastic cording. I dug this up from the bottom of my craft box, and I enjoyed the fact that the stretchable cord was clear so it's invisible against the jewels on the shoe.
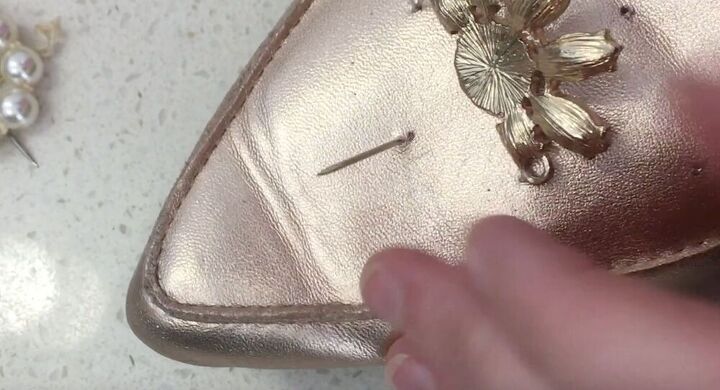
I then used a heavy-duty needle and my piers to create holes on the points I had previously marked with a pen. Running the needle through this point before starting the sewing process helped a lot to ensure the needle would ease through the pleather of the shoe without much fight.
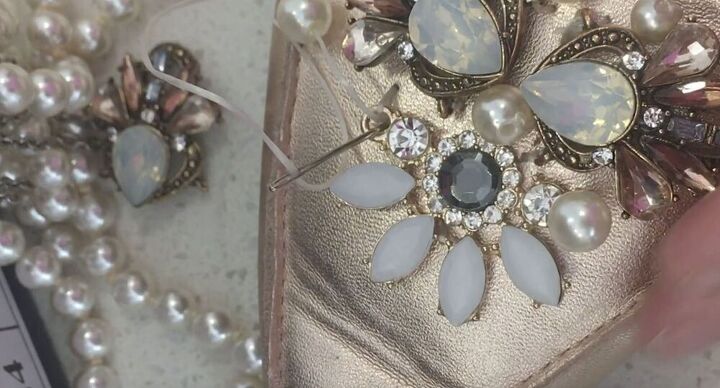
I stitched in and out through the brackets in the broken jewelry pieces to seamlessly attach them to the shoe. After I had my major pieces secured to the shoe I sewed on pearls of various sizes to cover any parts of the jewelry pieces that I didn't want seen (like the gold loop in the photo above). Once I had it how I liked, I triple knotted the elastic cord and secured it under stitches in the underside of the shoe.
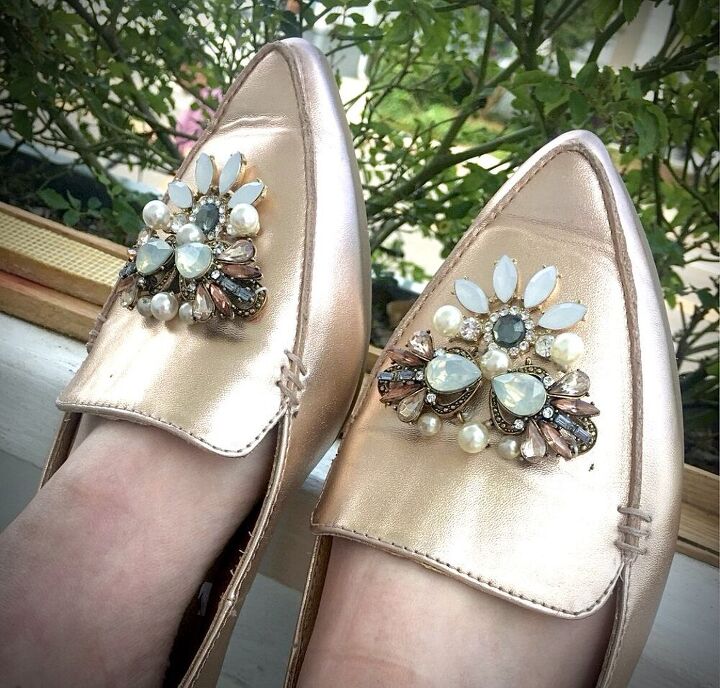
And that's it! You've got a new pair of embellished flats and your jewelry junk drawer is a little lighter! The possibilities for this project are endless. I plan on making a pair of heels to wear to my wedding, embellished with my grandma's vintage costume jewelry.
If you try this project, tag me at @Sew_Much2Wear!
To see more upcycling tutorials, visit my YouTube channel: https://www.youtube.com/channel/UC1FbMAy3uLwOX62G9SlcpKw.
The author may collect a small share of sales from the links on this page.


Comments
Join the conversation
Loved,loved,your project.
And as a crafter,I have never seen a project on this site I was inspired to do.
Not there had not been some great ideas.
Thanks for sharing.
Yes,I will definitely try it