Turn Old Pants Into New Perfect Pajamas

Do you have a pair of torn or stained pants sitting at home that you just aren’t ready to throw away? I had two pairs of pajama pants which had definitely seen better days and I thought it was time to give them new life. I hate throwing old clothes away and decided to rather take my old pairs of pants on an upcycle journey. If you are looking for some inspiration on how to revamp your old pajama pants, follow my step by step tutorial below!
Tools and Materials:
- Pajama pants
- Sewing machine
- Bias binding
- Fabric Scissors
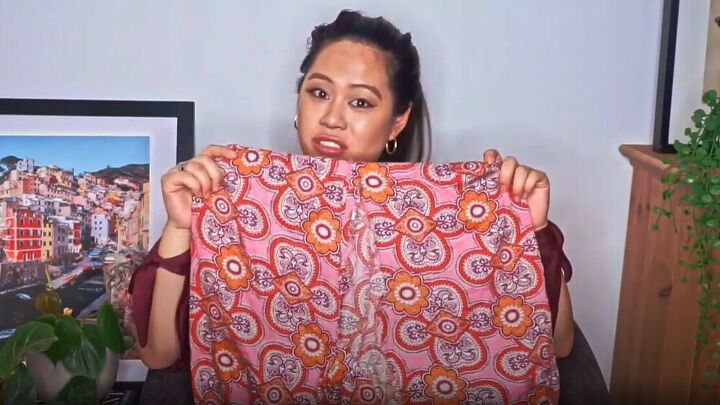
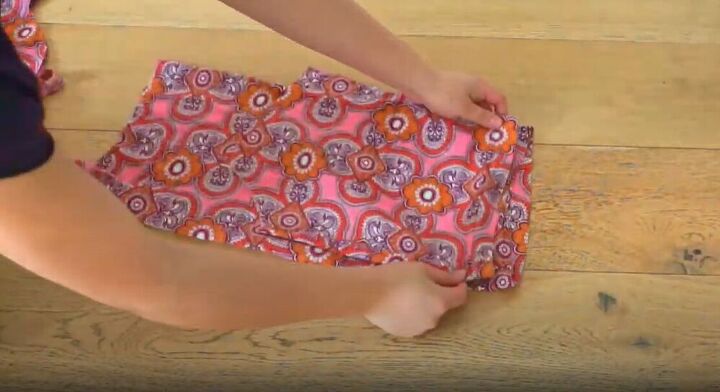
The first pair I upcycled are these cute flowy patterned pajama pants. I love these pants but I had to stop wearing them because of a huge split that they had right down the back. I decided that this was a pair I just had to salvage!
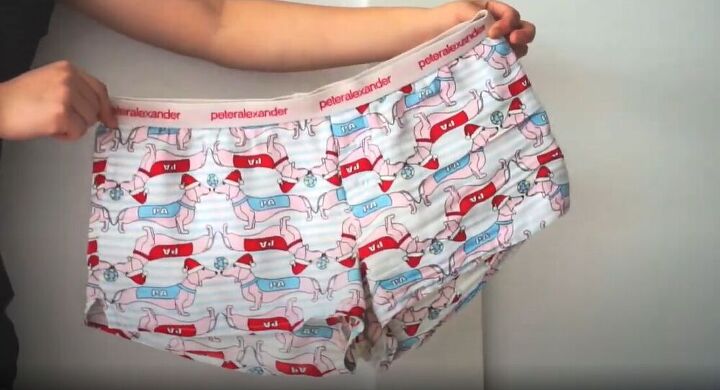
I knew that I would be making a cute pair of pajama shorts out of my old pair and so to start, I used this pair of short shorts to copy for the shape of my new pair.
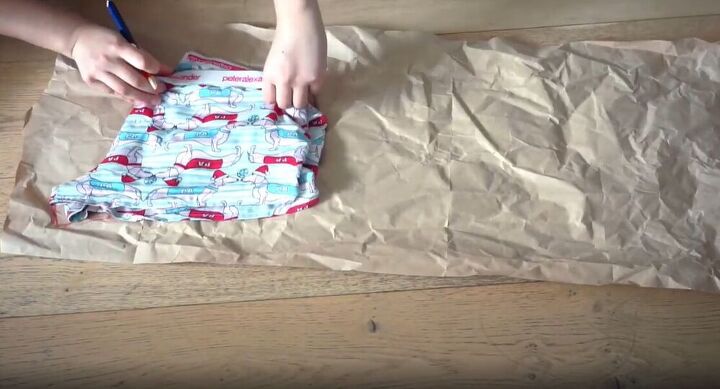
I don’t like waste so next, I took some old wrapping paper I had at home and traced the shape of my shorts onto it. I love using this paper because I find that it has the perfect thickness and quality for pattern making. I folded the shorts in half and started tracing.
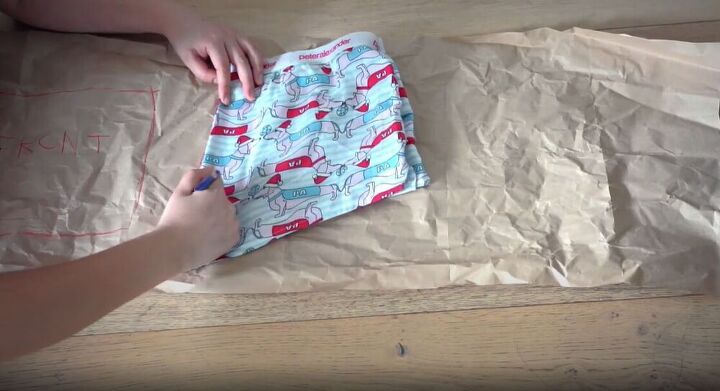
I then turned the shorts over and traced the back pattern of the shorts.
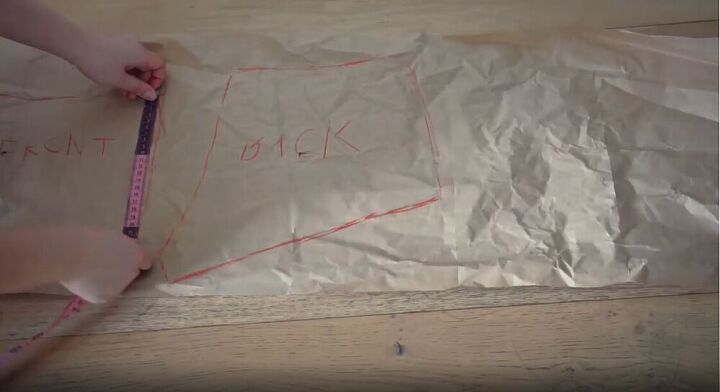
Don’t forget to measure the side seams to make sure they match so that your end result is nothing short of perfection!

I cut around the shorts pattern leaving a little extra room. I left about a one-centimeter seam allowance on the edges.
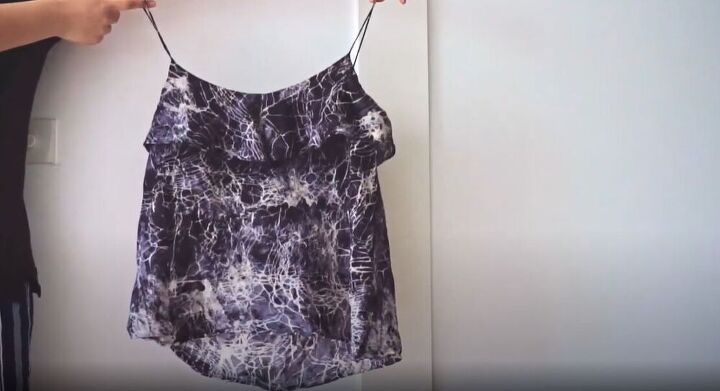
Next, I grabbed this cute little top which has the perfect amount of flow! I used the top to copy onto the old pair of pants.
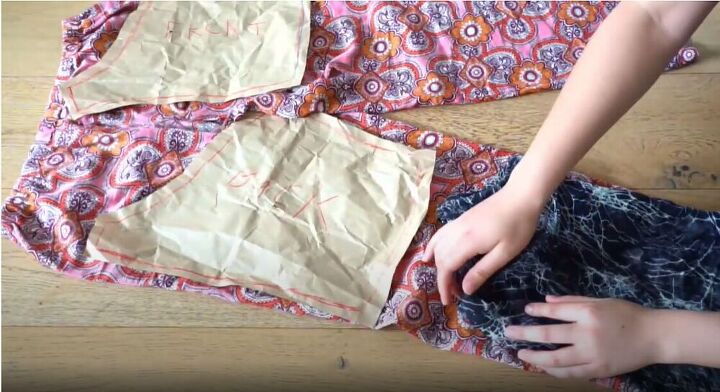
sI lay down my shorts patterns on each side of the pair of old pants and also fit the flowy top onto a leg of the pants. Once I had them all in place I pinned them down onto the pants. I made sure to avoid all the tears in the pants so that my new pair would be absolutely flawless!
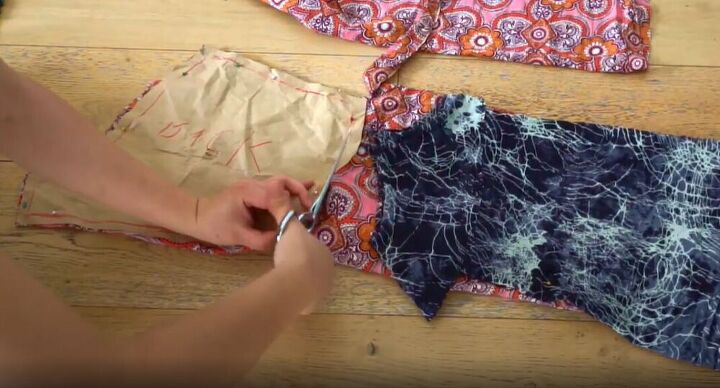
I cut out the patterns in my old pair of pants. It was a bit scary chopping one of my favorite pairs of pants into pieces but I knew that it would be worth it! I couldn’t wait to see the end result!
I removed all the pins from the pattern I made from my top and copied the piece onto the other leg of the pajama pants.
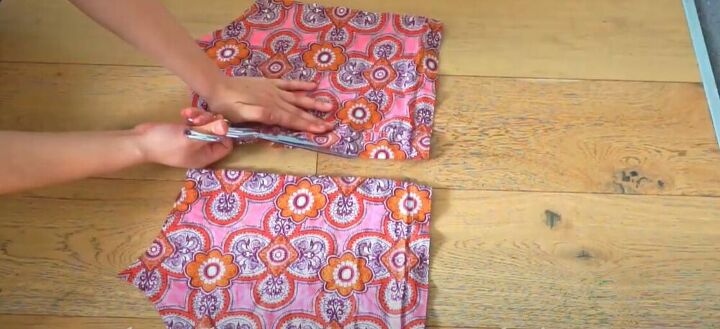
I took my two new top pattern pieces and cut down the side seam of each one. I love how much I was able to get out of one pair of old pants. Who knew that I would have enough material to make shorts and a super cute pajama top out of this amazing fabric?
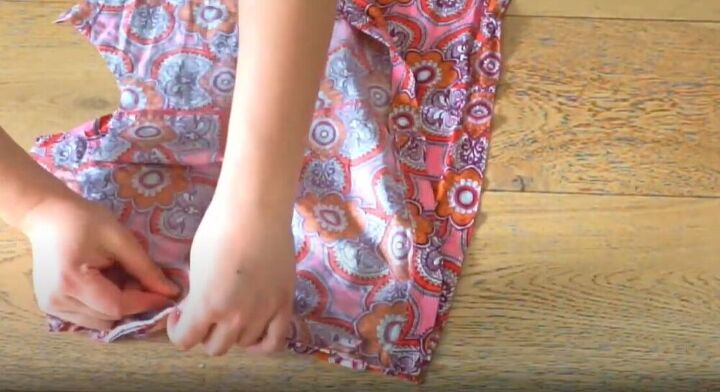
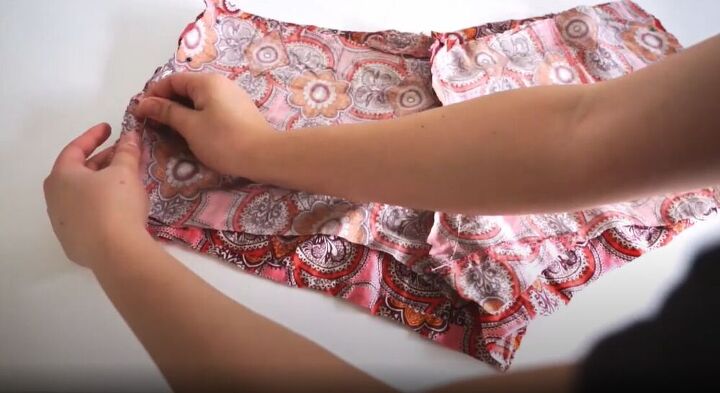
I placed the pieces back to back and put pins in to show me where to sew the sides down.

I then removed the wrapping paper from my shorts pattern pieces and placed the front pieces back to back. I pinned the crotch curve of the two pieces and then repeated the same step on the back pattern pieces of the shorts.
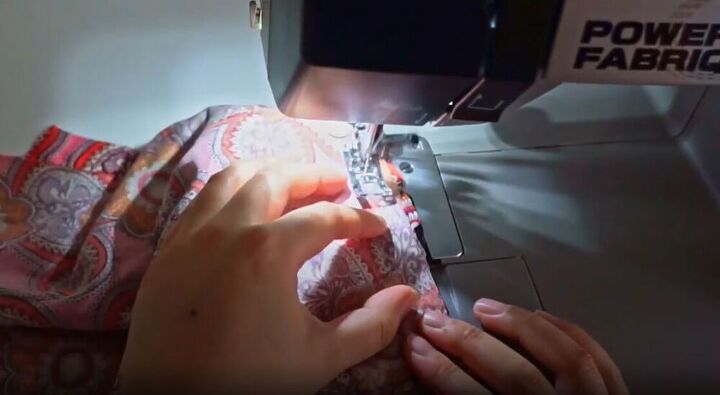
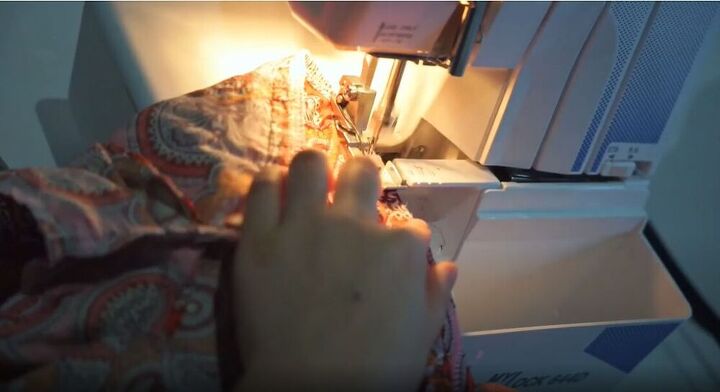
Now it’s time to sew! I sewed the crotch curve of both the front and back pieces. It’s so exciting seeing this gorgeous new pair of pajama shorts finally coming together!
In this step, I placed the back and front pieces on top of each other, inside out, and pinned the side seams together. I then sewed exactly where I had pinned and sewed the crotch line together as well. It’s getting hard to believe that these shorts had been a torn pair of pants!
Next, I decide to remove the waistband from the pair of shorts I had used as a pattern copy earlier. I definitely could have used my own elastic but because I hate waste I decided to use this instead.
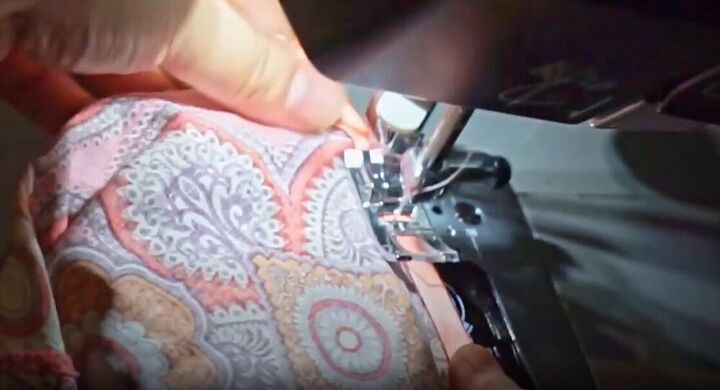
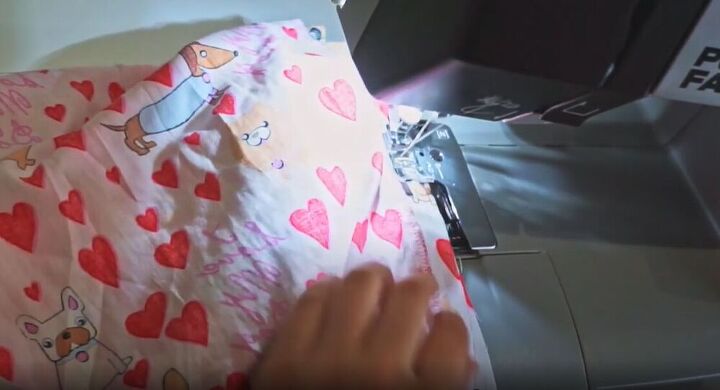
Then I sewed over all the edges of the shorts to make sure that this stunning upcycled pair wouldn’t fray or tear at the edges. I always think it’s better to put in a little extra effort so that I’m left with quality, long-lasting clothes.
I then added bias binding to all the edges of the top to give it a nice, clean finish. I chose binding in the same color family as my patterned pajamas to add to the finished effect.
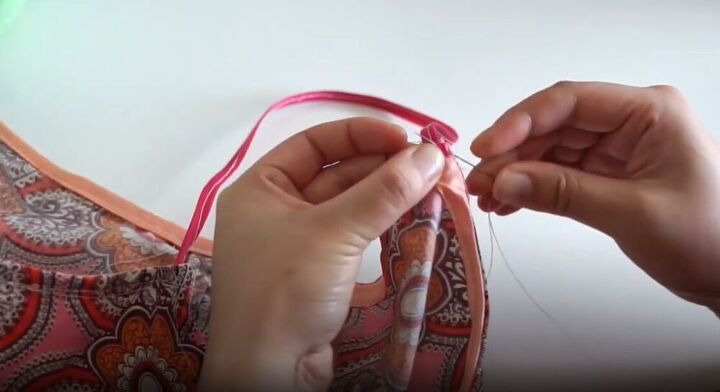
I then took some more bias binding and sewed it onto my top to create spaghetti straps. I chose this hot pink color which matches perfectly with my new patterned pajamas. You can get creative with your color choices, especially if you have a plainer pair of pajamas.
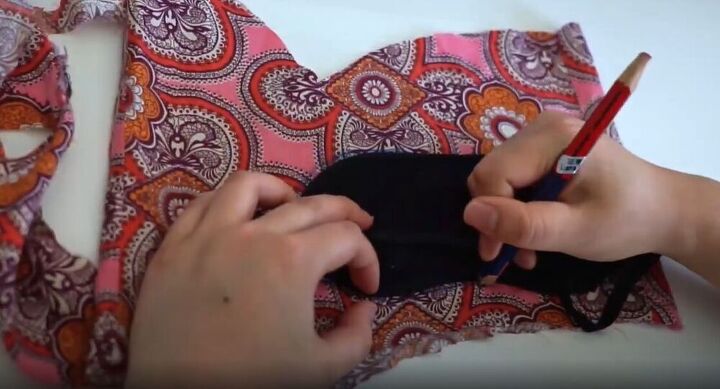
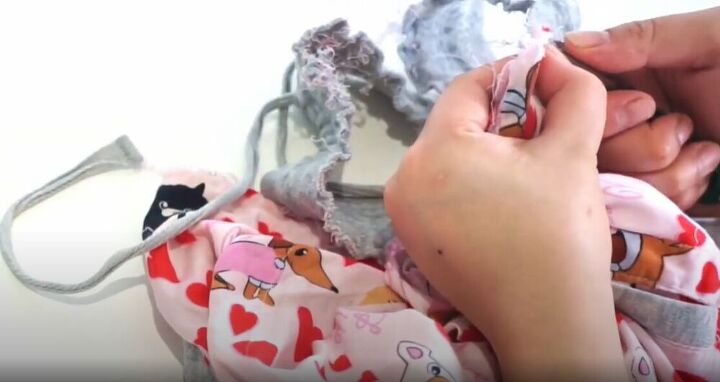
I decided to add a little something extra to my new pajama set and made a matching eye mask. This is a super cute night time accessory and something that really helps me get a good night’s sleep! I traced the pattern of the eye mask onto extra pieces of the fabric and then cut out the pattern.
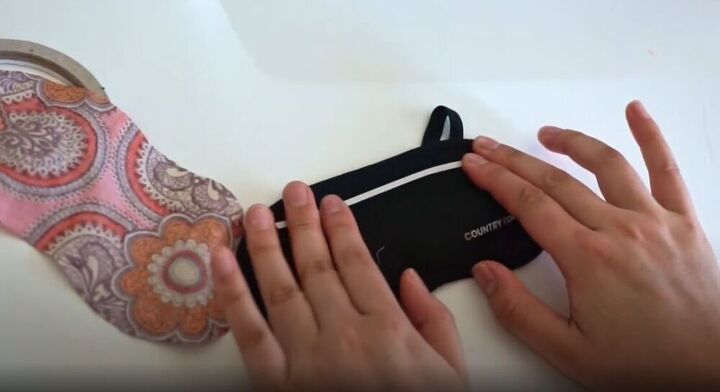
A great tip for sewing fabric onto the eye mask is to use double-sided tape to hold the fabric in place. I sewed my fabric on and then added the matching, hot pink bias binding onto the edges, which really just creates a more sophisticated finish, especially on rough or curved edges.
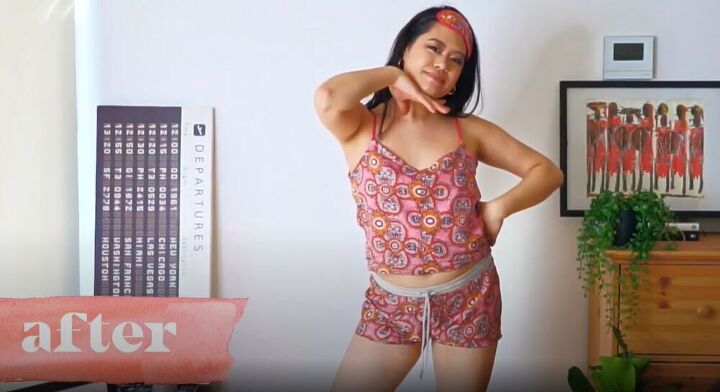
I absolutely adore this gorgeous new two-piece. It was so easy to make and I’m obsessed with my cute little matching eye mask!
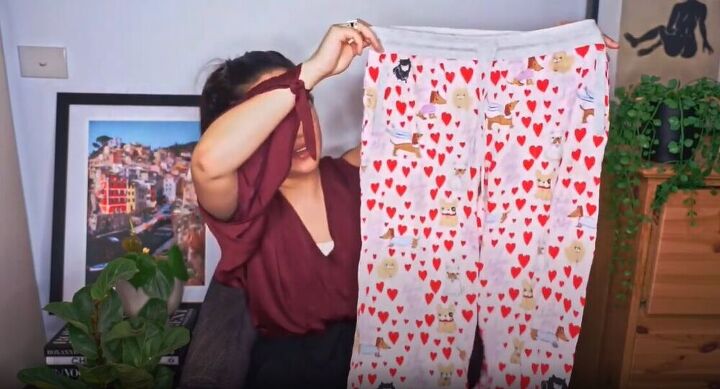
For this next upcycle I had these cute three quarter pajama pants with a stain on the back. I put these pants through the wash about four times but It didn’t help. That’s when I knew it was time to make something new out of them.
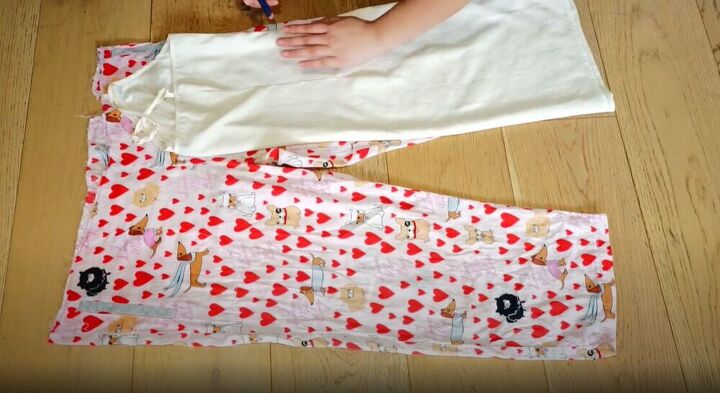
In this step I used this super cute, flowy nightgown which I wear all the time. It’s so comfortable and I knew I would love to have another one. I folded it in half and traced its pattern on one leg of the pajama pants.
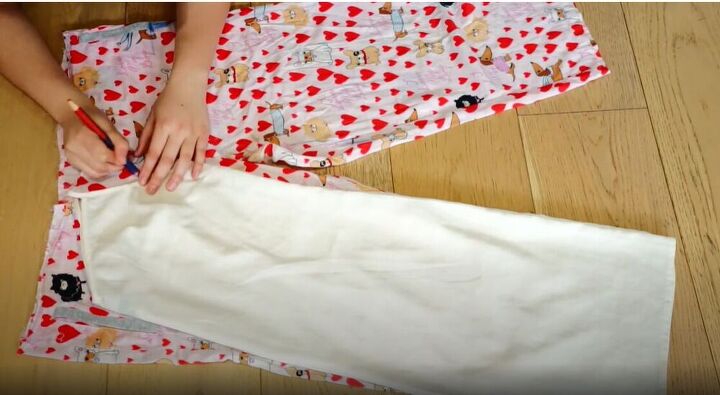
I then turned the nightgown over and traced it onto the other leg of the pants, avoiding the stain at all costs!
Now that I had traced the front of the nightgown on one leg and the back on the other leg I cut out my pattern. I then cut down the side seams of both pieces so that I would be able to sew them together later to create an amazing nightgown!
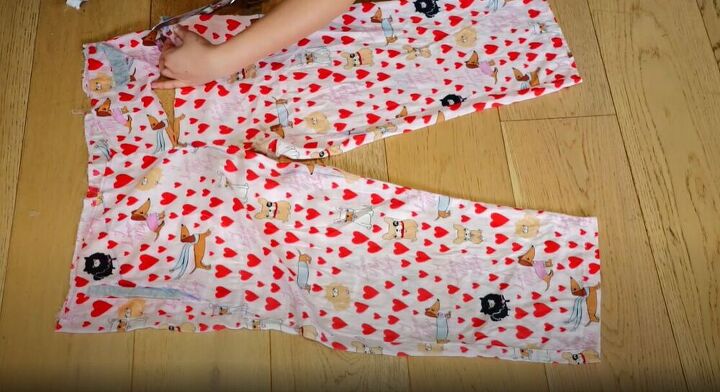
In this next step, I sewed down all of the side seams and secured them by sewing the edges of the seams.
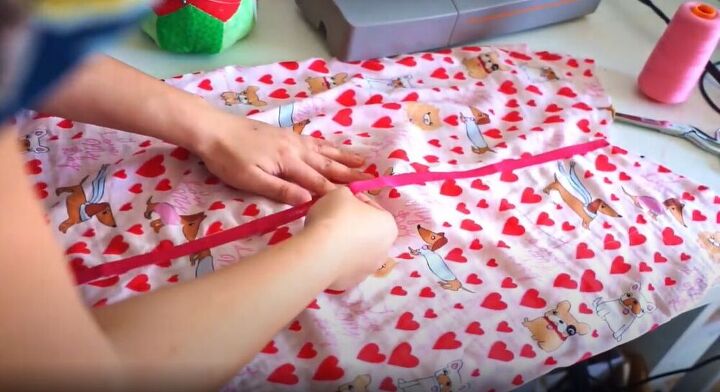
I am a bit of a perfectionist, so I decided to cover up the front seam of my new nightgown with some bias binding. Although I used the binding to cover up a small imperfection, I absolutely adore the color and texture it adds to the piece. I used double-sided tape to hold it in place and then sewed it on.
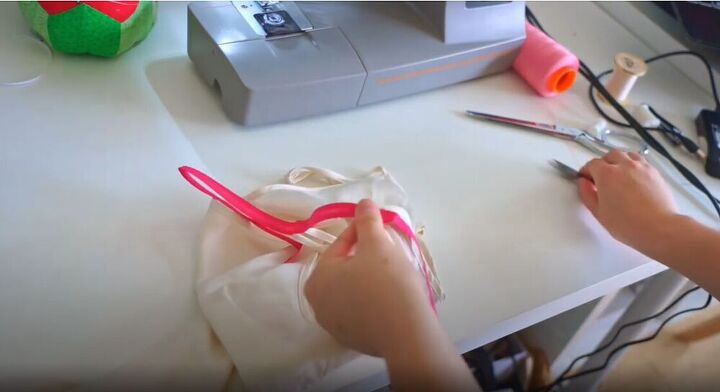
Using a bit more of the hot pink bias binding (clearly I’m obsessed), I measured straps using the straps on the original nightgown.
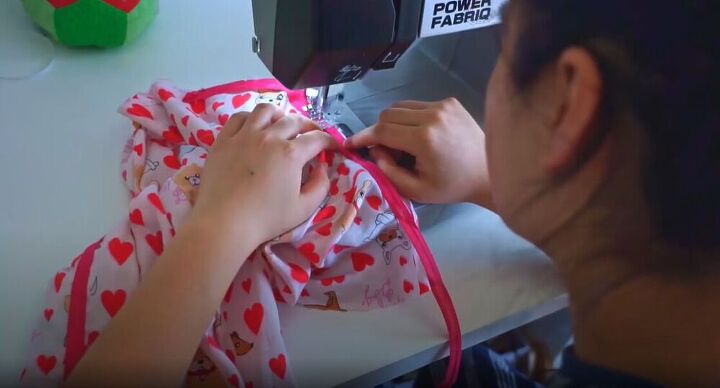
Once my straps had been measured I added even more bias binding to all the raw edges of the nightgown in the front and the back. As you can tell I love using bias binding. It is so versatile and easy to use and I adore the gorgeous finish the binding gives to the gown. It really classes it up!
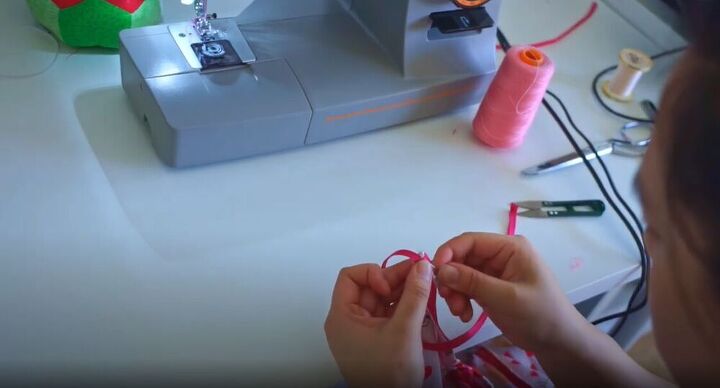
Once all my binding was done I sewed on the spaghetti straps and used extra bias binding to add a small bow to the front of the gown to give it a cute finish.
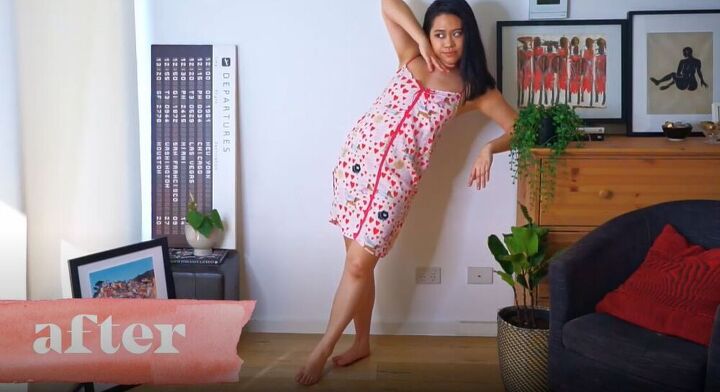
This nightgown is everything! I love how comfortable it is and how easy it was to put together from my old stained pants. I am so happy with my two new pairs of pajamas! Which new pair is your favorite? Let me know in the comments below!
The author may collect a small share of sales from the links on this page.


Comments
Join the conversation
I love the gown, may have to give it a try myself! Thanks for the inspiration.
Thank you so much! Definitely give it a try! It'll be lots of fun :)