See How to Turn Baggy Pants Into a Crop Top and Elastic Pants Set

Everyone loves a good thrift flip! Recently I was gifted a vintage pair of baggy Ralph Lauren pants with a funky waistband. They were great pants and I didn’t want to mess with them at first because I really did like them and I was scared to ruin them. The more I thought about it, though, I realized that I was just not likely to wear these pants as they were. So I worked up my courage and picked up my scissors, and ended up with an outfit I am super happy with and will definitely be wearing.
Tools and materials:
- Pants
- Scissors
- Sewing pins
- Overlocker
- Sewing machine
- Eyelet kit
- Sewing clippers
- Hammer
- Shoelace (or something similar)
- Elastic
- Chain accessory
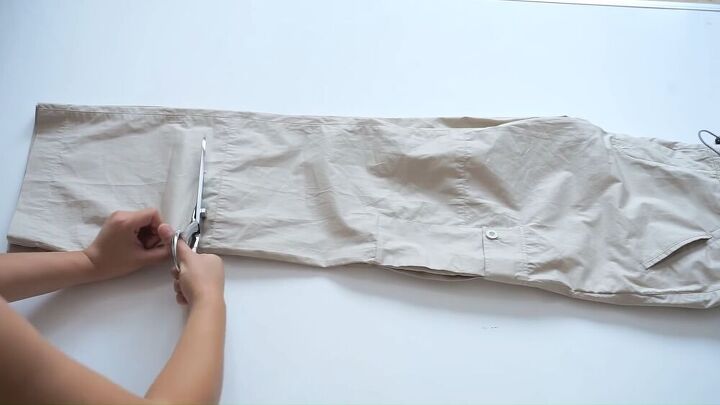
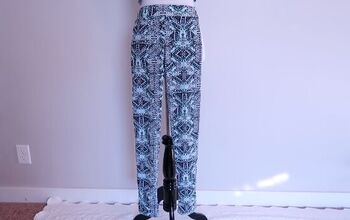
You’re going to start off by taking your pants and determining how much you want to remove. Once you’ve decided on your desired length and pinned it to mark where you’re going to cut, grab your scissors and cut along your markings.
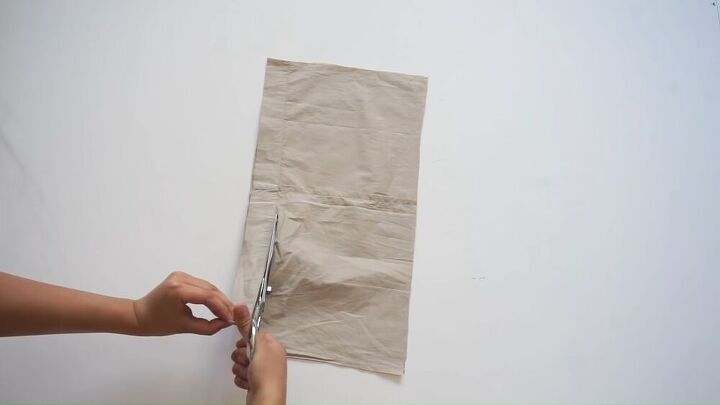
Now you’re going to take the fabric that you’ve removed from the pants and cut the side seams so that you can open them up. Then cut off the folded-over bottom hem. You’ll be using this piece later for the halter neck strap, so try to cut the edges as evenly as possible. Once you’re done with that, grab your rectangle piece and overlock all the edges.
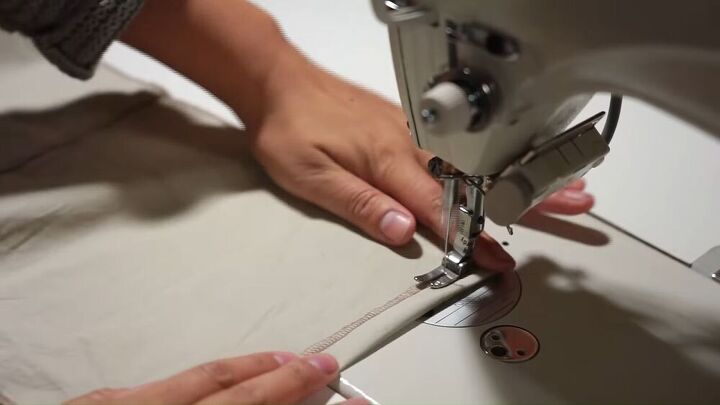
Grab both the rectangle pieces and sew them together to form a single pattern piece. Then fold in all edges at 1.4 cm to conceal all the overlocked edges.
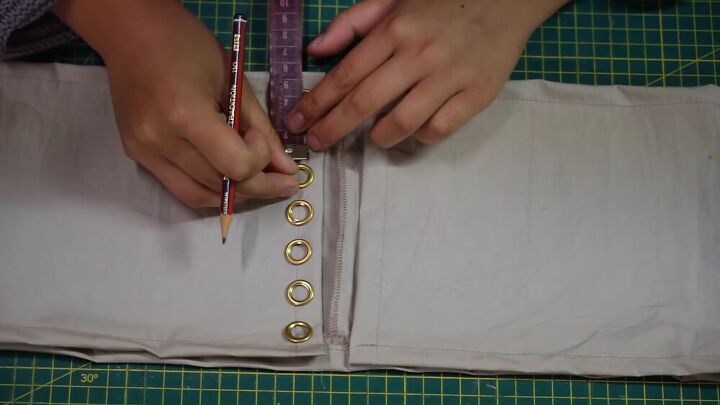
You’re now going to take the fabric you sewed together and fold it in thirds so that the open sides are facing each other. Then grab an eyelet kit and place the eyelets where you’re going to want them on either side and mark their placements by outlining the inner hole, measuring so that they’re all equidistant.
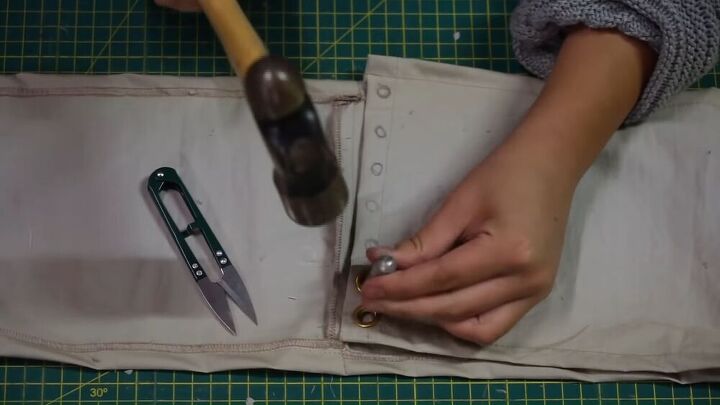
Now that you’ve marked your eyelets, it’s time to secure them in place. You’re going to grab your sewing clippers and cut out the insides of the holes you’ve drawn. Then, following the instructions of the eyelet kit, you’re going to insert the eyelets into the hole and hammer them in place.
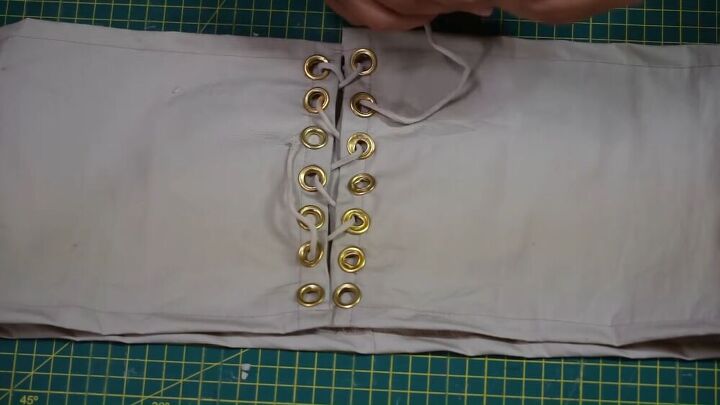
Using a single shoelace or something similar, lace up the top through the eyelets. When you get to the top, tie it off at the ends in a bow.
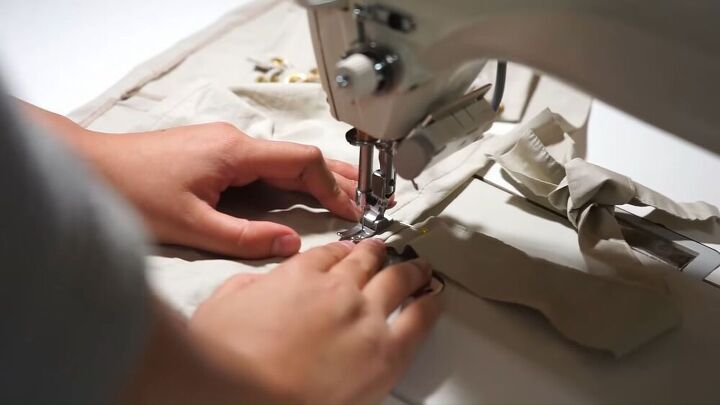
Try on the top and see if you’re happy with the fit. If you need to, you can add darts like I did to make it fit better. Once you’re satisfied with the way it fits, take the spare strap from earlier and attach it as the halter neck. Then sew it in place and iron your crop top. That’s half your project done!
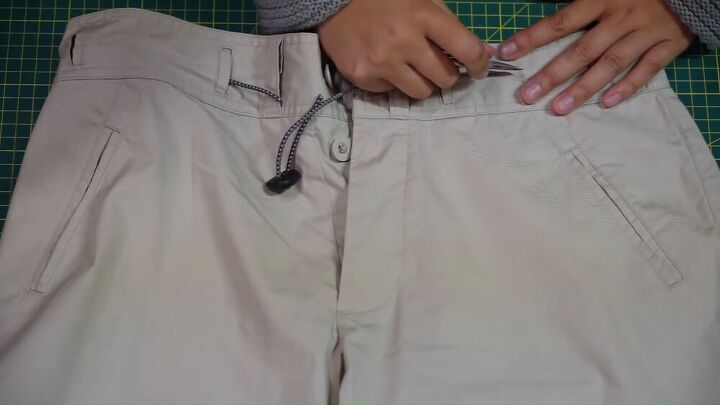
The first thing you’ll need to do to the pants is to remove the drawstring. Using your clippers to pick at the drawstring edges, remove it from the waistband of the pants.
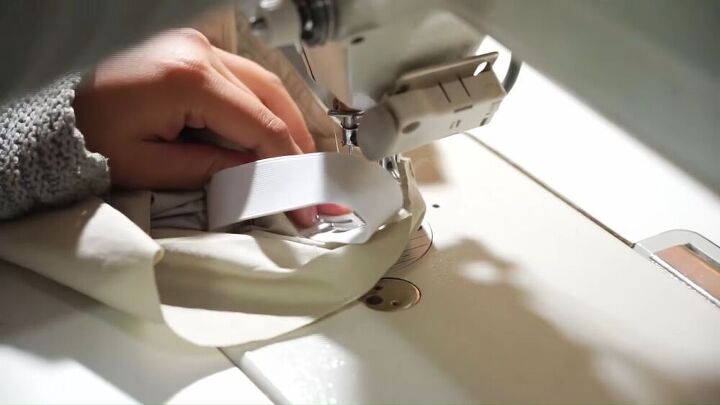
Grab some elastic and cut it to fit the width you need around the bottom of the pant leg. Then sew the ends of the elastic together to create a circle. Do this twice so that you have two circular pieces of elastic. Then you’re going to attach them to the bottom hem of the pants and fold the pants over the elastic as you sew.
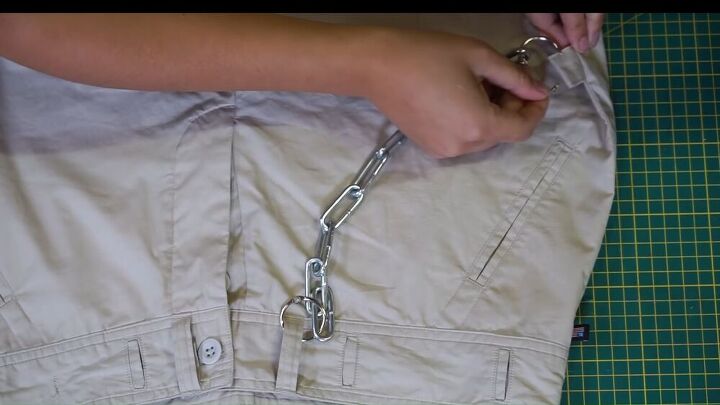
Lastly, you’re going to add a chain accessory. To do this you’re going to connect the chain to the belt loop next to the button and then create a loop at the side seam of the pants to connect the chain to. To make the loop, unpick the side seams and then connect the loop. Then sew it in place and overlock it. To watch me do this, go to minute 7:18 in the video. Lastly, just connect the chain accessory through that loop.
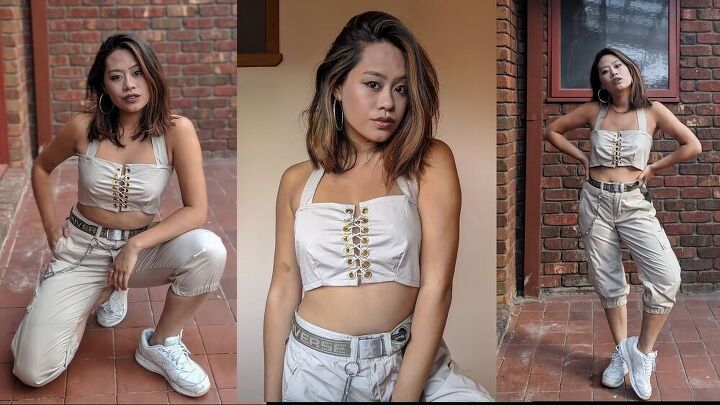
That’s it, you guys! I totally love how this outfit came out. Honestly, I would have preferred the crop top to be a little longer and show a bit less skin, but I used only the material of the pants, and I think it’s super cute. I plan to style it with an oversized jacket and chunky sneakers for a street look. How would you style this outfit? Let me know in the comments!
The author may collect a small share of sales from the links on this page.


Comments
Join the conversation