Learn How to Do 5 Epic T-shirt Upcycles

I absolutely love refashioning clothes to make amazing, professional-looking pieces. I took 5 different T-shirts and transformed them into edgy, trendy, and incredible looks. The best part of this upcycle is that you can use old T-shirts you have sitting at home or just head on over to the thrift store to pick up a few Ts. If you want to learn how to recreate these unbelievable upcycles, this tutorial is definitely for you! Follow my easy, step-by-step guide and add these fashion-forward pieces to your wardrobe!
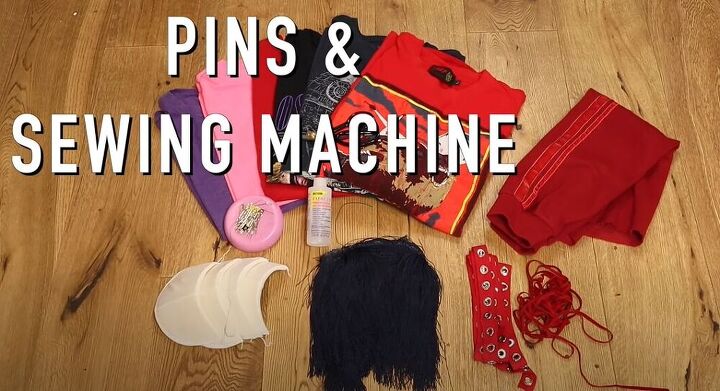
Tools and materials:
- T-shirts
- Shoulder pads
- Tie/lace
- 3-5 yards of fringe
- 3-4 yards of grommet tape
- Pant legs
- Fabric scissors
- Fabric glue
- Pins
- Sewing machine
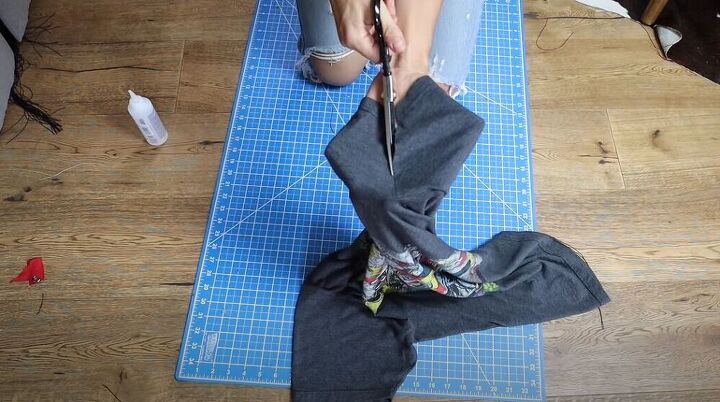
The first shirt I’ll be refashioning is a super cute and trendy, padded shoulder T. I thrifted a fun X-men T-shirt and got started by cutting open the underarm seam.
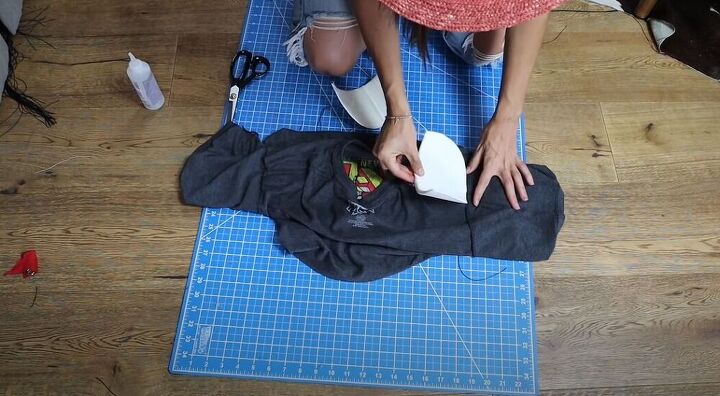
I turned the T inside out and laid a little glue down for the shoulder pad. I made sure that the rounded edge would be lying out by my arm and that the straight edge would be on the inside by my neck. A great tip is to try and line up the curved side with the shoulder seam of the T-shirt.
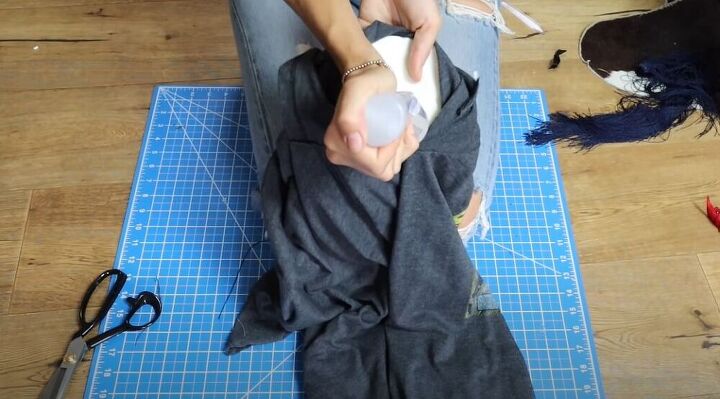
Next, I turned the T right side out and put some glue on the shoulder pad. I then tucked the sleeve inside so that the fabric would stick to the shoulder pad. I used my hand to check that the material was lying nice and flat. If the sleeves are a little too long, you can always cut off the ends of them.

I am absolutely head over heels for this shoulder pad T!
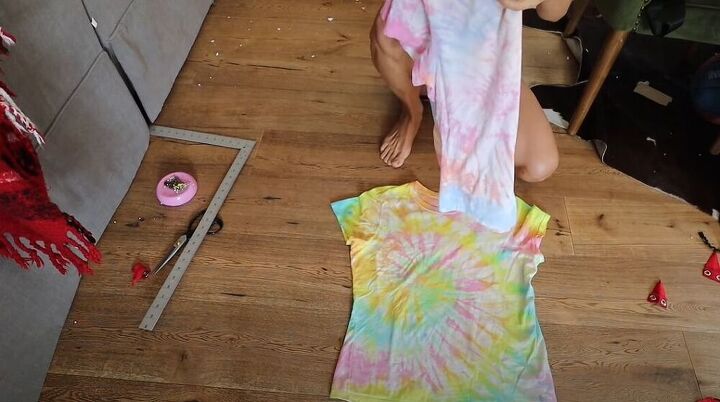
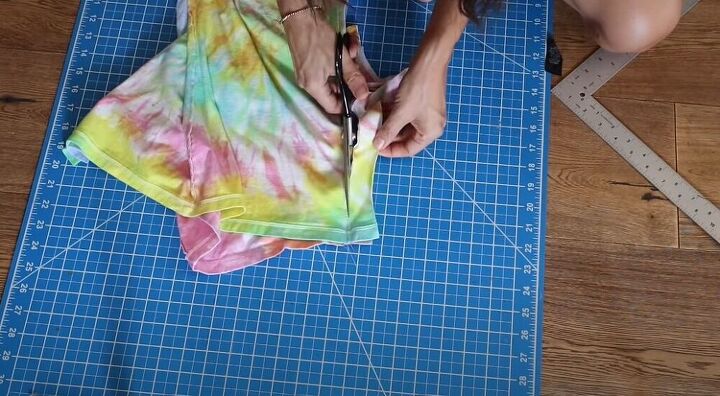
For the next T-shirt trend, I decided to make a split T. I didn’t want to use a graphic T-shirt but I absolutely loved the idea of using tie-dye.
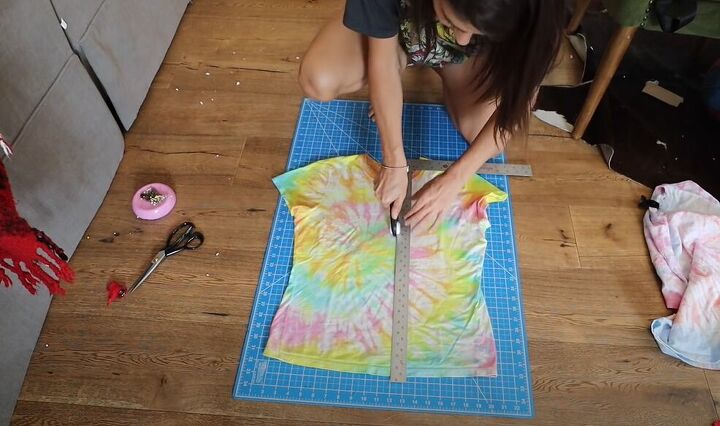
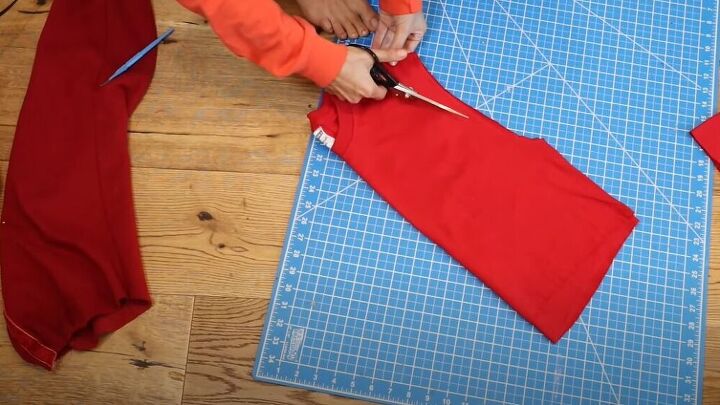
First, I needed to decide which side of each top I would use. Once I had decided I placed down my ruler leaving a small amount of seam allowance and used a rotary cutter to cut the fabric.
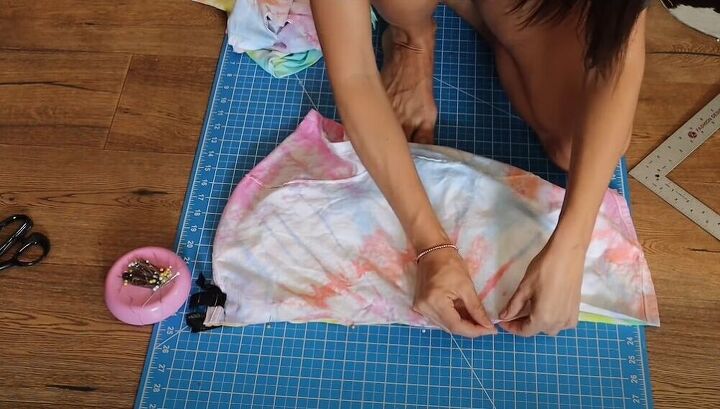
Next, I made sure the two sides were right sides together before I pinned the front pieces in place. I then turned the T-shirts over and pinned the backs together in the same way.
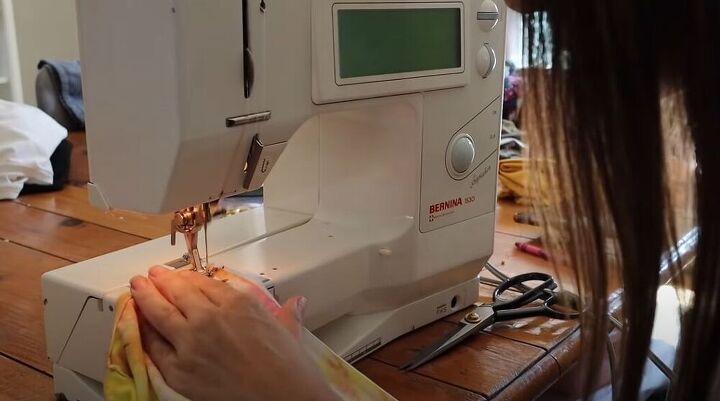
The first stitch that I did was a wide, straight stitch just to make sure that the new T-shirt worked.
I tried on the T and it was perfect! I then set my sewing machine to overlock and once that was finished, I cut off any excess material.
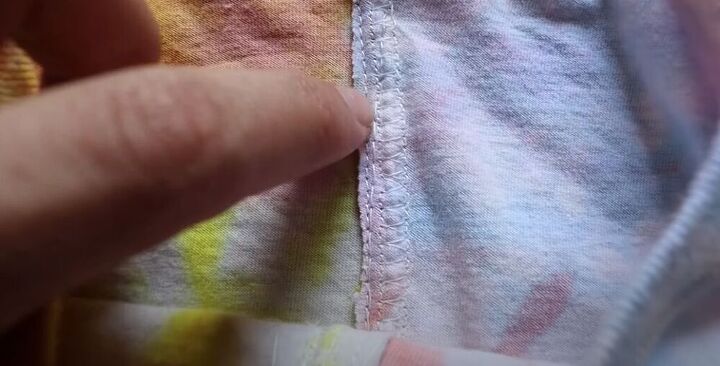
The last thing I did was fold over the seam allowance and topstitch it down. This left me with a clean, crisp front, making this new T look really professional.

This split tie-dye T is totally amazing! It’s such a fun look!
For this new, peek-a-boo long sleeve dress, I first decided where exactly I wanted to crop this long sleeve T.
Once I had pinned the top, I used my handy rotary cutter to cut it exactly where I wanted it.
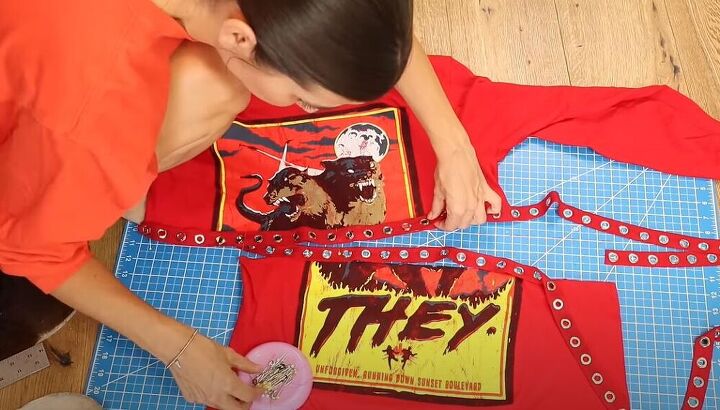
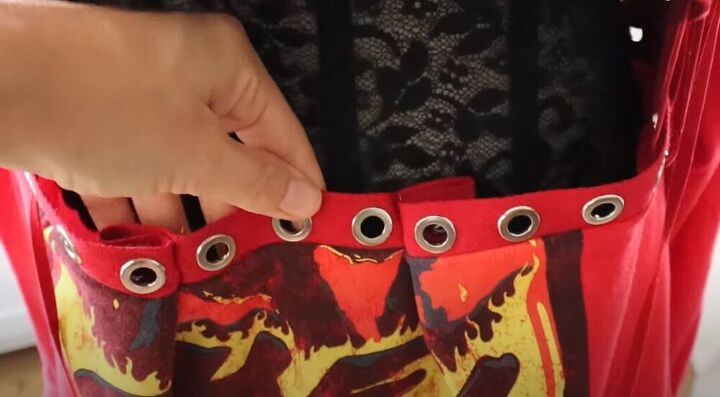
In order to attach my gorgeous, red grommet tape, I placed it on the shirt, right sides together, and pinned it down.
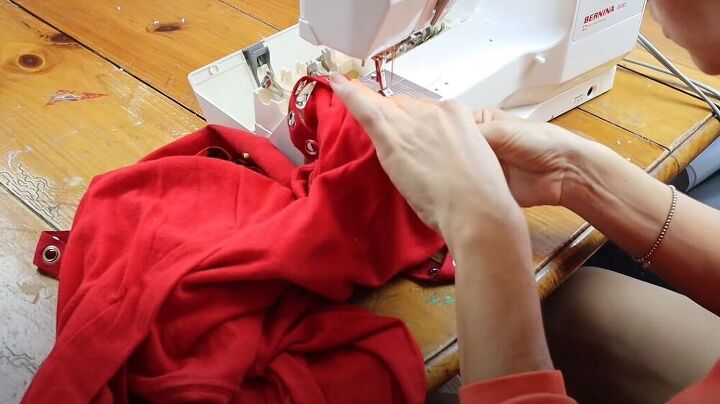
I then sewed right along the edge and once the tape was sewed on, I folded the tape down and pressed it so that the material would hold in the right position.
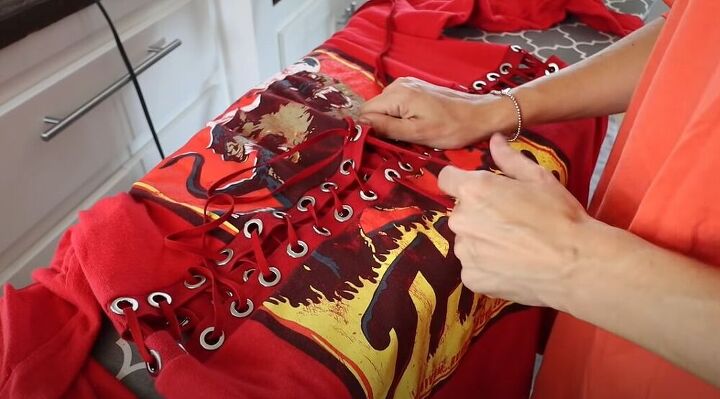
I then got started on lacing the two pieces together. If you prefer to, you can always just wear this as an awesome two-piece or even just use the top half as a crop top.
I tried on the dress and realized it was a bit too big for me. I knew it would be an easy fix. I made two darts in the skirt and on the top to take this piece in a little. I also decided to add one big dart in the back, by the neck, making this piece more fitted.
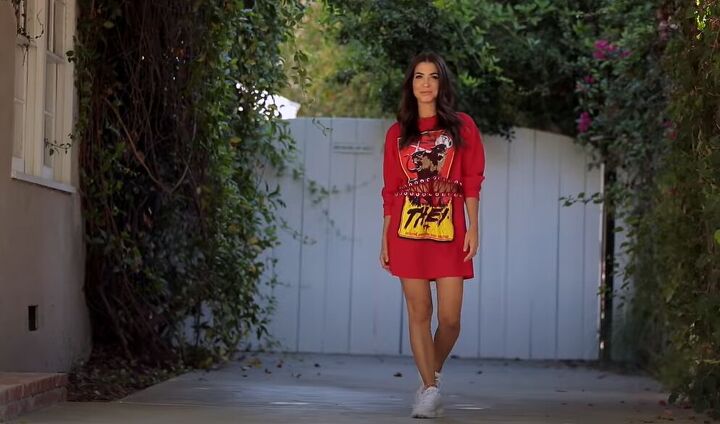
This long sleeve dress is so edgy and amazing! I just love how it turned out!
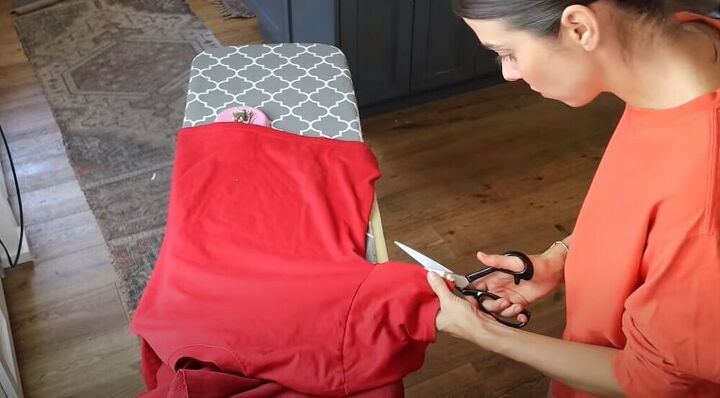
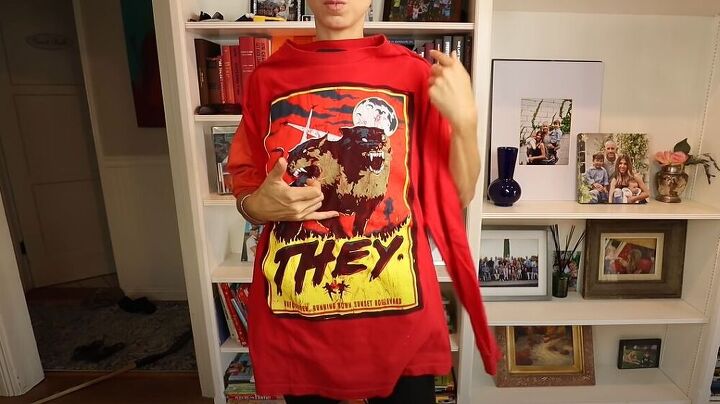
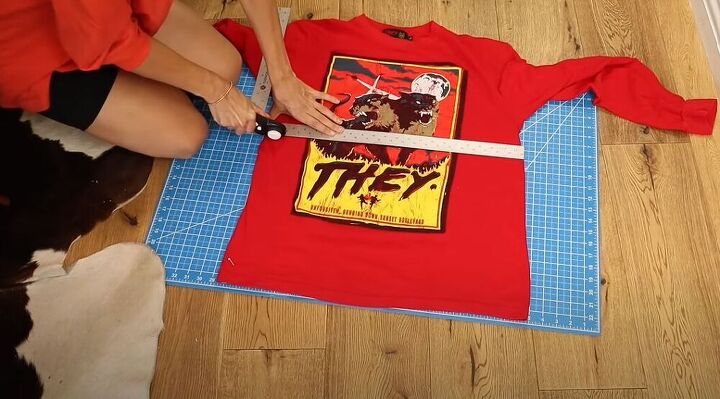
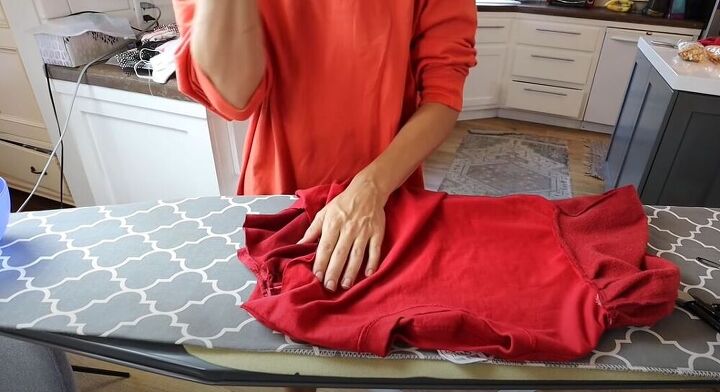
For the fourth look, I used this red T-shirt and the legs of a pair of red sweatpants that I had already cropped into shorts. To get started, I cut off the sleeves of the T, making sure to cut off the seam allowance as well.
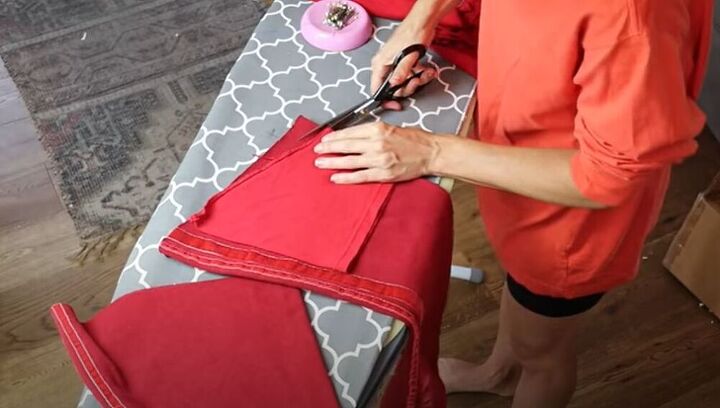
Next, I had to make sure that the legs of the pants would fit into the armholes of the T. I placed the sleeves I had cut off onto the pants and used them as a pattern to cut the pants to size.
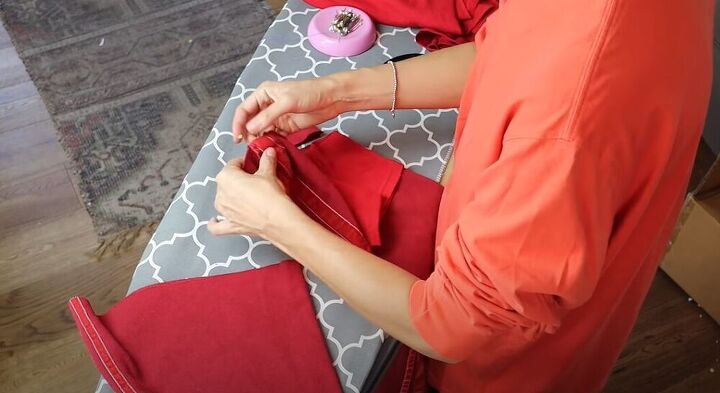
I decided to create a bit of a puff sleeve by gathering some of the fabric before I sewed it.
In order to attach this awesome sleeve to my new T, I turned the top inside out and put the sleeve in. I lined up the shoulder seam on my T-shirt and pinned it to the shoulder seam of my cute new sleeve. Once the two seams were lined up, I did the same with the underarm seams. I then added lots of pins all the way around.
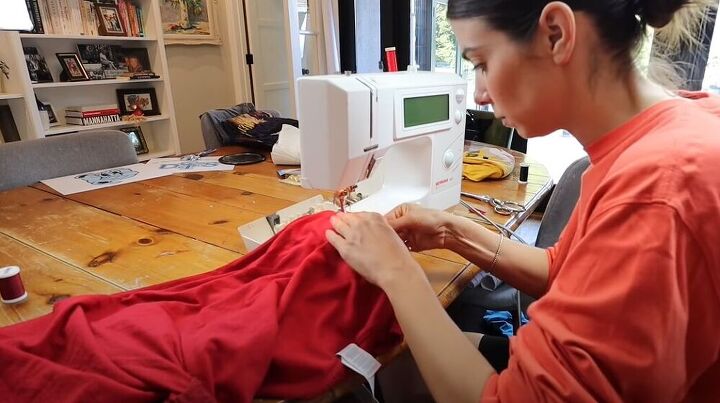
I hopped on over to my sewing machine to sew on the sleeves.
I tried on my new top and realized it just didn’t work with the drop shoulder. I seam ripped the sleeves, folded the T in half, and cut the original sleeves of the T-shirt. I repeated the process of attaching the new sleeves and made sure to press the fabric once the sleeves were on.

I am totally in love with these puff sleeves!
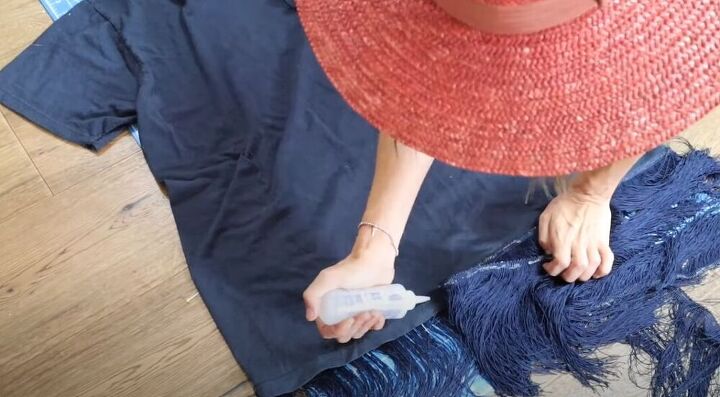
For this last look, I wanted to make an oversized T into a gorgeous fringed dress. I made a huge mistake when attaching the fringe because I glued it onto the outside of the T-shirt. If you plan on recreating this style, make sure to glue or sew it to the inside of the shirt.
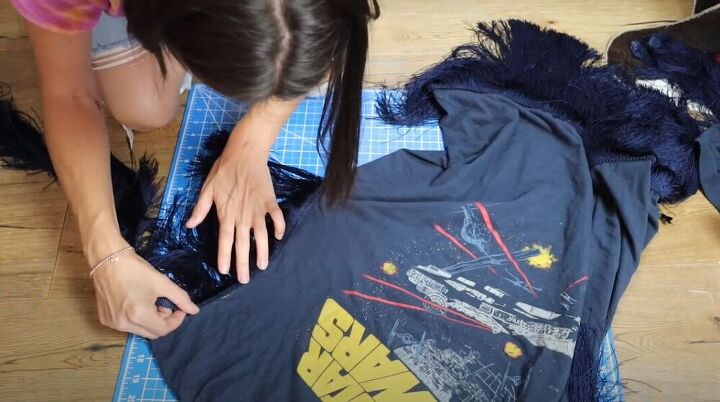
I then cut off the sleeves of the T and used my fabric glue to stick some fringe on the armhole.
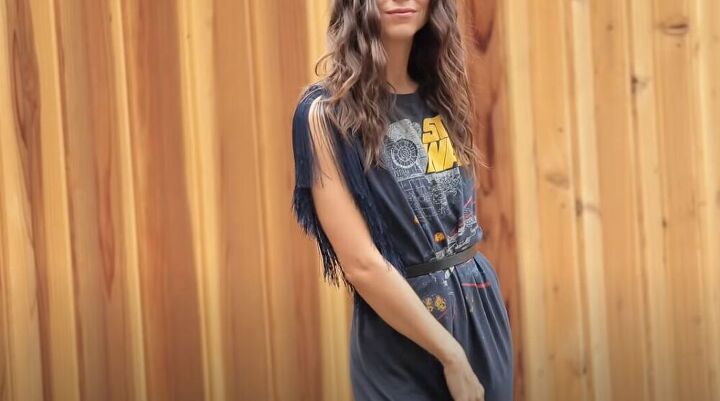
I am so obsessed with this fringed T! Tell me which look you liked best in the comments below!
The author may collect a small share of sales from the links on this page.


Comments
Join the conversation
Love them all!!!! Have a question on the puff sleeve T. Do the sleeves , you pre-made, still fit after you trimmed the armhole back? Thanks
I really love all of them. I don’t have sewing machine, any other recommendations?