DIY Patches Made From Clothing Labels
DIY Patches ya'll! As you know or as you have seen patches are the it thing right now. I love patches and I've been collecting them lately. Etsy and Amazon have crazy cool patches that you can use to jazz up an old jacket, new jacket or a pair of jeans. I looked into getting patches made with my chic on it and it was a little more than I wanted to spend plus I had to buy way too many just to place an order.
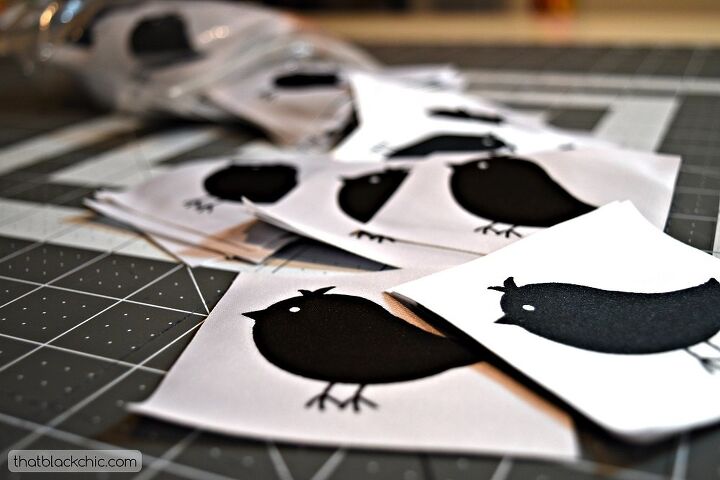
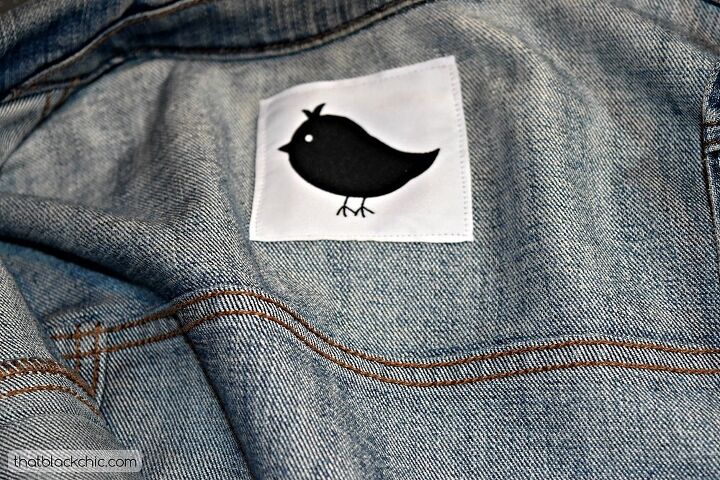
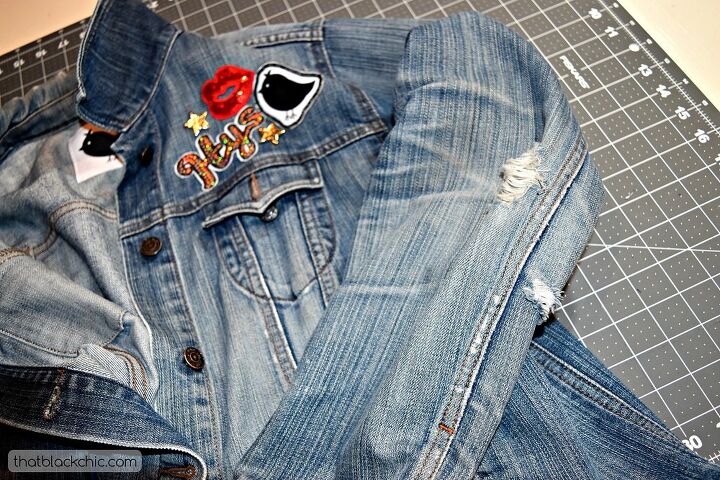
I wanted my chic patch so when a label company reached out to me to try their product, I thought this may be the way to make my own patches. Sounded like a great ideal to me!The size I choose was a 3x3 square, which is kinda big if you're using them in a garment but perfect size for a patch. I thought I can use them for sports-wear or casual clothing that I make. Just so you know I didn't know if this would work or not but if the patch thing didn't work at least I could still use the labels for my clothing. First thing I did was add a label to my denim jacket so that you could see what that looks like.
Now to begin my journey into the unknown wonders of making patches, I started with a backing for the patches something to make them stiff. I had to keep in mind that the patches 100% poly so a "whole lotta heat ain't gonna do them no good" when applying a backing watch your heat setting and use a pressing cloth and no steam. [follow the instructions on your interfacing]

I used a crafting heavy-weight fusible interfacing for one patch, I used a woven fusible interfacing for another and I tried one with no interfacing. Needless to say you can imagine the label with no interfacing did not work out well nor did I capture a picture of it. The heavy-weight worked the best. [I don't have the interfacing label to let you know exactly what I used but it was an interfacing you would use for crafts]
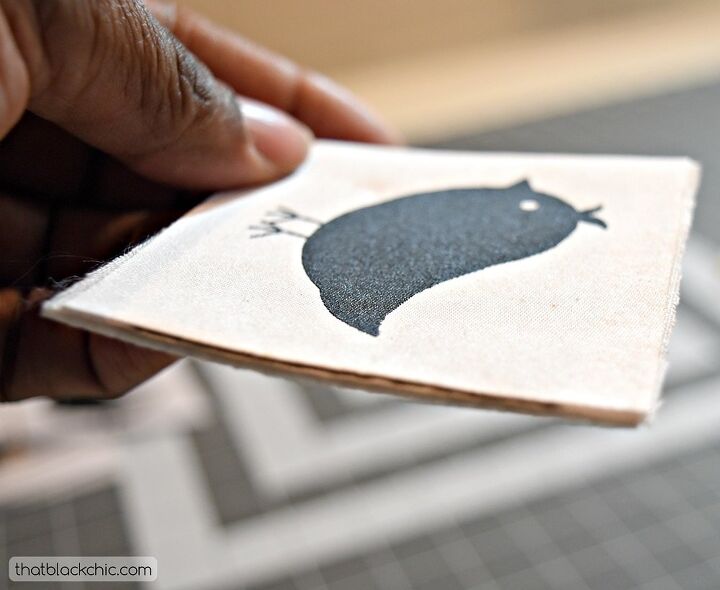
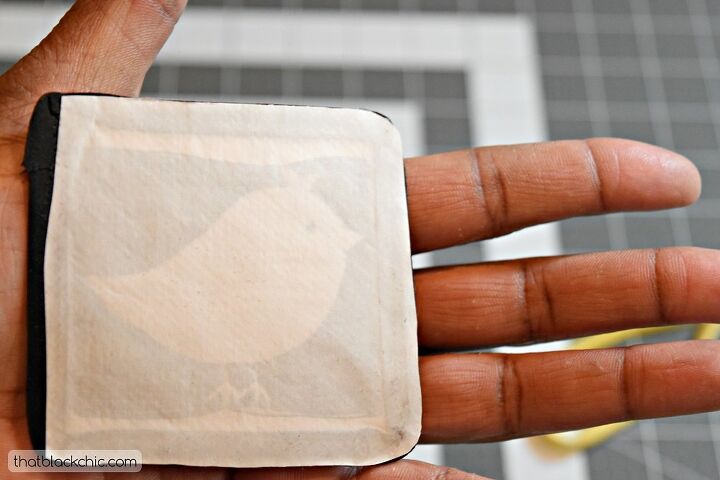
The interfacing attached to the label looked like this.
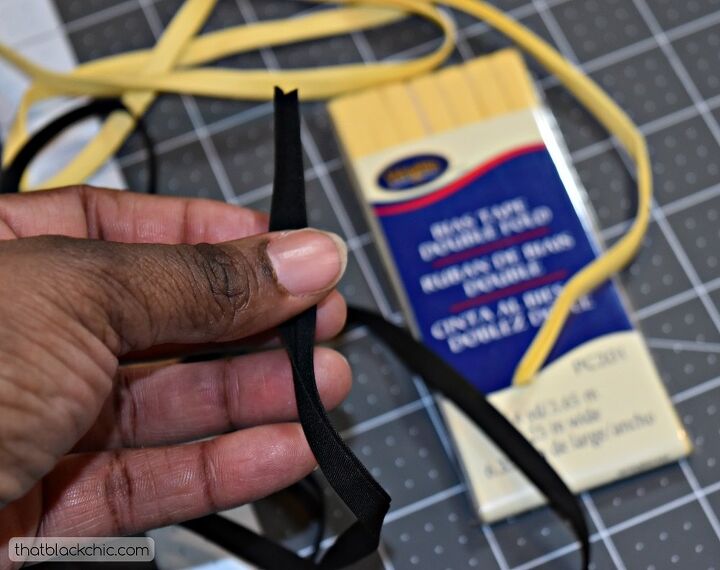
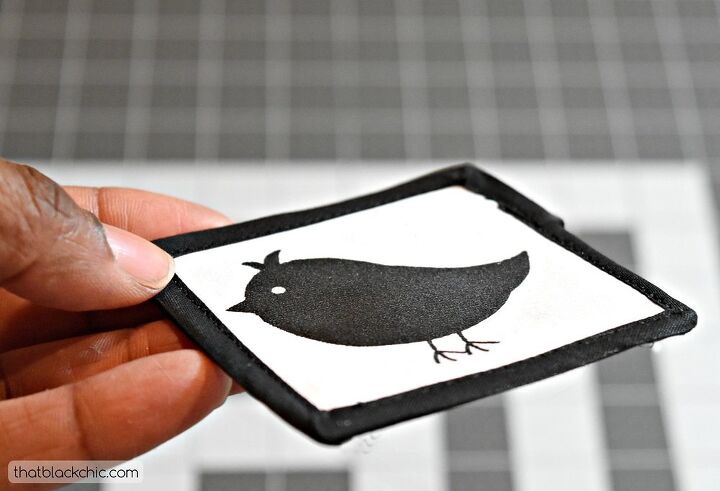
Now my first idea was to sew bias tape around the edges. I used 1/4 double folded pre-packaged bias tape. I like the way it looks but it was a lot of work soooooo, I don't really think I will do a lot of these.
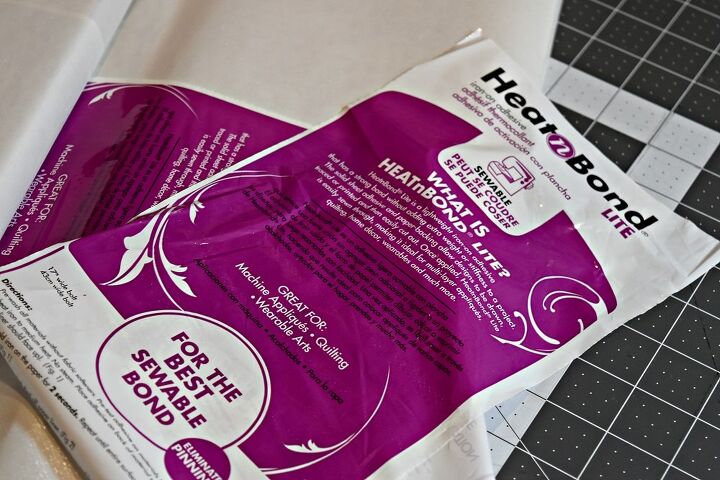
I added a heat bond so that I would have a no-sew patch. That worked well.
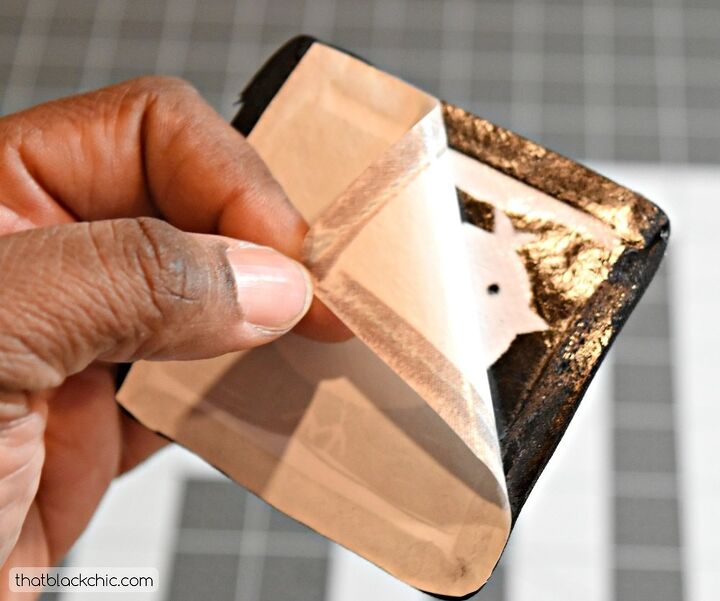
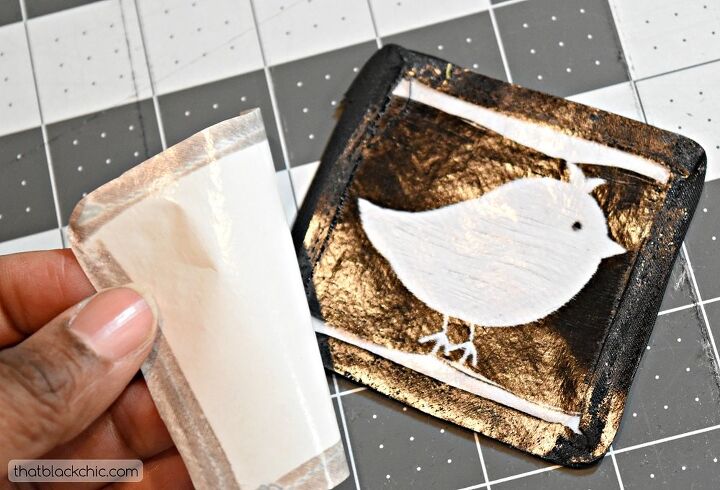
All I would have to do is iron this patch onto my garment, no sewing involved.

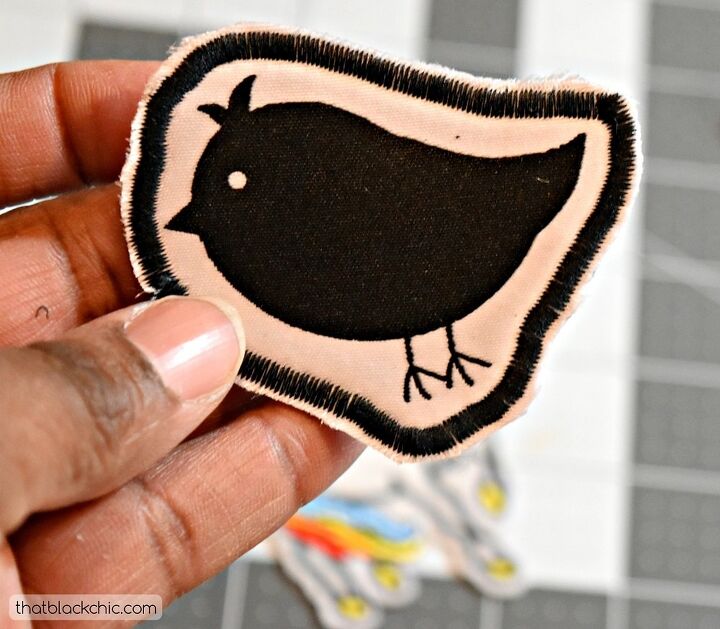
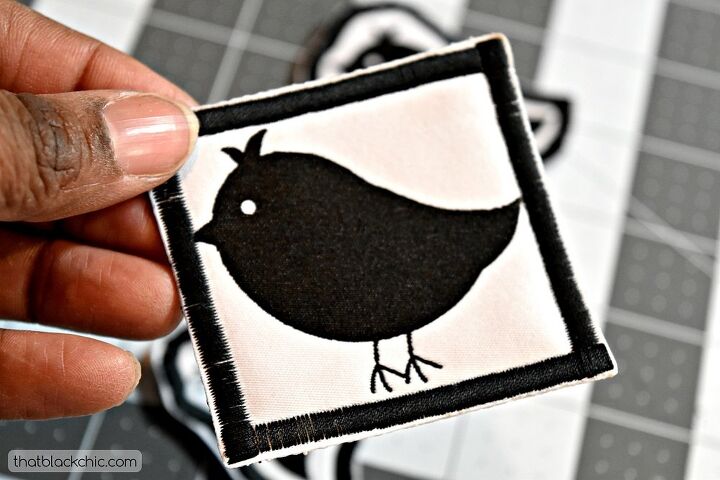
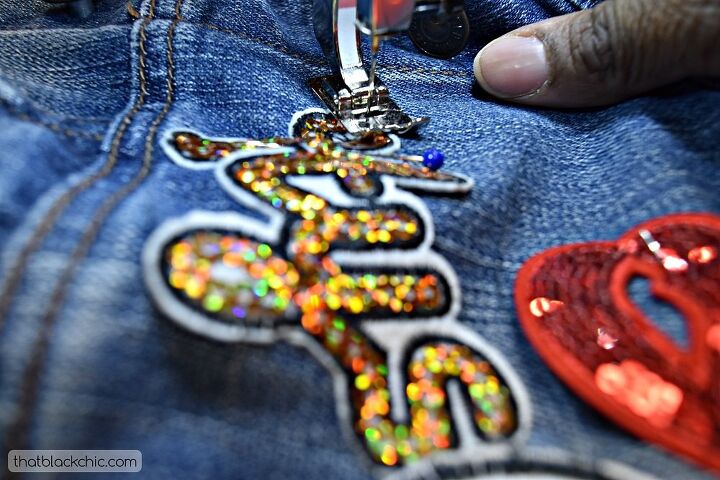
On my next attempt, I decided to use my zig-zag to add and outline and cut off the excess in the shape of the chic and another one in a square.
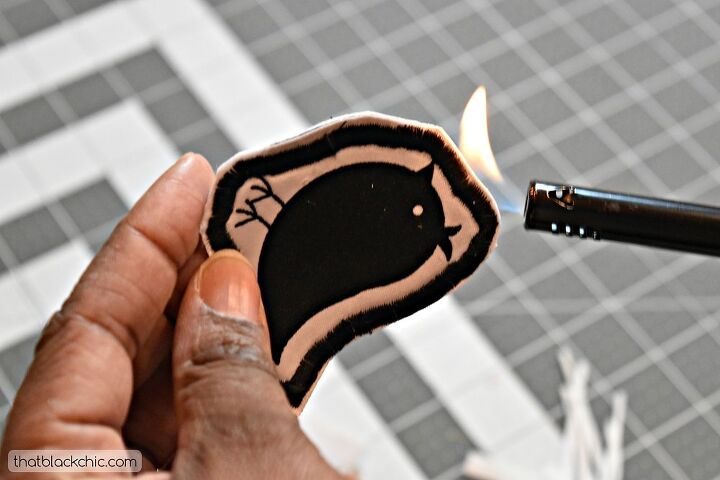
I heated the edges to melt the fraying poly a little. I imagine this is what they do on real patches because that's what it looks like.
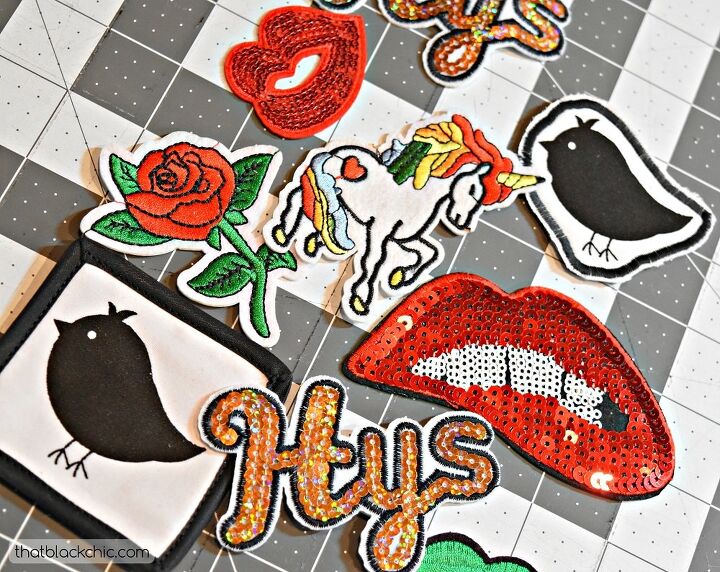
These are some of the patches I have collected along with my chics.
I added a few gold star buttons in the mix.


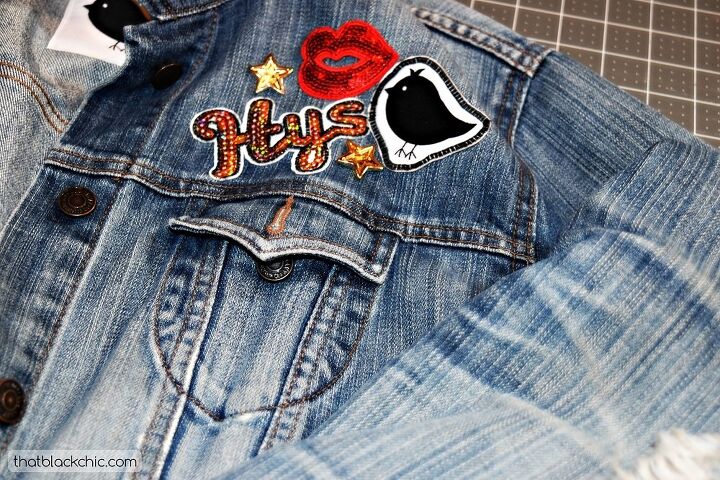
All in all his project was fun! So if want to make your own patches this may solve your problem because nowadays you can purchase small amounts of inexpensive labels. And if it doesn't work out you can still use the labels! If you have a way of creating patches without an embroidery machine leave a comment below!
The author may collect a small share of sales from the links on this page.


Comments
Join the conversation