No Midriffs Here!-Refashion

by
Thrifty Chic
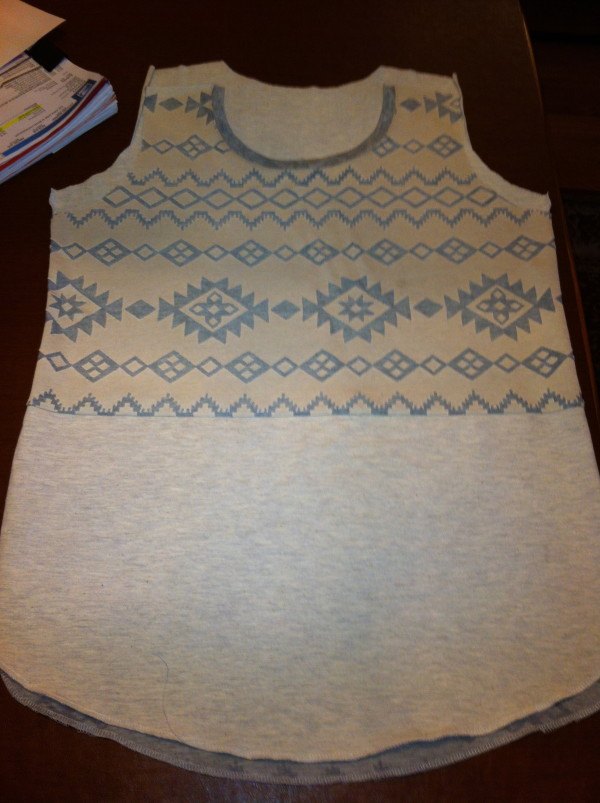
Hi Everyone!This week I am taking a break from the tropics to bring you this little cutie! I wish you could see the fabric in person. It is a double knit and has a two dimensional look and feel to it up close. It was brand new from my local Goodwill and was begging to be rescued. The only trouble was the length. Even when I was young and fit enough I could never wear something that showed my midriff, and at 54 I certainly “never” would do that. Layers were not the answer either. Believe me I tried it, but it looked like I was a middle aged lady trying to cover up her midriff.
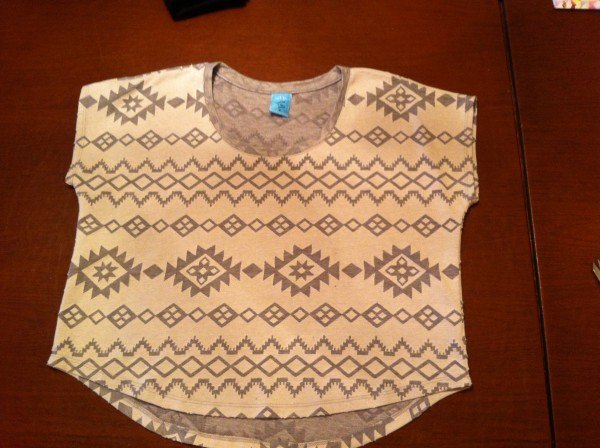
BEFORE
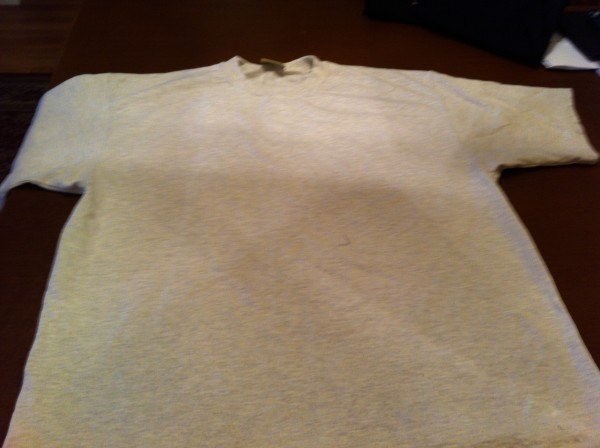
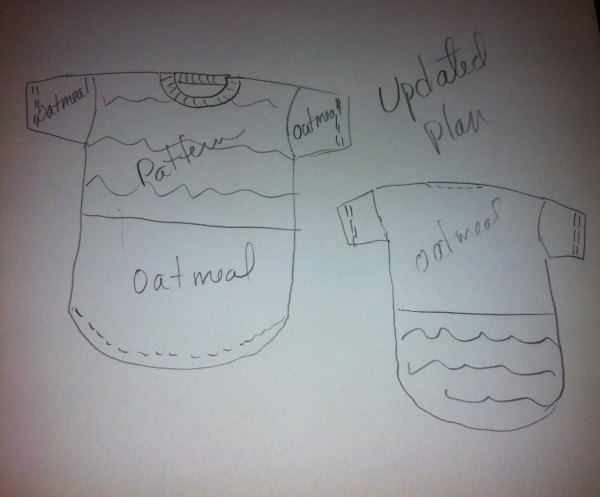
I picked up the top to think it over and the answer came when I found this XXXL oatmeal and heather grey basic T. I initially looked for a heather grey T but there are sooooo many shades of heather, there was not one suitable one to be found.
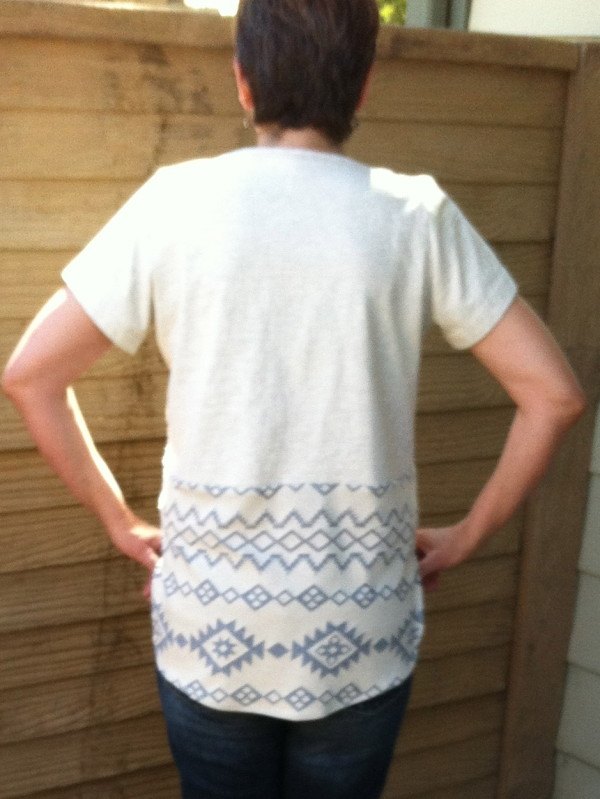
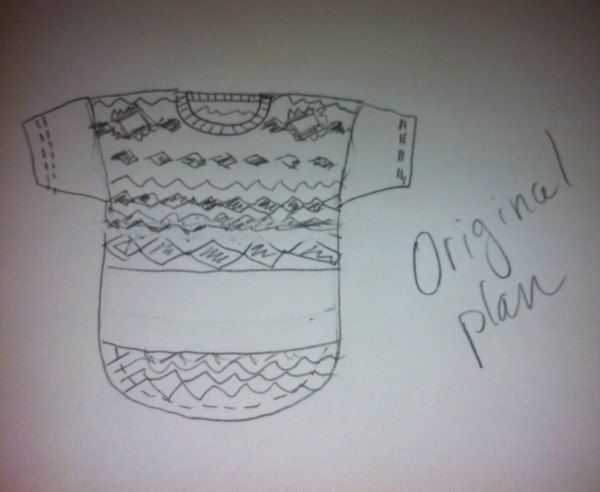
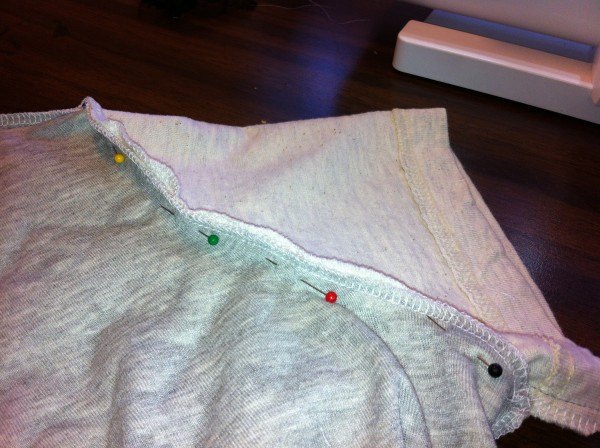
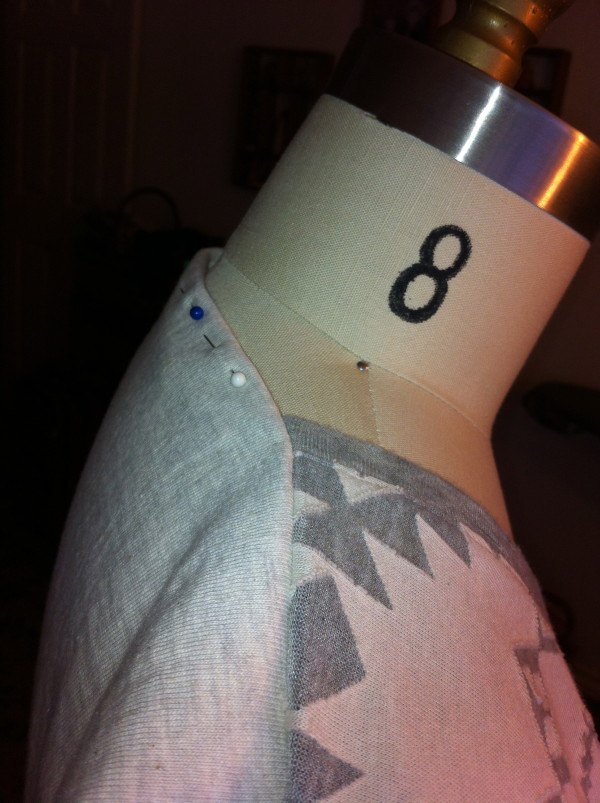
This is what I came up with, but it wasn’t as easy as it looks. Working with stripes can be tricky, and if you want a professional look there are things to consider. I will explain more in the tutorial below.
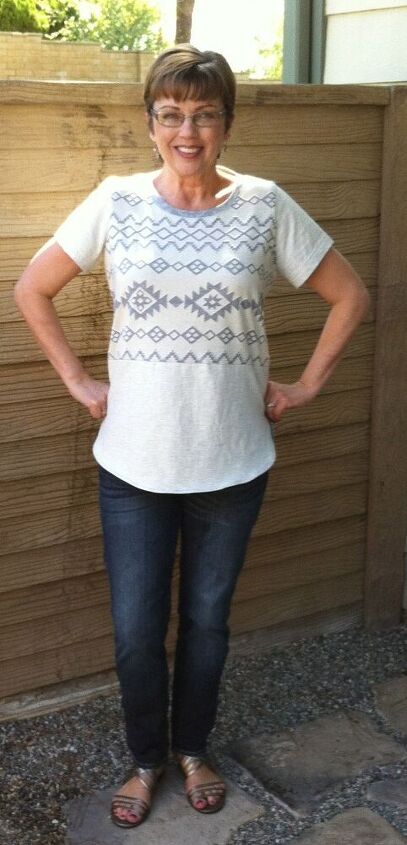
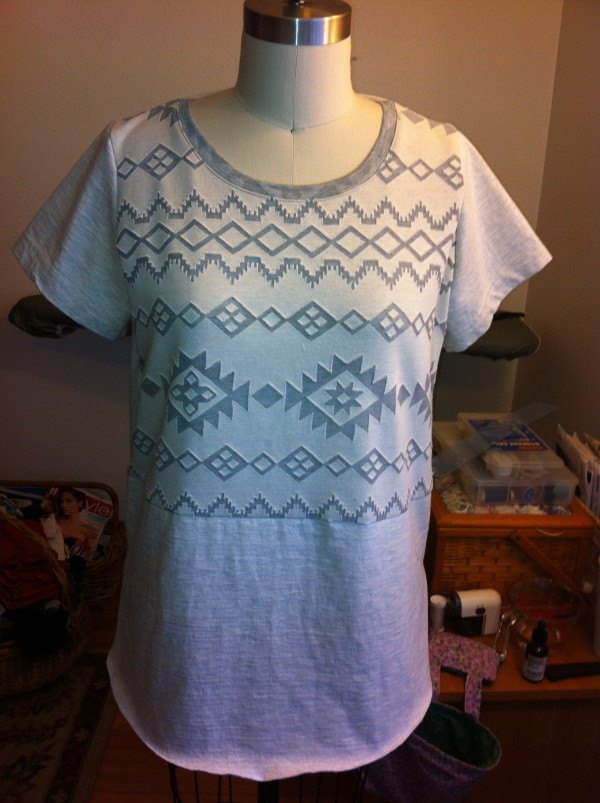
AFTER
I love how it turned out! The top was cut using my basic T-shirt pattern as a guide. (AKA “One Pattern Many Looks”) While this top does not take a very striking editorial picture, it is still fabulous due to the quality and texture of the materials.
Following is the tutorial and some helpful tips working with stripes:
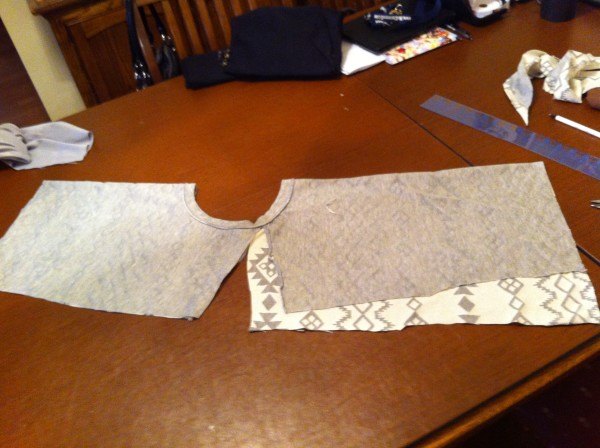
Step 1
Step 2

Step 3
Step 4
Step 5
Step 6
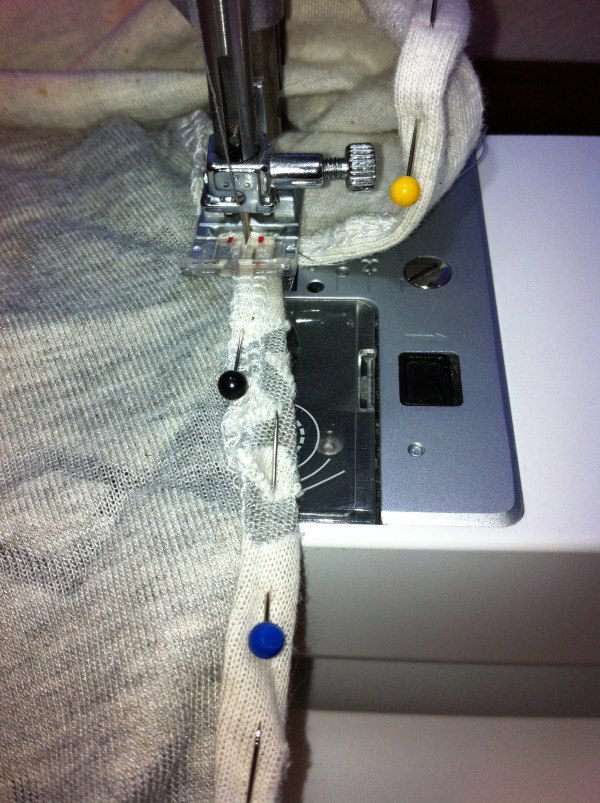
Step 7
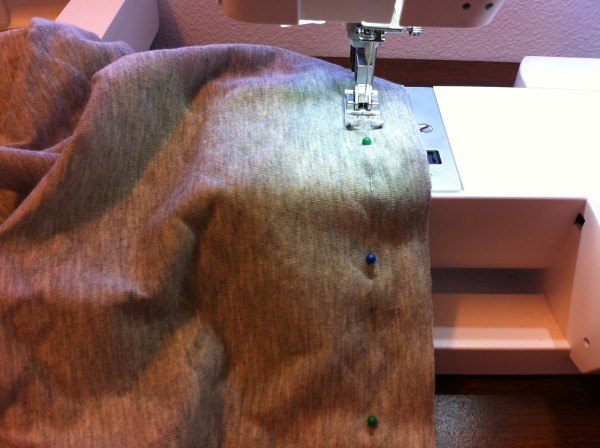
This is how it looked right before I did the topstitched hems.
The final step is to topstitch the rounded hems.

It might be simple, but I like it!What do you think? What have you made lately? Talk to me ’til then,love Ya,Mary
The author may collect a small share of sales from the links on this page.
Want more details about this and other fashion and style ideas? Check out more here!


Comments
Join the conversation