See How I Made an Awesome Wrap Dress With My Grandma’s Help

You know I love a good thrift, and on a recent trip to Goodwill, I picked up some fabric that I loved for a mere 99¢. I decided to make it into a wrap dress, which I’d been seeing everywhere and loved. The real star of this project, however, is my grandmother. She’s the one who taught me to sew, and she’s pretty darn cute, so I had a great time working on this dress with her. Keep reading to see how we put together this adorable wrap dress.
Tools and materials:
- Sewing machine
- Thread
- Scissors
- Sewing pins and needles
- Measuring tape
- 2 yards of cotton and polyester fabric
- Pattern
- Reference dress
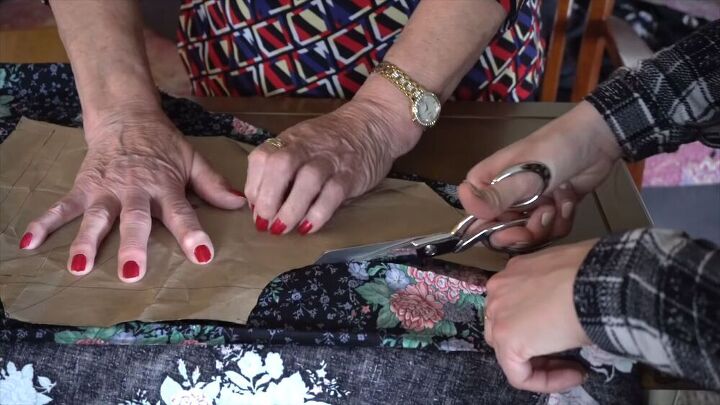
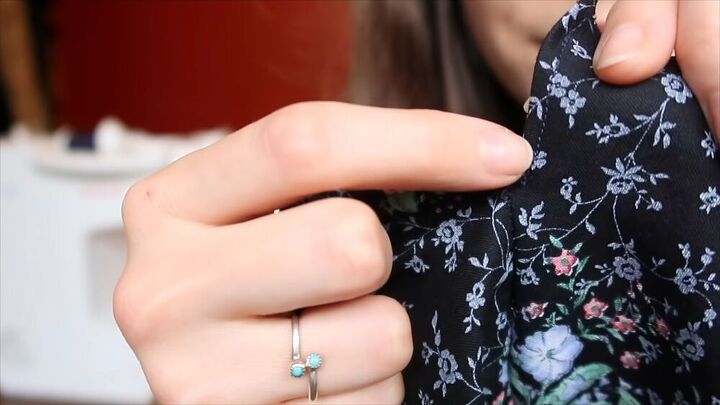
The first thing I needed in order to make my wrap dress was a pattern. I prefer to make my own patterns, and I actually had one I’d made for a previous project that I was able to modify for this one. I used the pattern to cut out my fabric, making the necessary adjustments as I went, and leaving ⅝” seam allowance. Then, for the skirt, I just cut out the remaining fabric into two big rectangles.
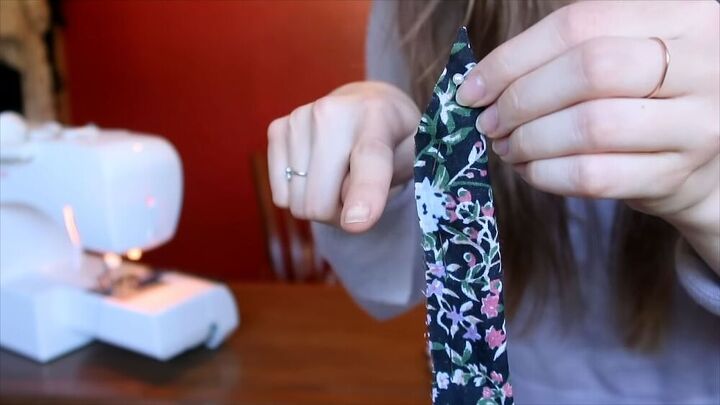
I actually ended up losing a piece that I cut. Oops. So I found a fabric that looks similar and decided to use that same fabric to cut the ties for the wrap dress as well. To cut the ties, first I folded my fabric along the bottom. For the longer tie, I cut it 2½” by 24”, so that when I unfolded it I had 48”. Then I cut the shorter tie 2½” by 14”.
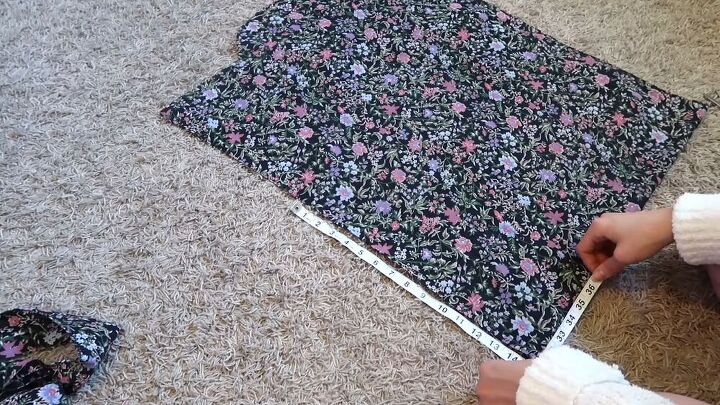
I took the two rectangles for the skirt and laid them down, wrong sides together. I then took the dress I was using for reference and lined the middle point of the skirt with the edges of the fabric and cut around it. This gave me four pieces of fabric to work with for the skirt.
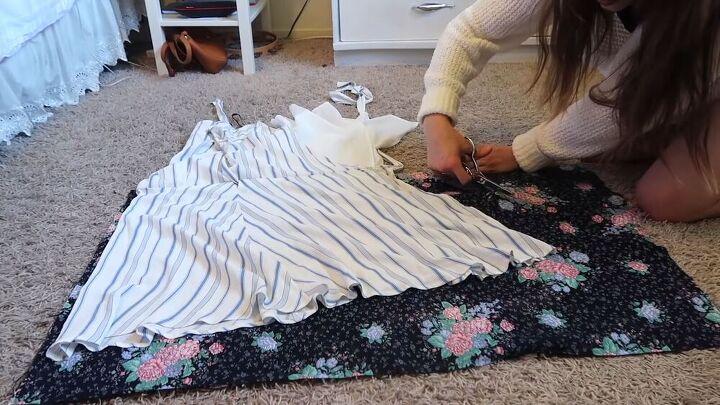
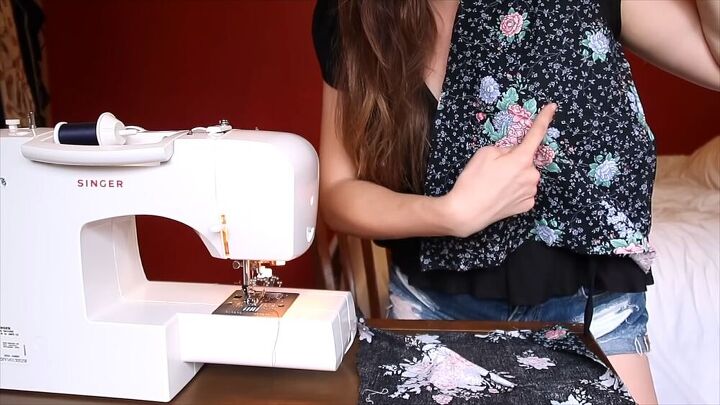
With my pieces all cut out and ready to go, it was time to put together the dress. First I tried on the bust to make sure it fit and when it did, I went ahead and pinned the pieces together. I set up my sewing machine with navy blue thread and set it to ⅝” seam allowance and a straight stitch. I made sure to start and end every stitch with a backstitch.
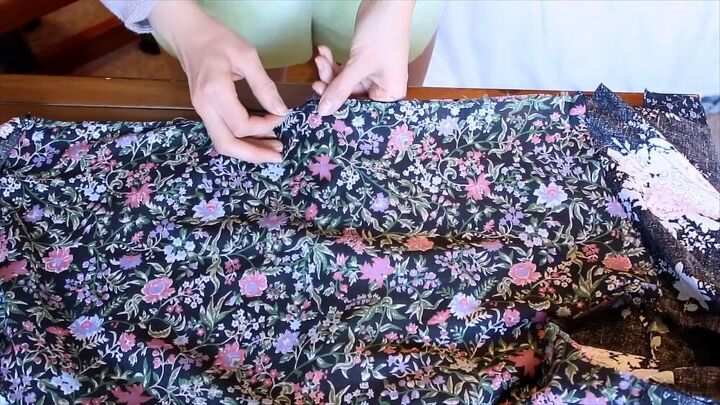
Ready to sew the dress together, I decided to start with the skirt. I sewed together all four pieces but didn’t connect the two ends. I also left a 2” slit at the top right of the skirt for the hole that the tie was going to go through and put a seam on each side of the slit so that it didn’t fray.
Next, I sewed the darts that my grandma insisted I add to the bodice, which, in her words, would keep my bust from being squished in. I then connected the bodice pieces by double-folding the edges and sewing them together, and also hemmed the edge of the skirt.
To keep the neckline sturdy, I sewed on some facing to the neckline of the back bodice and flipped it over, leaving me with a nice edge. Then I connected the front and back bodices at the shoulders and added the sleeves by lining up the shoulder points with the sleeves and sewing all the way around. With my sleeves added, I sewed all the way down the sleeves and down the sides of the bodice.
With all the little pieces in place, it was time to connect the top to the bottom of the dress. I lined up the middle point of the skirt with the middle point of the bodice, right sides together, and pinned the two pieces together. I then sewed it all the way around and unfolded it, leaving me with a beautiful seam.
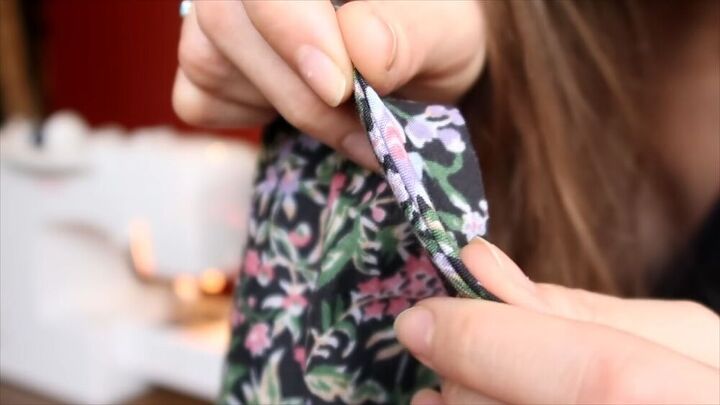
The dress was pretty much done, and I just had to add some finishing touches. I started with the ties, folding each one, right sides together. I sewed the slanted side of the tie shut, then continuing to sew all the way down the side of it, leaving the straight edge open. I then turned the ties inside out by attaching a safety pin through the closed side and feeding it through to the open side, like my grandma taught me.
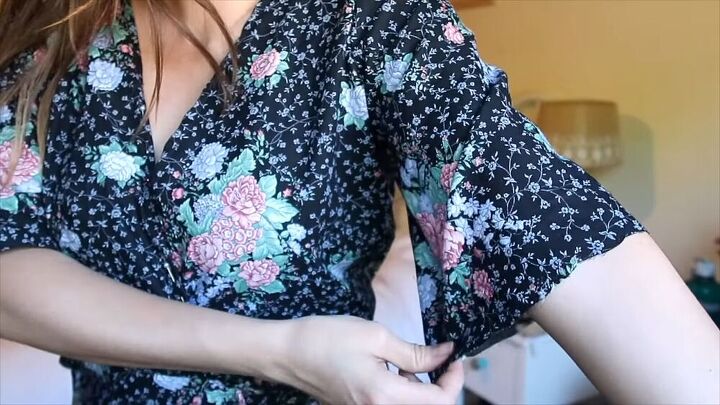
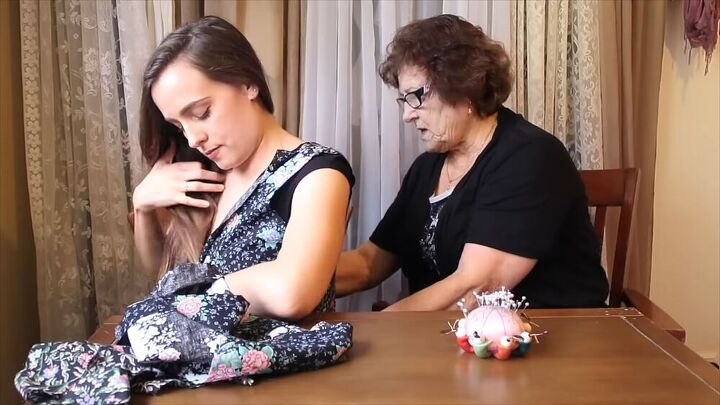
Now that my ties were complete, I had to add them to the dress. I attached the longer tie to the opposite side of the opening by folding the edge over and sewing it down. I then tried on the dress to get my final measurements and determined where I wanted to hem the skirt and sleeves. I cut the sleeves down to the size I wanted, and hemmed them, then finished off the skirt with a rolled hem. Lastly, I ironed the dress and it was done!

You guys, I love it! If you watched the video, you know I definitely made quite a few mistakes while making this dress, but it was all so worth it! The dress is adorable and perfect for the summer. I can’t wait to wear it. I’m obsessed with the pattern and just had so much fun making this dress. I know everyone’s favorite part about this video was my grandma, so tell me in the comments what your favorite Grandma-ism was!
The author may collect a small share of sales from the links on this page.


Comments
Join the conversation
Your dress turned out beautiful. The fact that your Grandma helped you with your dress makes it that much better.
How wonderful that you and your Grandma get to spend time together creating your own clothing and sharing stories from her life experiences. The love between the two of you shines through in your video. Cherish her…she’s adorable! 🥰