How to Thrift Flip a Long Denim Maxi Skirt
A few summers ago my niece, Mary, stayed with us each weekend. She was a counselor with my youngest daughter at a camp on the lake.
To fill her time, she went to thrift stores to buy men's denim jeans and sewed them up to fit her. She's a University of Southern California student and this look is (or was at the time) very popular.
I found it interesting, yet was curious if this could be done with a more tailored appearance.
So I hunted online for pictures of denim skirts to find a style that inspired me. While I LOVE how knee-length denim skirts look on some women, they aren't flattering on me. After hunting for a while, I did find one that I really liked.
It was a maxi with a large slit in the middle. The model was a 20-something size 0 so I kept my fingers crossed that it would translate okay to a 50-something NOT size 0 woman (me). It did.
If you like this look, here are the steps to take to make one for yourself. However, I'm keeping this broader than most of my DIY and How-to posts since each pair of thrift flip jeans are different and your long denim maxi skirt might take on a slightly different fit based on your body.
Your Supplies
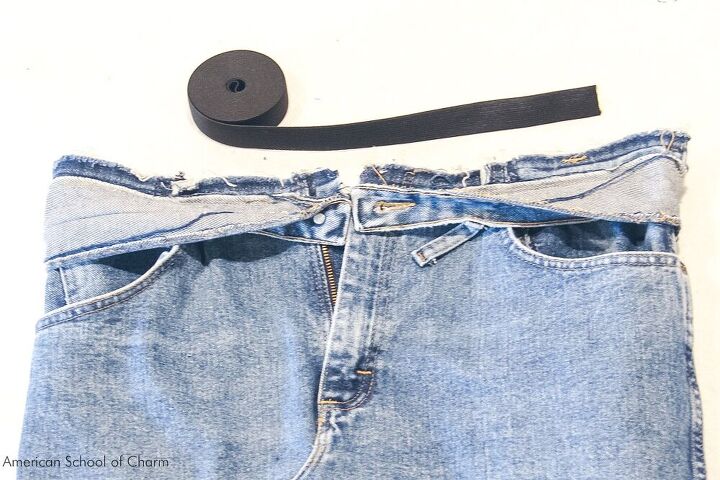
First let's get a list of all the supplies needed for this transformation:Sewing MachineSewing KitSeam RipperFabric ScissorsDenim Sewing NeedlesJeans Thread1" Elastic2" Spring Clamps1 Pair of Men's Jeans (that fit you at the hips and length)Remove the waistband
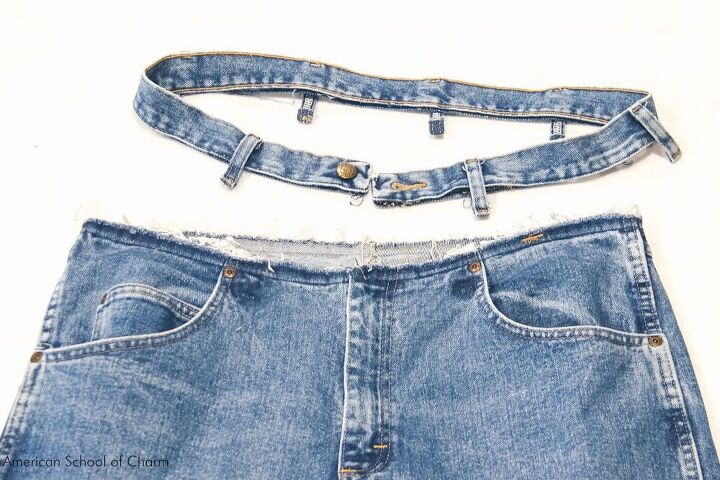
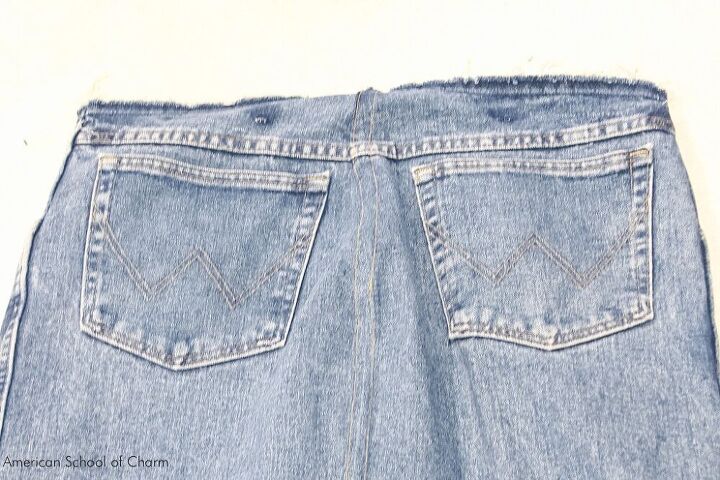
The first thing you need to do is remove the waistband. First, with the seam ripper, release the bottoms of the belt loops (just the bottoms). Then remove the entire waistband.Make sure the zipper pull is and remains at the base of the zipper. Don't pull it up! Learn from my mistakes ... it will easily come all the way off and then you have the battle of getting it back on the coil. Not a job that ANY of use would enjoy. If this does happen, all isn't lost. It can be returned onto the zipper coil. Just cut off a few of the top teeth from each side and carefully reinsert it.Open up the inseam and butt
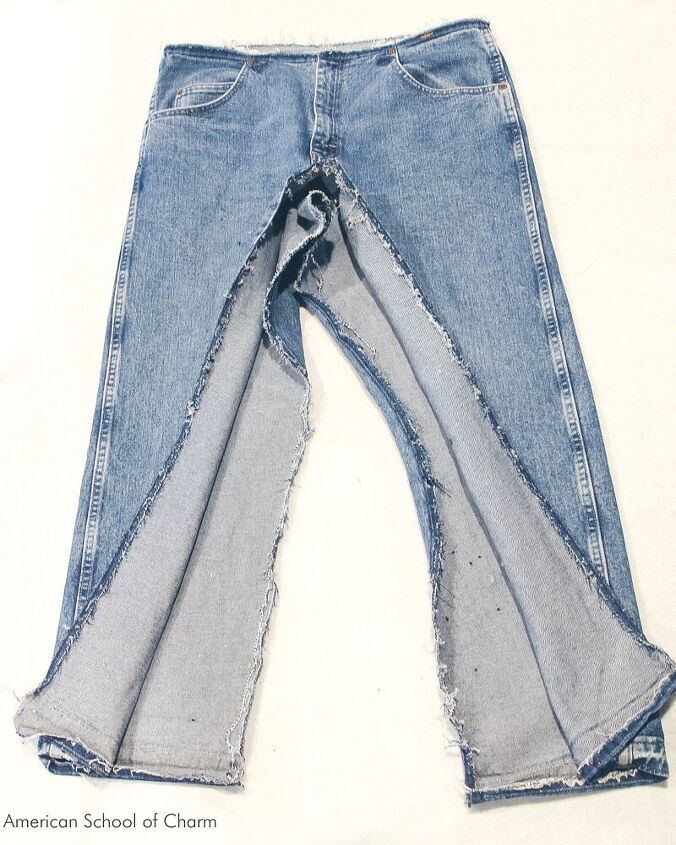
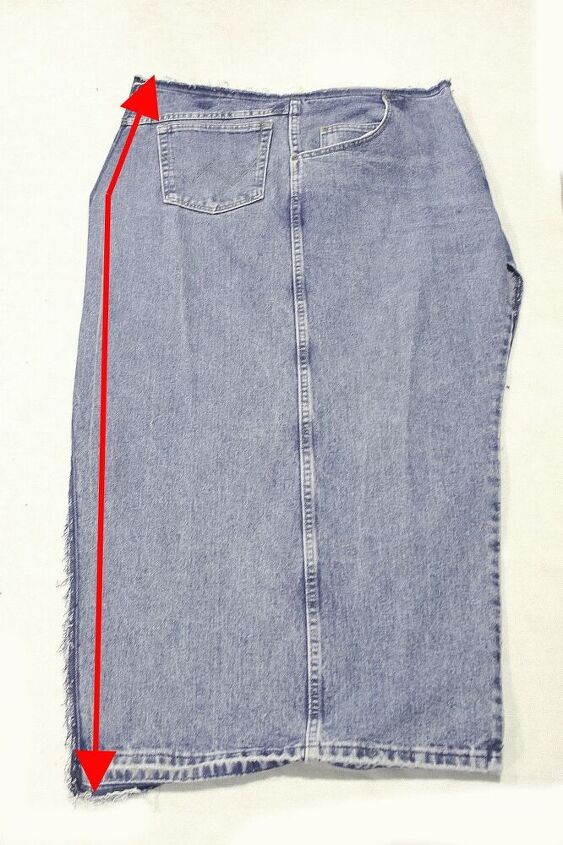
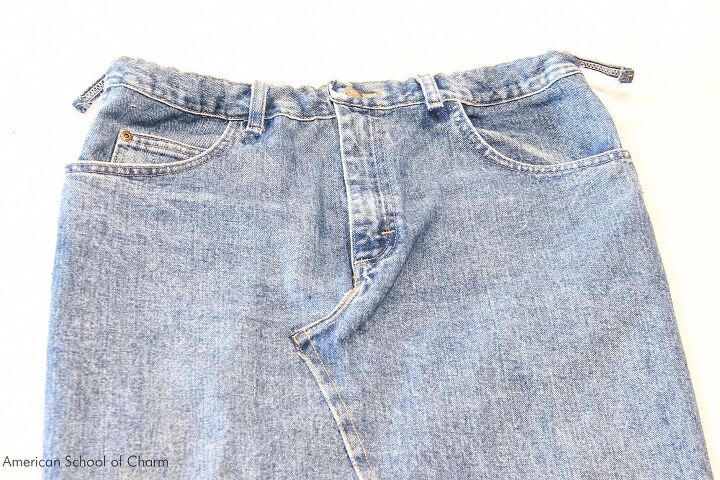
With your seam ripper (NOT scissors) open up first the inseam of both legs and then the butt.
Followed by opening up the bottom hem.
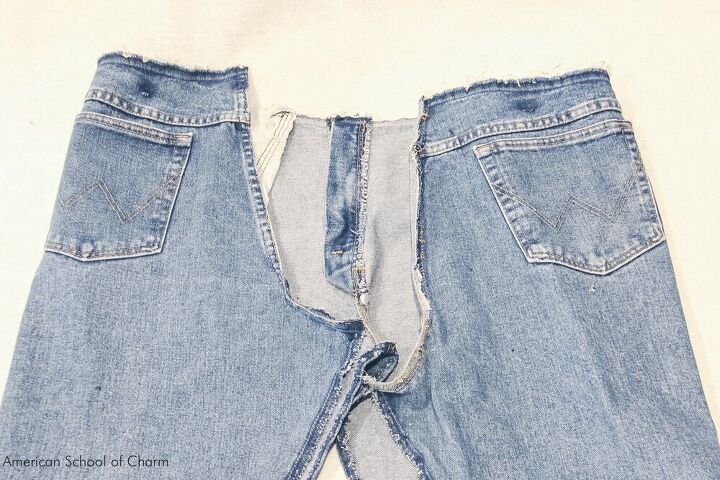
Complete a Flat Felled Seam Down the Back
With a 2" spring clip holding the zipper together, pull on the "skirt" and clip it to show where you need to sew the butt. Mine, surprisingly, was basically a straight line from the waist to the hem. I guess my butt is as flat as everyone says (maybe I shouldn't have been surprised). You however, may be better endowed and will need a little room in the butt.Once you have your seam marked out, trim leaving 1" seam allowance.Complete a flat felled seam from top to bottom.If you have never done one before, here are the steps:Sew the seam, wrong sides together, leaving 1" seam allowance.On the bottom side, trim down the seam allowance to 1/4".Fold and press the top side down over the 1/4" remaining seam allowance.Edge stitch this fold down in place.
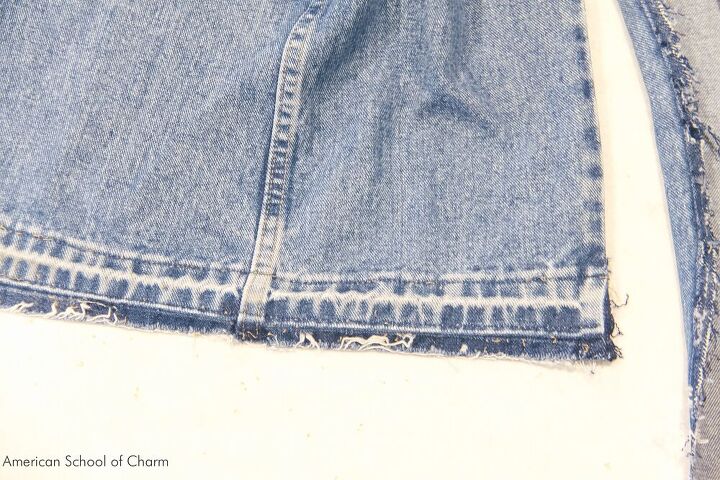
Finish the Front Panel
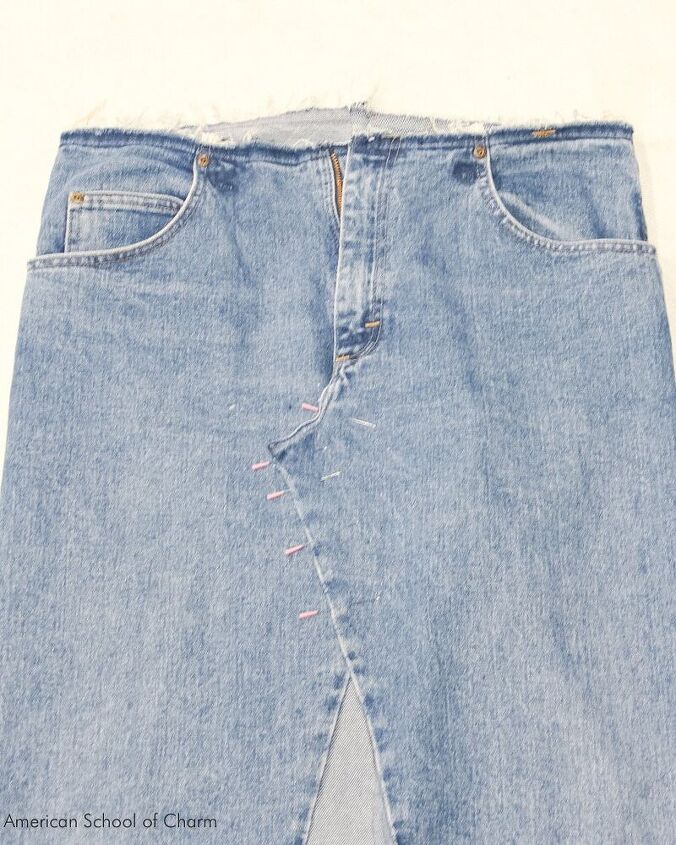
Using the zipper as your guide, stitch the folded edge of the bottom left panel down. You can choose if you want to use thread that won't show or the jeans thread.Pin the top right panel down as shown. Create a faux flat felled seam by sewing two rows of seams from the bottom of the zipper all the way down to the hem.Add Elastic to the Waistband
Since the jeans you selected fit at your hips, you may not need to alter the waistband much. If you do, add pleats on the front and back, if necessary.If, however like me, you just need it to come in a little bit then follow this hack:Pull a piece of elastic around your waist with a comfortable amount of tension. Cut the elastic to this length less 3" to incorporate the button.Secure both ends to the underside of the waistband. It will be hidden within the channel yet the stitches you make will be hidden on the underside away from view.Reattach the Waistband
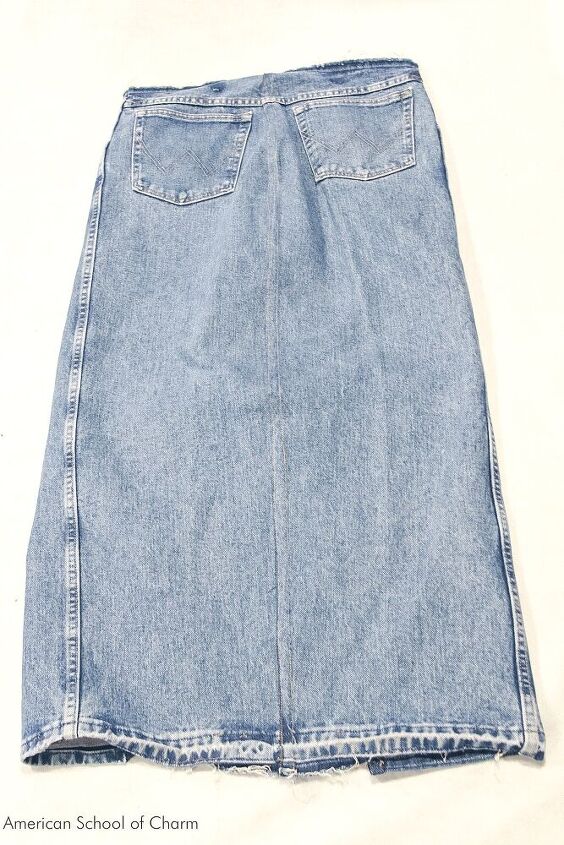
Now just reattach the waistband following the same seam line that was there initially. Then sew back down the bottom ends of the belt loops.Voila! Your skirt is finished!

A final optional step is to sew a seam around the bottom to prevent further fraying. Your call.Doesn't it look great! Aren't you surprised at how easy this project, that's initially very intimidating, is now that you're all the way through!
The author may collect a small share of sales from the links on this page.


Comments
Join the conversation
Thank you!
Super love this. What a terrific idea. Girl power!