4 Easy DIY Loungewear Designs

I don’t know about you but I can sit around in comfy loungewear all day, every day! In fact, I have been wearing loungewear so often that I decided to DIY 4 new and different designs so that I can always feel comfortable but still put together when I’m at home.
Tools and materials:
- Ruler
- Chalk
- Scissors
- Elastic
- Sewing machine
- Pins
- Fabric
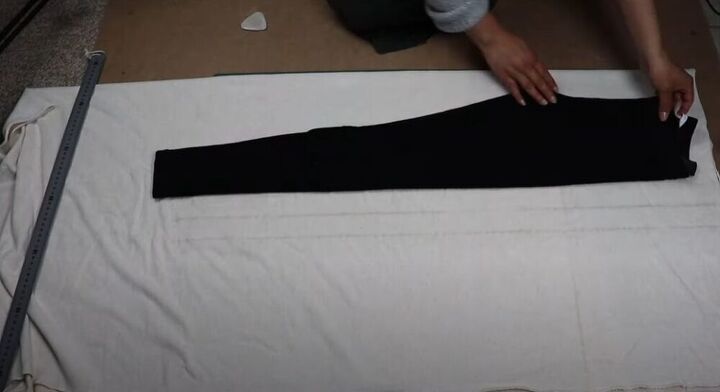
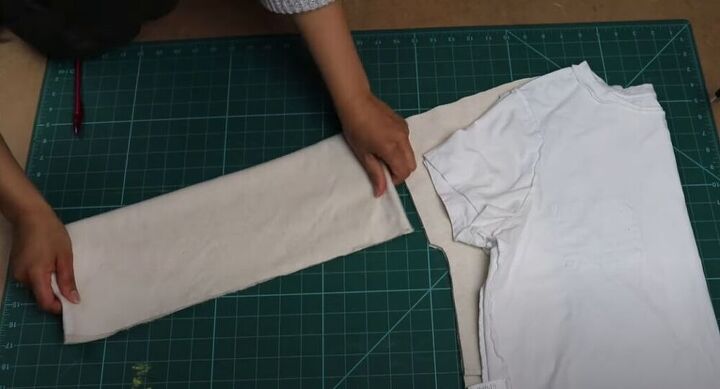
Make the pants
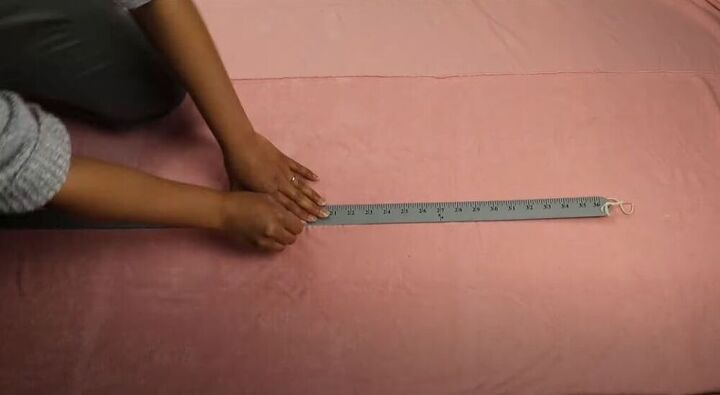
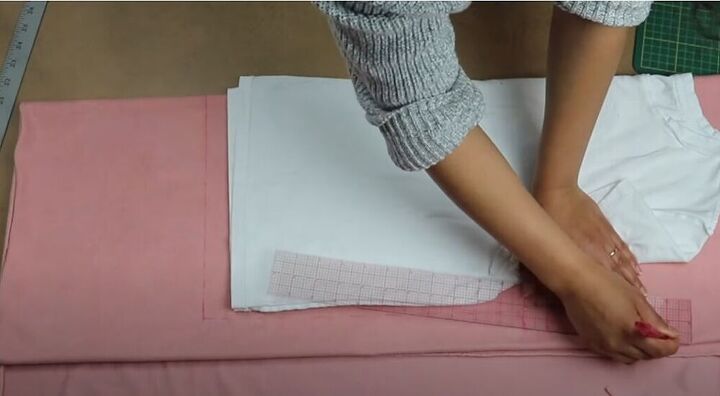
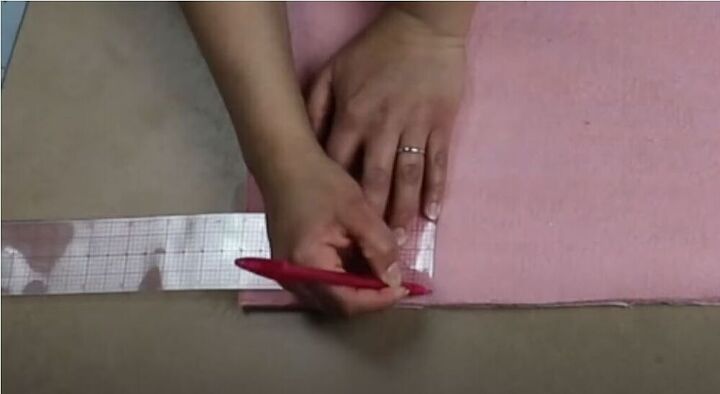
To start I folded the fabric double the width of the crotch line and then drew a line down the middle of my folded piece.
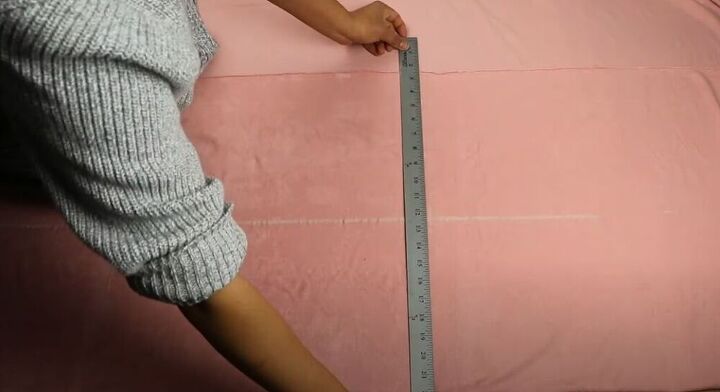
I measured my desired inner seam length and then drew a perpendicular line.
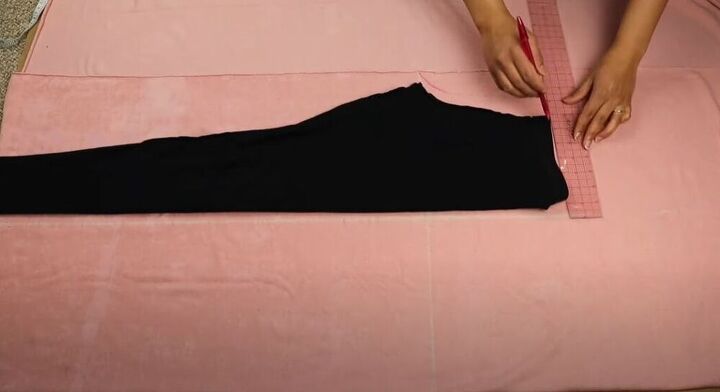
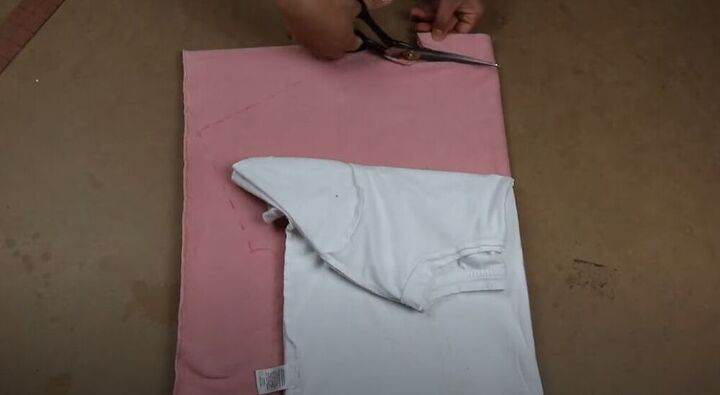
I then traced the front and back of a pair of leggings I already had, leaving the leg wide for the shape of my new loungewear pants.
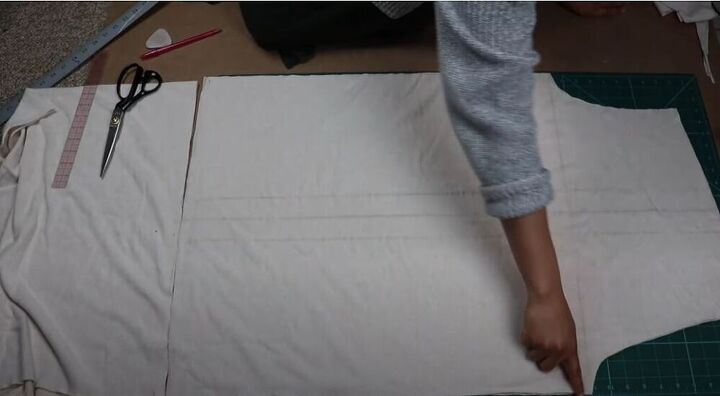
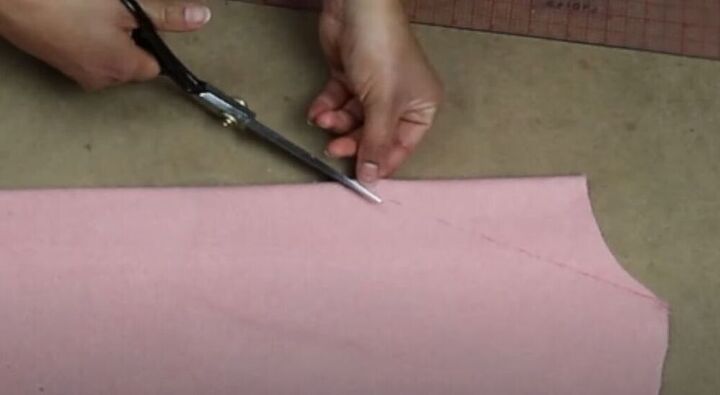
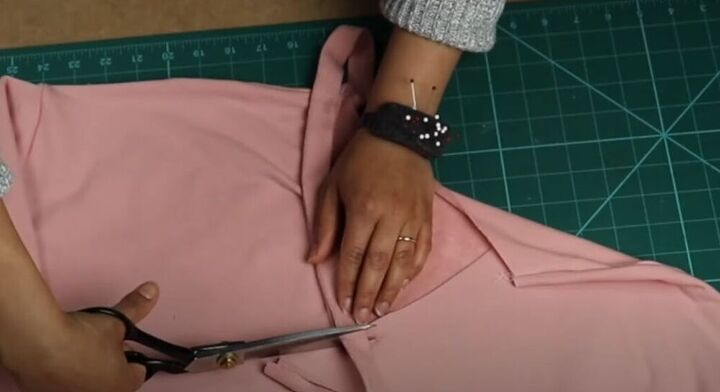
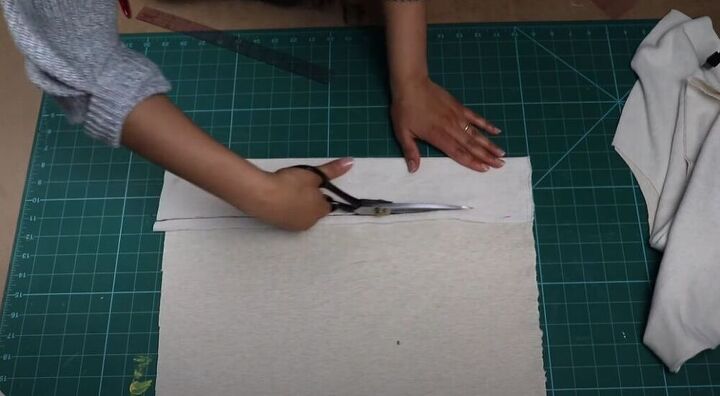
Cut the pants
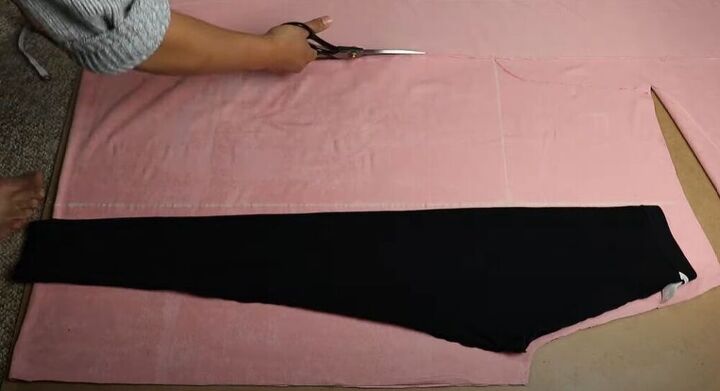
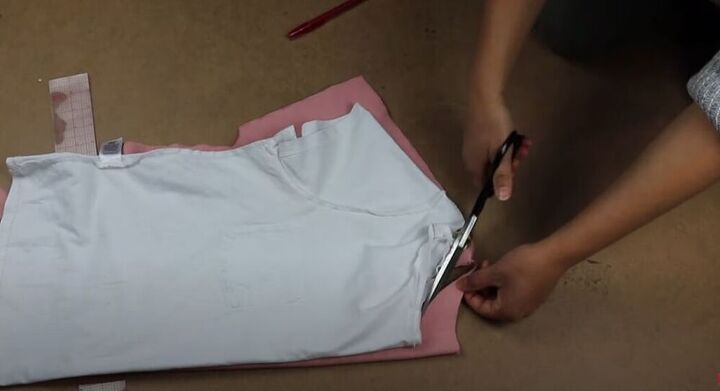
After tracing, I cut out the fabric.
I repeated the same steps for my new, cream-colored pants but this time I left a 3-inch gap by the center line so that I could have a slightly looser fit. From this step, the construction of both pairs of pants is the exact same.
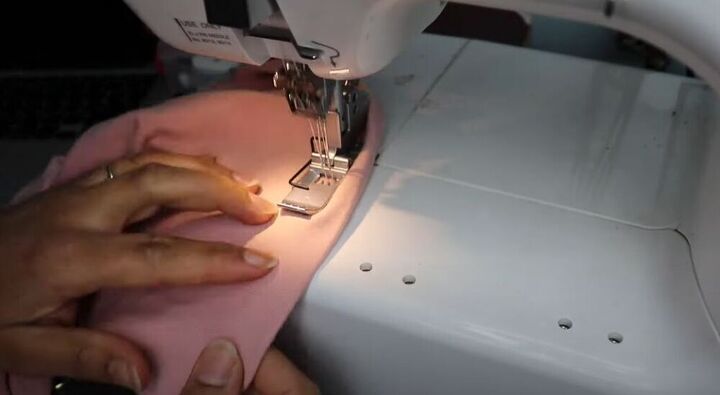
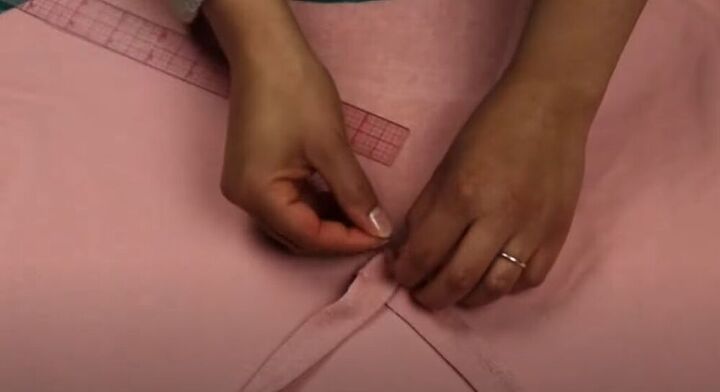
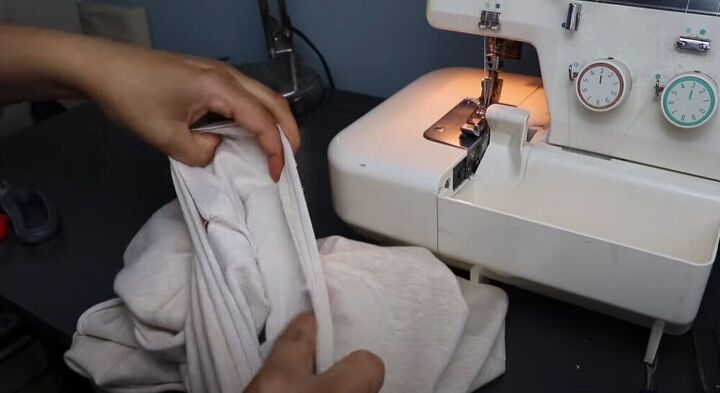
I started by sewing the back and front seams of the pants together.
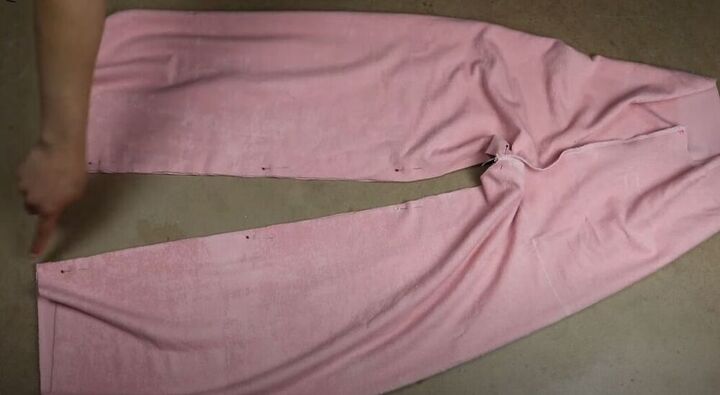
Next, I opened up the pants and pinned and sewed the inner seams.
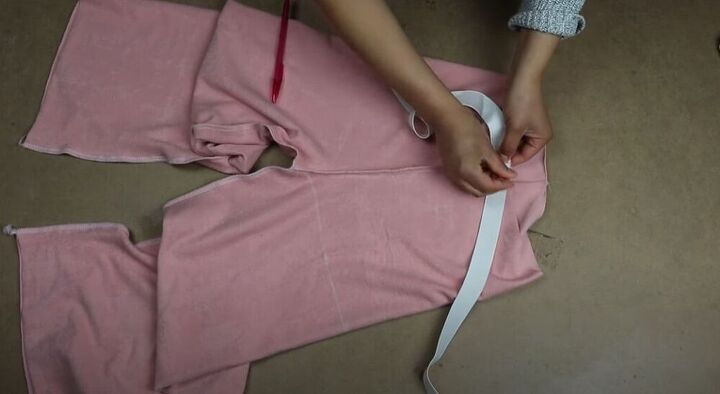
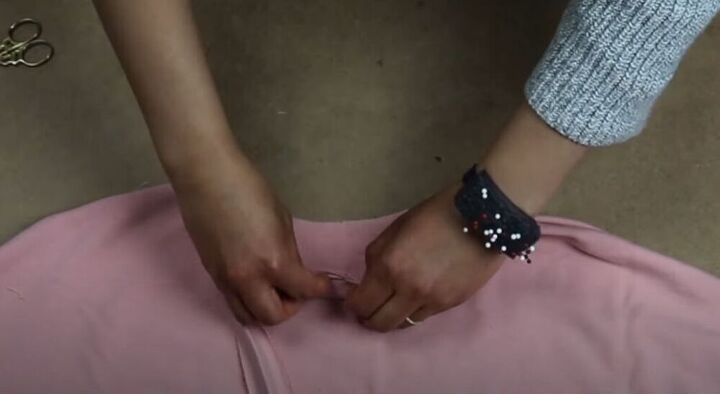
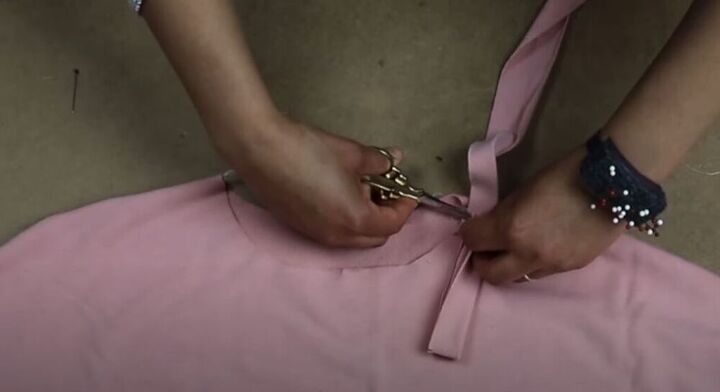
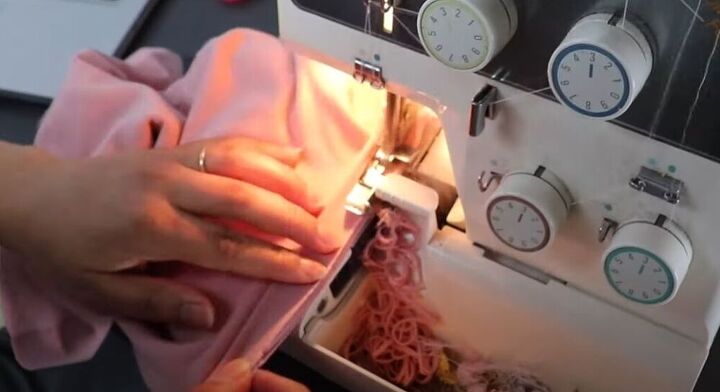
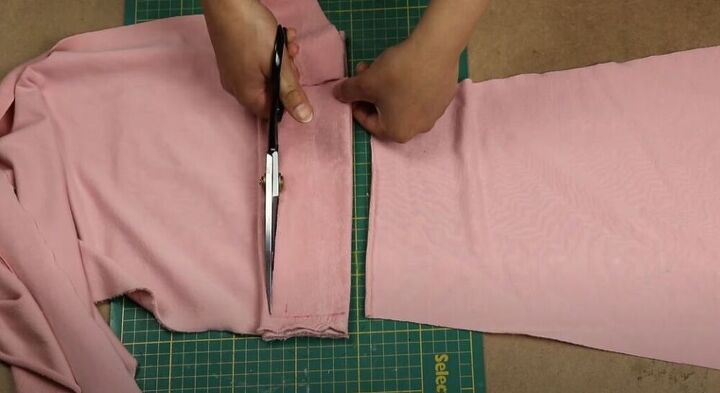
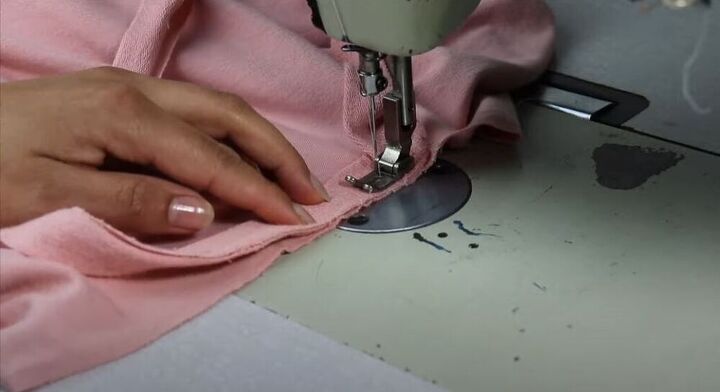
In this next step, I took a 1-inch piece of elastic and serged it along the wrong side of the pant waist.
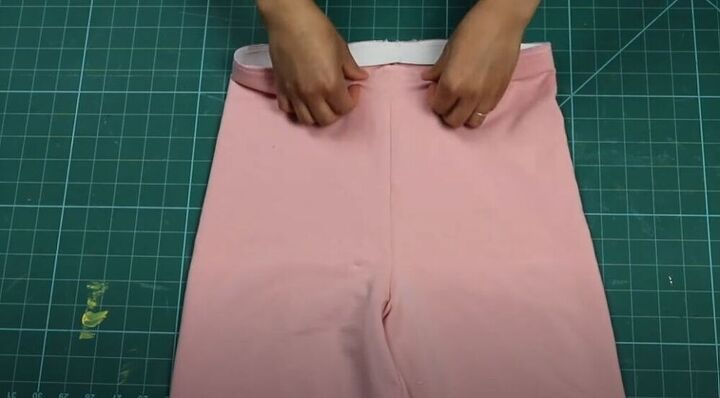
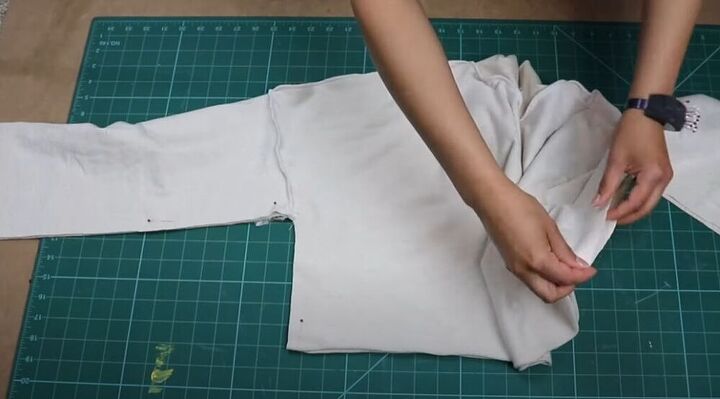
Once I had serged the elastic, I turned the pants right side out and folded the elastic inwards to create a neat and clean waistband. I headed back to my sewing machine to topstitch it in place.
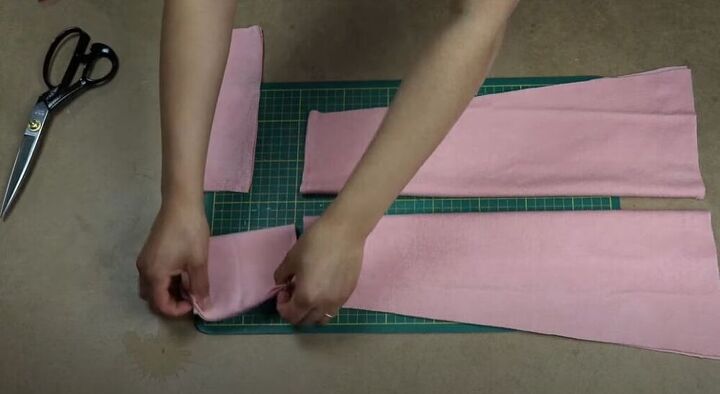
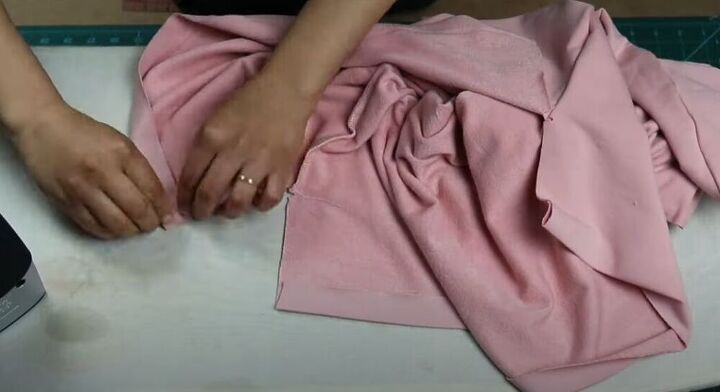
While I was sewing, I hemmed the bottoms of my pretty, pink loungewear pants.
Make a T-shirt
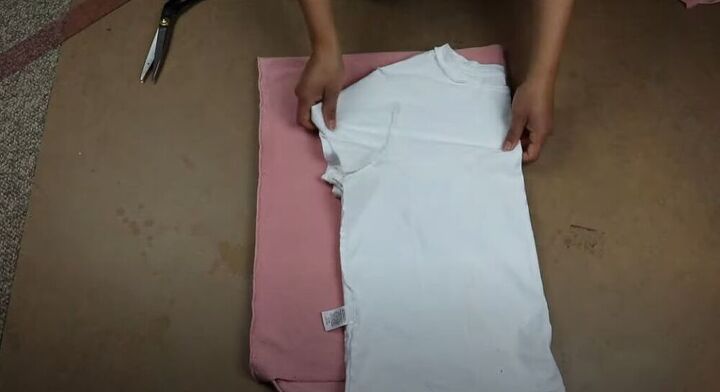
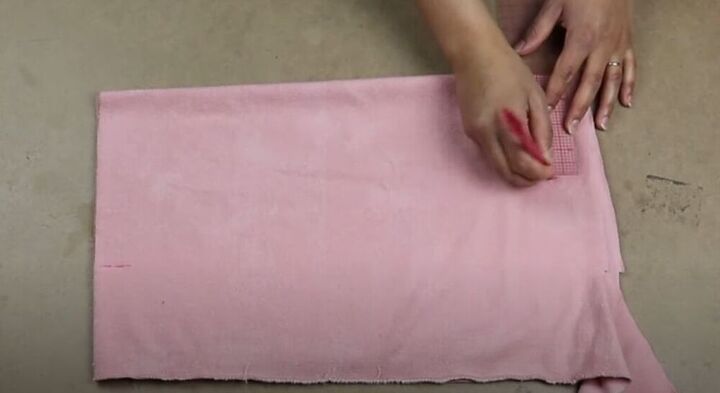
To make the T-shirt option for my loungewear, I folded my fabric over four times so that there would be a two-layer fold. I then placed a folded T-shirt I already had on the fabric with the front, facing out on the fold.
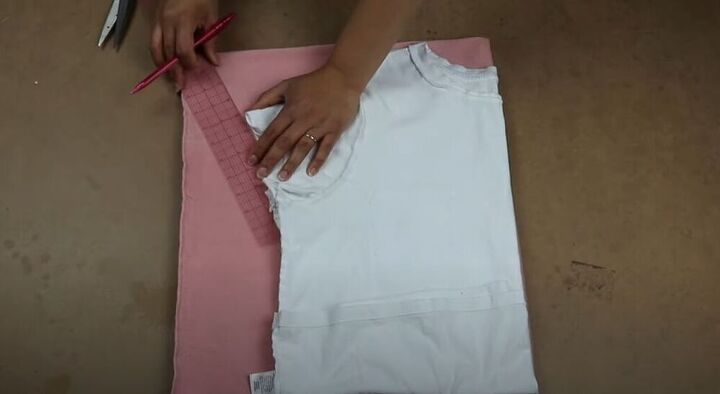
Next, I traced the back neckline, shoulder, and the general curve of the sleeve to make a drop shoulder.
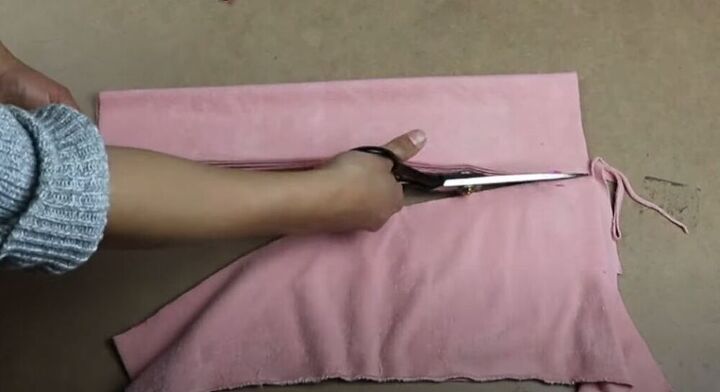
Once I had traced all the way around the T-shirt, I cut out my fabric.
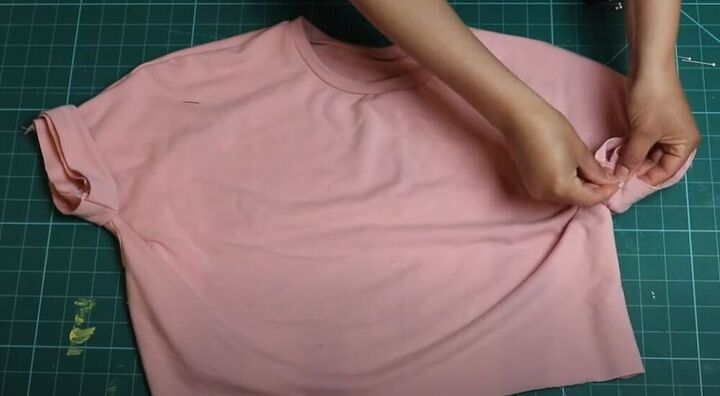
I separated the two pieces of fabric and cut the front neckline on one of my pieces.

Using the spare fabric that I had, I cut a 2-inch wide strip as long as the neck circumference of my new top.
I folded the strip of fabric and pressed it to hold the shape. I then slowly worked it around the neck, stretching the fabric as I went. I left a little bit of seam allowance at the start.
Once I had measured the front part of the neckline, I folded the strip back and made a small notch on the point of the fabric where it would lie on the second shoulder seam. I then did the same for the back, adding a notch for the center point.
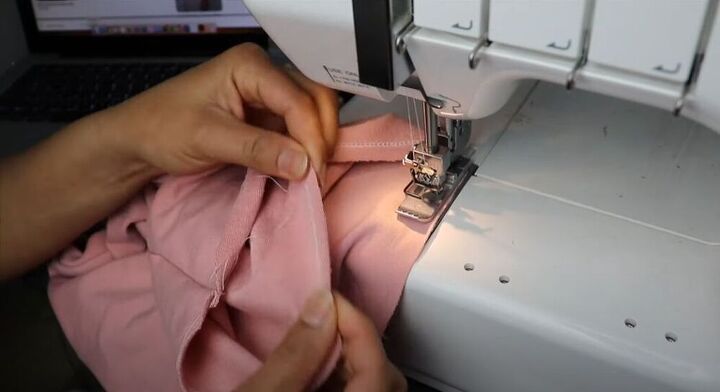
With the strip pinned in place, I sewed the two ends together and then sewed along the circumference of the neckline. While I was at my machine, I sewed the shoulder and underarm seams of the shirt as well.
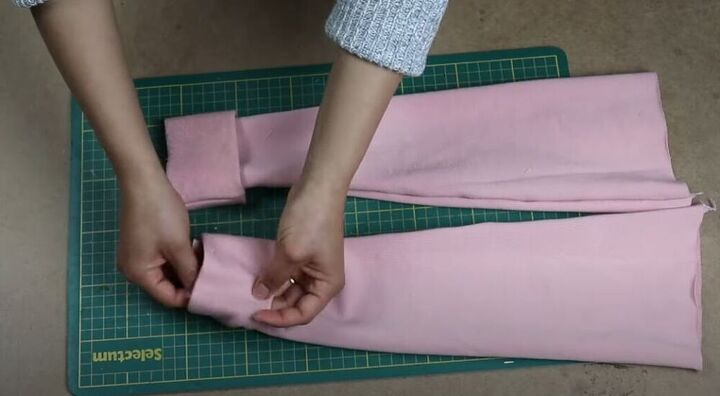
I had quite a bit of fabric leftover so I decided to make a cuff for the sleeves to give a nice finish. I cut two, 3.5-inch strips of fabric with the length of the armhole. I folded the strip in half and sewed the ends together to form a ring. I then folded the ring lengthwise and placed it over my T-shirt sleeve. I then pinned and sewed the cuffs in place.
Lastly, I left the bottom of the T-shirt raw and just sewed a stitch along the edge of the fabric.
Make a long sleeve V-neck
For the long sleeve shirt, I started by repeating the tracing and cutting steps that I had done for the T-shirt this time cutting the shirt a bit longer.
For this design, I wanted a slit on each side so I measured 5 inches and made a small notch in the layers.
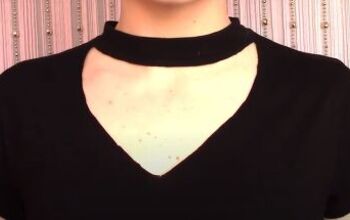
Next, I drew and cut a V-neckline on the front piece for my new top.
For the sleeves, I folded the fabric four times again and then measured the same width as the armhole from the double fold on one end, and my wrist width on the other end. For my wrist, I added about an inch so that it wouldn’t be too tight.
I then drew a line connecting my two measurement markings and cut. I added a small notch at the fold to mark the center of the sleeve.
I decided to add cuffs to the ends of my sleeves, so I made sure to cut the fabric to match the wrist of my sleeve.
Next, I folded the two sleeves and two cuffs, right sides together, and sewed.
I turned out and folded the cuffs and placed them on the sleeves, right sides together. I sewed on the cuffs to get a cute finish for my long sleeve shirt. Looking back, it might have been easier to sew the sleeve onto the bodice of the shirt first and then finish it off.
I sewed the shoulder and side seams of the shirt together, leaving the slits I wanted on either side. I then placed my sleeve inside the shirt, right sides together, and matched up the armhole seam with the sleeve seam. I went back over to my sewing machine to sew on the new, long sleeves.
I decided to add a neckband. I stretched the neckband along the neckline and let it extend a ¼ inch past the V-point for seam allowance.
Before sewing, I overlocked the neckband ends at 90-degree angles and then pinned them at the V-neck point.
When it was time to sew, I started sewing a ¼ inch from the end of the neckband, right in the center of the V-neck point. I sewed about 1.5 inches along each side of the V point and then back stitched. To complete the rest of the neckband, I used a zig-zag stitch but if you have a serger, that works just as well.
To finish, I ironed up the hem and folded over the slits twice before sewing. First I sewed the hem and then I moved on to sew the fabric along each slit.
Make a cropped mock neck
For the cropped mock neck shirt, I once again traced a drop shoulder T-shirt, and this time I made wider sleeves to add to the top.
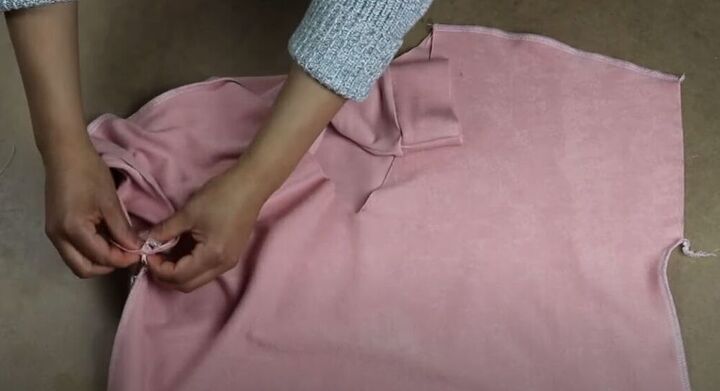
For the mock neck detail of this design, I cut out a 6-inch piece of fabric, wide enough to stretch over my head. I then sewed the neck seam of the mock neck and shoulder seams of my top.
I folded the mock neck over so that its right side was facing out. I then stretched it along the neckline, right sides together, making sure the seam was at the back. I pinned the mock neck in place and sewed.
I attached my sleeves, this time using the flat method. I then sewed up the side seams of the shirt.

All that was left to do was hem the sleeves and the bottom of the shirt. For the bottom of the shirt, I did a cover stitch across but left the bottom raw.
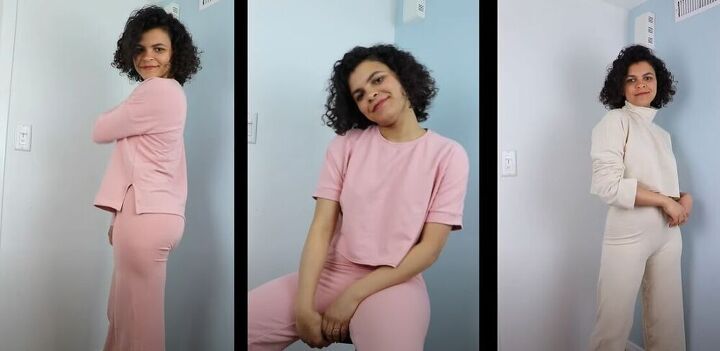
I really adore my new loungewear! Which set is your favorite? Let me know in the comments!
The author may collect a small share of sales from the links on this page.


Comments
Join the conversation
Like the all, but the middle is my favorite...Cutie girl!!
Great job!! My favorite is the middle one also!!!