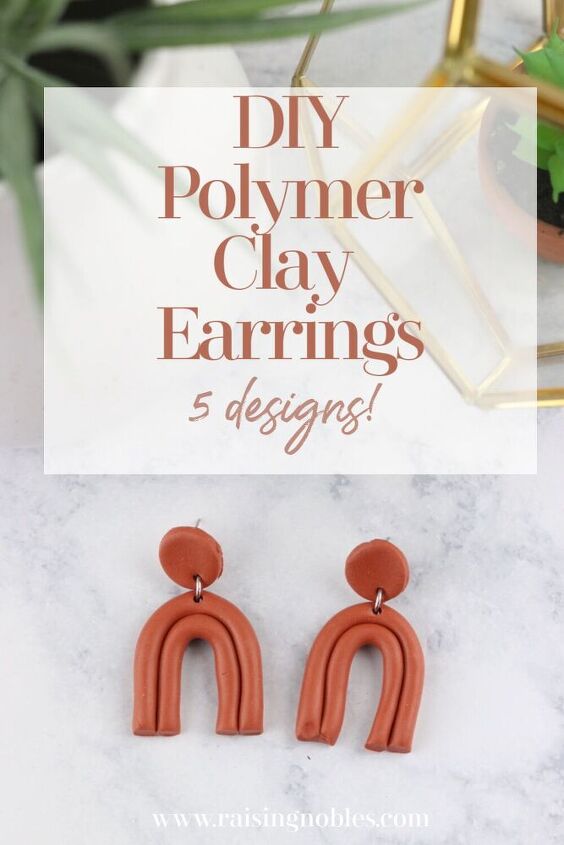
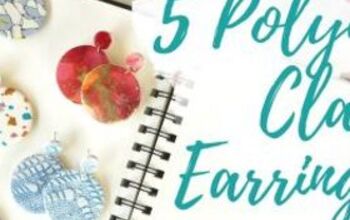
DIY Polymer Clay Earrings | How to Make Polymer Clay Earrings Tutorial
These impossibly cute polymer clay earrings are everywhere right now.
I have seen them popping up all over Instagram and Pinterest. If you want to buy a pair, you can expect to pay $30+!
In this tutorial, I am going to teach you how to make polymer clay earrings for just the cost of some polymer clay and a few supplies.
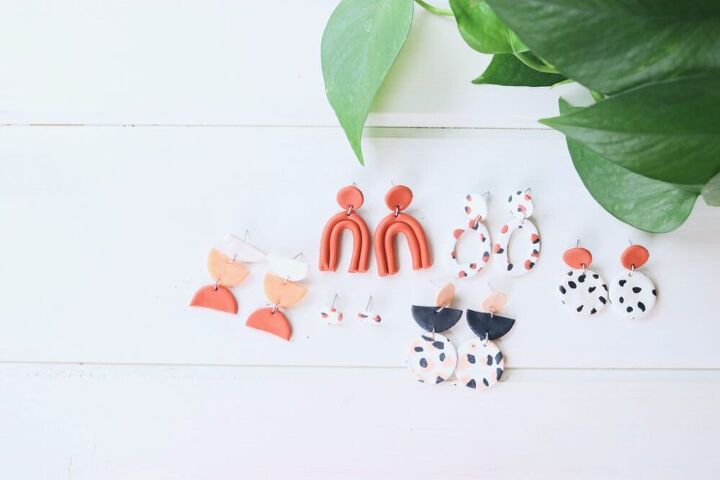
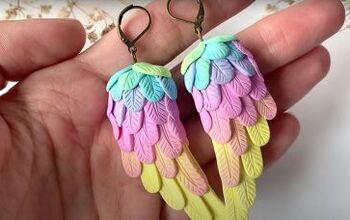
DIY polymer clay earrings
DIY Polymer clay earrings are so popular right now. And you can probably see why – the colors and design options are endless. They are super lightweight and the materials are available for just a few dollars at your local craft store. As soon as I saw these I knew I needed to make some of my own.
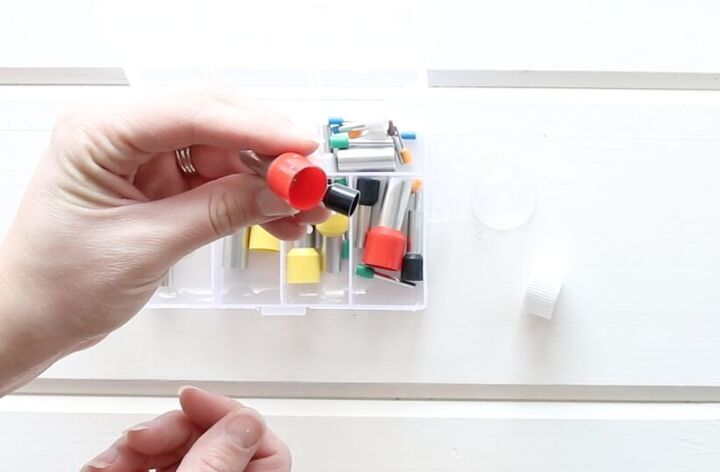
The supplies you need are simple; polymer clay, something to roll out the clay with, some earring posts, jump rings and something to cut the clay with – I’ll link my favorite clay cutter set, but I also just used lotion lids or a medicine measuring cup I found in my kitchen.
Use what you have if you can! You will also need a pair of pliers(two is best) to assemble the earrings as well as some super glue – don’t worry, I’ll have links to everything for you!
Clay earring supplies
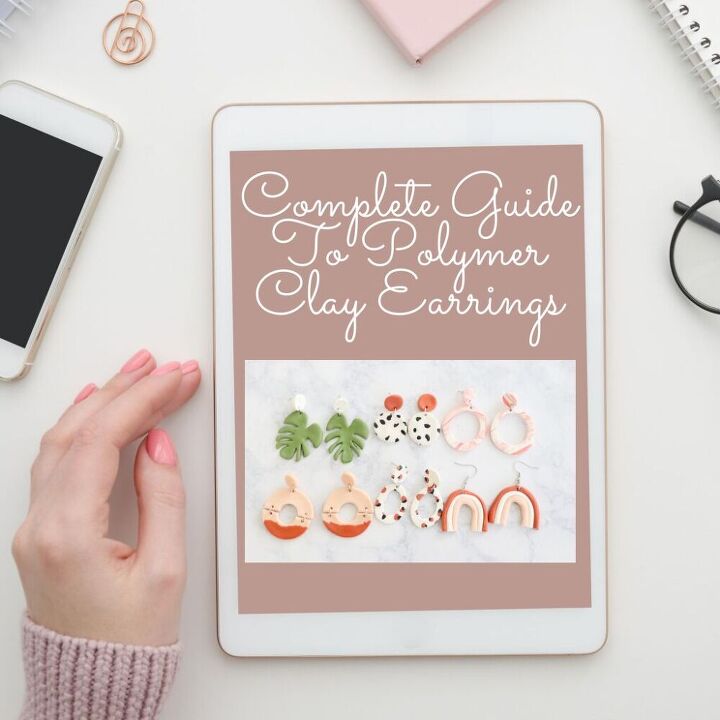
Looking for a more in-depth guide to Polymer Clay Earrings? Check out my eBook for 25 pages of my best tips, tools and tricks for making your best clay earrings.
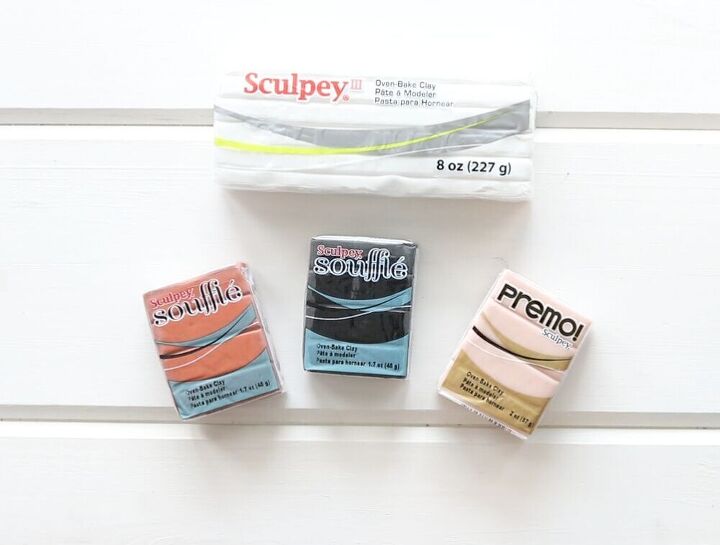
Not all clay is created equal. I have found that the sculpey brand gives me the best and most consistent results.
I tried the off brand clay and it was really hard and difficult to mold and roll out.
You can buy a really big multi-pack of sculpey clay on Amazon for super cheap, like this, but if you want certain colors you can grab those at your local craft store.

Jump rings and earring posts are very inexpensive and I like to buy mine on amazon. These 7mm jump rings are my favorite and t hese earring posts have worked well for me.
An x-acto knife is really helpful, as well as some pliers. You will also need super glue, this is my favorite. A rolling pin or tool like this is helpful as well.
Lastly, for cutting your shapes, I have found this kit from Amazon to be really helpful.
I also use random lotion lids and a tylenol measuring cup – sometimes you got to use what you have.

How to make clay earrings
- Clay, Sculpey is my favorite
- Rollers
- Clay Cutters – this is my favorite set from amazon, and I love this Etsy shop for more shapes(use code POLYMER15 for 15% off your $20 order!) I’ve got my eye on these cutters, but I haven’t ordered them yet
- J ump Rings
- Earring Posts
- Super Glue
- Jewelry Pliers
- X Acto Knife
- Parchment Paper
- Clay Softener
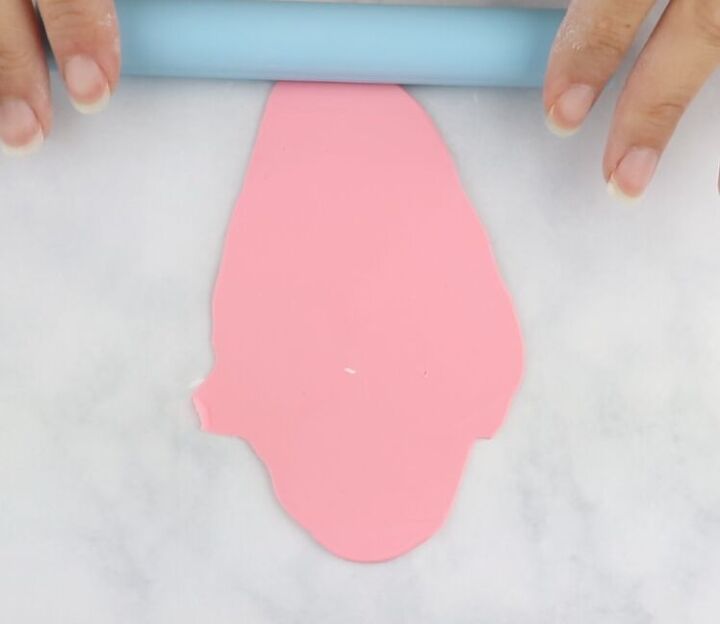
Begin by taking your clay out of it’s packaging and working it in your hands to soften it.
Once it’s soft, you can roll it out to a uniform thickness on parchment paper.

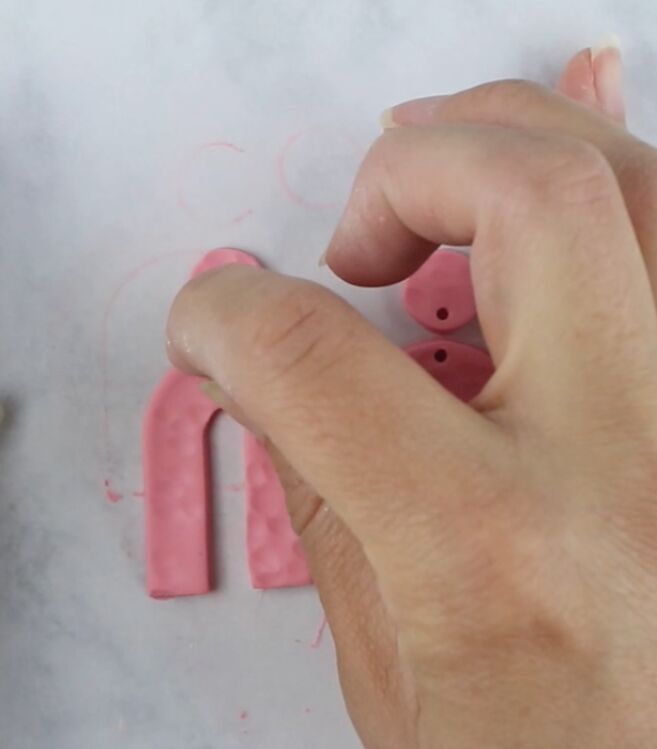
Using the cutters of your choice, press them down on the flattened clay to make your shapes.
Again, I recommend using parchment paper for this so your clay will come up easily.
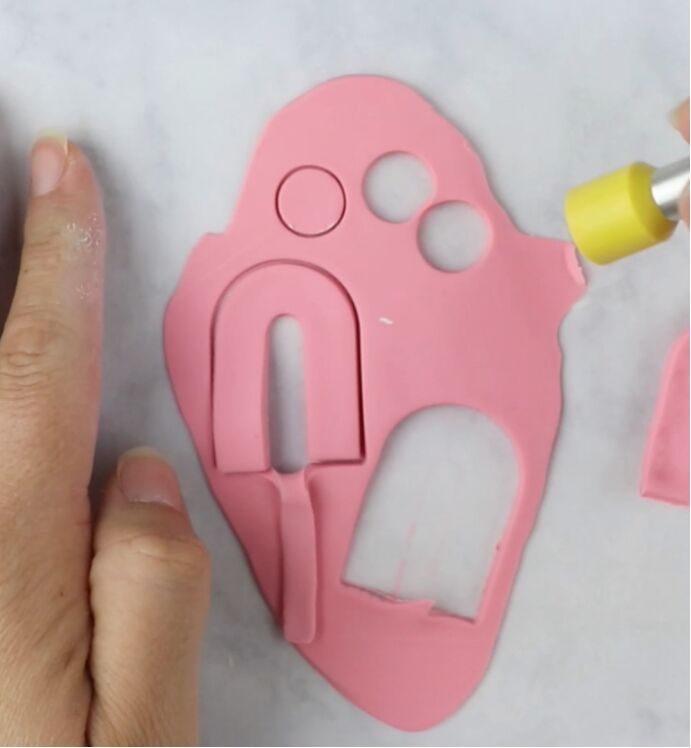
For this style I like to cut out circles to attach my earring posts to, so go ahead and cut your circles, I use this cutter kit from amazon for my circles and my holes for the jump rings.
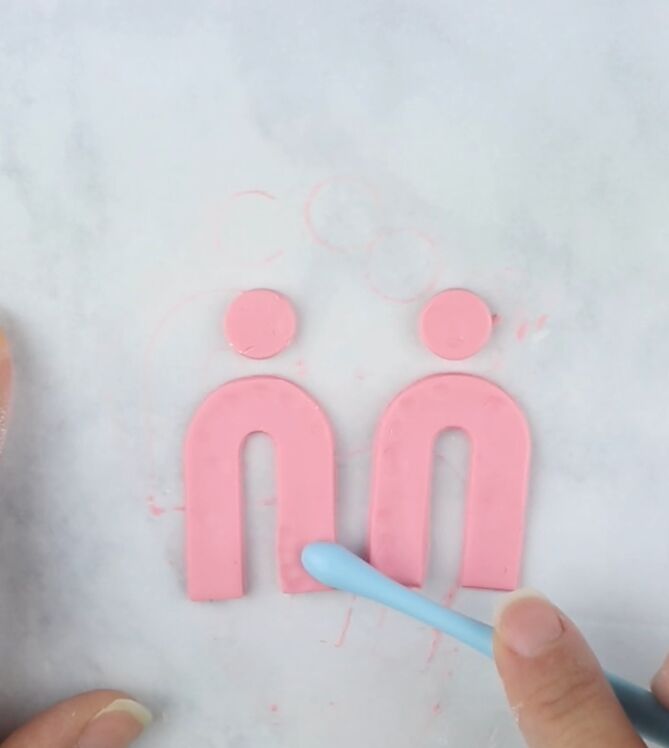
I wanted to add some texture to this clay earring, so I used the blunt end of a clay tool from Michael’s to give it a nice texture all over.
Next step is to make your jump ring holes – don’t forget this step! You need to do it before the clay earrings are baked.
Also, very important – make sure the holes are big enough to fit the jump rings you are using!
I definitely recommend the clay cutter kit from Amazon, because the brown cutter in it cuts the perfect holes for the 7mm jump rings I use for all my earrings.
Bake your clay earrings at the temperature and for the time that the polymer clay package tells you. Watch them closely because they can burn easily!
After your polymer clay earrings have completely cooled from the oven, it’s time to assemble them.
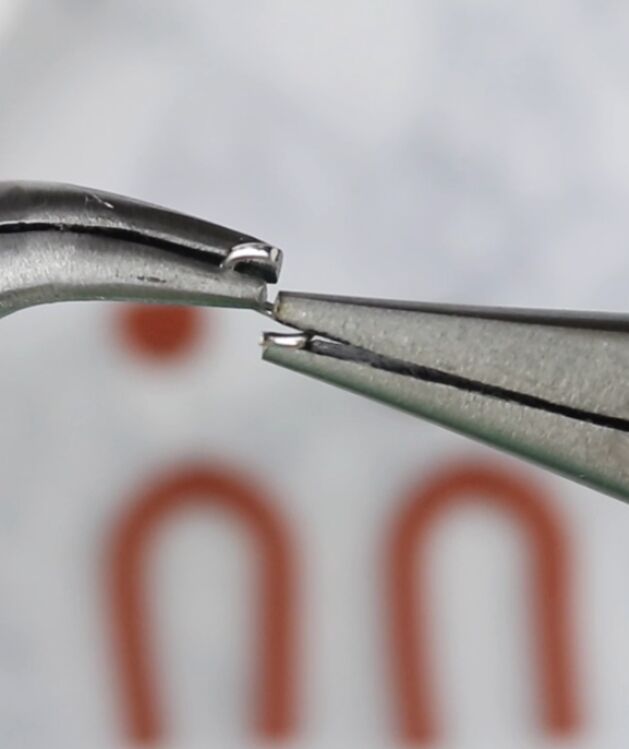
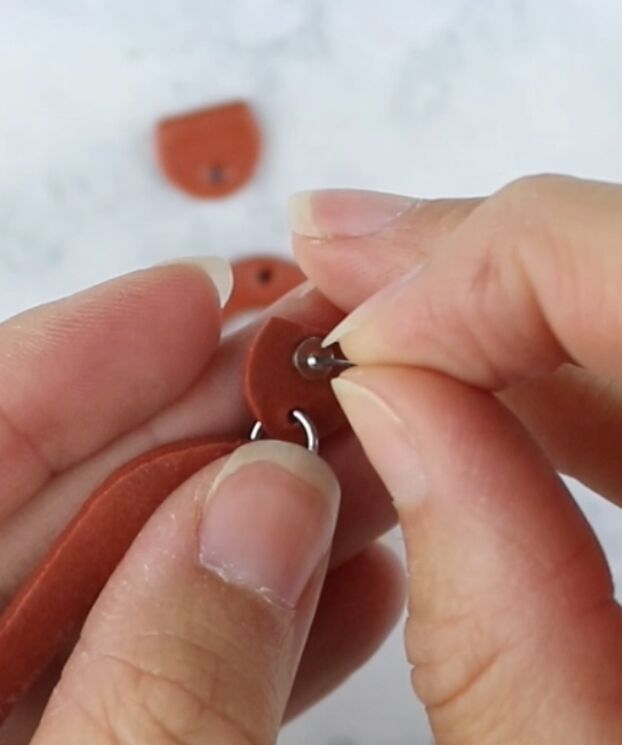
Using two pairs of your jewelry pliers, grab each side of your jump ring and twist your left hand forward and your right hand backwards to open the jump ring like pictured above.
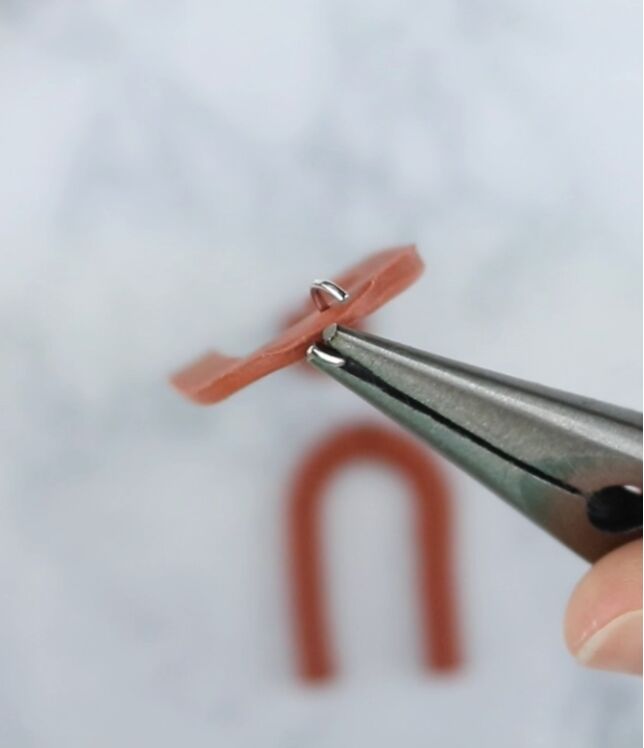
Simply slide your earring pieces onto the jump ring and use your pliers to close it back and rotate the jump ring opening to the back of the earring.
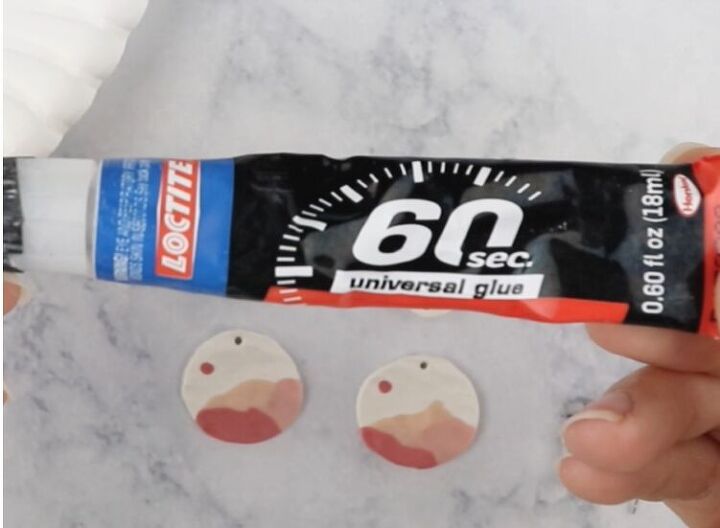
Put a dab of your glue on a paper plate and dip the back of the earring post in the glue so it doesn’t get all over your hands.
Then just place the earring post on the back of the clay earrings and allow it to dry thoroughly before trying on your gorgeous creations – when I first made these I totally put them on before the glue dried and had super glue on my ears for like a week -_- lol! Don’t do that.
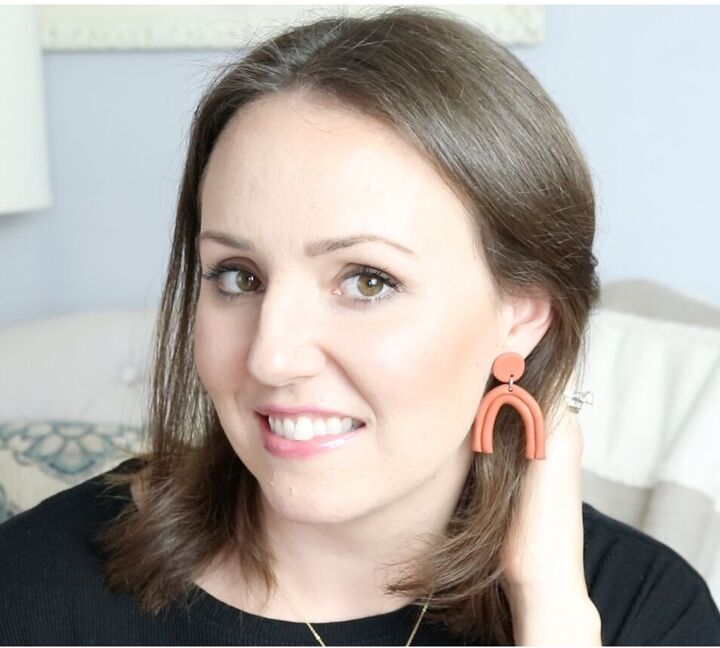
Hooray! Now you know how to make these beautiful clay earrings! The possibilities are endless with these – so many colors and shapes to choose from. I’m totally addicted!
What do you think? Let me know in the comments.
The author may collect a small share of sales from the links on this page.


Comments
Join the conversation
So cute!
I’m a DIYer at heart and I’m buying everything. Can’t wait to start making earrings.