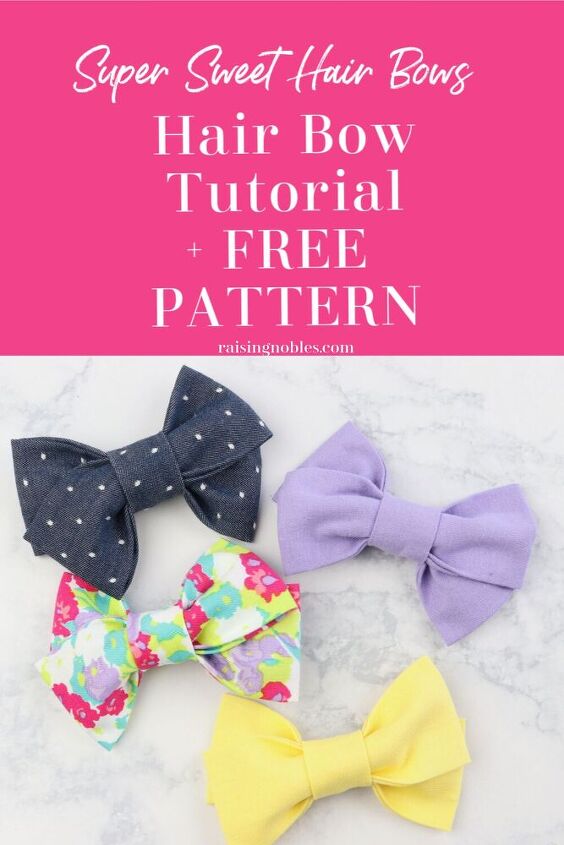
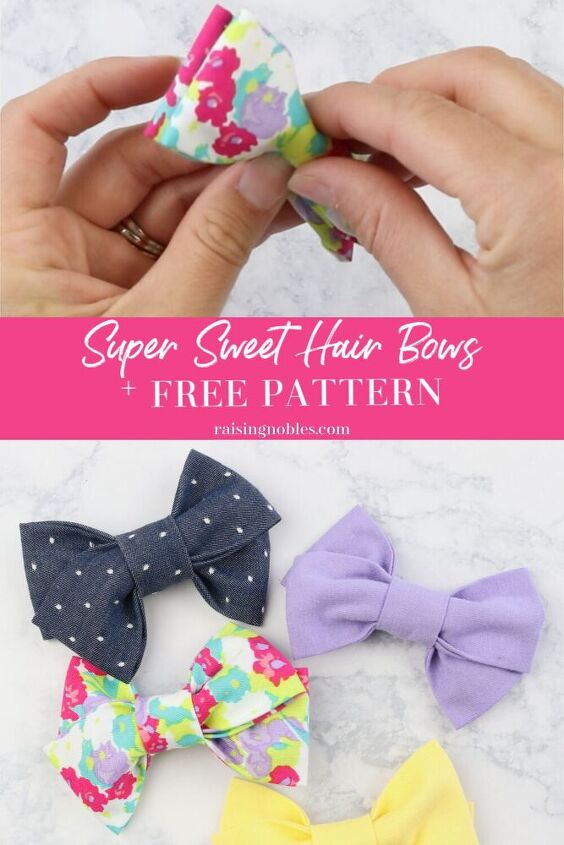
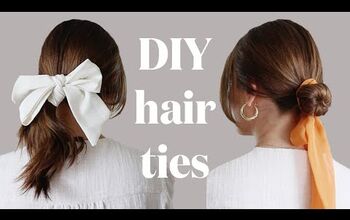
How to Make a Hair Bow | Hair Bow Tutorial + Free Pattern!
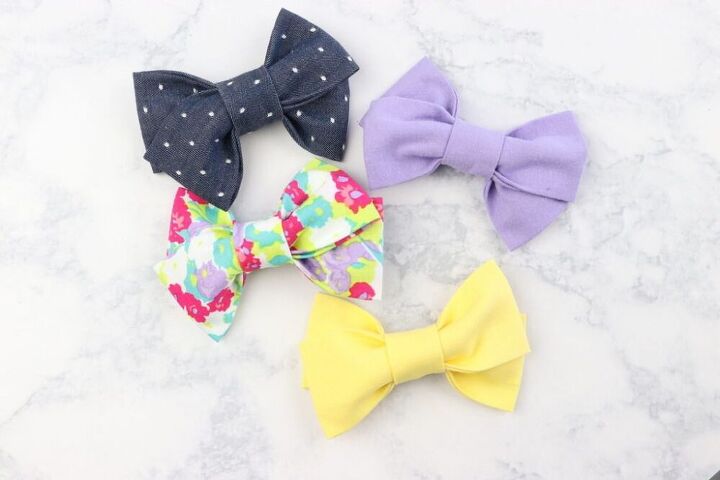
Today I am really excited to share with you how to make a hair bow. I love this style of double hair bow. It’s so simple and timeless. These bows can be made in 3 minutes or less and I love that about them. Keep reading for a FREE TEMPLATE so you can make your own hair bows.
My love for bows began when my first little girl was born 7 years ago. We were in our mid twenties and my husband and I had decided to cut our expenses and really “penny pinch” to make ends meet for me to be able to stay home with our newborn full time. Needless to say, we didn’t have extra money to spend on fancy boutique hair bows for her.
My love for crafting and creating came in handy, as I quickly learned how to make all sorts of hair bows, from felt flowers to fabric bows and even some made with ribbon. I enjoyed it so much, that I decided to try opening an etsy shop to sell those bows.
My shop really took off and to this day, it’s still open with lots of children’s accessories, although my sisters are the ones primarily stocking it these days.
I have been focusing my time on this blog and my youtube channel so I haven’t made bows for a while now. But I’m going to take my years of bow-making experience and share them with you! I have tons of bow patterns and sizes and even bow ties! So be on the lookout for more bow and bow tie patterns in the future.
Can I Make Different Sizes?
Yes! You can switch this pattern up and make them larger or smaller just by reducing the sizes of the rectangles. That’s right – all you need are fabric rectangles to make these gorgeous hair bows, can you believe that? I love to make an oversized version for my older daughter and then a matching one for my younger daughter. Matching sets are so fun and really popular in etsy shops!
Hair Bow Supplies
The supplies for this one are really simple. You will need some fabric, scissors, needle and thread, sewing machine, iron, hardware of your choice: headband, alligator clip or snap clip – any of those will work great. You will also need a small piece of scrap felt and a hot glue gun.
How To Make A Hair Bow
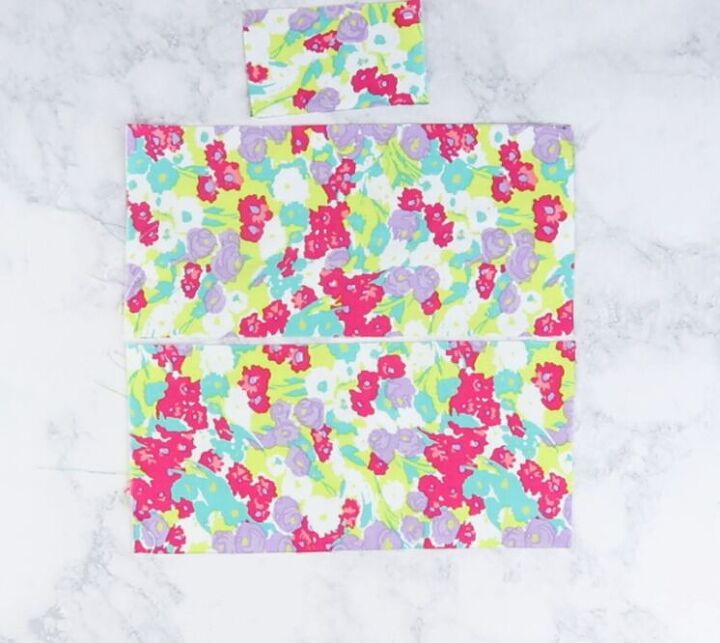
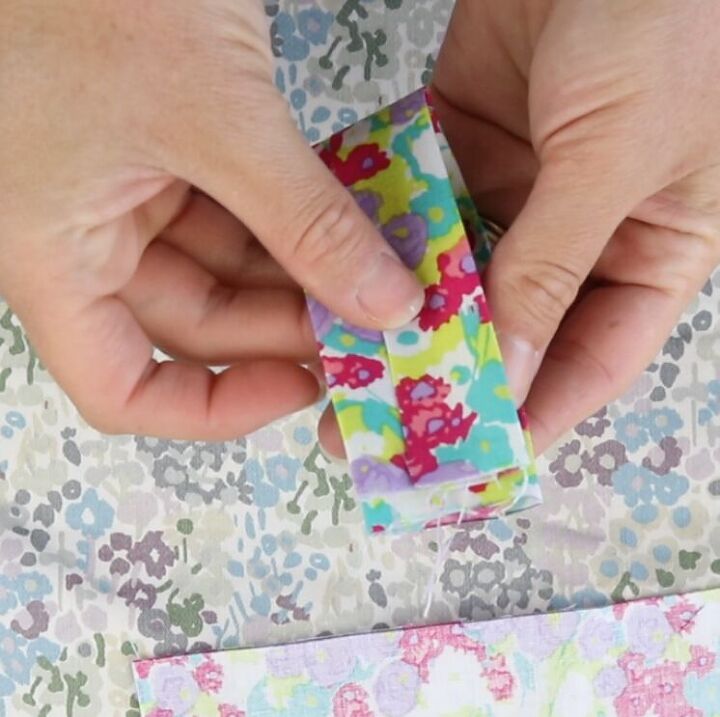
Start by cutting out your 3 pieces of fabric.
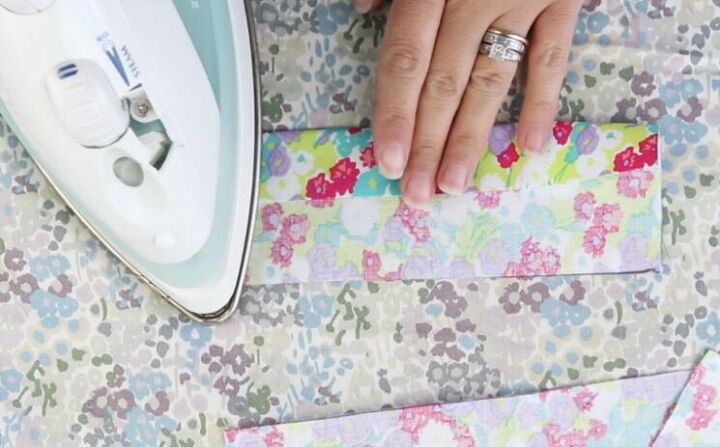
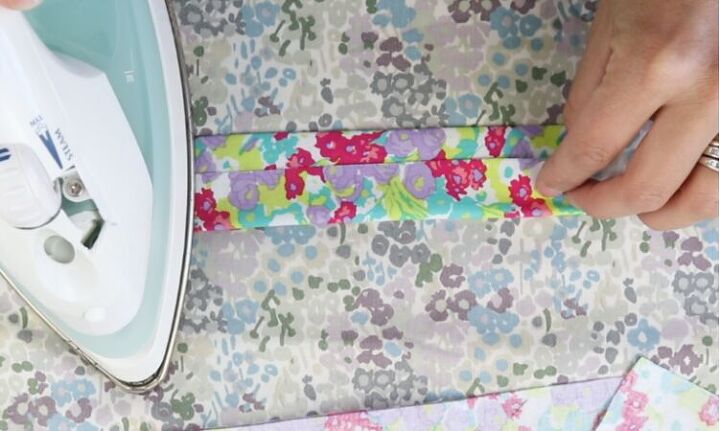
Fold rectangle piece towards middle about 1″ and press. Repeat the same thing on the other side.
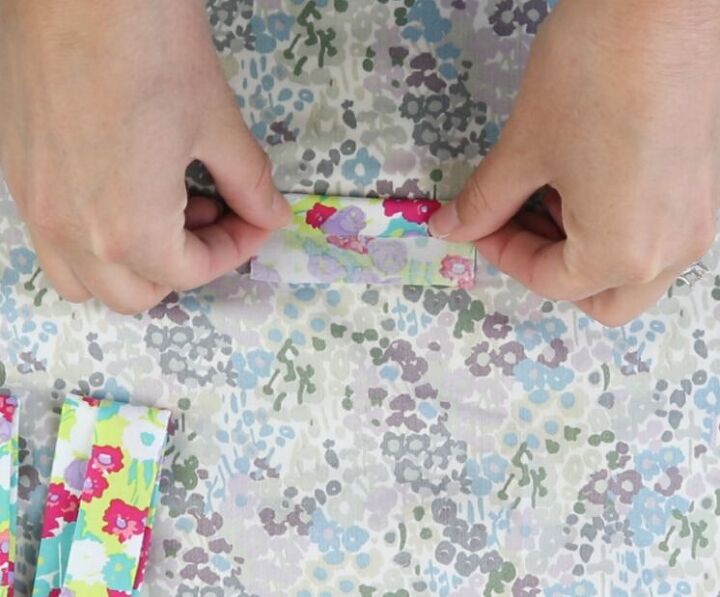
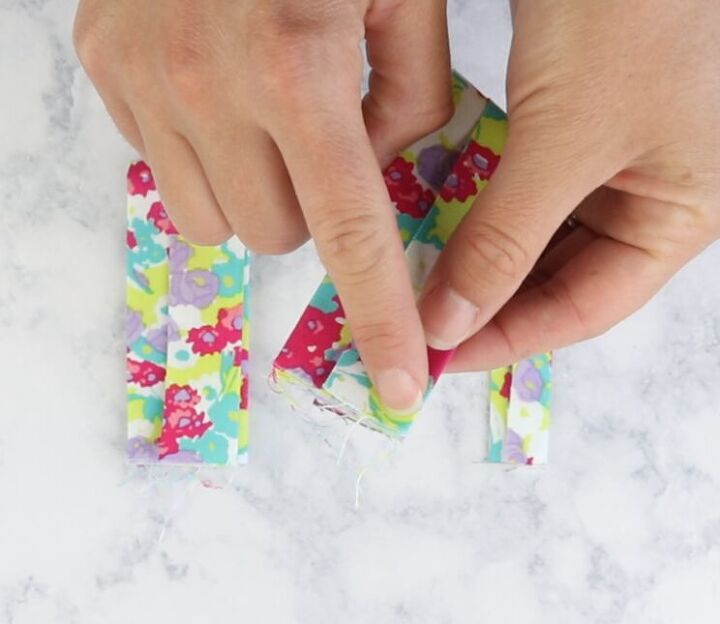
Then take the small rectangle and fold each side in towards the middle, overlapping a little and then press.
Fold your large rectangles in half with the overlapping sides facing out.
Sew a straight stitch with 5/8″ seam allowance at the very end of each of the larger rectangle pieces
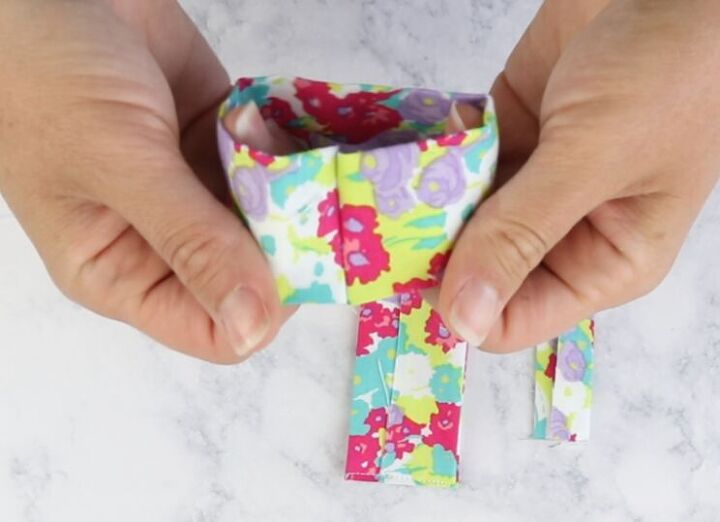
After you have those two pieces sewn, turn them right side out and center up the seam in the middle of the piece
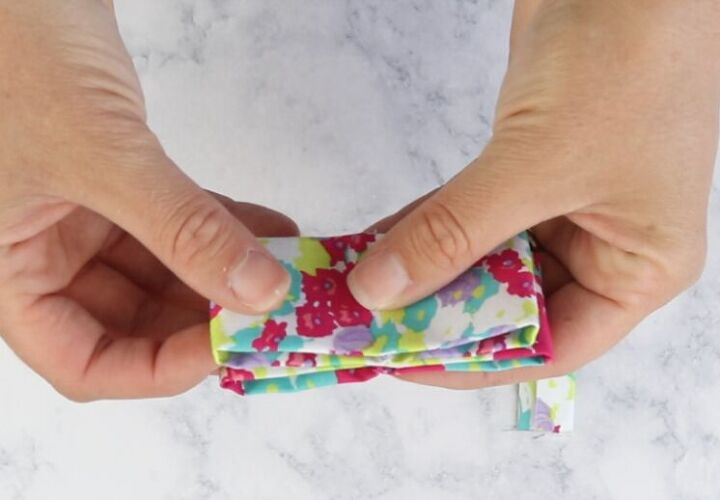
Next, stack the two larger pieces on top of each other, making sure the two seams are in the center
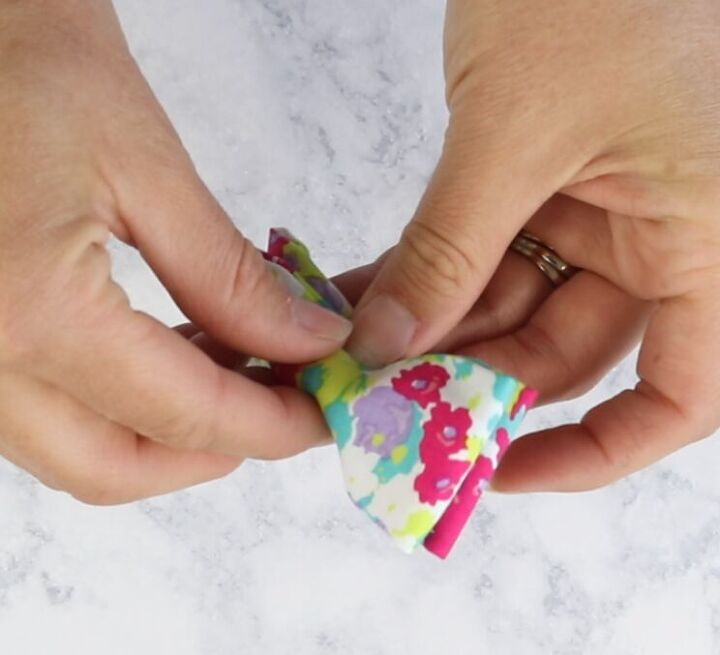
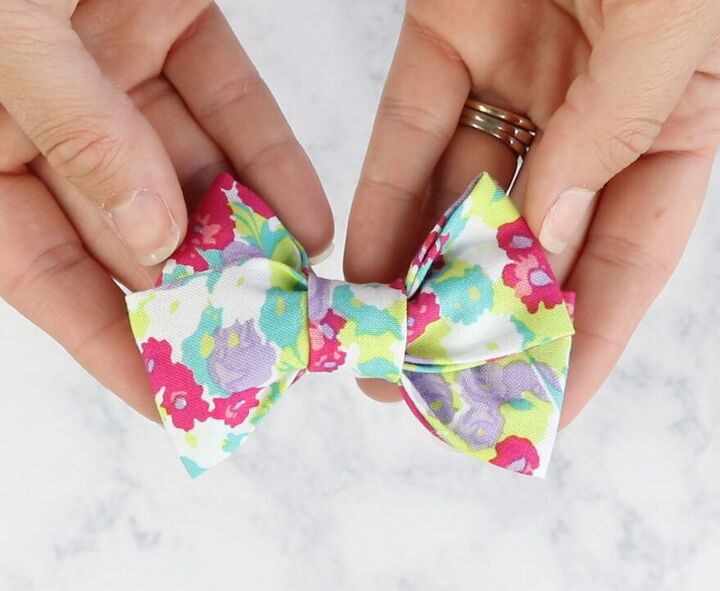
Then pinch the two pieces in the middle and flip the bow over to push the two edges back out towards the front. It’s hard to explain this part, you can watch my detailed youtube video here if you would like.
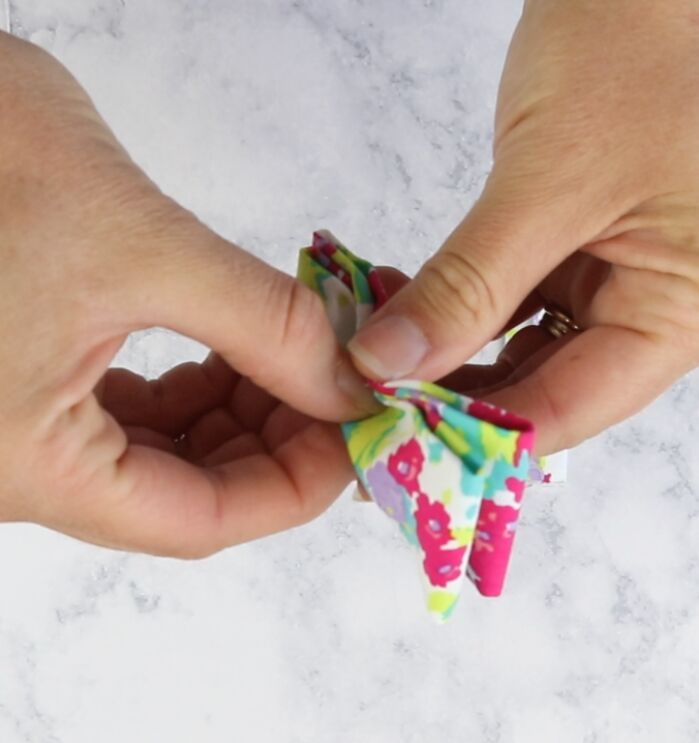
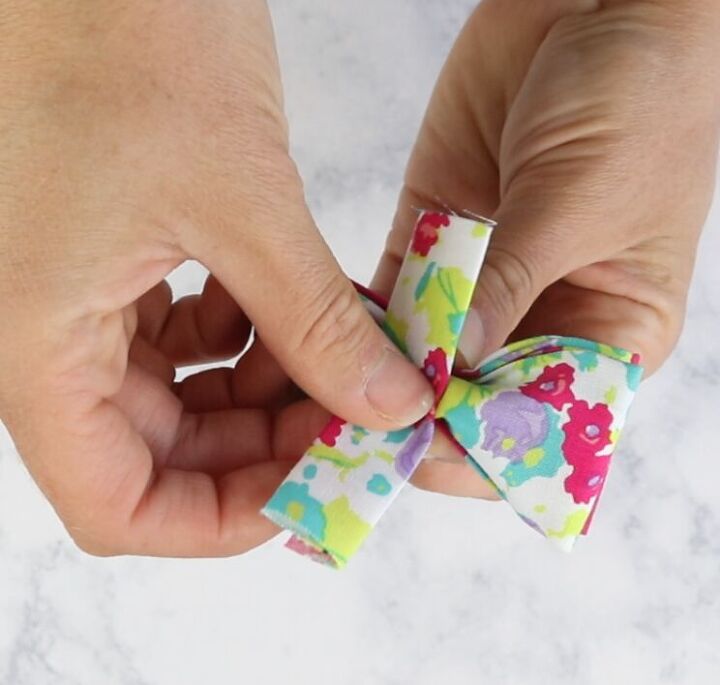
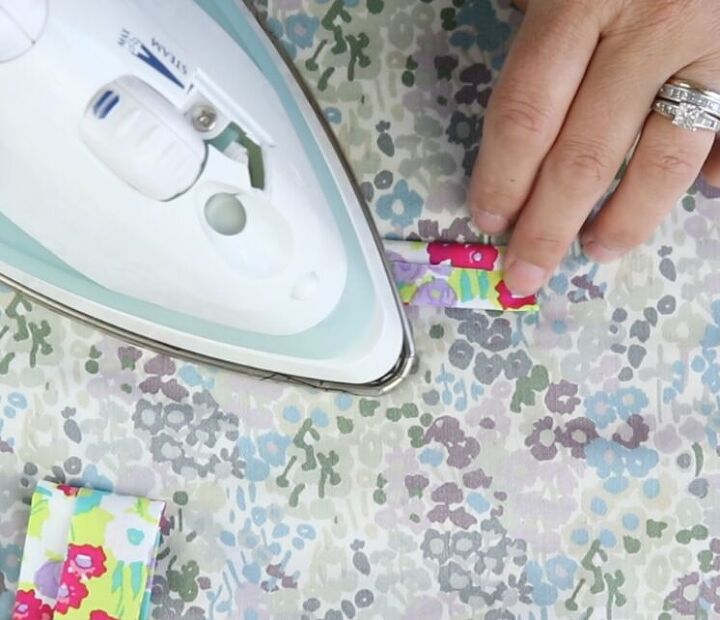
Next step is grabbing our small rectangle and placing it over the center of the bow. Wrap the two ends towards the back of the bow and use your needle and thread to tightly sew it to the bow. Securing everything.
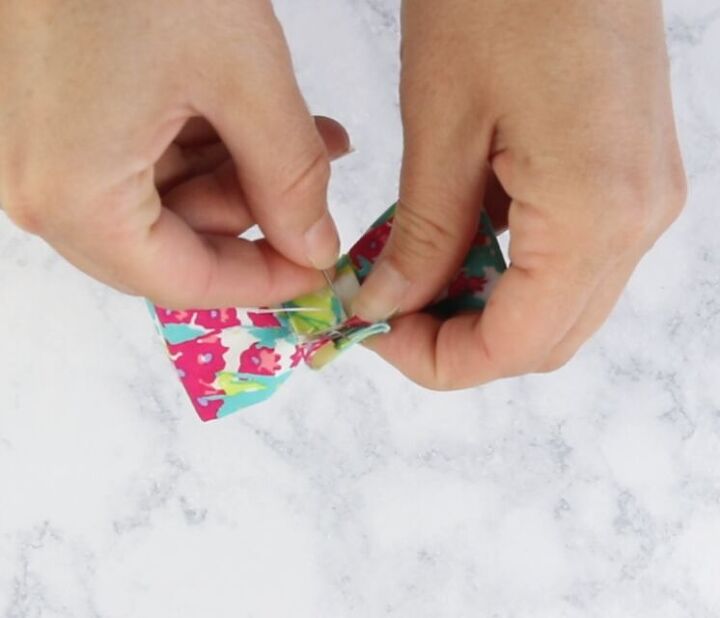
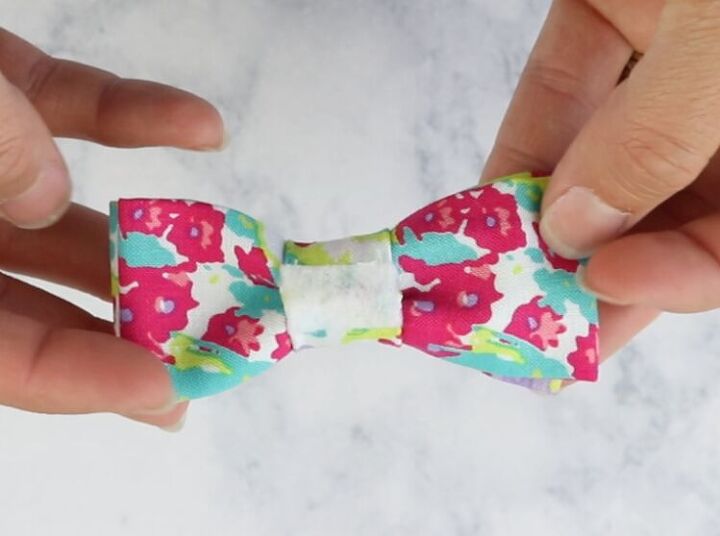
After you have sewn the middle on, you can cut the excess. Next cut a small piece of felt and glue it on the back to hide the seam.
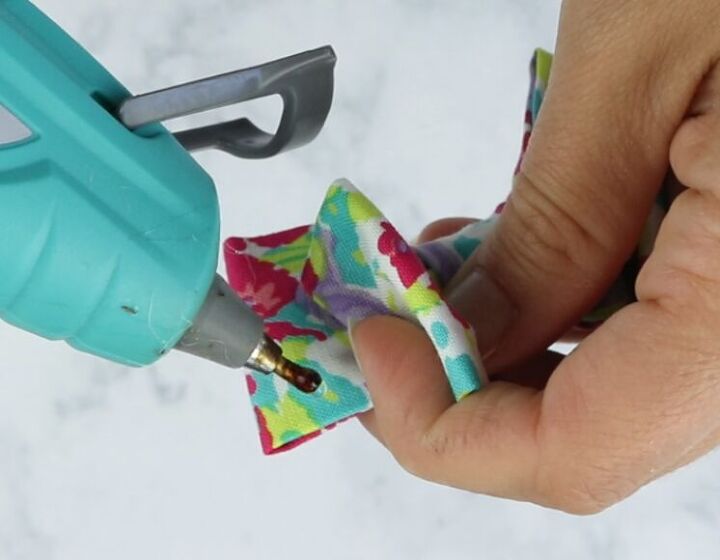
Now it’s time to fix the tales to give them that pretty look. Again, if you need a better visual of this, you can check out my youtube video, but I’ll try to describe it here. Basically take the right side of the bow and pull the top tail up, place a dot of glue on the bottom bow to hold the top one in place, in it’s “fanned out” position.
Repeat the same thing for the left side of the bow, but instead of pulling the top bow UP, pull it down, creating that pinwheel effect. And glue that as well.
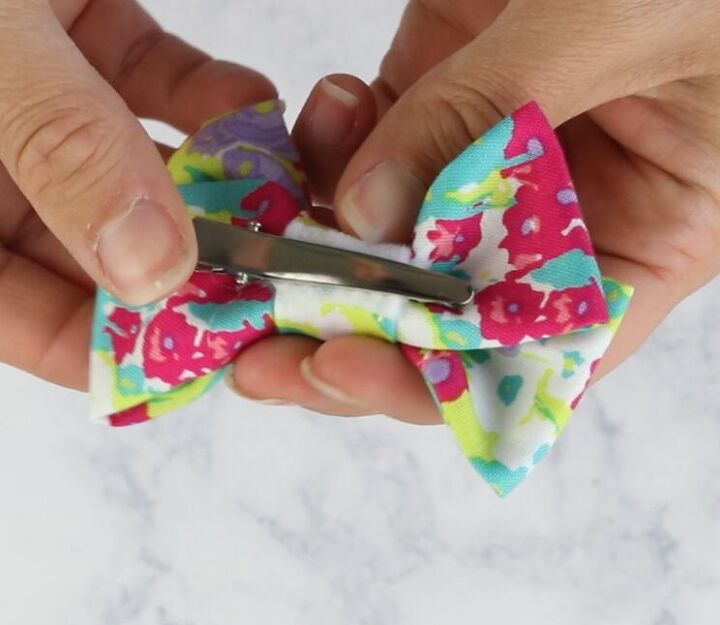
Last step is adding a little hot glue to your clip and attach it to the back of your bow. If you are using a headband, you would place the headband under the center piece before sewing it on.
That’s all there is to it! Thanks for joining me today!
The author may collect a small share of sales from the links on this page.


Comments
Join the conversation
I am thinking of using this pattern (Making it wider and longer for cheap thongs. I have to hide bunions that i have inherited. I have bought a couple but they quit making them. Always received complements on them.
thank you!