Make Your Own Gorgeous Peplum Top by Following These Simple Steps

I absolutely love a clothing item that’s versatile. That’s one of the reasons I’m in love with this peplum top. It can be worn with or without a belt, giving you two totally different looks. Without a belt, it’s flowy and high-low, and with a belt, it’s cute and flattering. Furthermore, this top is so easy to make and I’m obsessed with the way it looks. In this tutorial, I’ll take you through the steps of making your own version of this top. Give it a try, I’m sure you won’t regret it.
Tools and materials:
- Scuba fabric
- Scissors
- Pencil
- Measuring tape
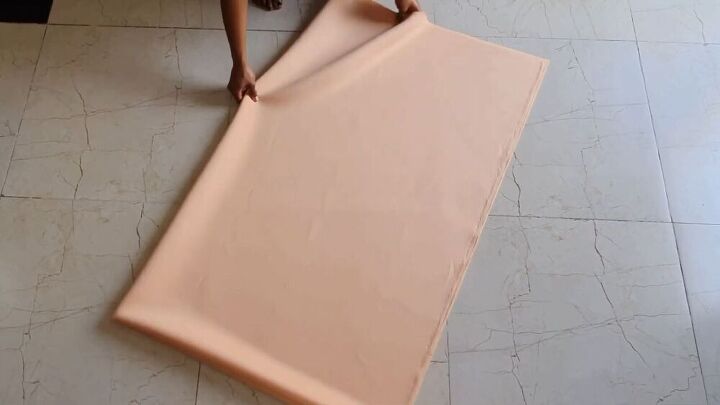
Prepare your fabric
For this project, I highly recommend using Scuba fabric. It’s solid, meaning that there is no difference between the right and wrong side, and it’s self-finishing, meaning it doesn’t fray when you cut it. To prepare your fabric, start by folding your fabric in half, then folding it yet again.
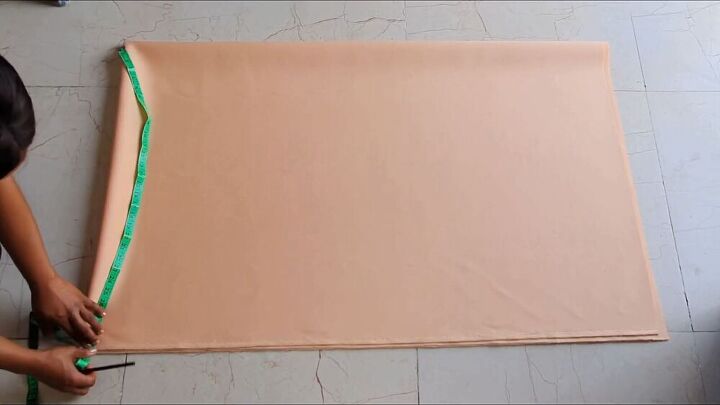
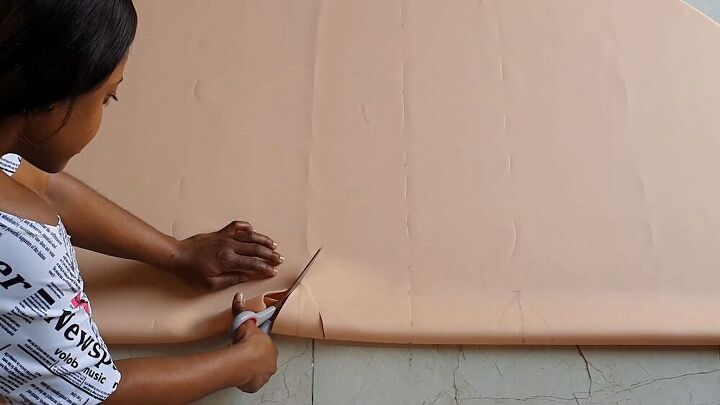
Cut a curve
The length of the top is going to be 30”. So take your measuring tape and measure 30” from the top folded corner. Mark the measurement, then move your measuring tape in a circular motion, keeping the end in the corner, and continue marking the same measurement. In the end, you should have ¼ of a circle. Then grab your scissors and cut out the curve.
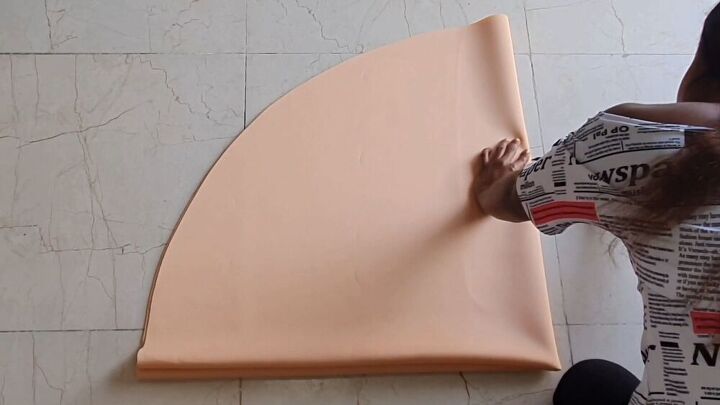
Mark the center
Now you need to mark the center of your circle. So take a pencil and mark along the fold of the fabric. When you unfold the second fold, you’ll have the center of the semi-circle clearly marked. Once you’re done marking the fold, go ahead and unfold it so that you have a semi-circle.
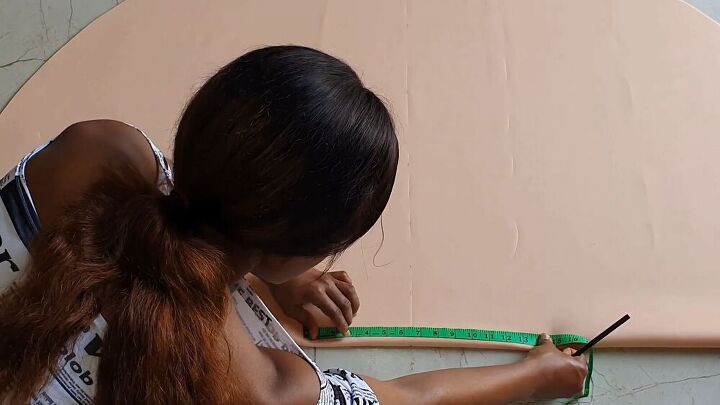
Mark your shoulder measurements
Take your measuring tape and place it on the fold, with the 6.5” mark on the center line. Then mark where the 0” of the measuring tape is. Now move over to the other side of the center and mark where the 13” line is. These are the shoulder measurements, so if yours are different, you’ll have to adjust the markings accordingly.
Mark your armholes
Go over to both the markings you just made and draw a vertical line from the marking to 3.5” up. Then mark a 3” horizontal line with the vertical line you drew in the middle of the new line. Draw two diagonal lines on either side to connect the lines in a triangular shape. Now use your scissors to cut out the triangle, giving you your armholes.
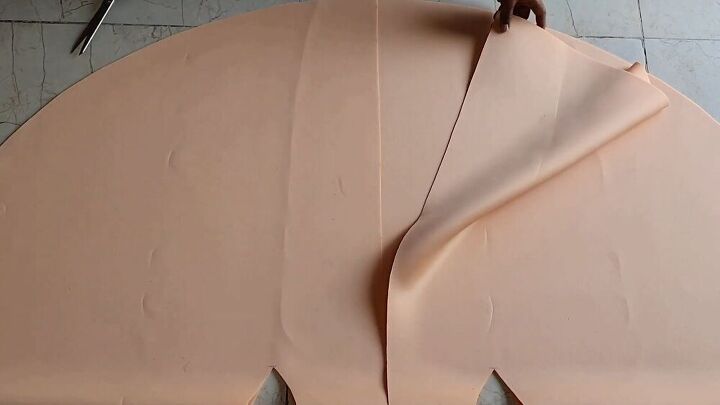
Cut the center
You’re now going to lift the top layer of the fabric from the bottom layer. Then grab your scissors and cut along the center line that you drew, all the way to the folded edge.
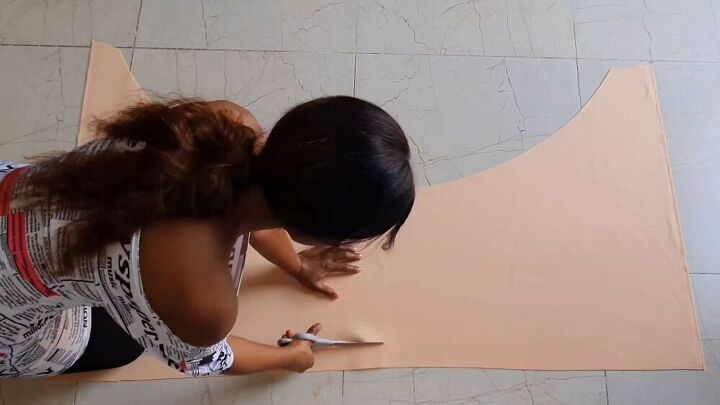
Make the belt
Now it’s time to make the belt. So take your spare fabric and mark 60” in length. Then mark a line all the way across the 60” that’s 2” up from the line, giving you a width of 2”. Once you have it marked, you can go ahead and cut it out, and you’ll be done!


There you have it! Just like that, your peplum top is finished and ready to be worn. I am such a fan of how this project turned out. It’s just such a cool style, and as you can see, it can be worn with or without the belt for two completely different looks. It’s such a flattering top and I can’t wait to wear it out and about. So which style do you like better: with the belt, or without it? Let me know in the comments!
The author may collect a small share of sales from the links on this page.


Comments
Join the conversation
Really like this jacket. So easy and simple for anyone to make. I do have one suggestion though. I love the belt from the front view. I find how ever the back gathers up by the arm hole do not quite fit right. With such a beautiful flow of the back I think if a hole were to be made on each side in a fold for the belt to go through under the back and coming out the front. Then you could close the front with the belt and leave the back with the same beautiful flow as if it wasn't tided at all. I have never heard of scuba fabric where do you find it?
I really like this piece. It’s nice for young and old alike. A lot of the post are geared toward a younger crowd so I really appreciate seeing something that interest me. Thanks