DIY Adult Bib From a Polo Shirt
Do you love to eat in the car but make a mess? (Maybe that's just my dad :) Or have a loved one in your life to care for that requires a bib? Here is a fun DIY for you to create an adult bib using a polo shirt. It's simple to do and a great upcycled project.
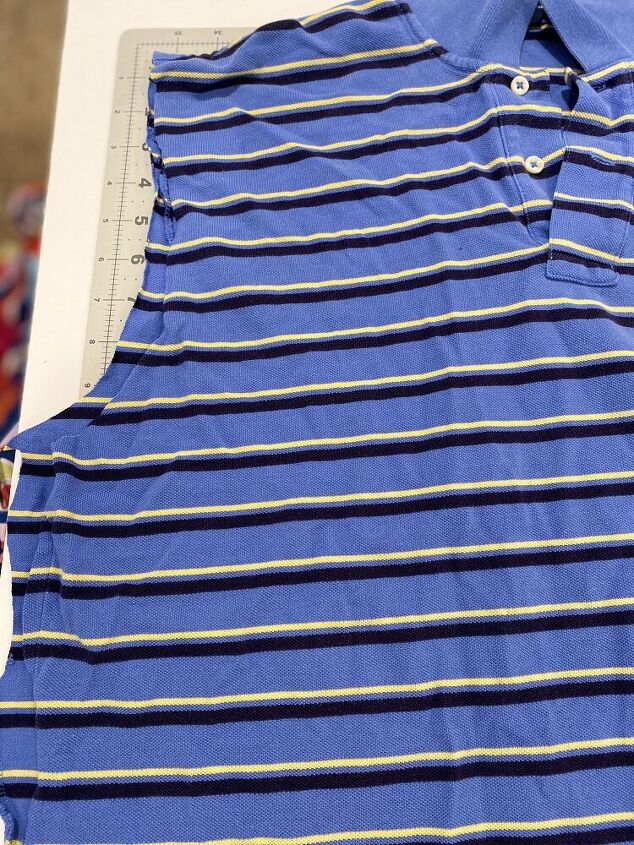
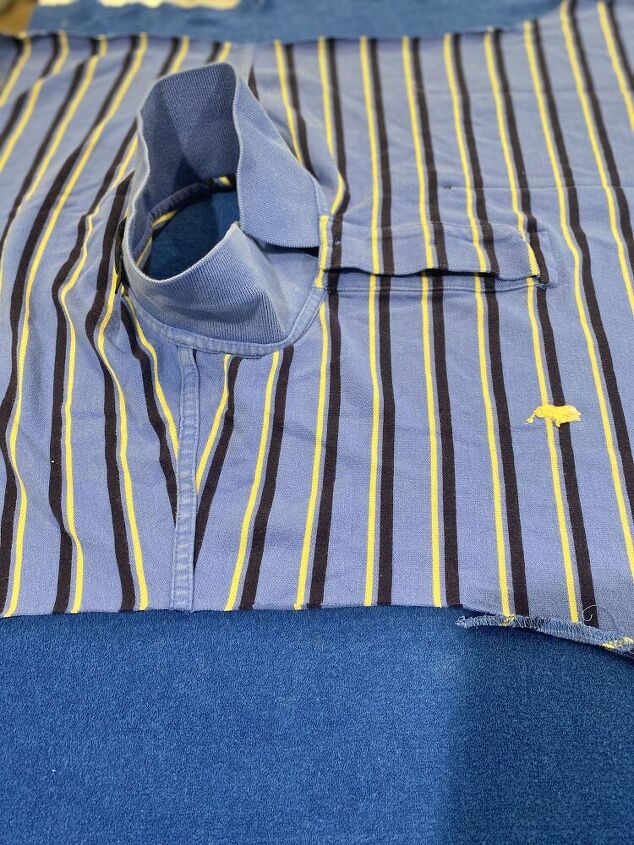
Take a polo shirt and cut up both side seams and cut off both sleeves.
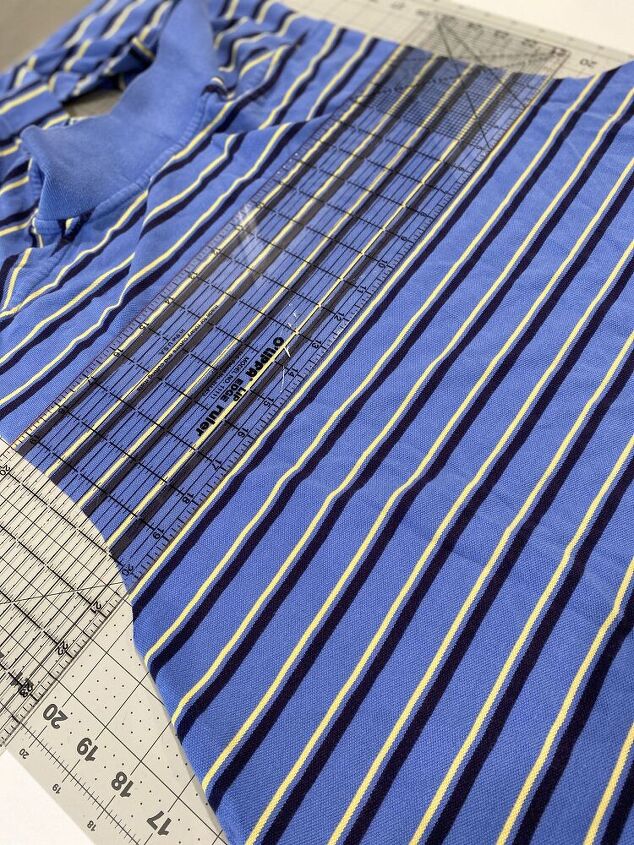
Lay the shirt out flat with the right side of the shirt facing up. Measure down about 8 inches from the back collar. Cut horizontally across the back.
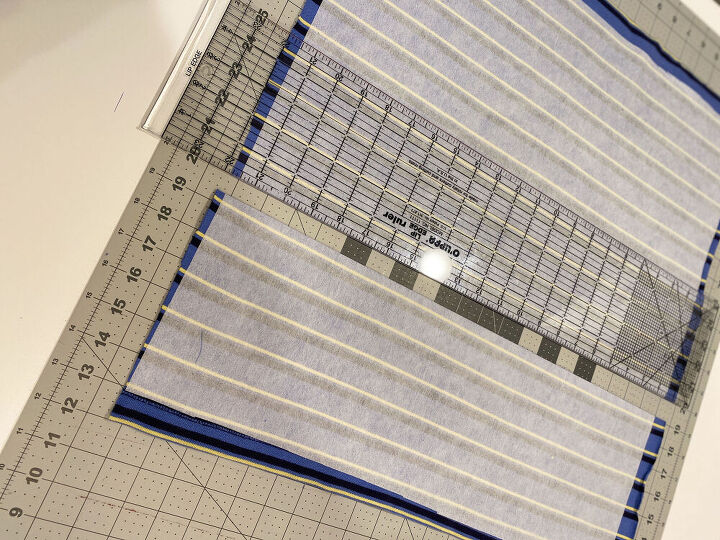
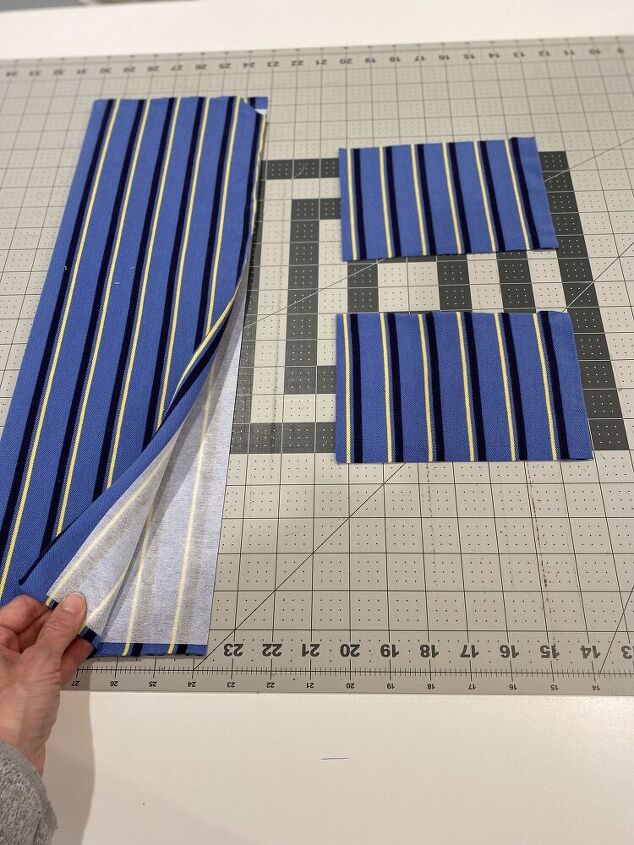
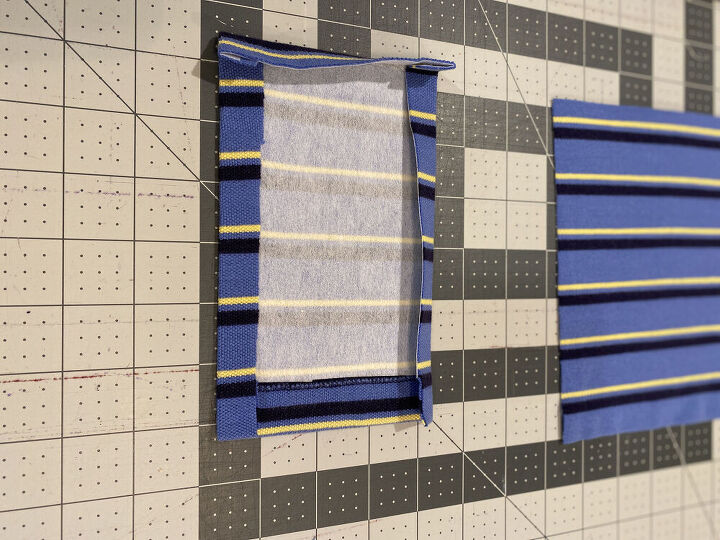
Take the remaining large rectangle of fabric that you cut off from the back of the shirt and interface it. This will become the bib catch and optional pocket. Measure and cut your bib catch and pocket if you will be adding one. I always add the bib catch as this is an important part for catching dropped food. It is on the large side and will hang a bit because it is heavy. But you want it like that so it will hang open when sitting and catch any dropped food. I decided to add a pocket for glasses/cell phone this time as well. Feel free to customize your bib for your needs. To make the bib catch I decided to cut 2 rectangles using the width of the back fabric I interfaced in Step 3 by 6 inches tall. My cell phone pocket is roughly 7 x 5 inches.
Place your two bib catch pieces right sides together and stitch across one long side using a 1/2 inch seam allowance. Sew across the side that will be used as the top if you are matching stripes or a pattern. Turn it right sides out and press well. Topstitch about 1/4 inch from the edge. Press 1/2 inch seam allowances on 3 sides of your cell phone pocket. On one short side press down 1/4 inch and then another 1/4 inch and top stitch. This will be used as the top of the pocket and this will enclose the top edge.
Picture of pressed cell phone pocket
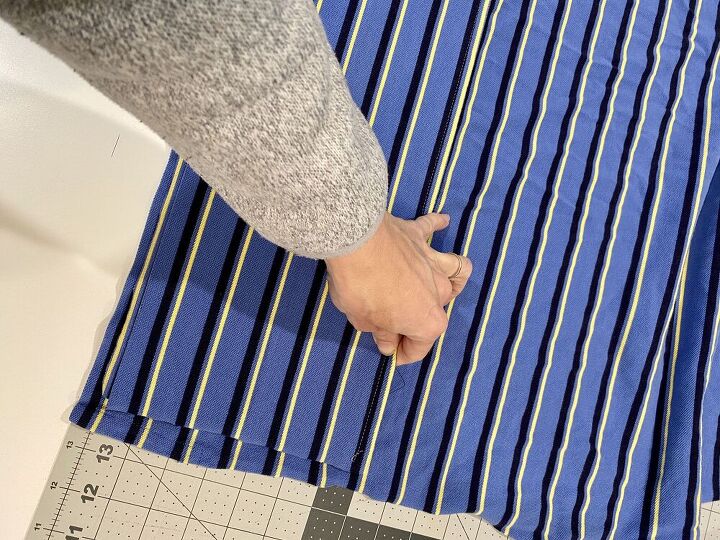
Place your bib catch along the bottom edge of the front of the bib. Align the side seams as closely as possible as well as the bottom edge. Do not stretch your bib catch to match the sides. We will trim in the next step. Pin around the sides and bottom edge. Stitch around the pinned edges using a basting stitch. Trim any excess fabric. I had some extra fabric along the bottom edge since I wanted my stripes to line up.
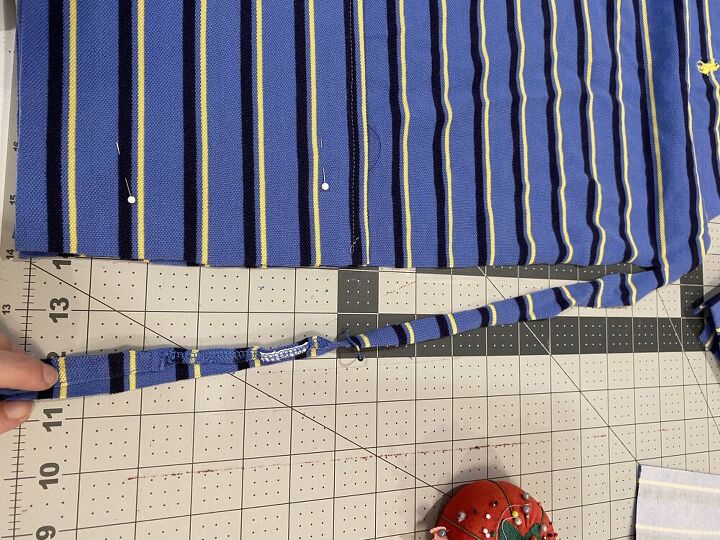
Trim your side seams to the same width as the bib catch. Then pin your pocket in place where you would like it. I eyeballed where to put mine and matched my stripes. Pin it in place and sew around the 3 sides that have been pressed to attach the pocket.
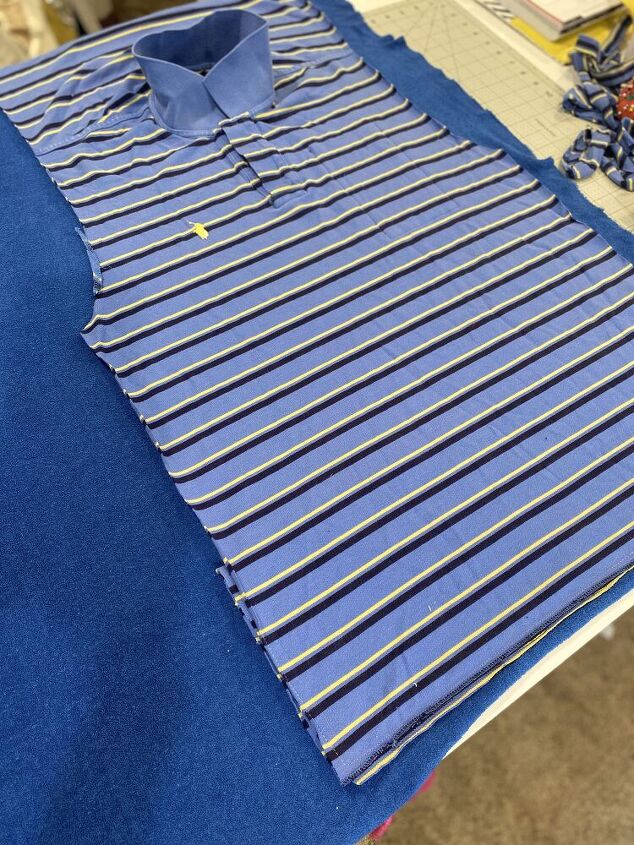
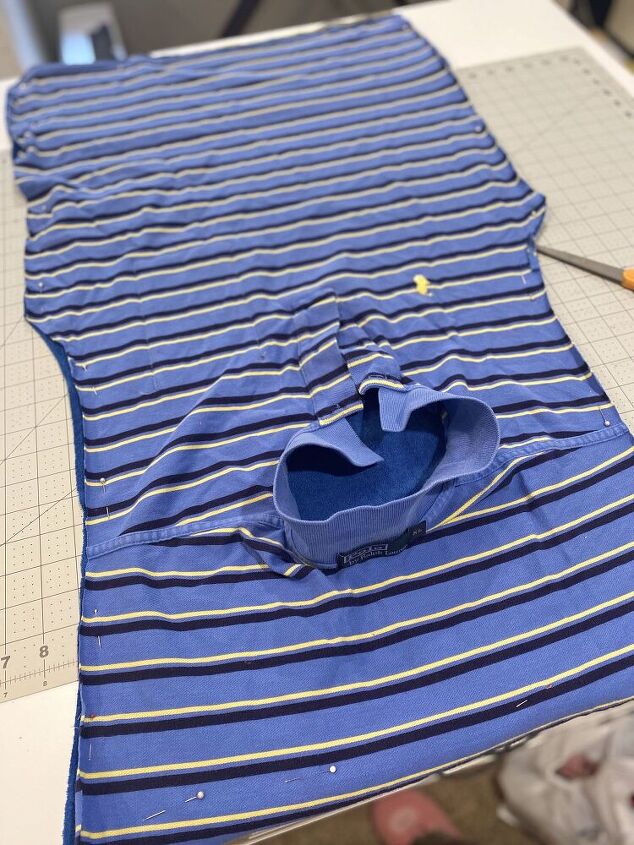
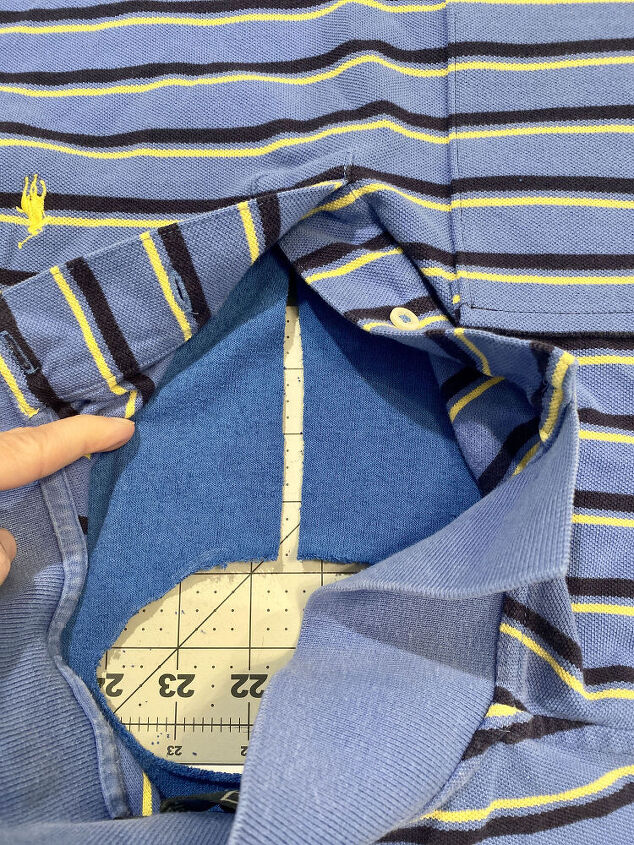
Now it is time to add the backing/lining fabric. I used a stretch toweling material to line my bib. Take your bib and lay it face down (right sides together) on your lining fabric. You will want to pop the collar up when laying the fabric together. Pin all the way around the outside edges of your bib and trim off the excess fabric.
Sew all the way around the outside edge of the bib to attach the lining. Sew using a 1/2 inch seam allowance. Then turn the fabric right side out through the neck hole.
Fabric pinned all the way around
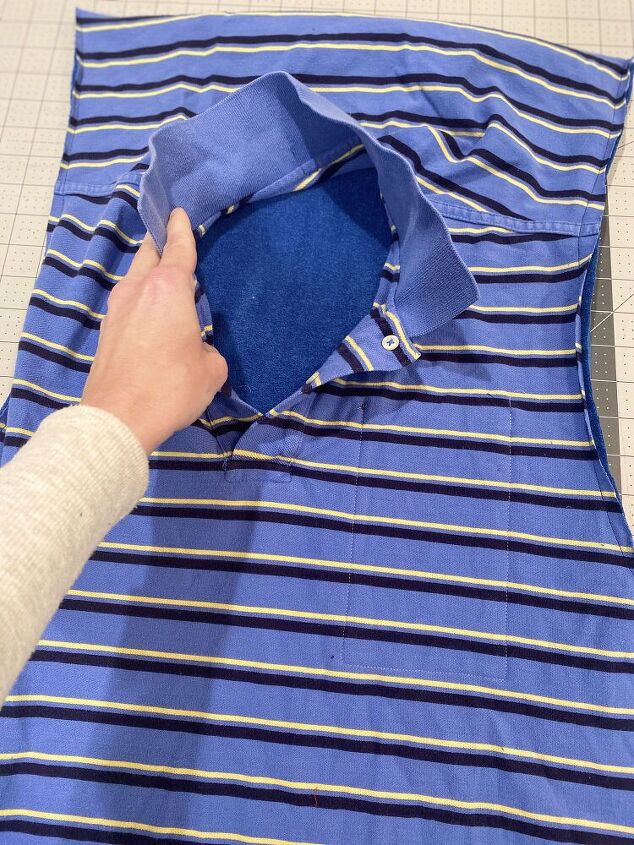
Turn right side out through neck hole.

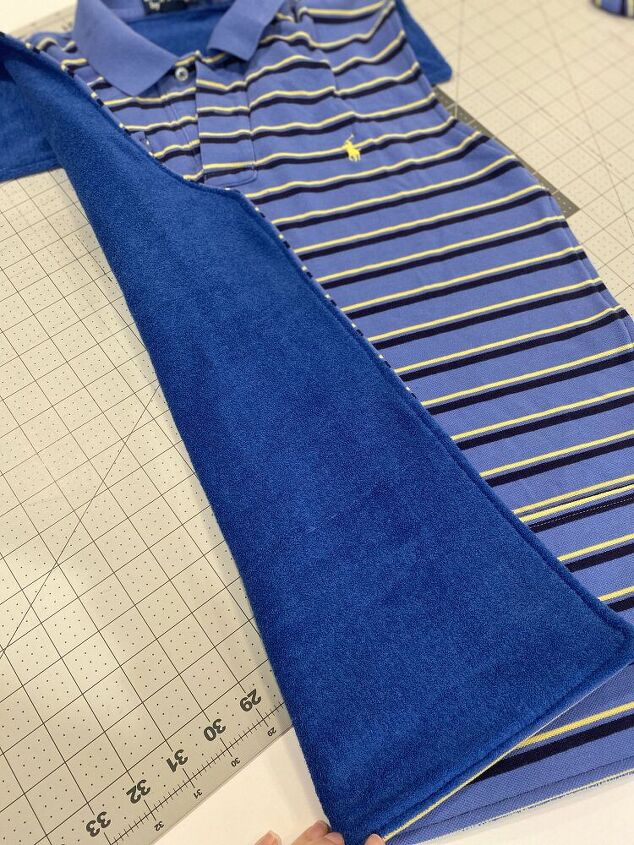
Press well all around the bib. Make sure your lining fabric is underneath and not peeking out around the edges.
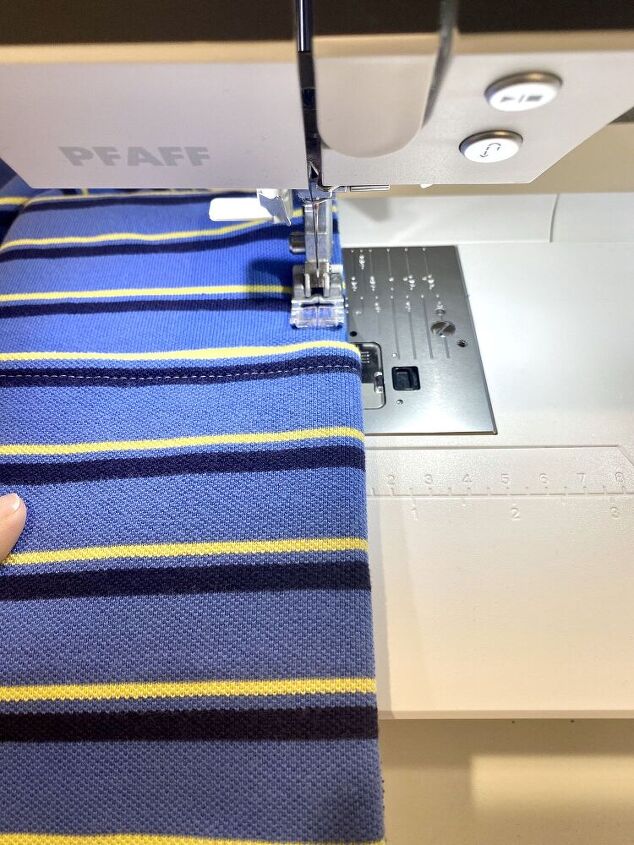
Top stitch around the entire outside edge of the bib.
Lay your bib on a flat surface with the collar standing up. Use a tailor’s chalk or pen to trace around the neckline opening. Cut away the lining fabric using your tracing line. Cut a slit from the center front of the neckline circle to the bottom edge of the placket. Cut a small 1/4 inch slit into edge bottom corner of the slit. This will allow you to fold the fabric flat to pin around the neckline and placket areas.
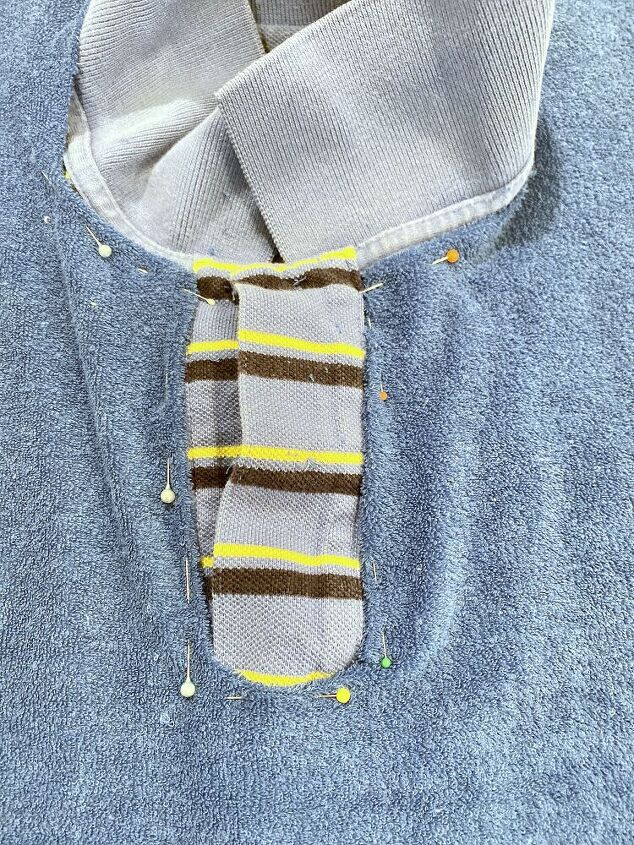
Pin really well all around the neckline, tucking the lining fabric under by about 1/4 inch before pinning. This is where having a little bit of stretch in your fabric is helpful. Once everything is well pinned, slowly sew around the neckline edge, very close to the seamline of the shirt, attaching the lining to the bib.
Your bib is finished. For more pictures of each step, please refer to my blog: indoorshannon.com

DIY Adult Bib
The author may collect a small share of sales from the links on this page.


Comments
Join the conversation