A Pantsuit to Jumpsuit Refashion
Do you remember the Refashioners 2017 Suits You challenge? That’s how long ago I started this pantsuit to jumpsuit refashion. Hell-bent on participating in this competition, I started this thrift flip with lots of enthusiasm. After a few days, the project got tedious, and I threw it aside, discouraged and defeated. When I unearthed this UFO (Un-Finished Object) last week, I was bummed to see how close I was to finishing this stupid jumpsuit. All I had to do was finish the armholes and buttons. I tend to give up too easily on myself. It’s a recurring theme in my life.
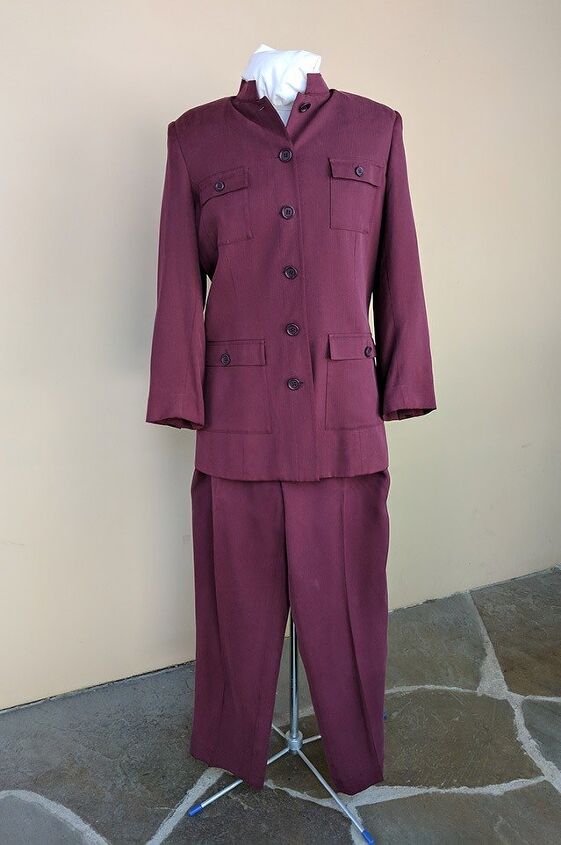
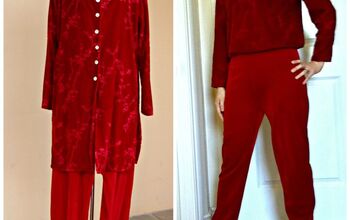
Here’s the before picture. Yes, I know it’s a completely different color from the after photo. This suede silk suit changes color in a different light. It also sucks up all the light, making it hard to capture the texture of the fabric. I was so disappointed with my amateur photography I almost didn’t post this thrift flip project.
In this post, I’ll go over step by step how I made this pantsuit to jumpsuit refashion. It’s not terribly hard, but some parts are annoyingly tedious.
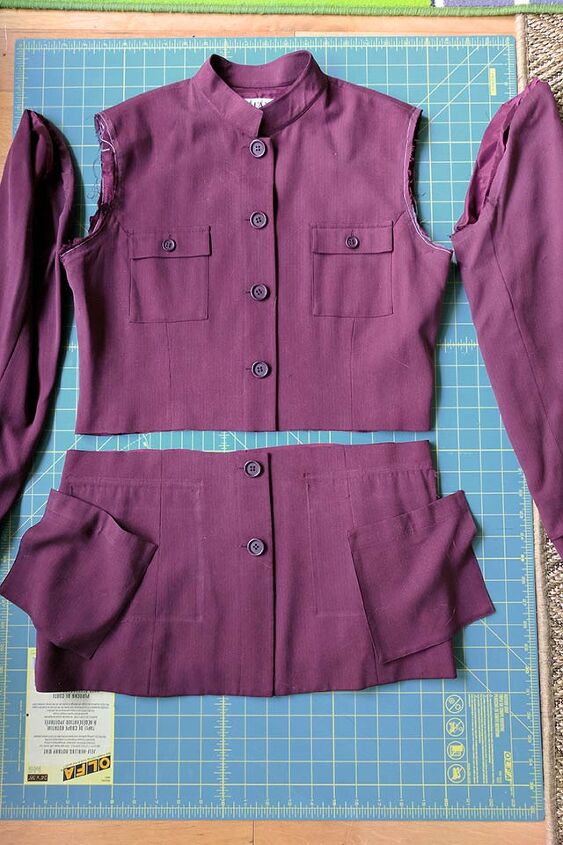
Step 1: Chop the jacket
Cut off the sleeves and lower part of the jacket. I’ll use these pieces later to make the waistband. I made the bodice a little longer than usual to add vertical ease for movements like bending over and squatting.
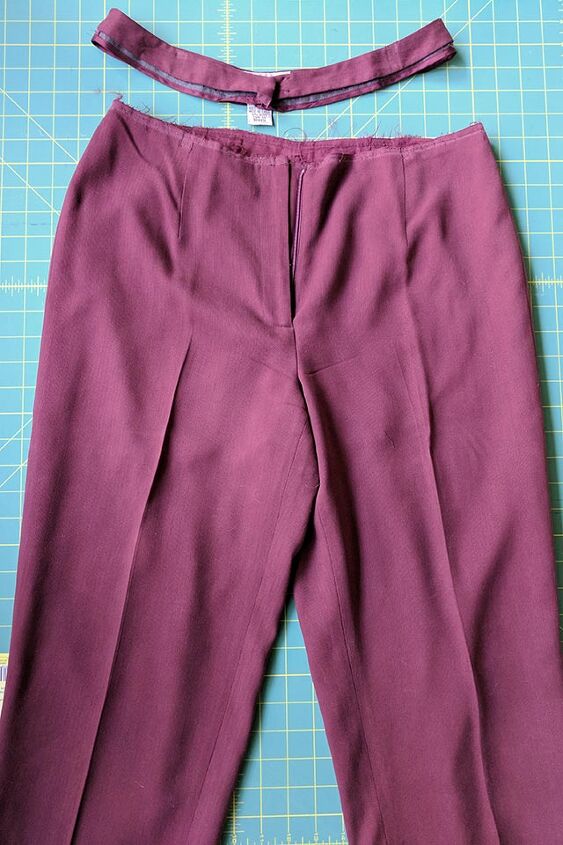
Step 2: Remove the waistband
Chop off the waistband.
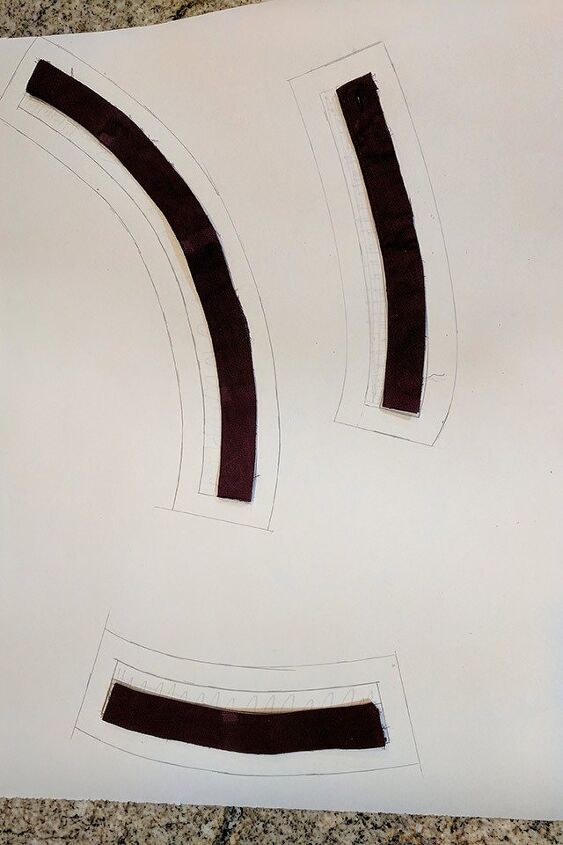
Step 3: Draft pattern for a wider waistband
I cut apart the waistband, traced around the pieces and added 1/2 inch + seam allowance.
Step 4: Cut out the new waistband from the leftover jacket
Sorry, I don’t have a picture of this. I cut out each piece twice – once for the front of the waistband and once for the back. Interface the front pieces.
Step 5: Sew the waistband together
Sorry, this is another picture I’m missing. Use your imagination.
Step 6: Sew the bottom and jacket to the new waistband
It really sucks that I don’t have pictures of this step because this is where everything comes together, so I’ll just show a closeup of the finished waist. First, I sewed the pants to the bottom of the waistband. For the bodice, I used gathers instead of waist darts to make the jacket fit the waist. Then I attached the bodice to the top of the waistband.
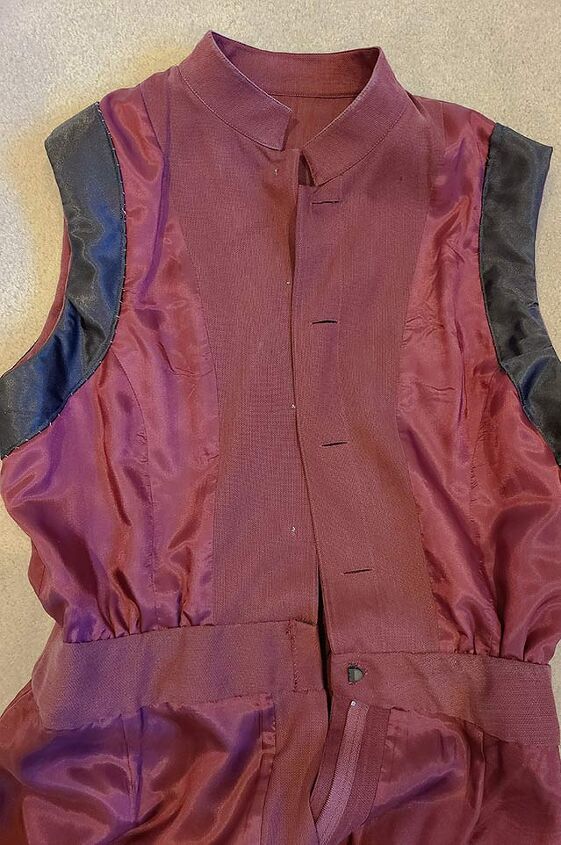
Step 7: Finish the back of the waistband
This is where I lost my sewjo, because I had to hand stitch the back of the waistband. I don’t mind a little bit of hand stitching, but this task was a killjoy.
Step 8: Finish the armhole
See picture from Step 7. I ran out of the silk fabric, so I used black lining to finish the armhole. Be sure to interface the armhole facing.
Step 9: Replace buttons with covered buttons
I planned on using the original buttons but accidentally lost them early in the project. I tried finding replacements at the fabric store but nothing matched. So I made covered buttons with scraps, which I prefer over the plastic buttons. It has a modern, cleaner look to it.
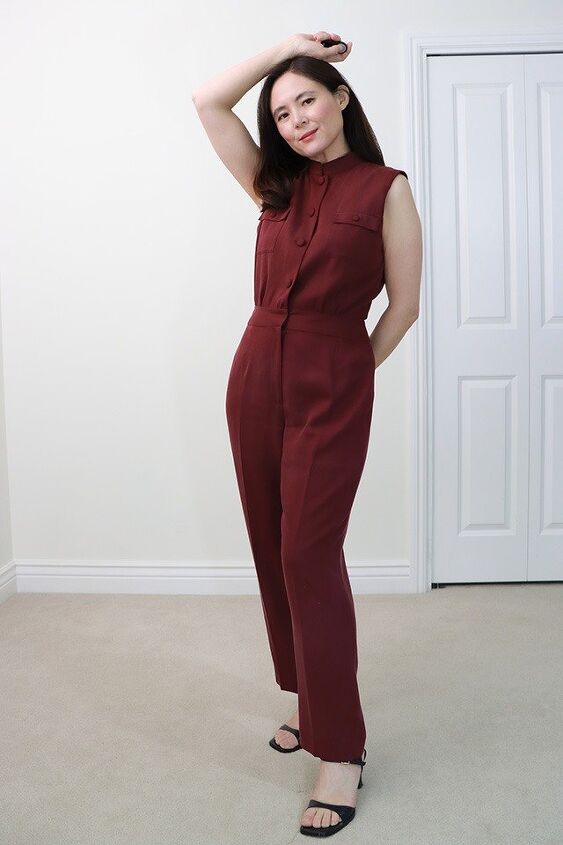
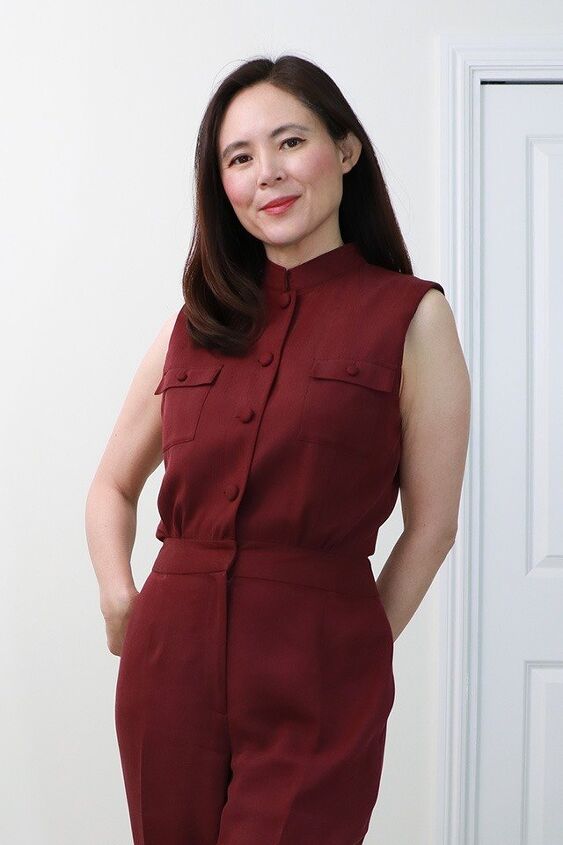
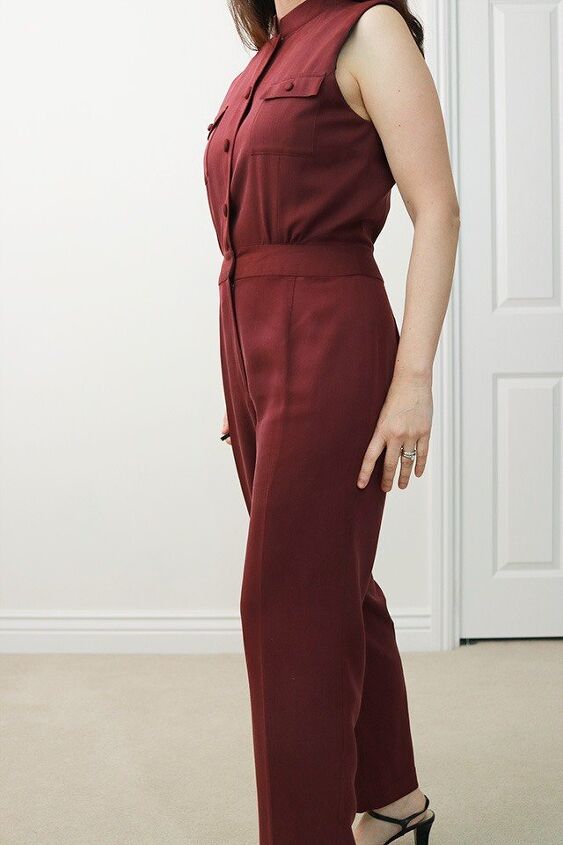
Here’s a view of the front . . .
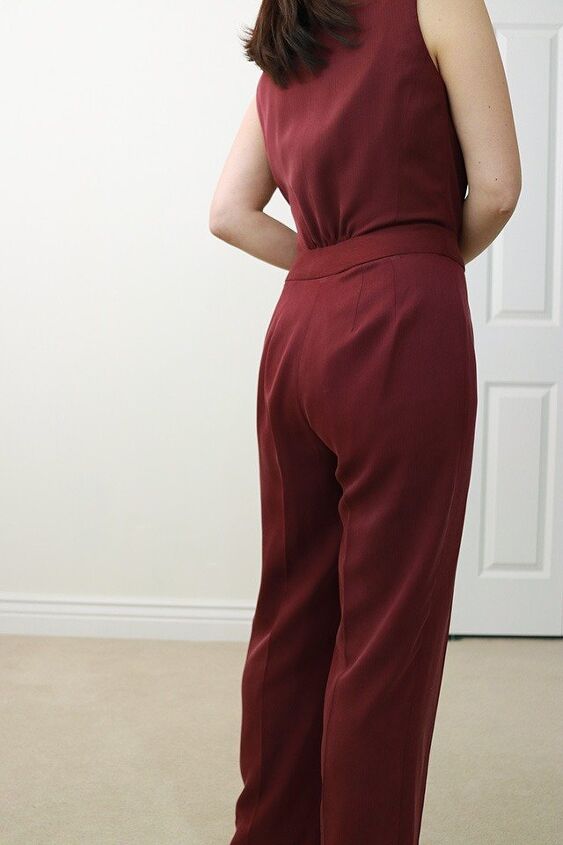
And here’s a view of the back . . .
Final thoughts on this pantsuit to jumpsuit refashion
I have mixed feelings about this jumpsuit. I love the finished garment, but I hated making it. Most of the time, I prefer to refashion with sewing patterns as everything is pre-planned and all the steps are spelled out. On this project, I was making it up as I was going along, which makes me nervous. It’s still a worthwhile project as I learned how to bring the top and bottom together at the waist. Next time I do this, I’ll know what to expect.
The author may collect a small share of sales from the links on this page.


Comments
Join the conversation
looks great on you. congratulations for all your extra work coming out to fit you so well and make a good looking piece,.......iwas so impressed when I saw what you started with!
I hope this doesn't qualify for a dumb question, but if you removed the sleeves, and the top was lined, why didn't you just liberate 2 or 3 inches of the original sleeve lining, tack it back in and flip it for the arm hole?
Here's another one: did you make your new waistband partially with straight grain fabric and partially with bias fabric? I'm trying to imagine how those worked well together.
Thanks for your patience.