Make a Skort From Scratch

I was scrolling online when I came across a skort that I just loved! I felt inspired to recreate the look for myself and I am so happy with how it turned out! Check out how I made this skort from scratch!
Tools and materials:
- Pattern paper
- Pencil
- Pins
- Scissors
- Fabric
- Sewing machine
- Measuring tape
- Buckle

Cut the fabric
To get started, grab your pattern pieces and start cutting out the fabric. If you want to know how I made the pattern pieces, I’ll add an explanation at the end of the tutorial.
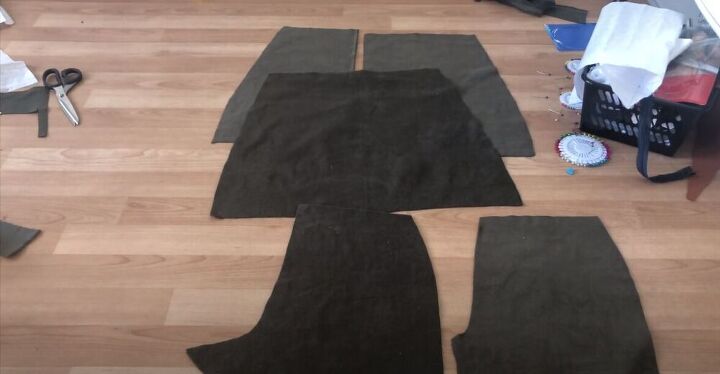
I ended up cutting out four pieces for the shorts and three for the skirt.
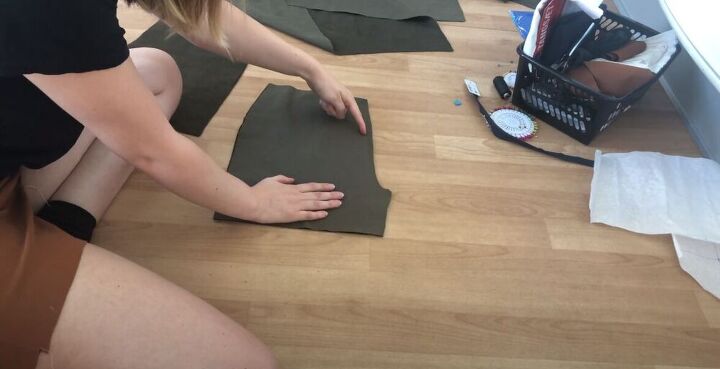
Assemble the shorts
To create the shorts, I started by attaching the two front pieces at the crotch line, leaving about 2 inches unsewn.
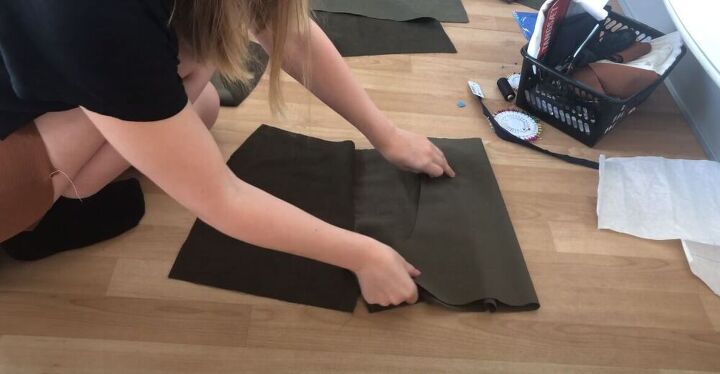
Next, I sewed the side of one of the back pieces to one of the front pieces.
I then sewed the inseam of the back pieces to their respective front pieces.
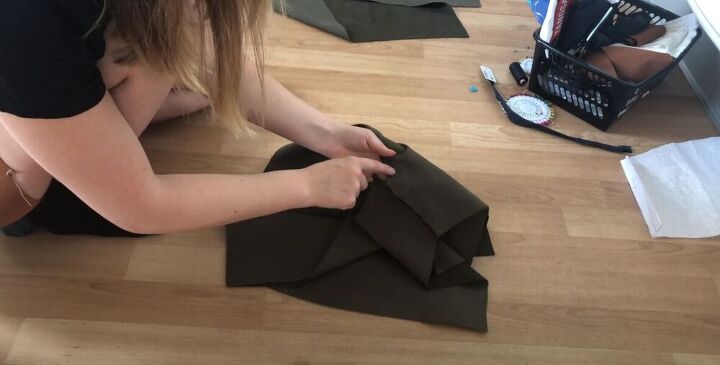
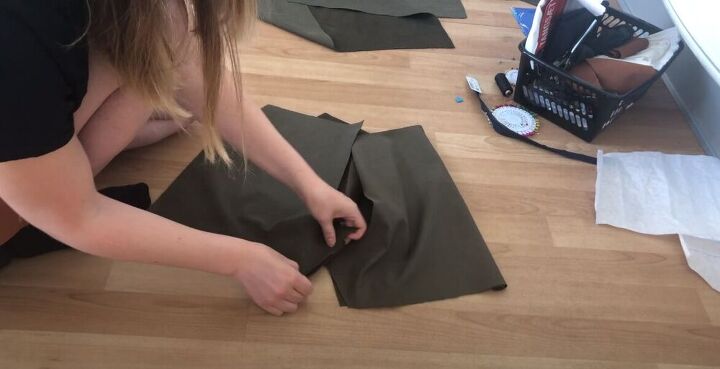
I sewed the crotch seams together. My shorts were pretty much assembled except for the one side seam.
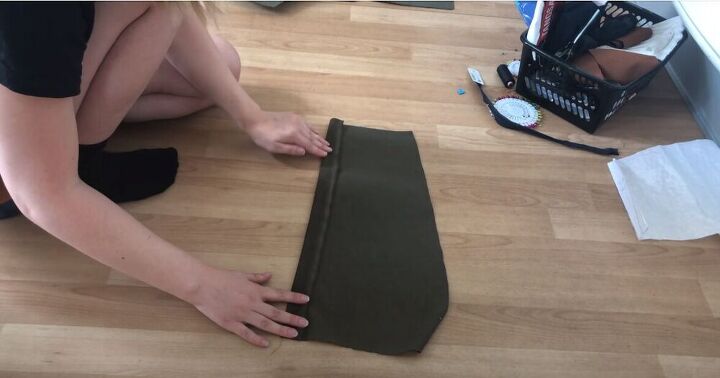
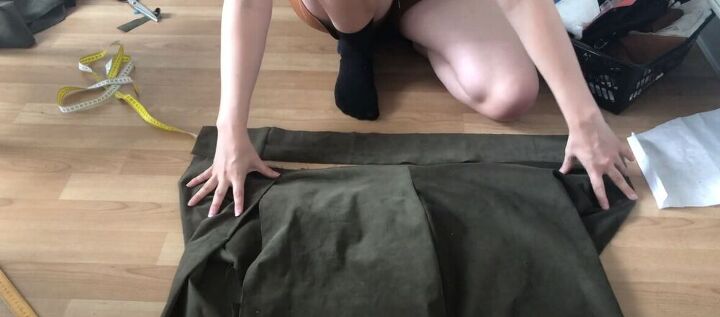
Assemble the skirt
I put my shorts to the side and moved on to work on the skirt. I took the smaller front piece of the skirt and folded the straight side over by 1 inch. I then topstitched the fold down. I did the same for the other skirt piece but this time I folded it in by the seam allowance.
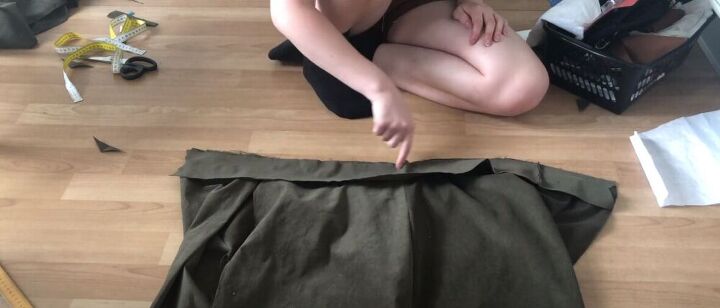
I then overlapped the front pieces by an inch and stitched where the overlap is to make them into one piece.
I then sewed one side of the back piece onto the front piece. The side that I left unsewn would be where I would attach the zipper. I made sure to choose the same side that I had left open on the shorts.
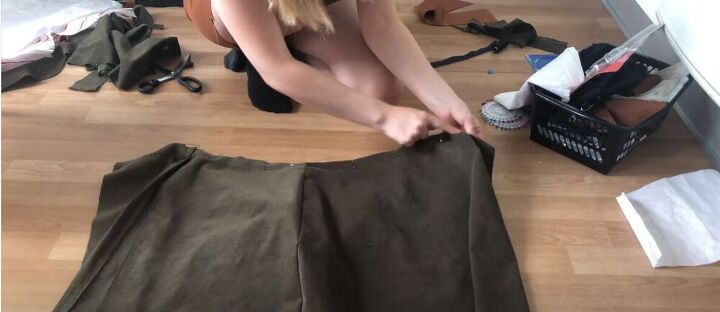
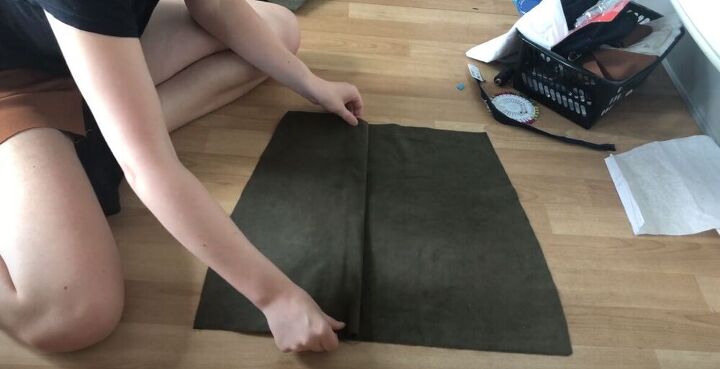
Assemble the skort
Next, I went ahead and pinned the waistline of the shorts to the waistline of the skirt so that the wrong side of the skirt is on the right side of the shorts. I stitched the waistline so that the two pieces would become one.
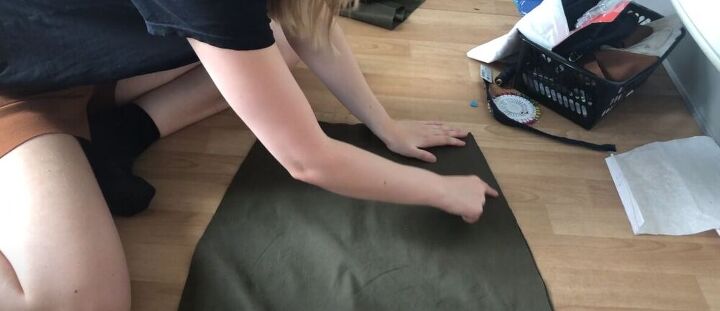
Attach a waistband
I measured the waistline and cut out a waistband that matched the length. I made my waistband 1.5 inches wide plus seam allowance.
I folded the waistband in half and cut the edges to represent the edges of a ribbon. This would give the waistband a better fit. I then placed the waistband on the skort, right sides together, and sewed it on.
Attach the zipper
Next, it was time for the invisible zipper. The zipper was attached from the middle of the waistband. Once the zipper had been sewed in, I closed the rest of the side seam by sewing from the stitch I had used for the zipper all the way down.
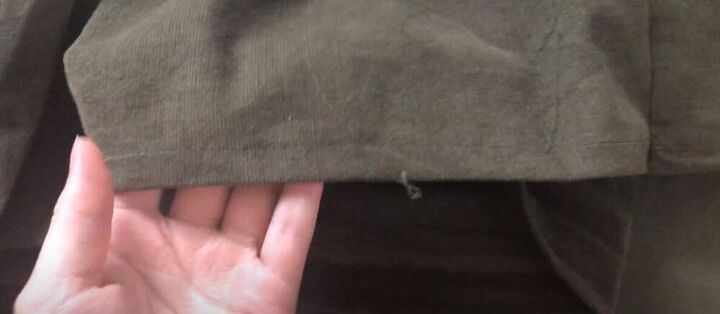
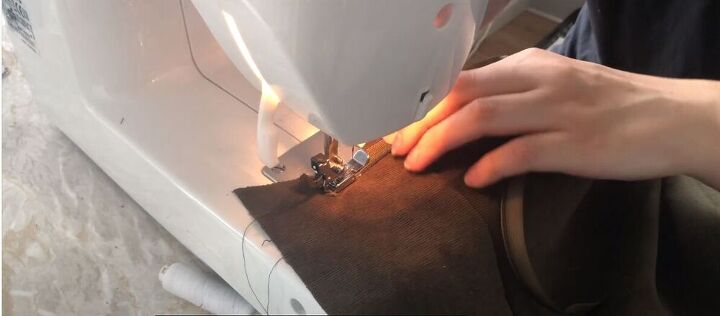
Hem the skort
I then went ahead and hemmed the bottom of the skort. I also sewed closed the waistband on the inside of the skirt making sure no stitches were visible on the outside.
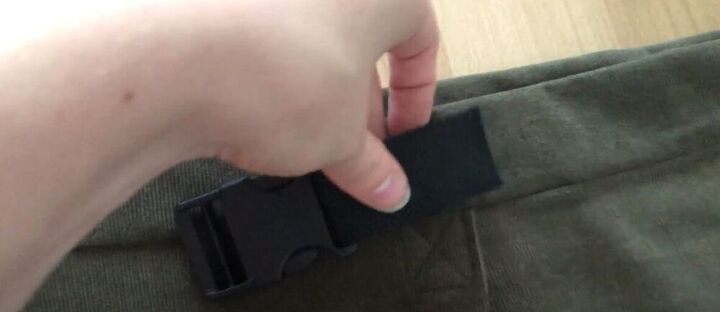
Add finishing details
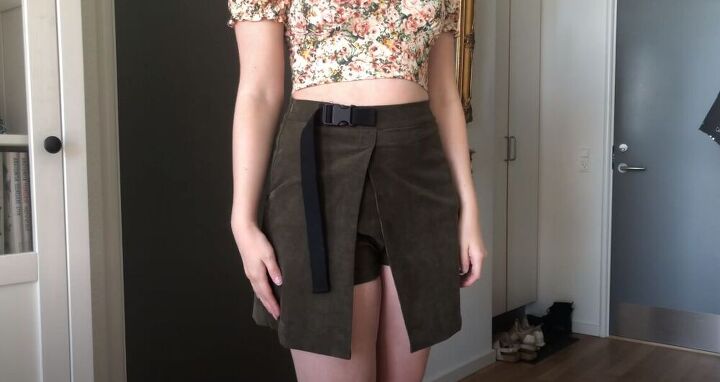
I decided to add a buckle to the waistband just to add a little extra detail to the look.

Take measurements
If you want to learn how to draft the pattern for this gorgeous skort, the above measurements are what you will need.
Draft a shorts pattern
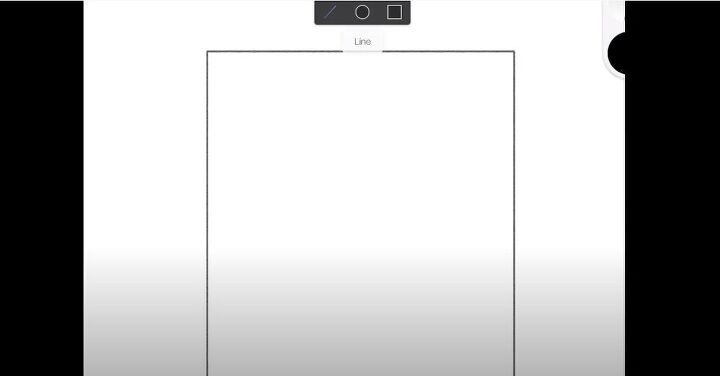
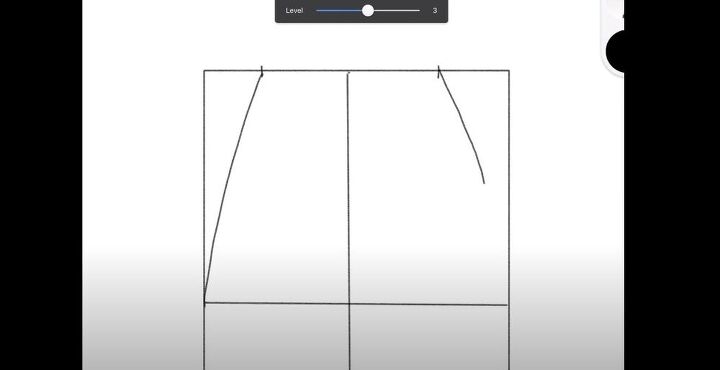
Start by drawing a square, half of your hip measurement and the height of your desired short length. The top of the square is your waistline.
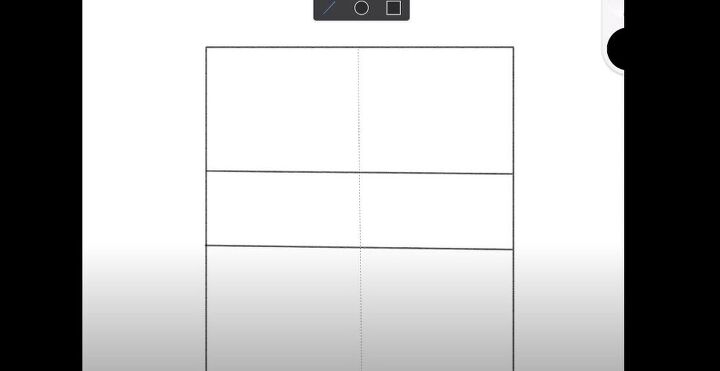
From the waistline, mark your hip depth and crotch depth and divide the box in half.

On the left side, mark an inch down from the waistline and then an inch inward. Connect that marking to the waistline. That line should be a quarter of your waist measurement.
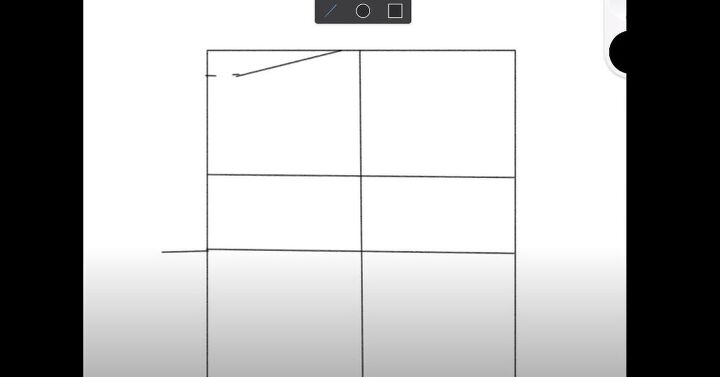
Next, extend the crotch line by a line 15% of a quarter of your hip measurement.
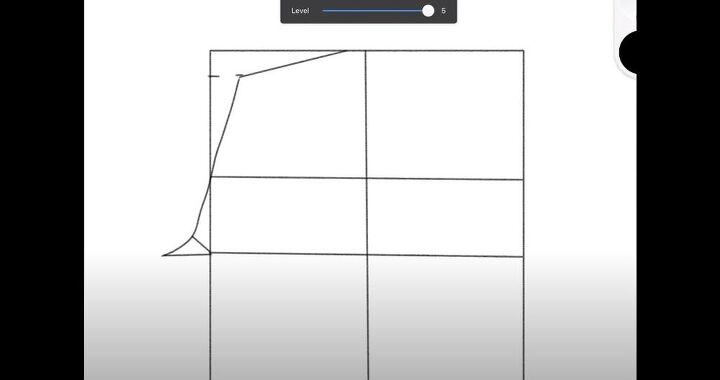
At a 45 degree angle, draw a line with a length of ⅗ of an inch. Then go ahead and connect the lines.
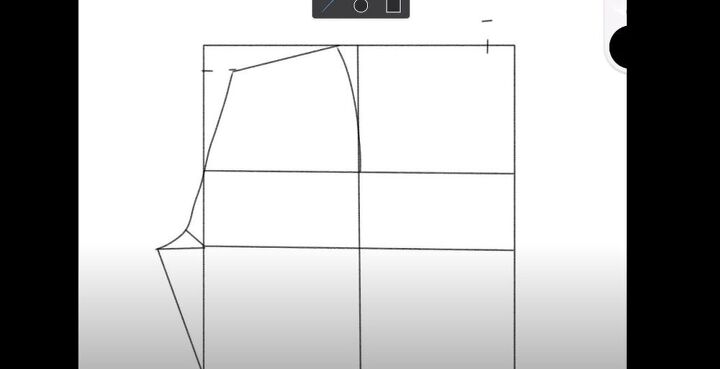
Next, move over to the right side and mark inward by an inch and then upward by an inch. From this marking, draw a line that touches the waistline when it has a length of a quarter of your waist measurement.
Extend your crotch line by 45% of a quarter of your hip measurement.
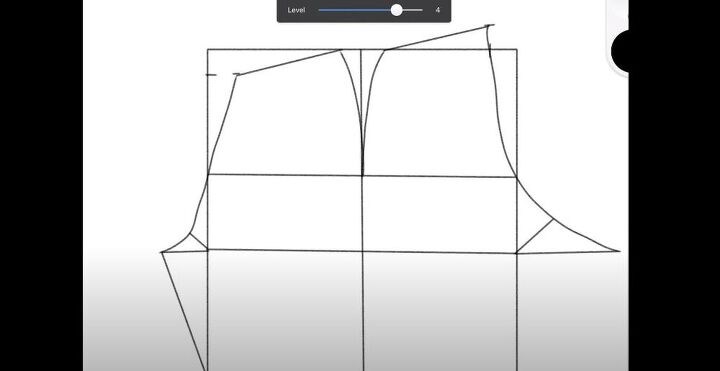
At a 45 degree angle, draw a line ¾ of an inch. Then go ahead and connect the lines.
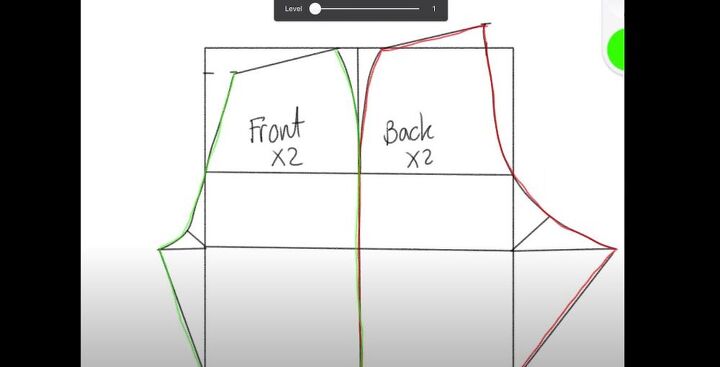
It always helps to mark the front and back pieces in different colors so that you will know how to cut them out.
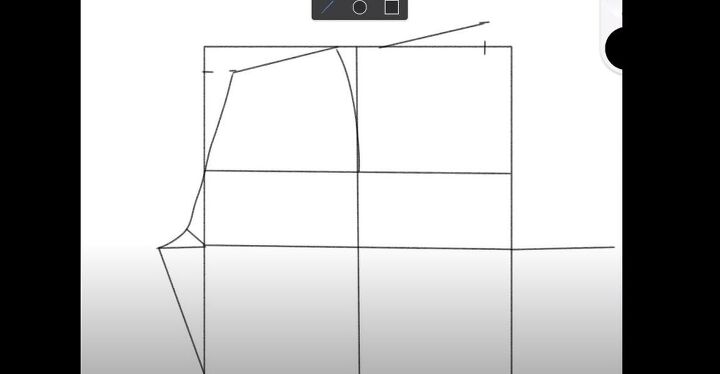
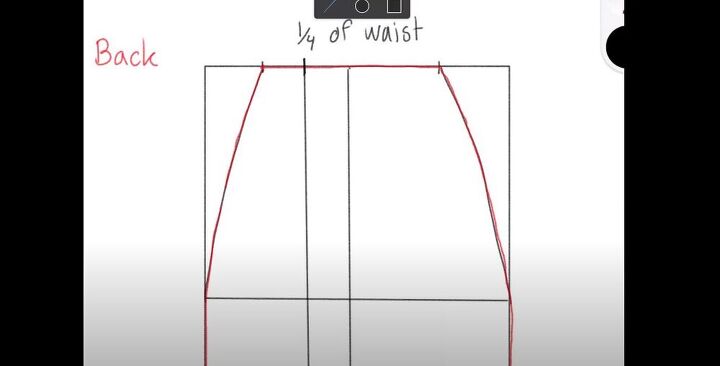
Draft a skirt pattern
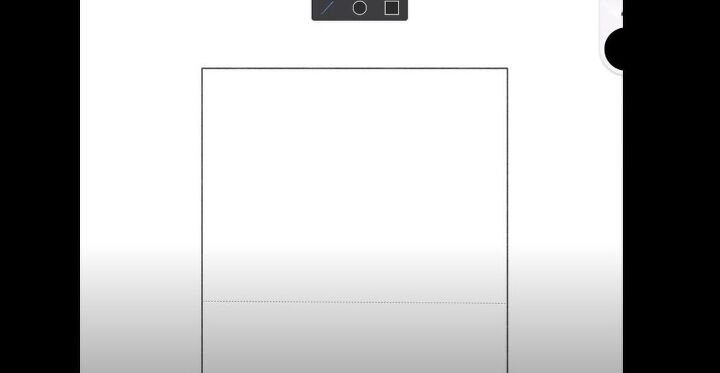
To create the skirt pattern, start by drawing a box, the width of half your hip measurement, and your desired height.

Mark the hip depth and then divide the box in half.
From the middle, mark out a quarter of your waist measurement on each side. Then connect the lines.
Color the back piece. For the first front piece, mark a ¼ of your waist measurement and draw a line down. Color and label this as front 1.
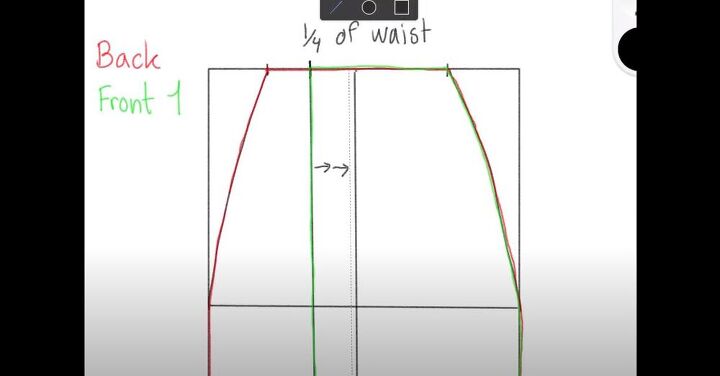
From the last line, you drew, draw another line, 2 inches inwards. The two inches account for the 1-inch overlap of the two front pieces and the 1-inch hem. Mark the second front piece in a different color. Remember that if you want to add a waistband, you will need to cut off from your pattern pieces. These pattern pieces don’t include a seam allowance so make sure when cutting the fabric, to add one.
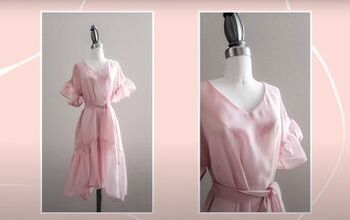
I am totally obsessed with my new skort! I love that I was able to recreate a piece that I saw online. Would you add any other details to this skort? Let me know in the comments!
The author may collect a small share of sales from the links on this page.


Comments
Join the conversation