From Pattern to Finish: Simple Circle Cardigan

This is the best tutorial for anyone looking to learn how to make a circle cardigan. It is so easy to do and doesn’t take much time at all. I love this cardigan. It’s so easy to style and super simple to make my own.
Tools and materials:
- Fabric (medium to heavyweight)
- Measuring tape
- Ruler
- Paper
- Marker
- Scissors
- Pins
- Sewing machine
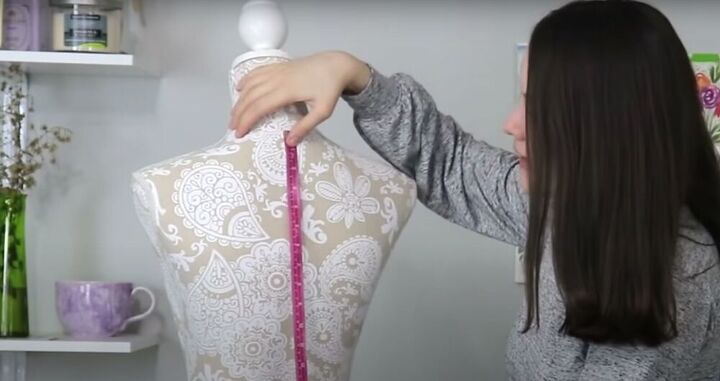
Take measurements for the pattern
If you are making this garment into a vest (as opposed to a coat or cardigan) the only measurement you’re going to need is the length (and width) of the pattern. Simply place your measuring tape at the top of your neckline and drop it to the desired length. Your length and width will be equal (the pattern is a perfect circle).
That said, if you are making a cardigan and require extra material for the overlay, divide your measurement by two (so if the length is 30 inches, divide by two to get 15) and add that number back to your original length (so 30 plus 15 is 45).
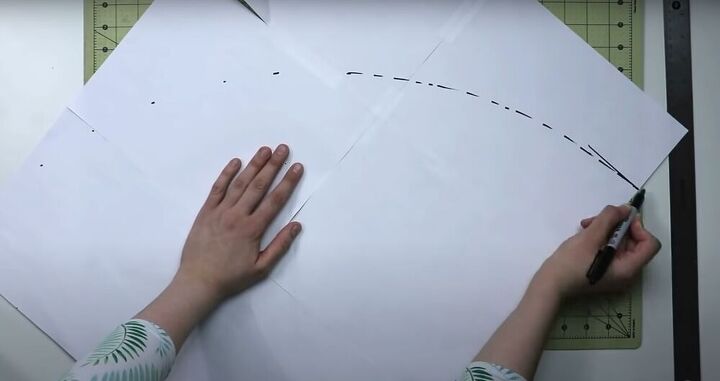
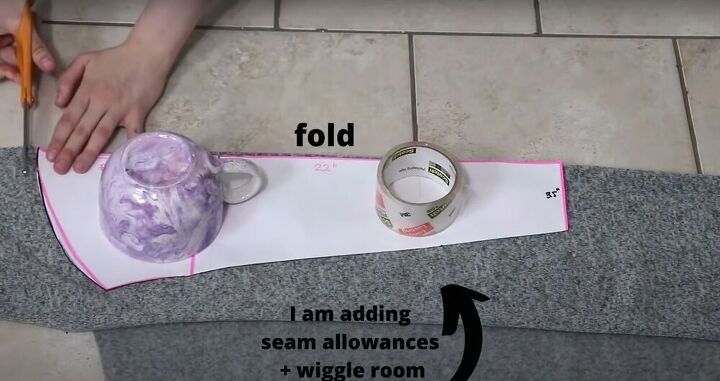
Draft the pattern
For the pattern, you don’t need a full circle, but just a quarter of it. Cut your measurement in half (45 divided by two is 22.5) Measure 22.5 for the length and width and then cut your pattern into a quarter of a circle.
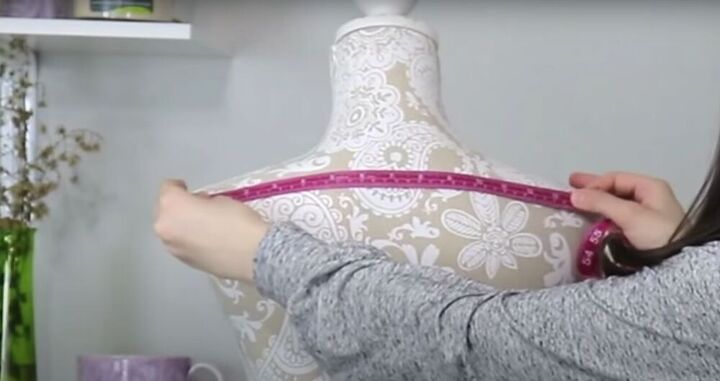
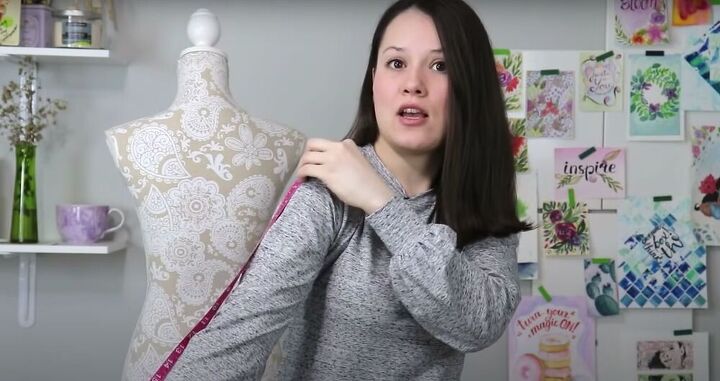
Measure your shoulder distance
The next step is to measure the distance between your shoulders - this is to ensure you place the armholes in the right place. Doing this is super easy; simply measure the distance between your shoulders - front or back. Make sure to measure until the edge of your shoulder and not too far down your arm.

Mark this measurement about half-way down the left side of your pattern.

Cut the fabric
Fold your fabric over and place your pattern on top of it. Make sure the center of the circle is facing the fold of the fabric. Next, cut out the top part of your circle - remembering to leave an inch for the hem.

Next, fold the top part of the circle over onto the remaining fabric and use it as a guide to complete the cut.
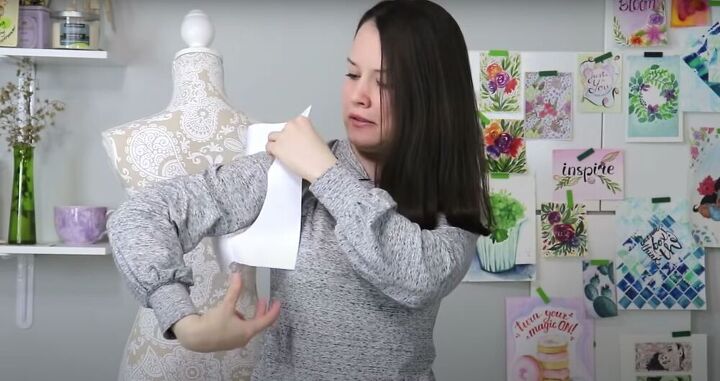
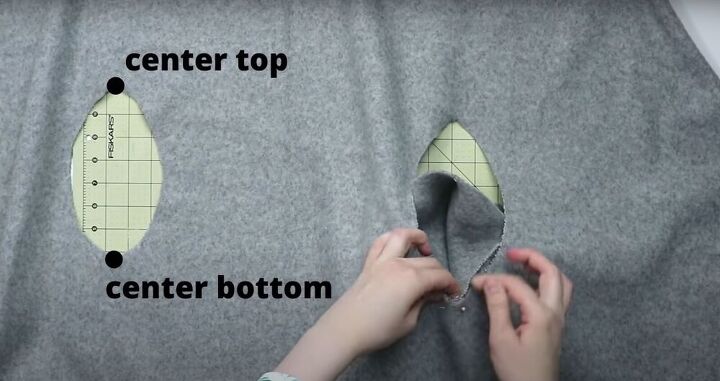
Armhole pattern
Measure seven inches down and four across (adjust as needed) and fold your paper in half. Cut out your measurements and you will be left with an oval. Next, slip your arm through the oval you’ve cut and see that it fits on your arms comfortably.
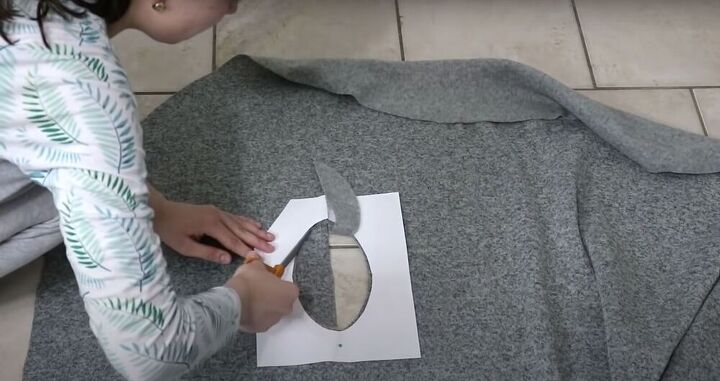
Cut out the armholes
Take your pattern and place it on top of your folded up fabric (both pattern and fabric should be a quarter circle). Then, using pins, mark the placement of the armholes. (This would be the perfect time to test your fit on a mock pattern to ensure your armholes are at the desired length from each other!). Next, unfold your fabric and cut out the armholes!
Measure the sleeves
For the width of your sleeves, wrap a measuring tape around the top of your arm (make sure it isn’t too tight so that you can add layers beneath the cardigan). Half of that measurement will be traced onto your pattern. Next, measure the length of your sleeve by placing your measuring tape at the edge of your shoulder and drop it to the desired length (remember to add some length for the hem).
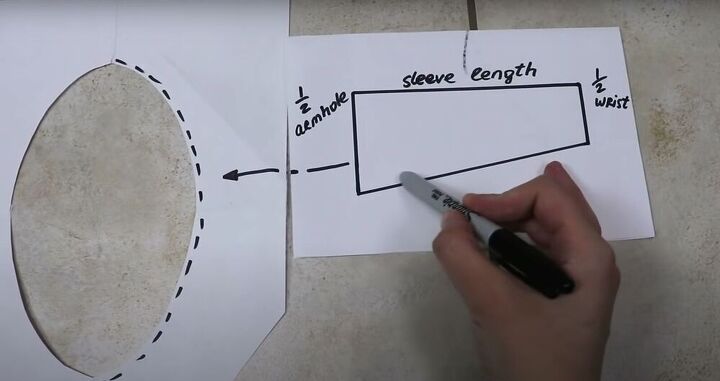
Trace your measurements onto a pattern - for long sleeves, measure your wrist width too. Keep in mind that half of your arm width needs to equal one side of the oval you cut out earlier.
Cut out sleeves
Place your sleeve pattern on your folded fabric and cut it out. Remember to leave space for the hem.

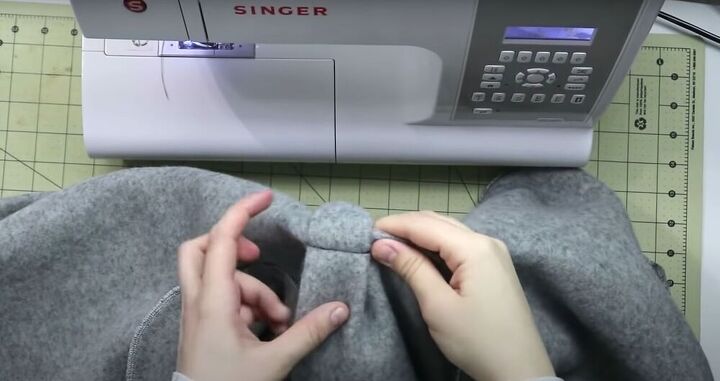
Sew the sleeves
Fold your sleeves over so that they are touching, right sides together. Pin to secure. Next, sew your sleeves together.
Attach the sleeves
Lay your cardigan out and slip the sleeves through the armholes. Make sure the center bottom of the armhole matches the center bottom of the sleeve and pin. Once secure, sew the sleeves onto the cardigan in a single circle.

Hem the cardigan
Fold your fabric over half an inch and then another half an inch. Then, using a blind hem stitch sew the hem of the cardigan and you are done!
Fix shoulder line
If you did cut your shoulder line a little too wide, here’s how to fix it. Fold your cardigan in half, right sides together. (Make sure to determine how much needs to be taken in before sewing!) Make a vertical stitch, press the fold flat, and make a horizontal stitch. This pleat will take in your shoulder line.

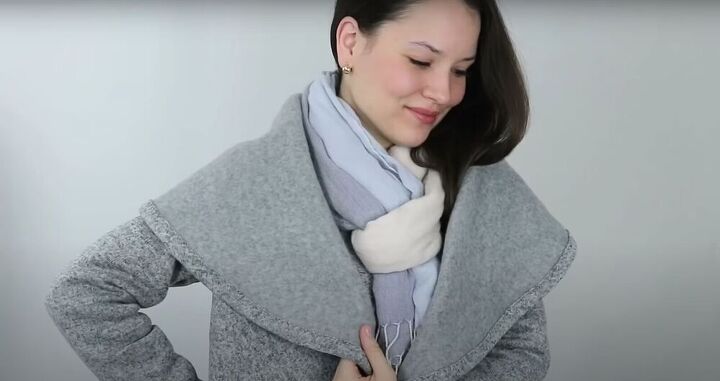
Wear it with a belt, wear it with a scarf, wear it on its own! This basic circle cardigan is the perfect answer to any winter outfit. It’s cozy, warm, and just versatile enough to be unique.
The author may collect a small share of sales from the links on this page.


Comments
Join the conversation
Love 💘. Great job.
Karen, I am largely self-taught, and worked professionally in the 70's and 80's, until some major health issues forced me to retire. I built theater costumes for our university's theater department, working under two award-winning designers and learning an astonishing amount about construction, materials and what they could and could not do, made period costumes that were historically completely accurate down to the underwear, and many other things that probably would require more explanation than I could provide. Before that, my mother, who made all of her and my clothes while working full-time, sat me down and made me learn to sew at the age of eleven. I hated it and told her I would never sew again- famous last words! I proceeded to make all my own clothes and even got paid to sew for my friends when I was 12. After the costume shop I was the tailor for Lily Rubin in my town, a very expensive designer dress shop where I worked on sequinned, beaded, and other fabrics that required special treatment- removing and replacing beads to do alterations and move zippers, precisely hemming pageant dresses (there were strict rules) with yards-wide skirts containing bias stiffening around the hem, cutting into expensive silks, altering lined garments, and a lot more. I then went to work for myself, and built a clientele for whom I made all their clothes, from tailored business suits to formal gowns. They asked me to go to the fabric store with them every season to choose their patterns and fabrics. I also helped design original garments including wedding dresses and constructed them, and made my own one-of-a-kind designs which I sold individually to my clients and in a gallery of which I was a member. My clients were great- they would tell me I should charge them more, and jealously guarded my identity and only gave my number to a few of their best friends. My adult career was an intense 15 years or so, sadly cut short. I forgot to mention I also made suits and shirts for my husband. I guess I learned the hard way, and I never planned any of it, but I loved it. I am sure there must be apprentice programs, but mainly you just need to practice everything all the time, all your hand and machine skills, knowing your fabrics and materials and how to care for them, and just keep working at it! All the women in my family sewed, made quilts, knitted and crocheted, and also taught me, so I came by some of it naturally I guess. Also, the patterns available back then were fantastic, especially the Vogue and Vogue Couture designer patterns. There is nothing like that now. I was excited to go look at pattern books a few years ago, and saddened and appalled by what I found, or didn't find! Perhaps none of this is helpful, and I'm sorry if it's not. I didn't know I had so much to say about the subject- it makes me remember how much I loved it, how hard and interesting it was, and how much I miss it. I truly wish you luck if you decide to pursue it- there's nothing like it!