DIY Trendy Lace-Up Sweater

I had an idea for an amazing upcycle! I headed to the store to buy two sweaters and a few other materials I would need. As soon as I got home, I got stuck into transforming the sweaters into a stylish, two-tone, lace-up sweater and matching pair of shorts. This is an upcycle that you have to try!
Tools and materials:
- 2 Sweaters
- Eyelets
- Shoelace
- Scissors
- Pins
- Chalk
- Ruler
- Sewing machine
- Hammer
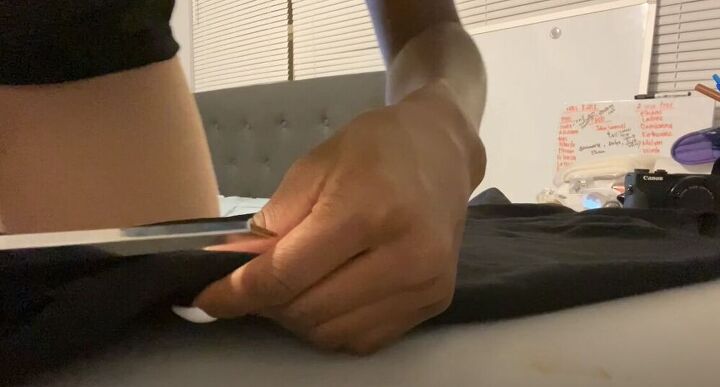
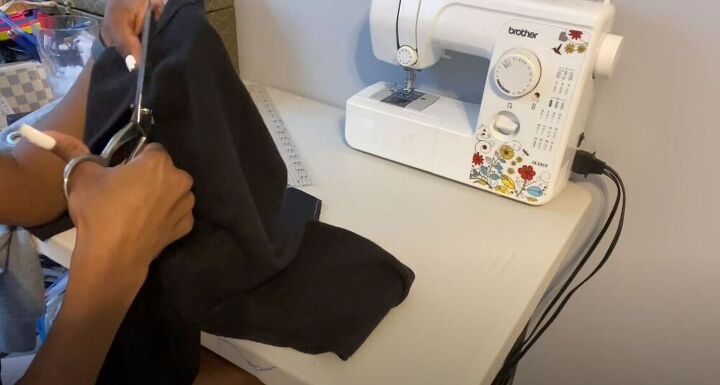
Cut the sweaters in half
The first thing I did was fold both sweaters in half and cut them straight down the middle.
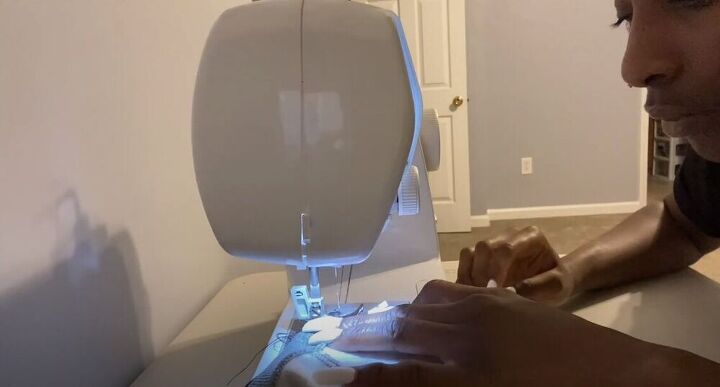
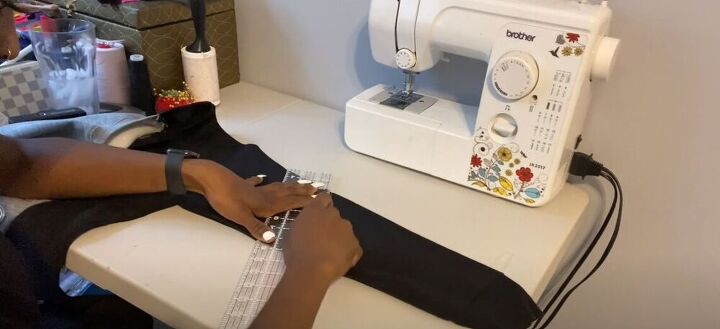
Sew along the back
I then decided to sew the two halves together along the back. I pinned the two halves, right sides together, and sewed using a straight stitch with a half-inch seam allowance.
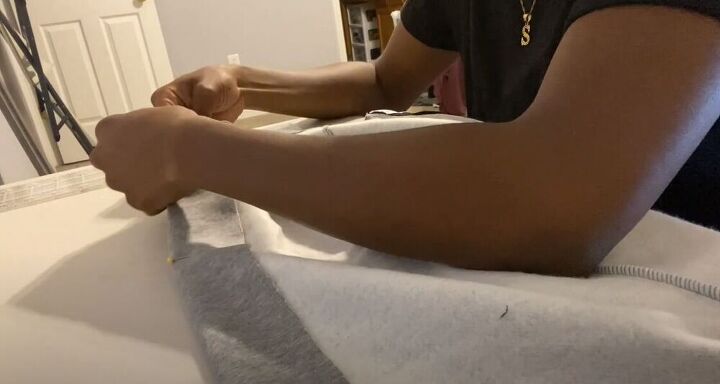
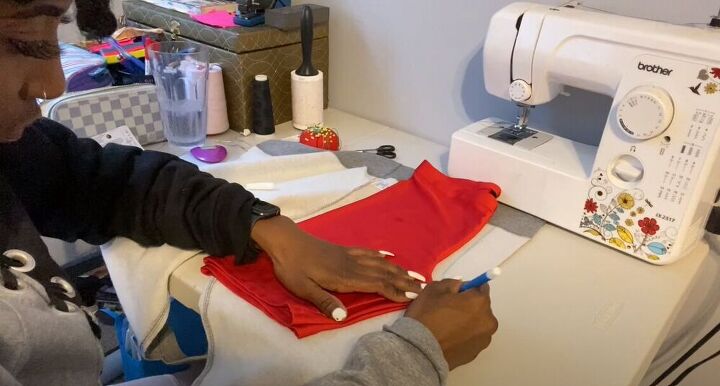
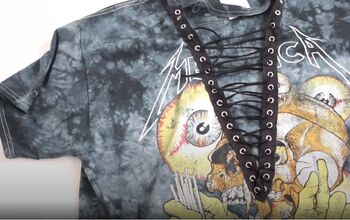
Add the eyelets
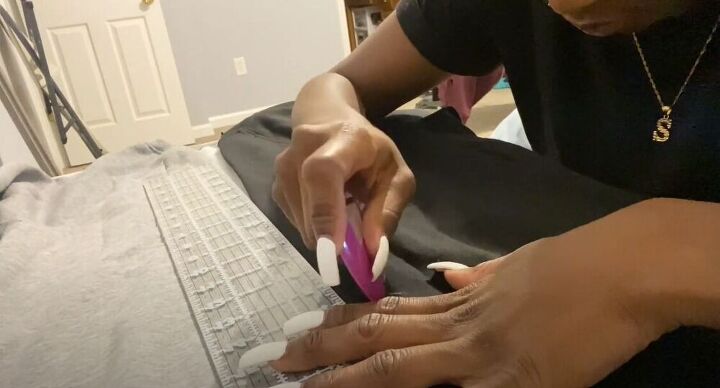
I then moved on to the front of the sweater. I folded each edge in by about two inches. I had to make sure it would be enough space for an eyelet. I then went ahead and pinned the fold in place.
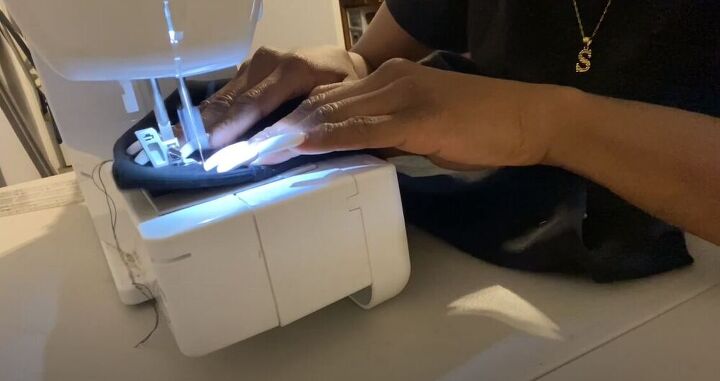
I took the sweater back to my sewing machine and sewed a straight stitch along the edge.
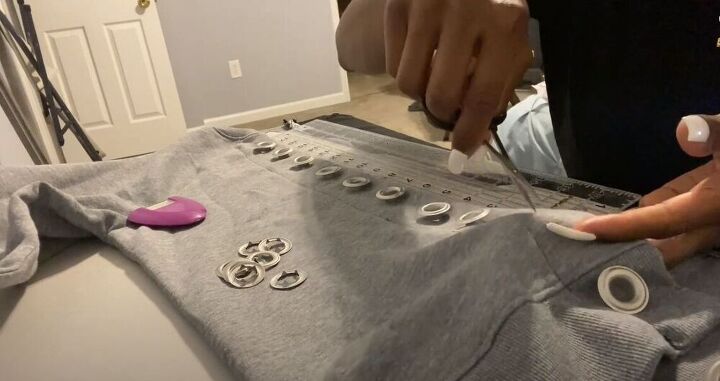
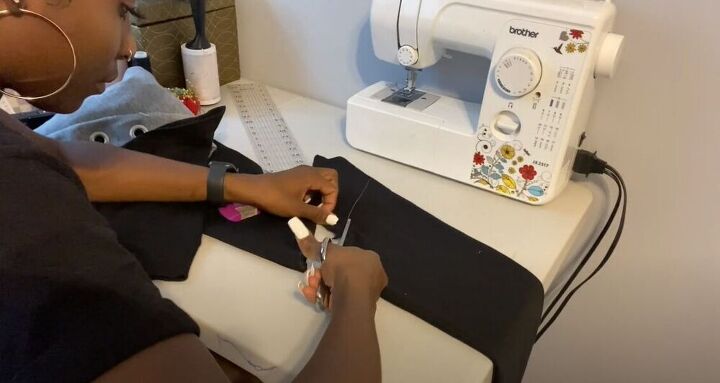
Once that was done, the next step was marking and placing the eyelets on the sweater. I decided to place them about 2 inches apart. I first marked with chalk and when I was happy, I used scissors to make the holes.
To make sure both sides would be symmetrical, I lined up the two sides and pinned them so that when I marked the other side, the markings would be equal.

I pushed the front of the eyelets through the whole and then followed the instructions on how to hammer in the backs. Make sure you do this part on a solid, hard surface. I ended up going outside for this step.
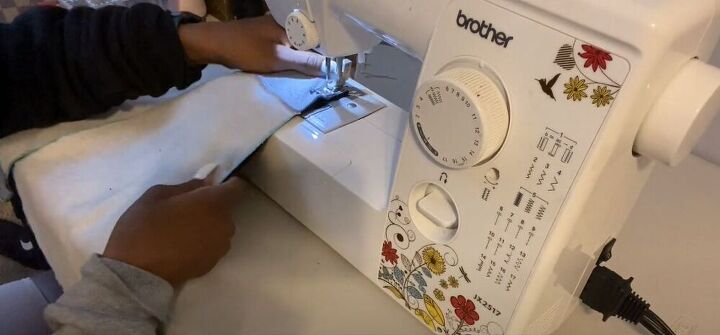
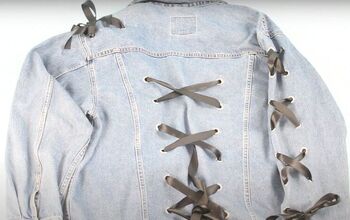
Change the sleeves
I decided that I wanted to add a little something extra to the sleeves. I had the extra fabric to work with so I first Measured 9 inches on the bottom and 14 inches on the top and used those measurements to draw a diagonal line.
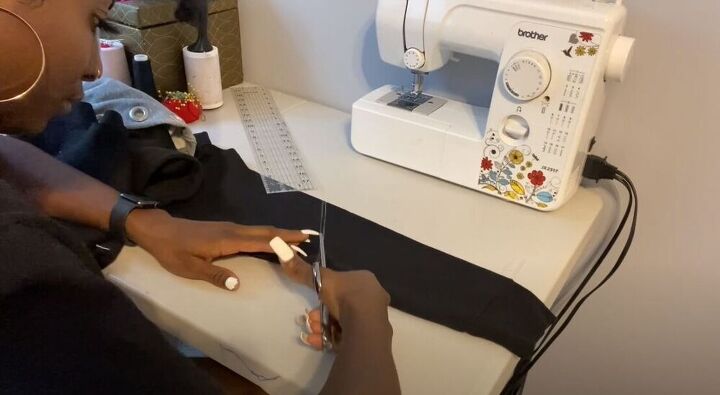
I then used scissors to cut across that line.
I took the leftover fabric and cut off the sleeve, cutting along the seam.
I used the sleeve I had originally cut as a template to mark and cut the shoulder curve off of this new sleeve.
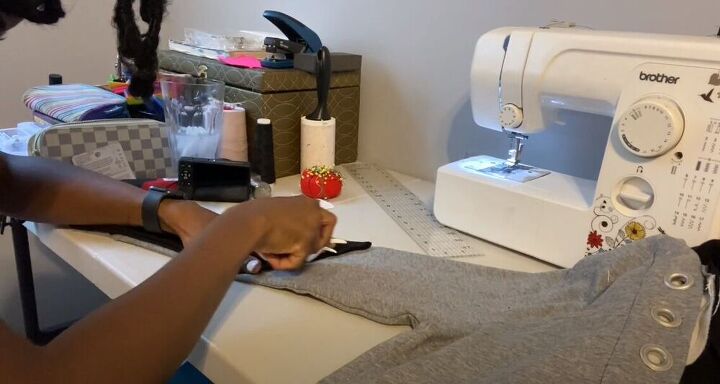
I used the first sleeve as a pattern so that I would know exactly where to cut on the other side.
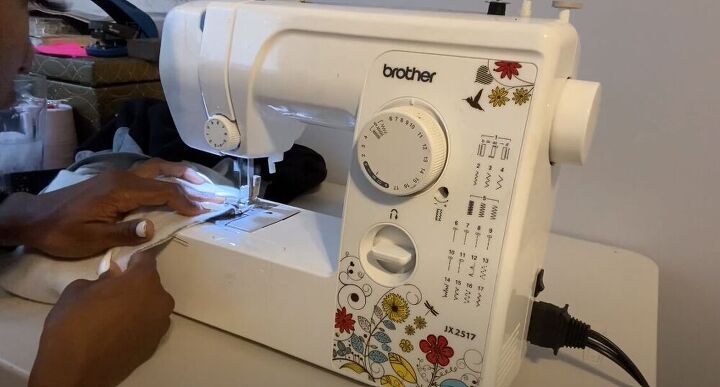
Once everything was cut out, I took it to my sewing machine and sewed on the new sleeves with a ⅜ seam allowance. The new sleeves would look baggier with some added fabric to give the sweater something extra.
Make shorts
Moving on to the shorts, I decided to grab a pair of spandex shorts to use as a template. I folded the pair in half, placed it on the fabric, and traced with a half-inch seam allowance.

I placed the cut out pieces on the black fabric and cut out two more pieces. I made sure the pieces were right sides facing in this step.
Once the pieces were all cut out, I took them over to my machine and sewed them using a zig-zag stitch. I started sewing the inside first. I then placed the front and back of the shorts, right sides together, and sewed the crotch area and outside to finish up the pair of shorts.
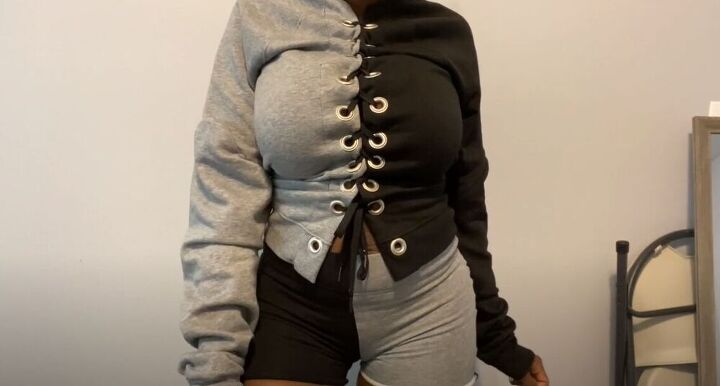
I laced up my sweater with a spare shoelace and had myself the most stylish two-piece set around. Share your thoughts on this sweater upcycle in the comments below!
The author may collect a small share of sales from the links on this page.


Comments
Join the conversation
The finished product is awesome!