Stay Warm and Snug With This Teddy Jacket

I have been desperate to buy a teddy jacket for the longest time! I finally decided that I would make one for myself to keep me warm and cozy this winter. I am so excited about my new jacket! It is all the snug I wanted and more! Follow this tutorial and see how I made this amazing teddy jacket.
Tools and materials:
- Teddy fabric
- Lining fabric
- Sew on snap buttons
- Scissors
- Chalk
- Pins
- Sewing machine
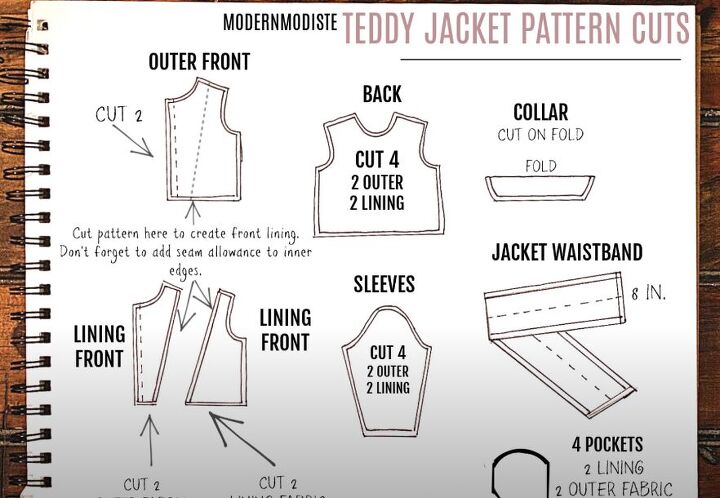
Draft a pattern
For this teddy jacket, I made a pattern from a denim jacket that I already owned.
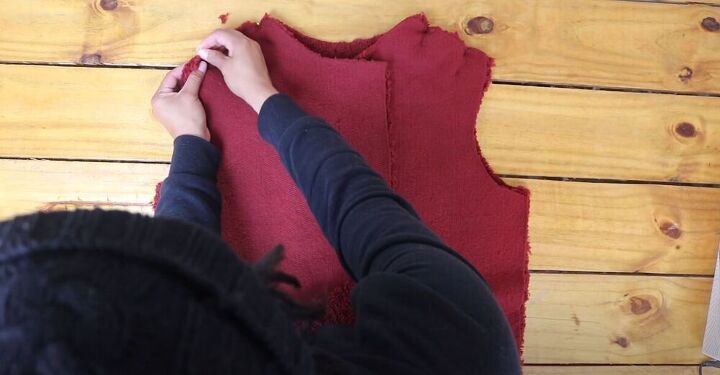
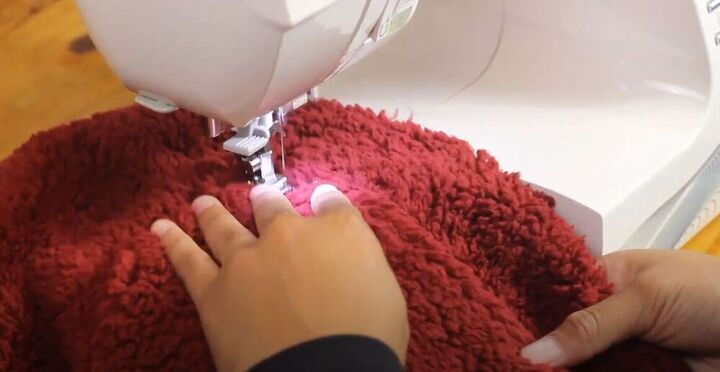
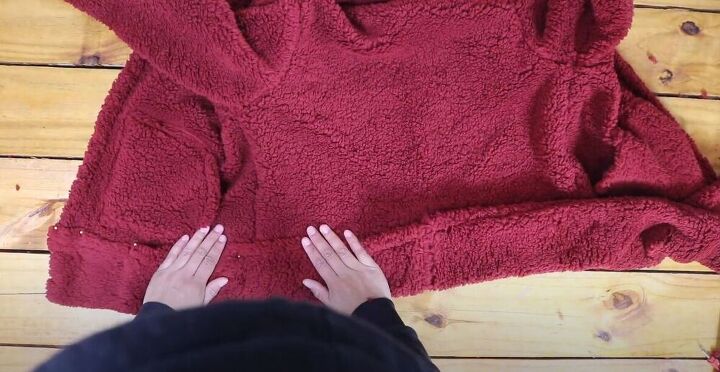
Sew the front and back pieces together
After cutting the fabric, I laid out my front and back pieces, right sides together and pinned at the shoulders.
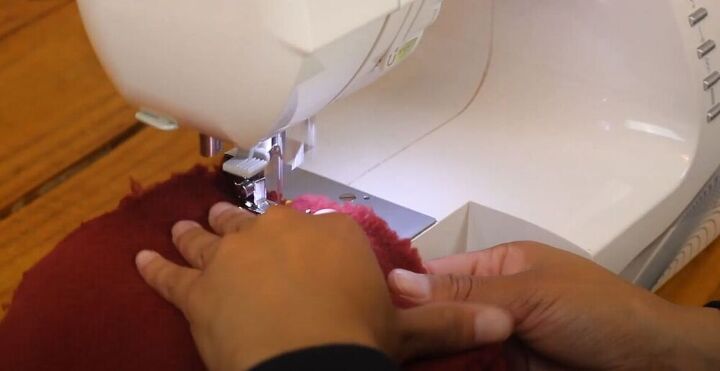
I went over to my sewing machine and sewed along the shoulder seams.
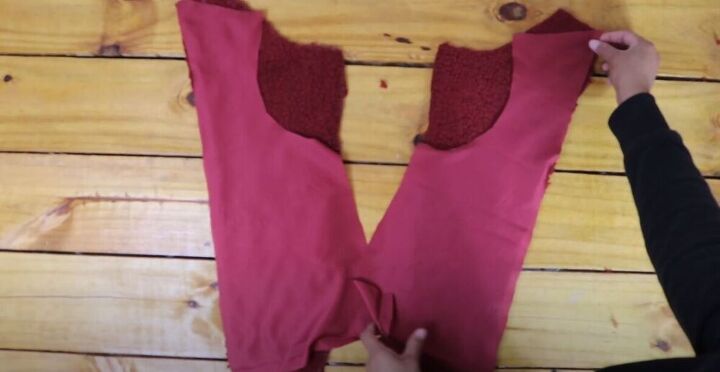
Attach the sleeves.
To attach the sleeve, I folded the sleeve piece in half and lined up the center of the sleeve with the shoulder seam.
I then went ahead and pinned the sleeve to the armhole.
I sewed on the first sleeve and then repeated to attach the second sleeve.
Sew on the collar
In the next step, I moved on to work on the collar. First, I folded the collar piece in half, right sides together.
I then moved back to my sewing machine and sewed along the short sides.
I snipped the excess fabric on the corners to reduce any bulkiness. I then turned the collar right side out and topstitched.
I used a piece of chalk to mark the center of the neckline
I also marked the center of the collar.
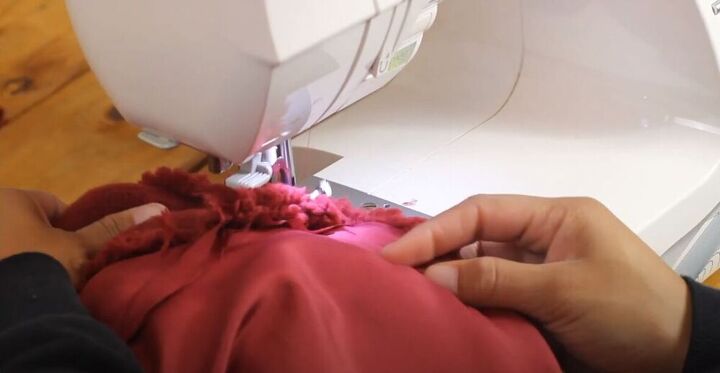
I lined up the center markings and pinned the collar to the neckline. After pinning, I sewed the collar onto the jacket.
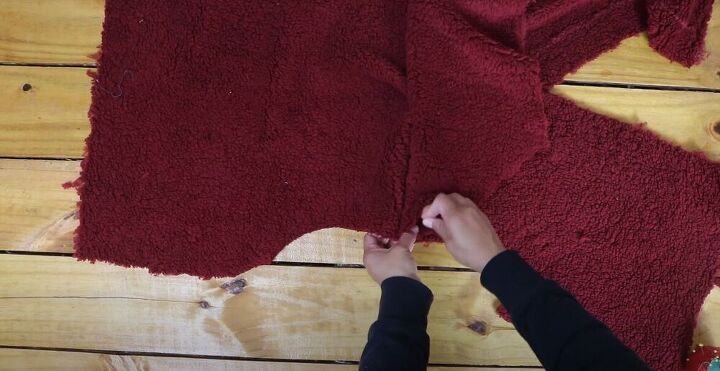
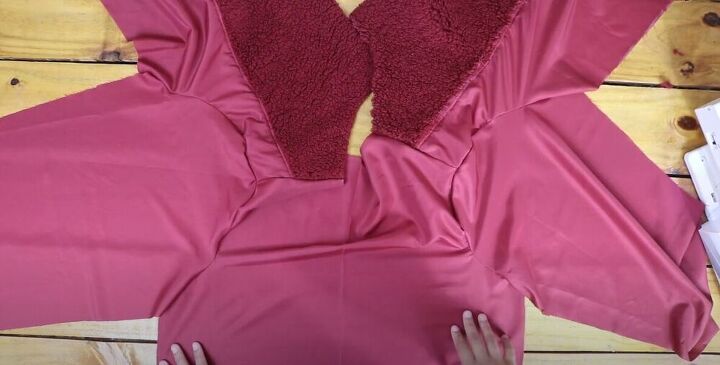
Sew the side seams and sleeves
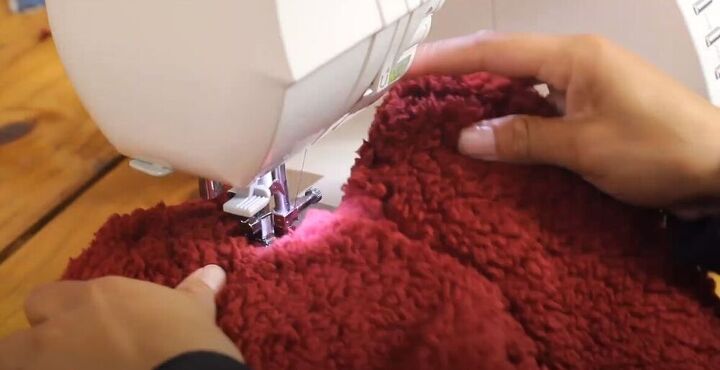
To close the sides of the jacket, I lined up the underarms and pinned from there down. I then sewed from the underarm down the sides of the jacket. I also sewed to close the sleeves.
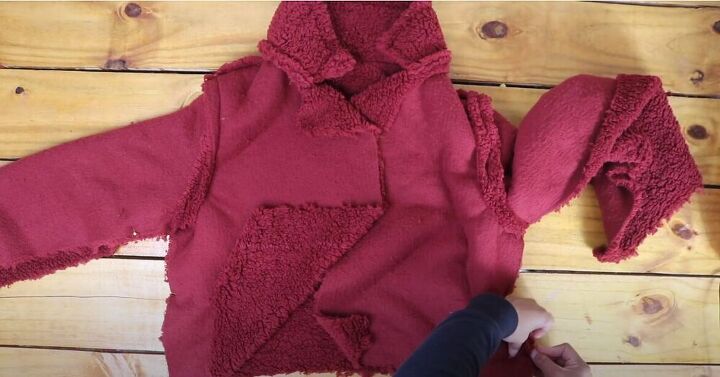
Sew on the pockets
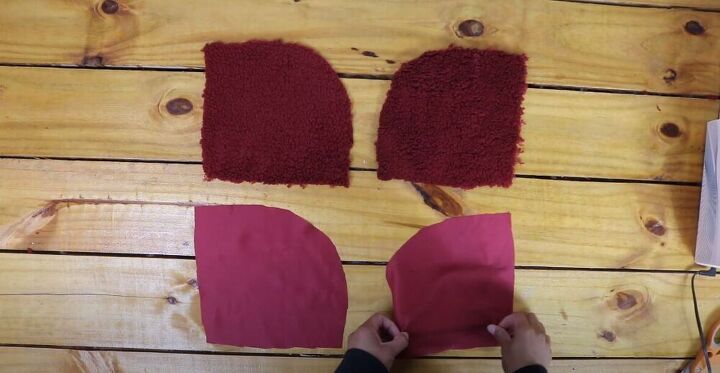
Next, I started to work on the pockets. I cut my pockets with a curved edge but you can cut yours how you like. I cut two pieces in the teddy fabric and two in the lining fabric.
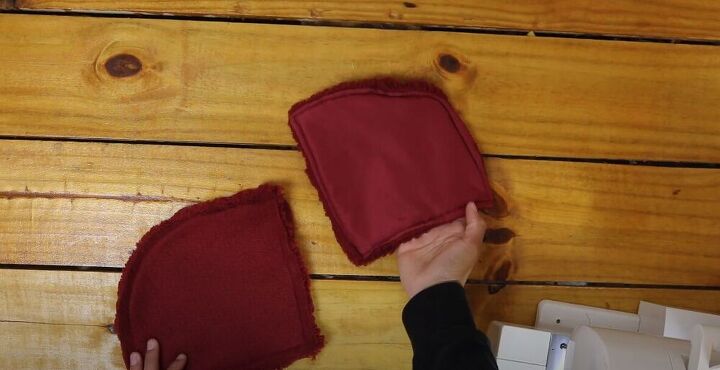
I sewed the lining and teddy fabric, right sides together leaving a small gap so that I would be able to turn the pocket right side out. After turning them right side out, I topstitched around the pockets.
I pinned the pockets to the jacket, measuring from the bottom and in between to make sure that the pockets would be symmetrical.
I went ahead and sewed the pockets onto the jacket.
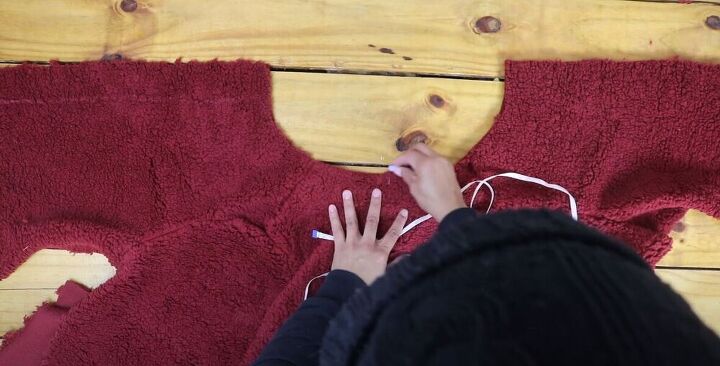
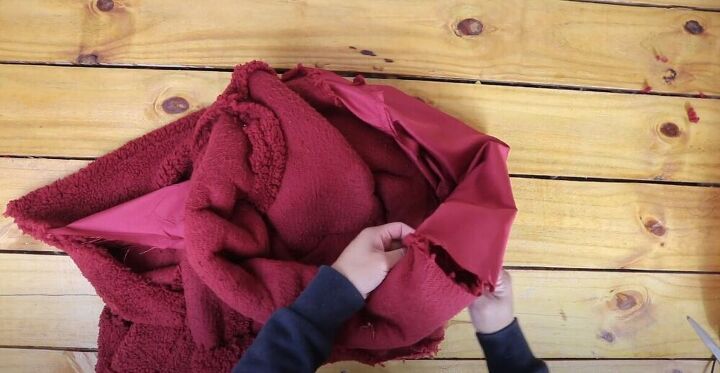
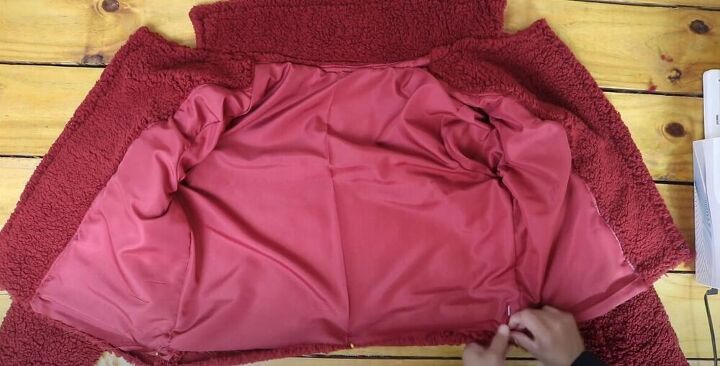
Attach the lining
In the next step, I pinned and sewed the lining and teddy fabric together to make the two front pieces for the jacket.
I put the lining pieces together in the same way that I had sewed the jacket.
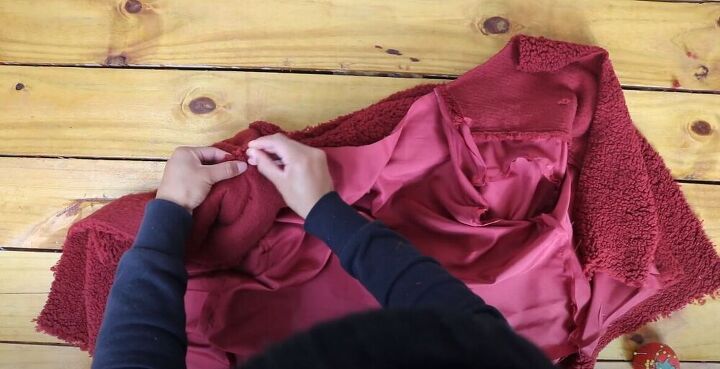
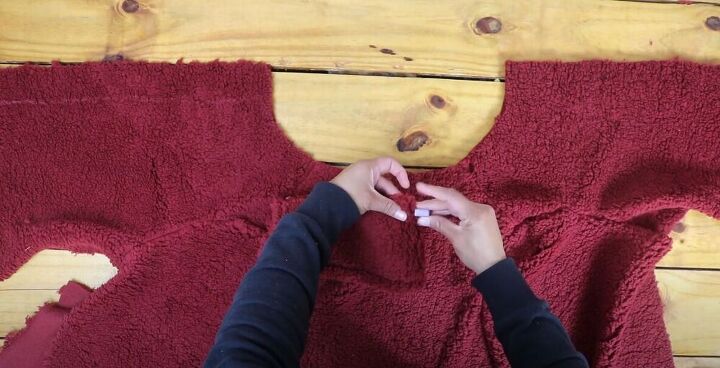
Once the lining was done, I pinned it to the jacket, right sides together, along the neckline. I pinned the sides together as well.
I sewed along the neckline and then down the sides.
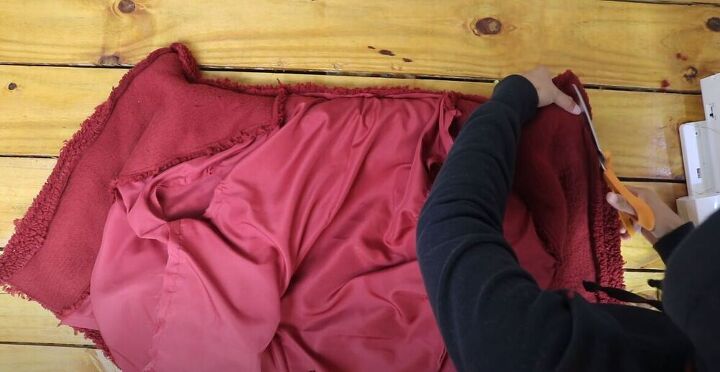
I used scissors to snip the excess fabric at the corner and shoulder seams to help reduce bulk.
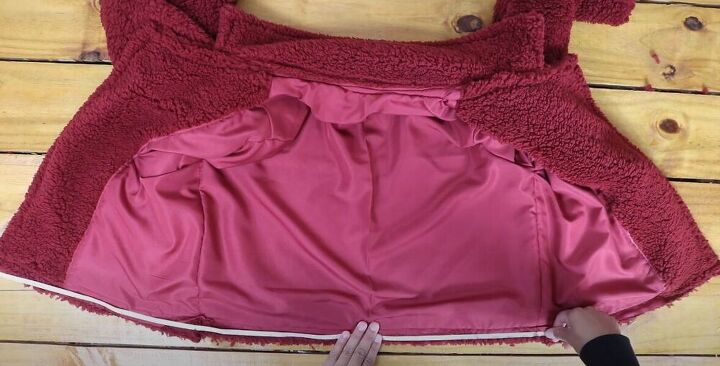
I turned the jacket right side out and topstitched around the edges and along the neckline.
I lined up the bottoms of the lining for the sleeve and the jacket sleeve and then sewed along the perimeter of the sleeve bottom to attach the lining to the jacket.
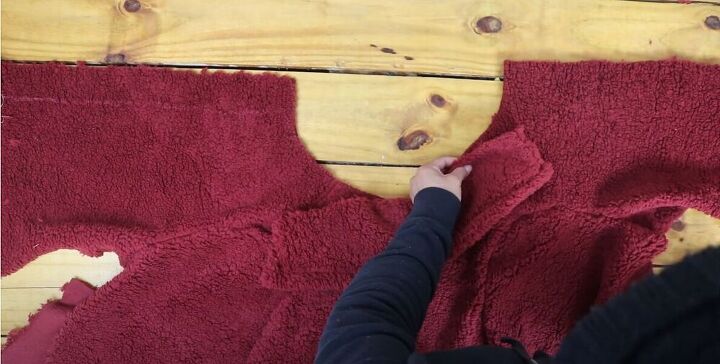
I pinned the bottom of the lining to the teddy fabric, making sure the side seams were aligned.

Next, I went ahead and sewed the two fabrics together across the bottom.
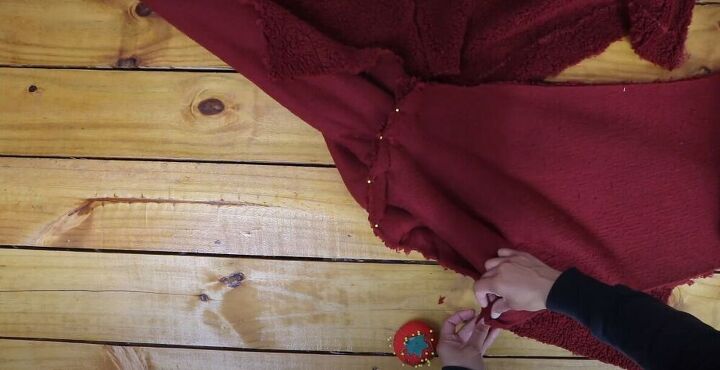
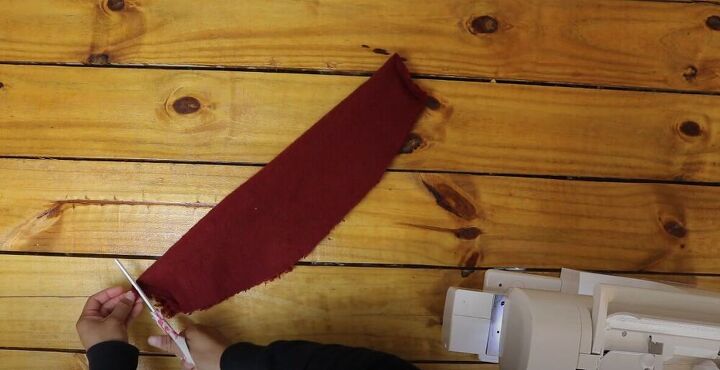
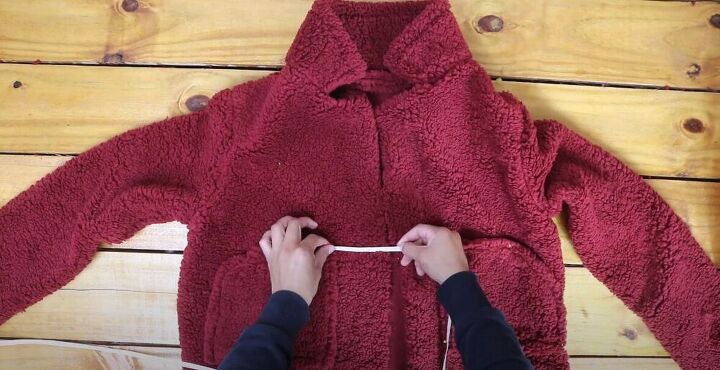
Sew on the waistband
Moving on, I measured the length of the bottom of the jacket and cut a piece of fabric for the waistband with an added 2 inches.
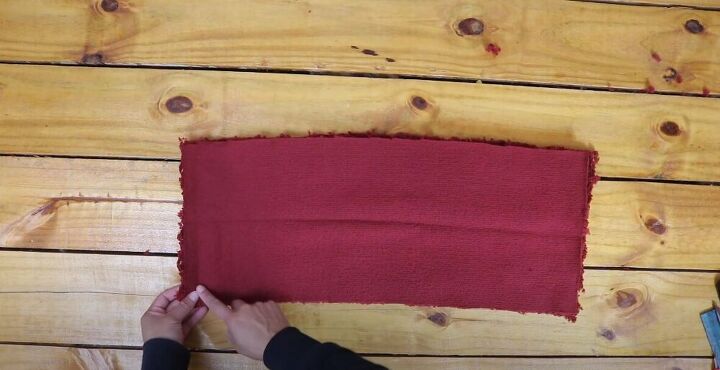
I didn’t have enough fabric to cut one long piece for the waistband so I cut two and sewed them together.
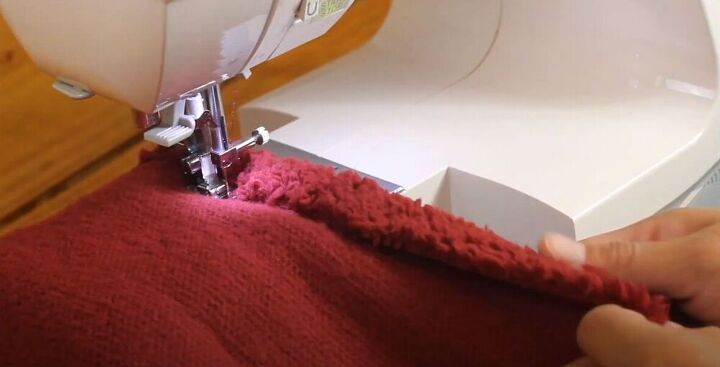
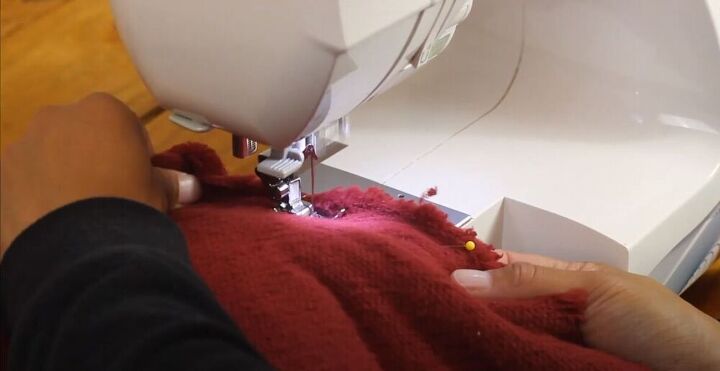
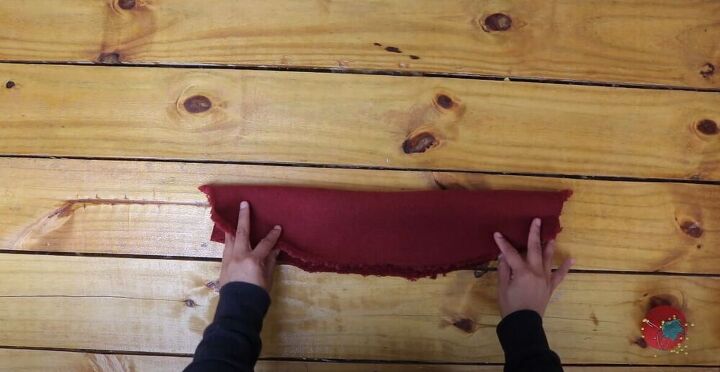
I then hemmed the two long edges.
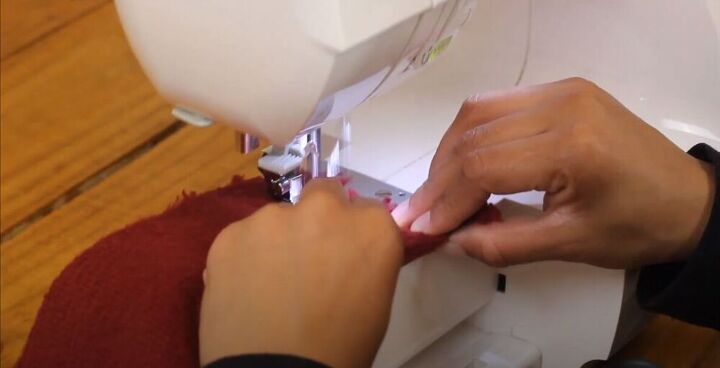
I pinned the waistband onto the bottom of the jacket making sure to tuck in the raw edges on each short side. I then sewed the waistband to the jacket.
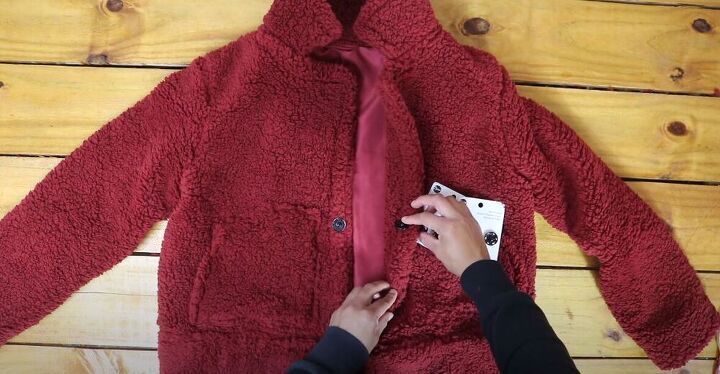
Sew on buttons
I decided to use sew-on snap buttons for my teddy jacket. I made sure to sew them on the right way and checked that they were all aligned.

I couldn’t be happier wearing my new teddy jacket! This is the perfect piece to stay warm this winter! What color teddy fabric would you use? Let me know in the comments!
The author may collect a small share of sales from the links on this page.


Comments
Join the conversation
Thank you Linda! Its a pretty simple project
I don't find lining to be simple lol, so kudos to you girl! Excellent work!