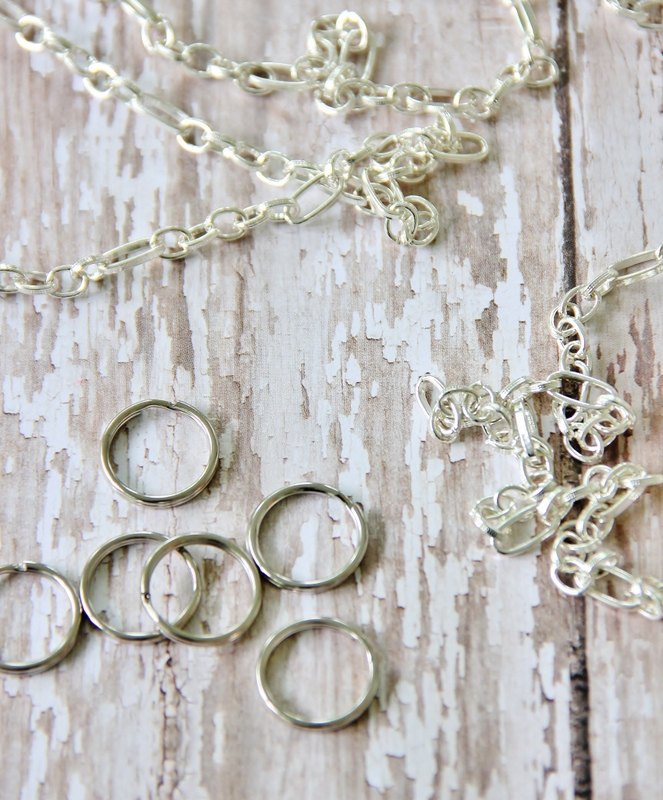
Here are some of the supplies you need to get started:
spoon (at the risk of stating the obvious)
steel stamping block
hammer
silver stamps
jump ring
chain
Have vintage silverware sitting in a drawer taking up space?
Don't let it sit any longer.
Instead?
Why not make it into a piece of jewelry?
This is such a simple project or easy gift for someone special and spoons make the perfect necklace with just a few changes.
Here are the step-by-step instructions to make a stamped silver necklace.
Here are some of the supplies you need to get started:
spoon (at the risk of stating the obvious)
steel stamping block
hammer
silver stamps
jump ring
chain
Step 1: Remove the handle of the spoon
Put the handle of the spoon in a vice grip and use a hack saw to saw off the handle.
Use a metal file to file down any rough edges.
Step 2: Flatten the spoon with a rubber mallet
Hammer the spoon until flat.
You will still have some bumps when you finish.
It’s okay.
They’re called character.
Step 3: Drill hole for necklace
Clamp flattened spoon down and drill a hole through the silver.
Use a small drill bit.
Don’t drill to close to the edge.
File any sharp edges with a metal file.
Step 4: Choose the size of stamps you want to use
Here are the three sizes of stamps I have.
1/4 (largest)…..all caps.
5/64 (2mm) (medium)…..all caps.
3/32 (smallest) …..lower case.
I used the 1/4 for the NANA necklace and the 5/64 for the name necklace.
Step 5: Stamp spoon
Place spoon on the stamping block.
Hold the silver stamp where you want the letter to go and hit hard with a hammer several times.
Sometimes you have to flip the spoon over and flatten it again when the edges curl up slightly.
Step 6: Fill in letters with a fine-tipped sharpie
After you finish stamping, you will notic that the letters are a little hard to see.
To add definition, just trace each letter with a fine-tip sharpie.
Step 7: Add the jump ring and chain
I really like the jump rings that resemble key chains. They are so much easier to use. I buy the chain in extra long strands from Hobby Lobby and use needle-nose pliers to adjust it to fit.
To turn your stamped spoon into a necklace, simply add the jump ring to the hole in the top of the silver-plated spoon. Next, string the chain through the jump ring.
That's it.
Your necklace is ready to gift or to wear.
It makes a statement all on its own or combined with other pieces of jewelry.
And now?
Your silverware is ready to shine.
If you liked this stamped silver project, here are a few more from my blog:
I seem to have a knack for buying fabric with one project in mind and then using it for something...
Hang up those oversized sweaters, spring is here!! Luckily living in the south, it already feels...
All you need is a few simple supplies, a kiln to fuse the glass together and you can create gorgeous...
Spring is quickly approaching which means warmer weather, yay! I had fun styling this cute dress for...
Looking for a few ways to keep your favorite cropped jeans in wardrobe and still be trendy. I’m...
Some time ago I ordered the Washi Dress Pattern Kit from Craftsy. I I had had my eye on this Made by...
Do you ever buy something and dream about all the ways you’ll wear it!? Orrrr is that just me?That’s...
I picked up this green floral midi dress from Old Navy this season & I have already worn it a bunch...
Hello! Happy Thursday! I’m back with more styling inspiration for the wide-leg crop pants. Can you...
Someone gave me a necklace like this. I loved it so much that I decided to make them for everybody...
These Ice Dyed Dresses are sponsored by Tulip Color. All opinions are ours alone.This post may...
What's up fellow jewelers? Here I'm going to show you how to make a long tassel necklace. Not only...
Sweatpants are considered loungewear. They are awesome to chill in and wear around the house. I’m...
So your pants are tore up from the floor up? And I mean that literally and not all the way up, more...
Some people collect stamps, or coins, or ceramic pigs… I’m starting to think I collect headbands....
I got this oversized men’s blazer from my mom’s friend and immediately fell in love with the...
Hello ladies! Happy Thursday! Let’s talk about this cute, flowy mini dress. I’m really loving this...
Overalls are becoming a must-have trend this Spring! These classic overall shorts from Walmart are a...
This project is super simple, and you won’t have to sew a stitch. To make this top, I used Lycra...
I’m going to share with you some of the looks that I put together using a few key pieces based on...
This green caught my eye at a doller store last week. I always wanted to try something with flip...
After scrolling down the pinterest, I thought to try the ruched or scrunchie hairband by myself. So,...
Summer is almost here, meaning it’s time to break out the sundresses and shorts. Just kidding-...
Today, I’m going to be making a DIY floral midi skirt. I love the way this skirt looks and love that...
Crop any pair of wide leg pants to the perfect length without a needle and thread!This tutorial will...
It’s almost swimwear season again and I know it can bring a lot of insecurities for a lot of women....
Have an old pillowcase lying around? Before you discard it, why not recycle and transform it into a...
There are countless ways to transform a basic long sleeve shirt, and I've had so much fun...
When looking for a versatile dress that I can dress up for a dinner date but equally wear at the...
I found this very cute woven bucket bag at a thrift store in Bakersfield, but I wasn’t so crazy...
I tried to recreate the branded top using the t-shirt that I already have at my home. Have a look...
Hello Readers. When I am looking for a fun top sometimes the best place to look is at the dresses in...
A button down shirt is one of the most versatile pieces you can have in your wardrobe. I styled...
I found this dress at a thrift store a few month ago. Although, the style of the dress is a little...
Did you know that the more pieces or components your outfit has, the more stylish others will...
I’m sure you’ve seen countless sewing tutorials where you’re required to sew on a buttonhole. While...
Join the conversation
The handles make beautiful bracelets.
I love them! I have bracelets made from spoons, forks and knives.