How To Turn a Old Sweater Into A Knot Twist Headband Ear Warmer

This is an easy way to change up your winter outwear with something most people already have in their closets, old sweaters!
I have the worst habit of accidentally shrinking my wool sweaters, I know I can't be alone in this! I hate when that perfect sweater suddenly doesn't fit.
What I love about this upcycled turban-style headband is how versatile it is! It keeps your head warm whether you have your hair down or in a bun. It makes me feel less guilty about messing up a sweater in the wash!
For this ear warmer twisted knot headband I wanted to make it extra cozy so I also incorporated fleece from an old jacket I found at a thrift store.
Here's how I did it in about 15 minutes:

Recently, I looked into my closet and experimented with a few different sweaters. I documented three different projects (including this one!) on my YouTube, and you can see step-by-step instructions in the video above.
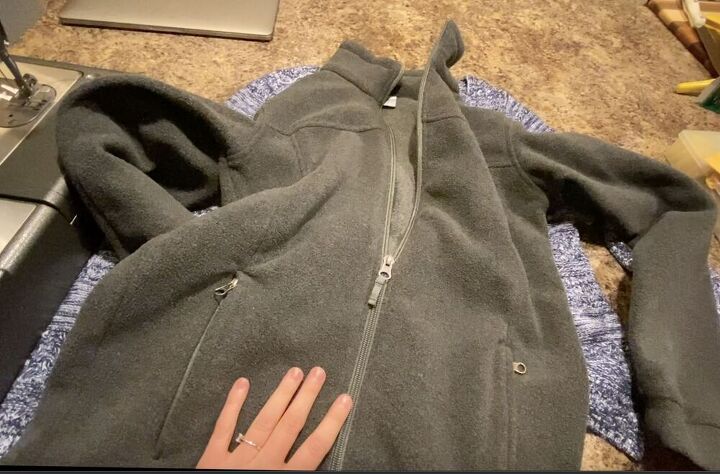
For this project I used an old child's fleece jacket that had a few flaws, and a pre-skrunken high-quality wool sweater.
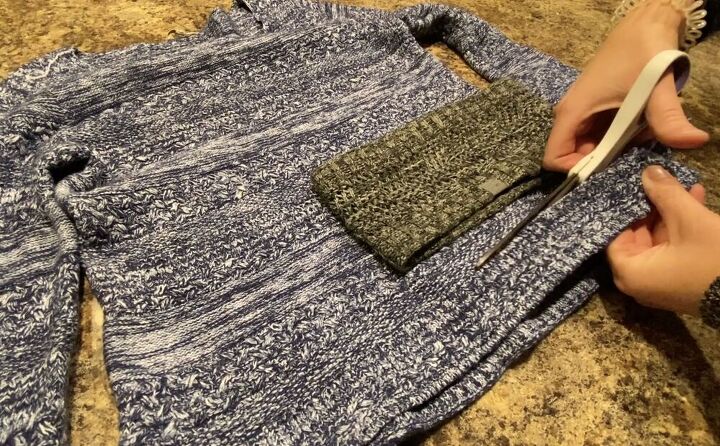
I used a sweater headband that fit me well as a pattern for this project. If you don't own one of these you could just measure the circumference of your head and go from there!
When I used the old headband as a pattern I simply laid it on the sweater, and cut the same shape leaving an extra 1/2 inch seam allowance on the top and bottom. I left about an inch and a half extra on the right side so that I would have excess sweater material to make that knot twist.
(For more clarification on measurements please refer to the video.)
I was sure to lay the headband on the side of the sweater so when I cut it would be one long piece.
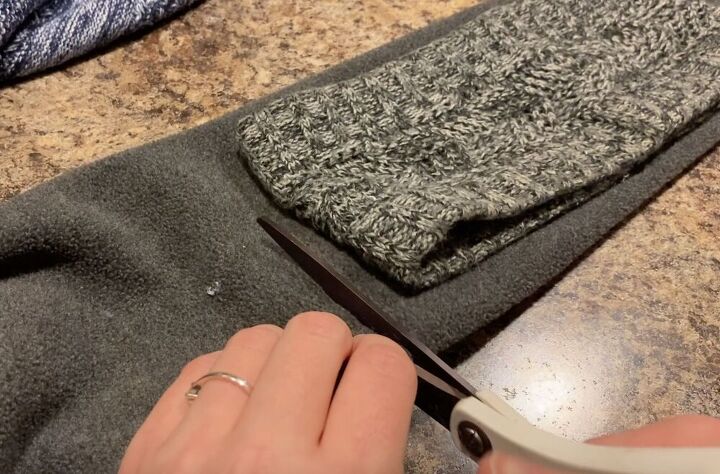
To get my fleece lining I chopped off part of one of the jacket sleeves.
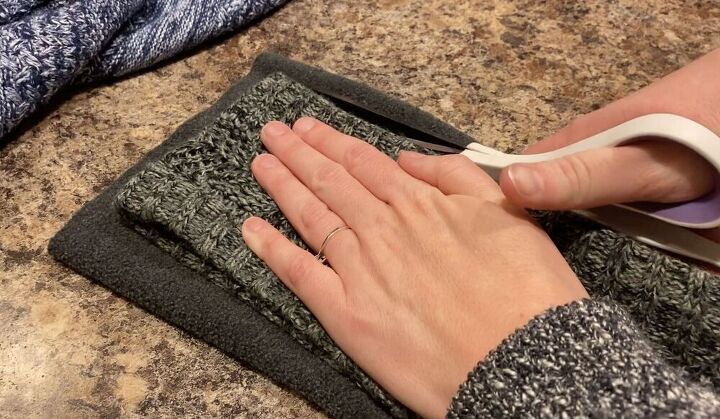
And cut the fleece to match the headband perfectly. No need for extra seam allowance. You want the fleece to be shorter and narrower than your sweater piece.
I cut through the front and back of the sleeve at the same time so I was left with two separate fleece pieces.
To make my two fleece pieces one long piece just like my sweater piece I turned both right sides together...
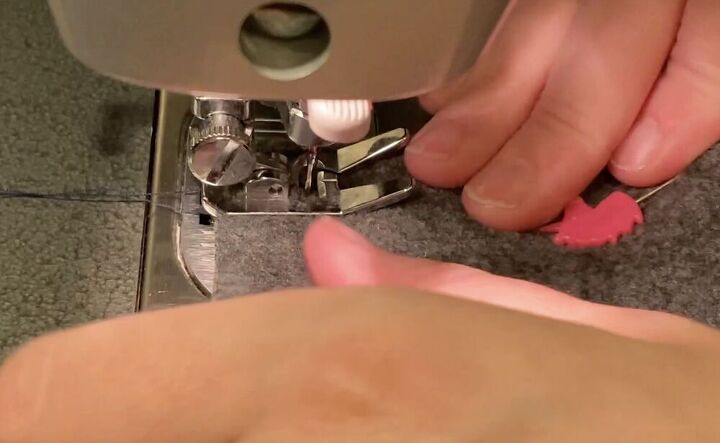
And then simply stitched along that side with a zig-zag stitch so the two pieces would form one long piece.
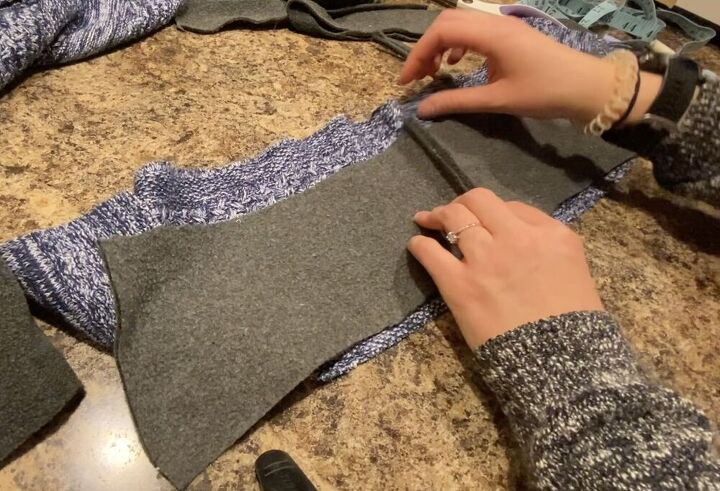
I lined up that new seam with the seam that was already on my sweater piece to make sure it was centered.
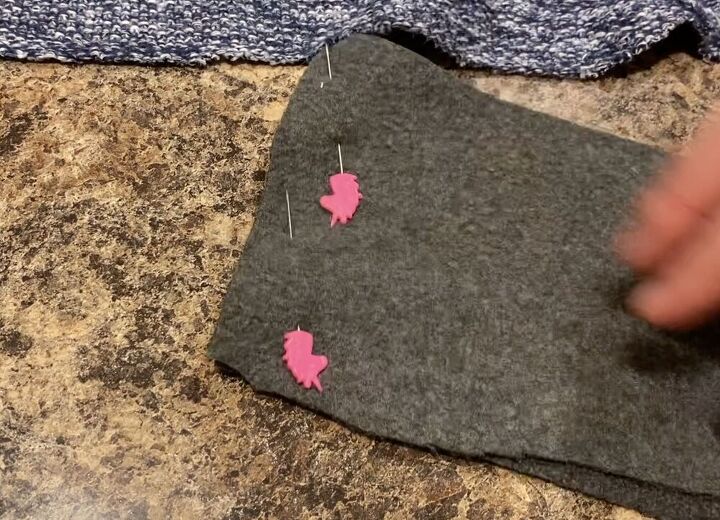
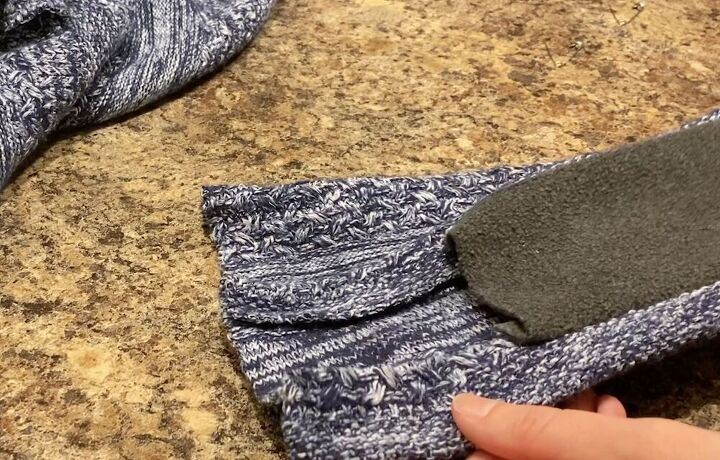
Placing right sides together I pinned one side of my fleece to one side of my sweater piece ...
And sewed along that line.
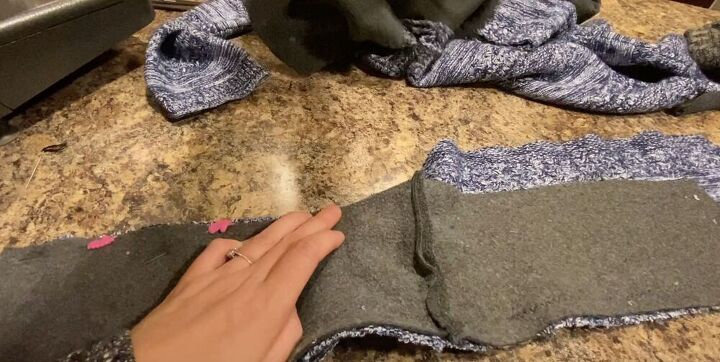
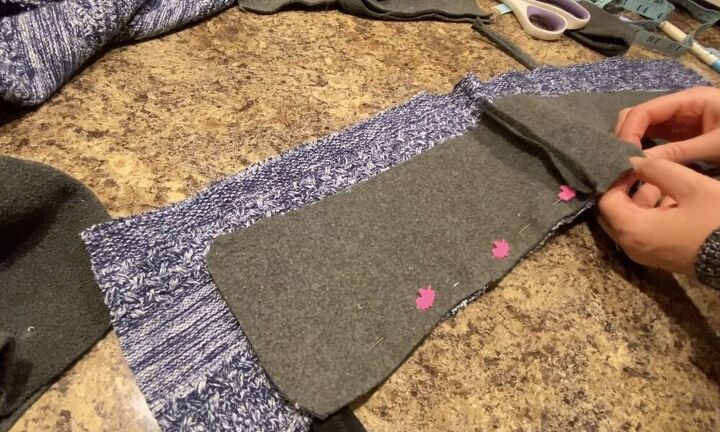
Then I took the other side of that fleece, stretched it and pinned it to the other side of the sweater piece. The two pieces will not line up, you need to stretch the fleece to pin it.
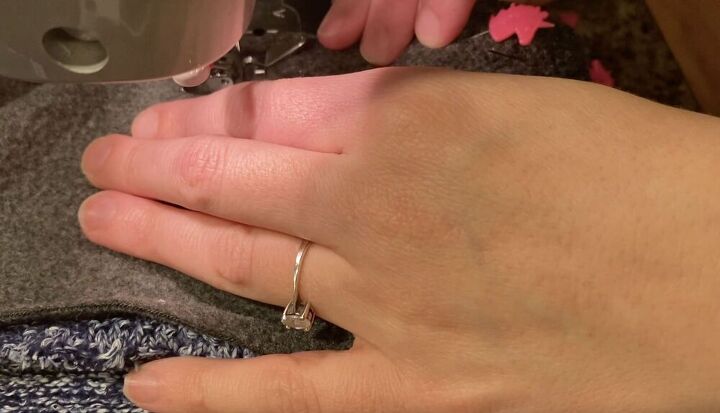
I then sewed along that edge. You'll be left with a tube-shaped piece. Turn that tube piece inside out.
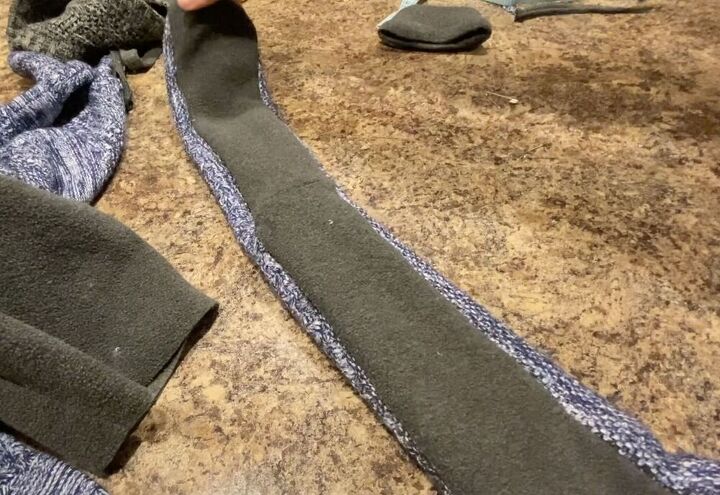
This is what it should look like. The fact that the fleece is shorter than your sweater will ensure it doesn't poke out or be noticeable when worn. Secret warmth!
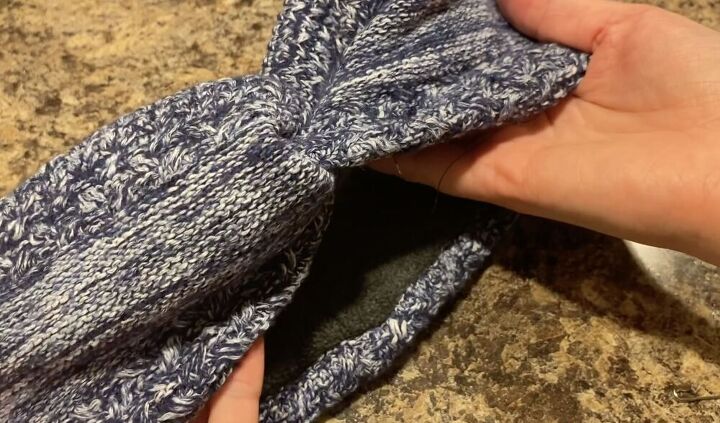
This next step is most easily explained through video, so don't forget the link at the top! You are going to fold that tube in half, and then make an accordion-style fold with your extra sweater fabric. You fold one corner under the other side and then fold the excess from the bottom over the top. (It's much easier to watch the video to understand!)
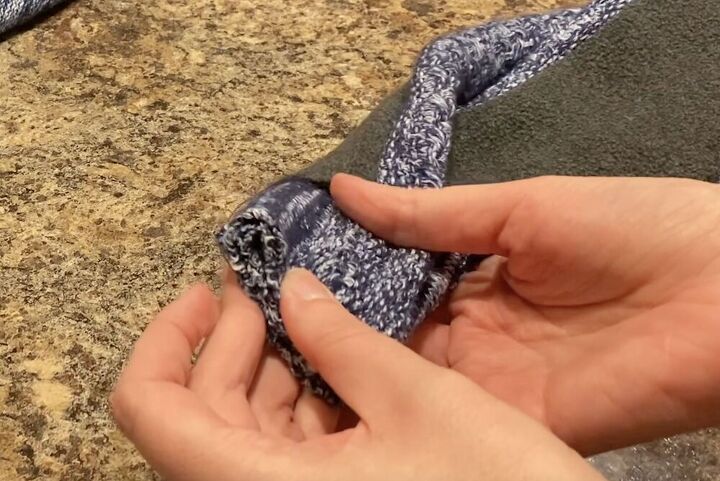
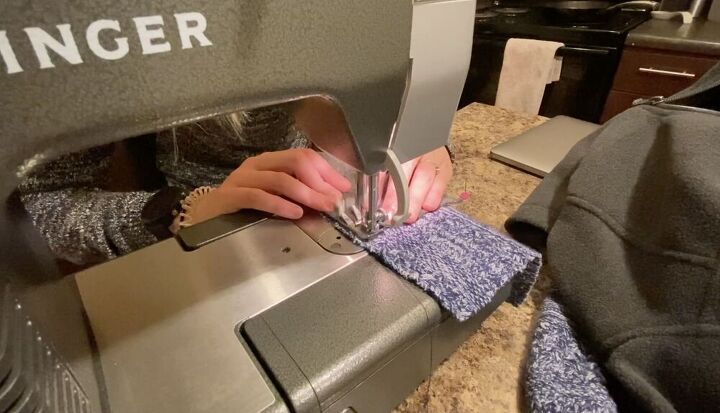
Here's what my fold looked like. I safely pinned it together, and then got out my thread and needle.
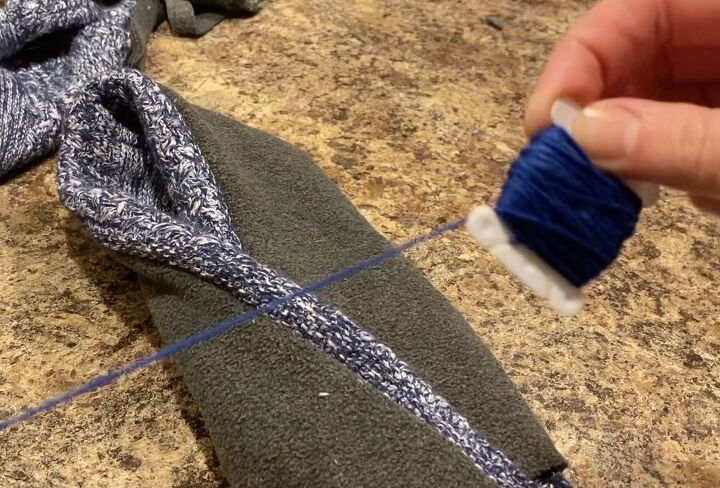
And stitched a straight line along that fold, as close as possible to the fleece pieces. I used the thread instead of the sewing machine just because my material was so thick that sewing through so many layers at the same time would have caused problems.
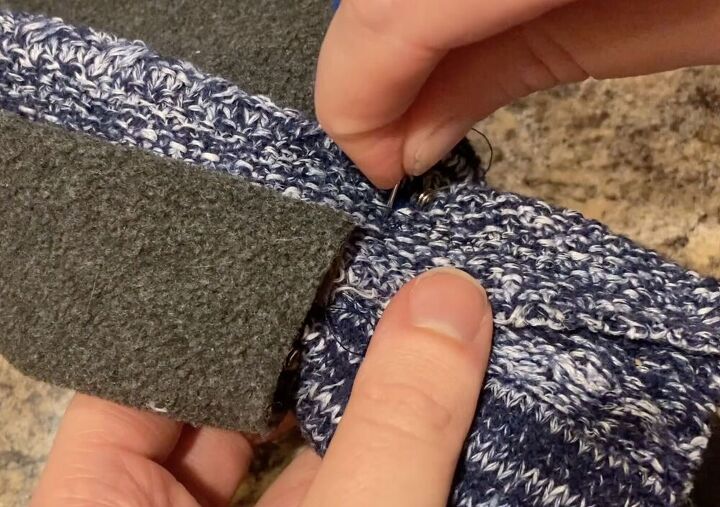
As you can see, I'm stitching right along that fleece piece. This ensures my headband is the proper size to fit my head. If you don't get close enough to the fleece your headband may be too big. Once you are done stitching, make sure it fits! If it does, cut off any excess sweater material as close as possible to that seam you just created, without accidentally clipping the stitching.
Once that is done, turn your headband right side out and this is what you'll be left with! Super warm, cozy, and trendy!
The best part about this project is you'll have so many scraps left you can make plenty for other family members and friends too!
I hope you enjoyed this project, if you have any questions feel free to leave them below! If you want more sweater into hat inspirations like a pom pom or jeweled beanie, check out my video at the top!

The author may collect a small share of sales from the links on this page.


Comments
Join the conversation
Looking forward to making a couple of these!
Really cute idea. I like the idea of lining the headband