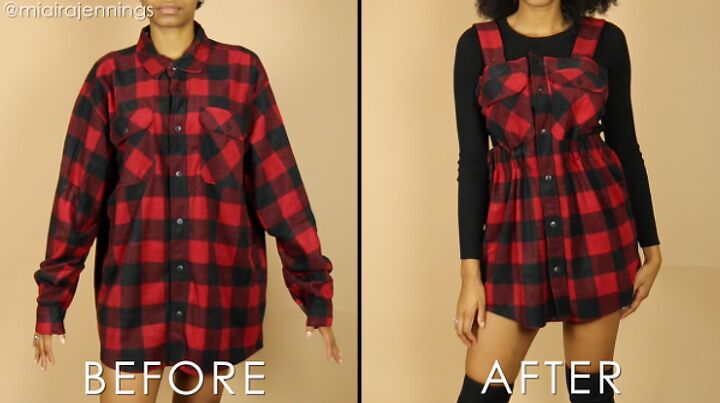
DIY Overall Dress From a Large Flannel Shirt (No Sewing)
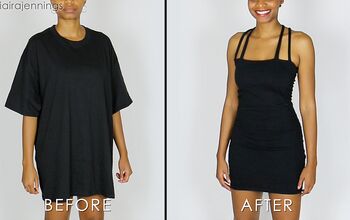
Overall dresses are such a cute and stylish look that can be dressed up or down, so I set out to find a simple way to make my own on a budget. Here’s how to turn a large long sleeve flannel shirt into a cute DIY overall dress with NO SEWING!
Full video tutorial: https://www.youtube.com/watch?v=WHwZdSkFQqg

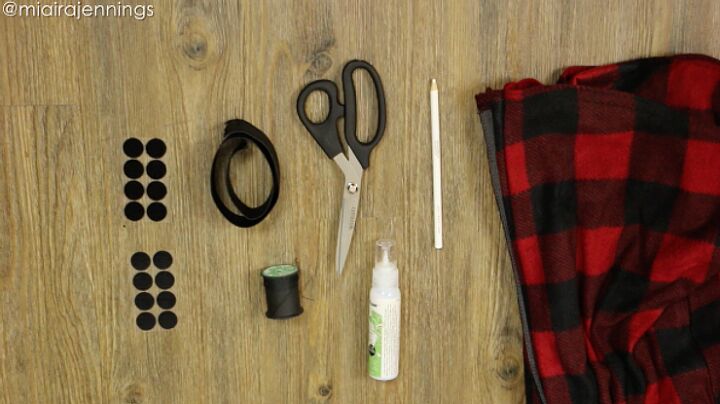
Step 1: Gather Materials
What you’ll need:
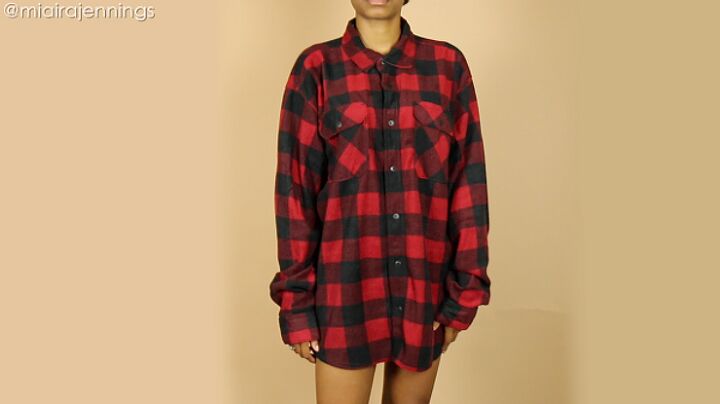
- Flannel shirt (I got mine at Ross for $10!)
- Pencil
- Fabric scissors
- Fabric glue
- Elastic
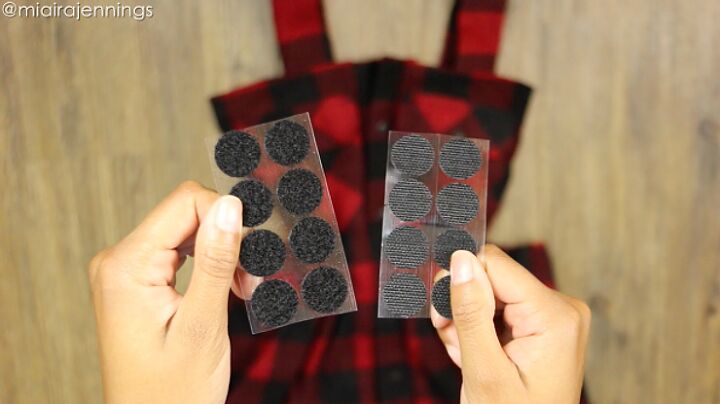
- Velcro dots
- Needle and thread (optional)
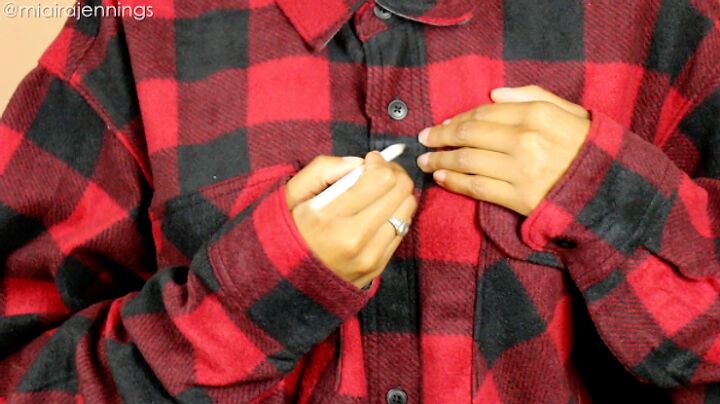
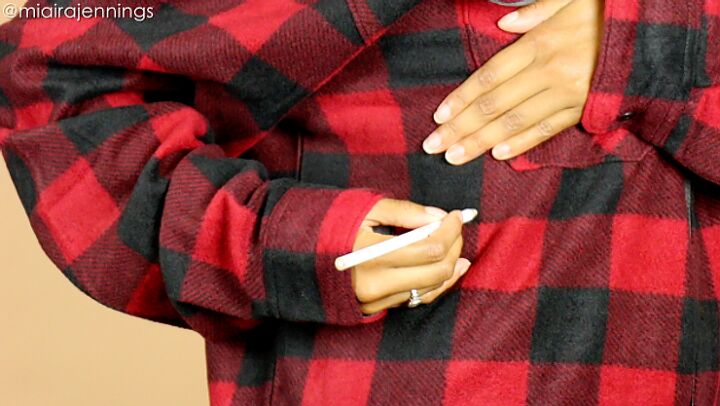
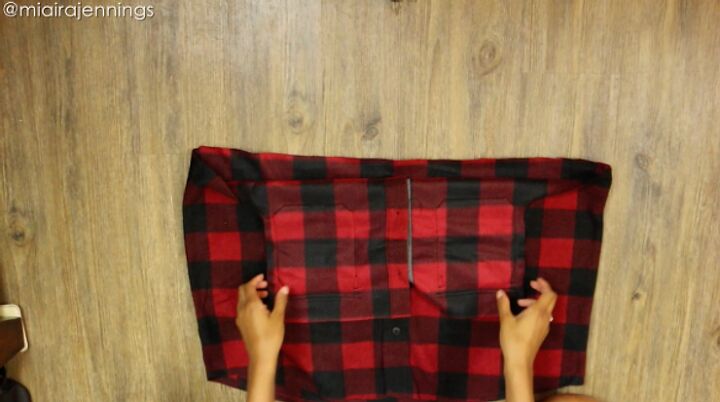
Step 2: Mark Spots
Use your pencil to mark spots at the front of the shirt where you plan to cut across, and at each side where the waistband will go.
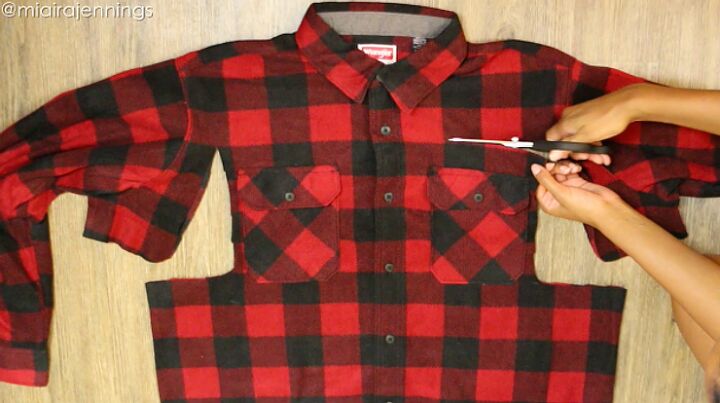
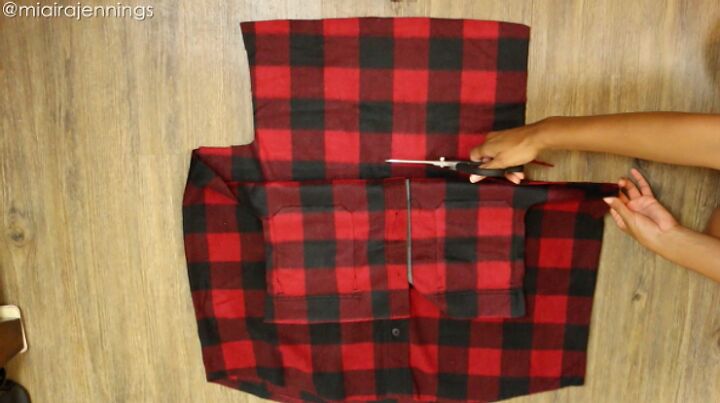
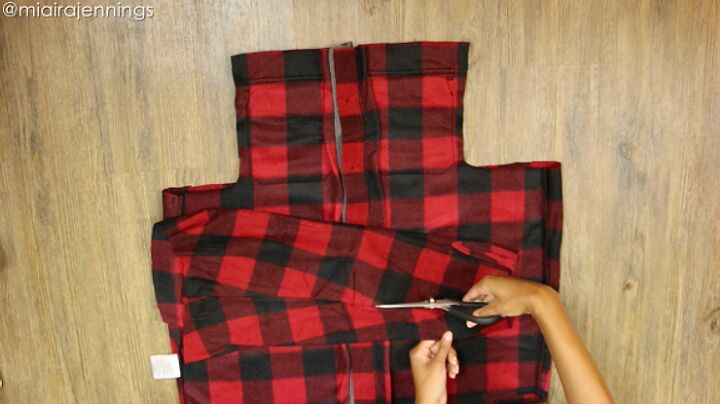
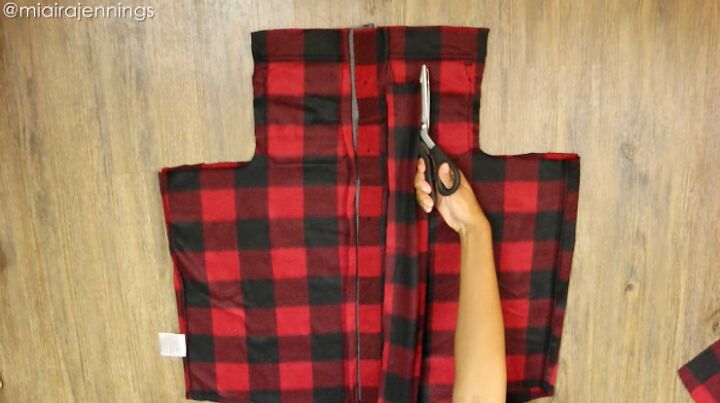
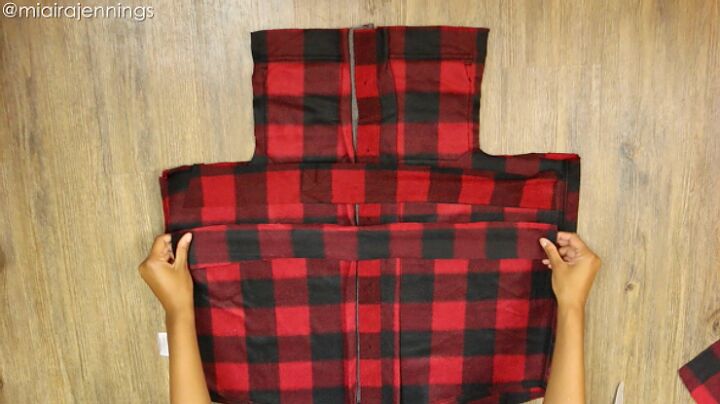
Step 3: Cut Dress Shape
Use fabric scissors to cut a slightly curved line from the spot you marked on one side and up (through both layers). Repeat on the other side, then cut straight across the front.
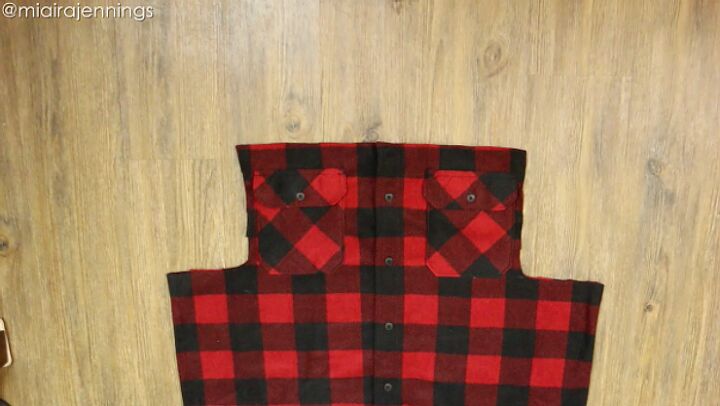
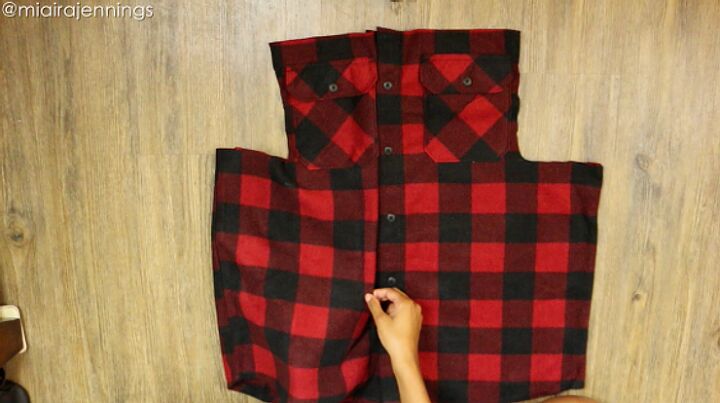
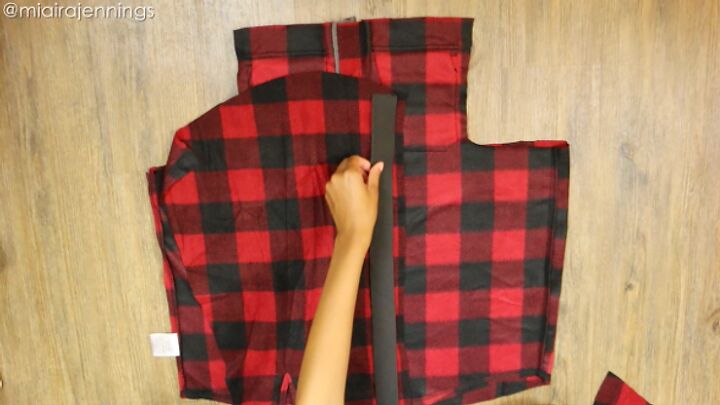
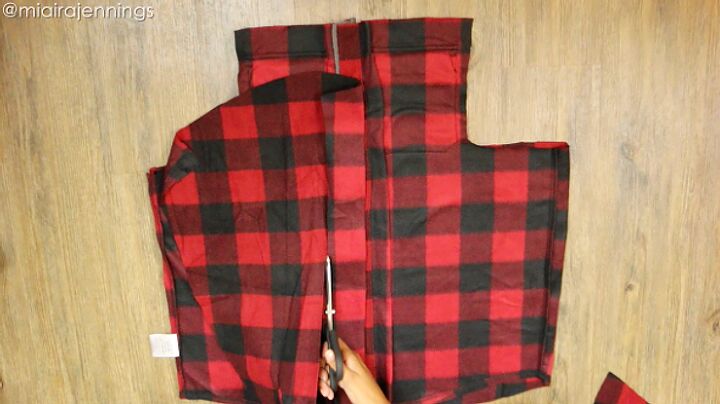
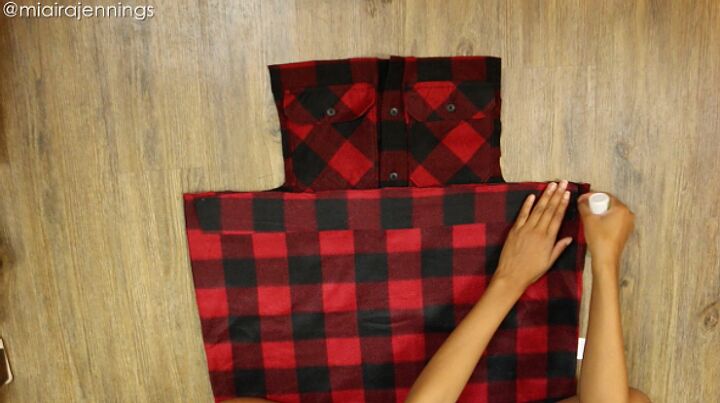
Step 4: Cut Back Panel
Fold the front panel down out of the way and cut the back panel off so the straps will go all the way down the back and attach to the waistband.
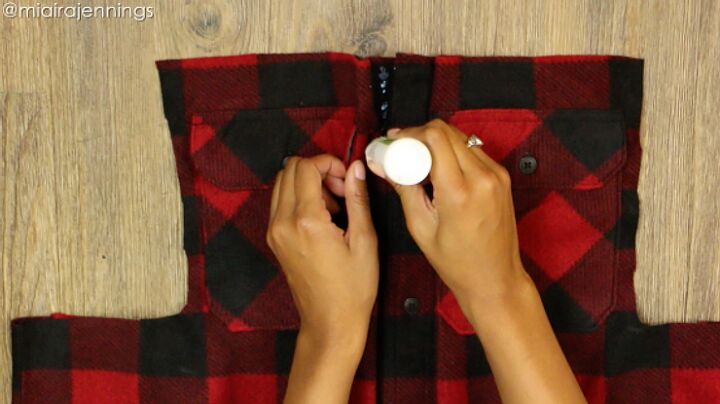
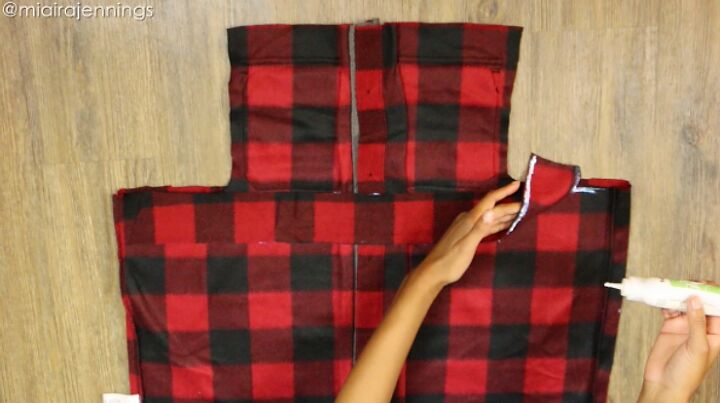
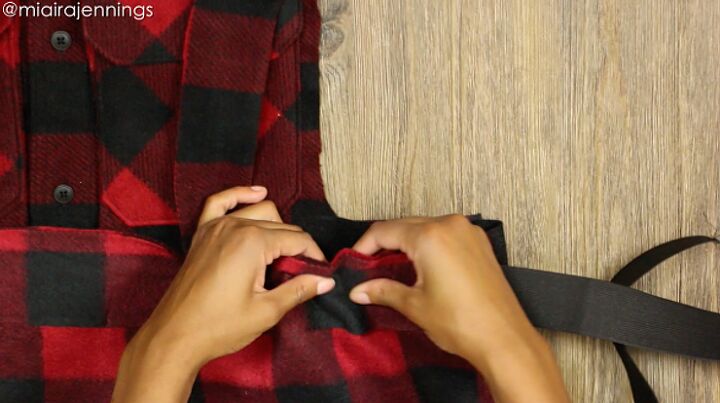
Step 5: Fold & Glue Along Front
If your shirt is too wide in the front, here’s a simple way to make it more narrow without cutting or sewing. Just create a fold along each side of the buttons and glue it down! Leave it to dry for a few hours.

Step 6: Cut Material for Waistband
Flip the dress inside out. To create the waistband, you’ll use material from one of the sleeves. Cut one sleeve off of the collar, remove the cuff and cut the sleeve open the long way along the seam.
Then place the elastic along the edge of the material, fold it over and cut. Be sure to leave enough space at the edge for the glue.
Then place the elastic along the edge of the material, fold it over and cut. Be sure to leave enough space at the edge for the glue.
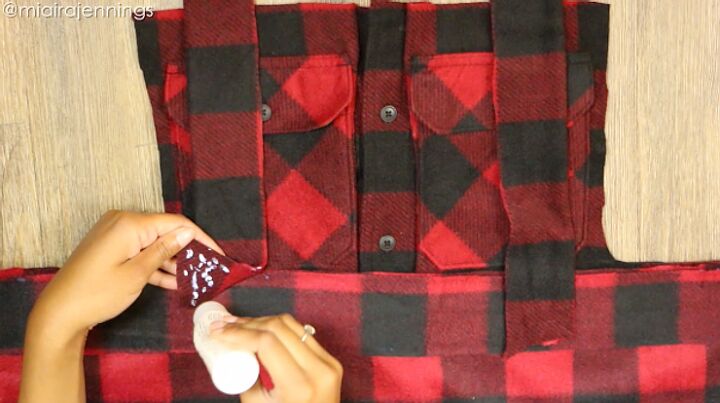
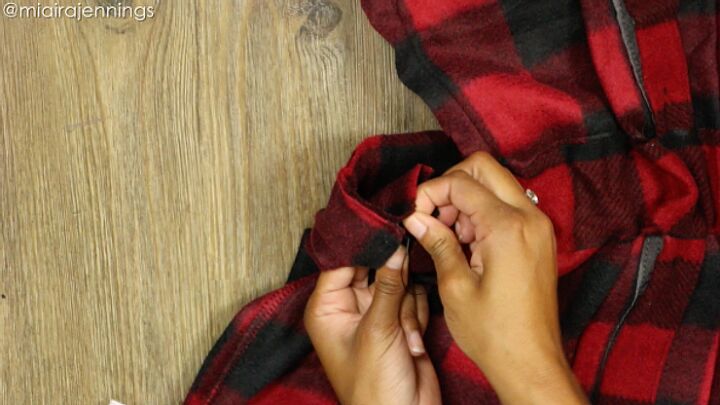
Step 7: Glue Waistband Material
Glue each strip down along the top and bottom edges to create the waistband opening where the elastic will later go. Be sure not to glue too close to the center so your elastic will fit inside. Leave it to dry for a few hours.
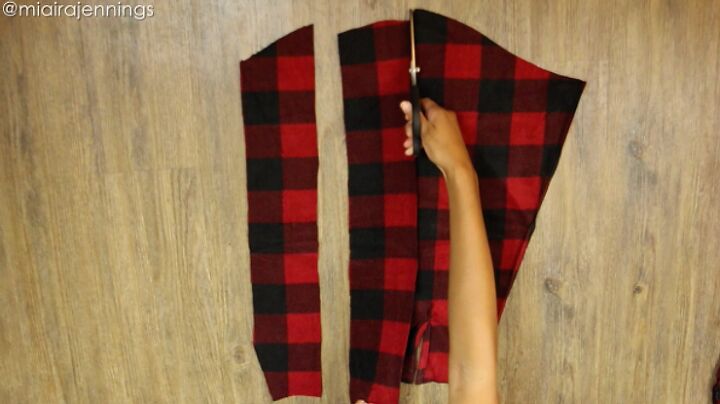
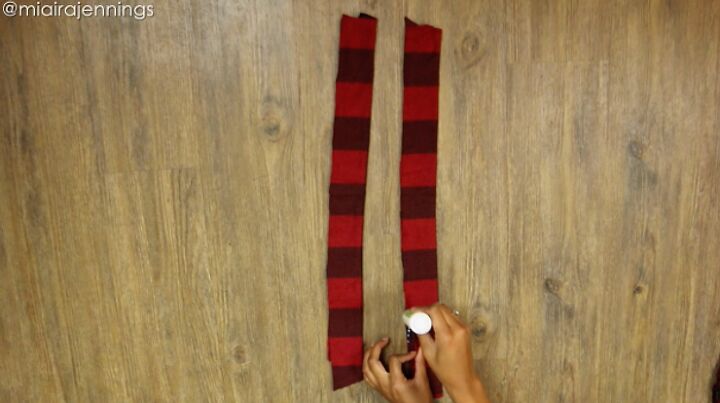
Step 8: Cut Material for Straps
Now, using the other sleeve, it’s time to cut the straps. Cut the sleeve open along the seam, then cut two equal strips a few inches wide. Fold each strip in half the long way so they’re double the material thick, and glue them to keep the folds in place.
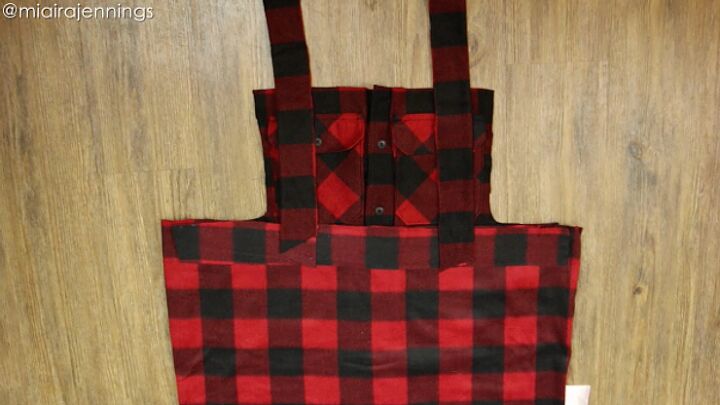
Step 9: Attach Backs of Straps
Glue the ends of the straps to the waistband at the back of the dress. Remember, this is on the inside of the dress since it’s inside out. Leave to dry.
Step 10: Measure Elastic
While the glue dries, measure and cut a piece of elastic for your waistband.
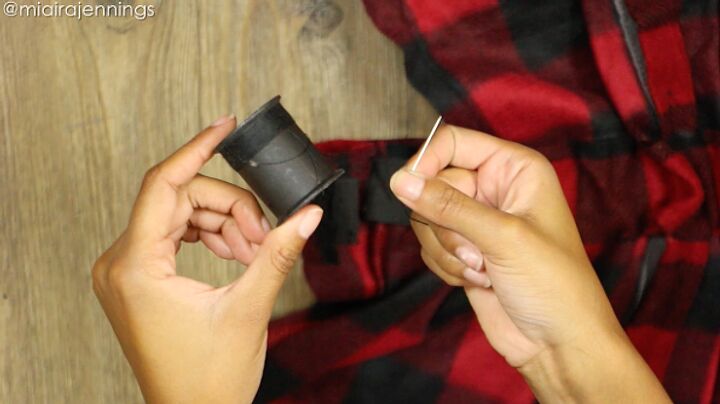
Step 11: Insert Elastic
Once all the glue is dry, it’s time to insert the elastic. Attach a safety pin to the end of the elastic and work it through the waistband opening.
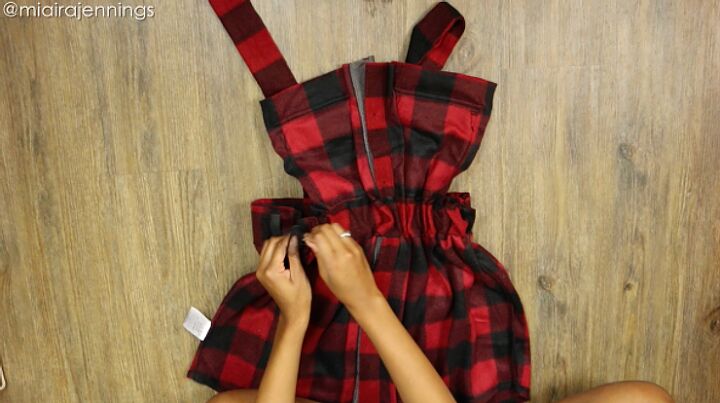
Once you get through the first side, scrunch the dress material, then flip the dress over. Slip the elastic through the other side and use a needle and thread to stitch the ends of the elastic together (you can also staple or tie it!).
Step 12: Complete Straps
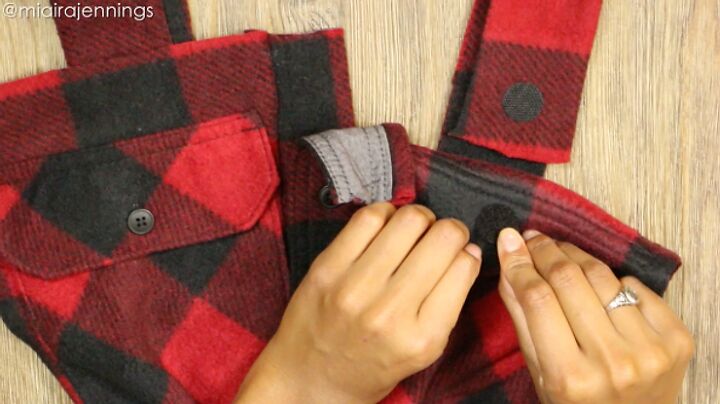
Glue velcro dots to the front ends of the straps. Then glue dots on the insides of the front of the dress at the top. This is how the straps will be taken on and off. Leave everything to dry for a few hours.
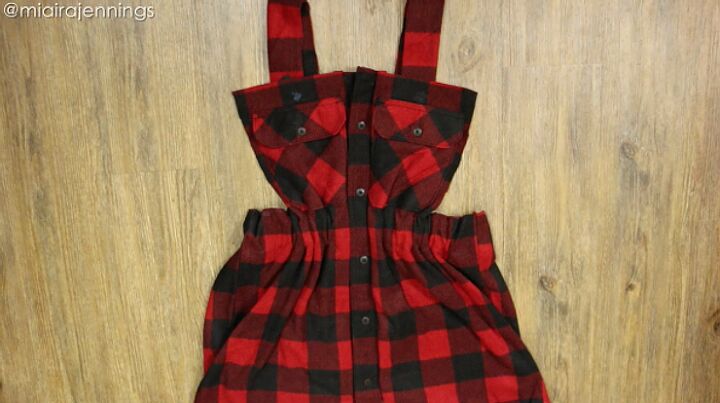
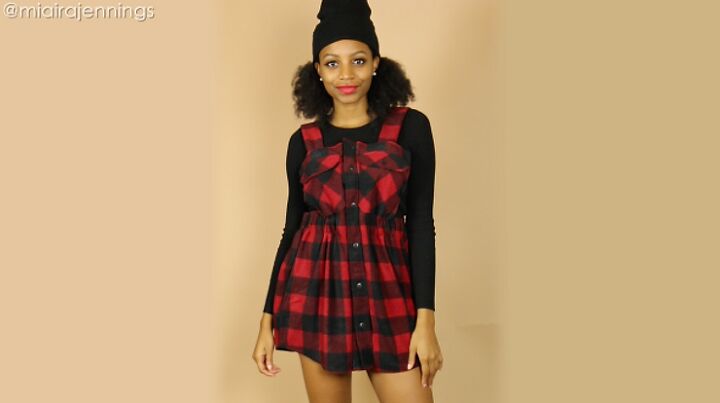
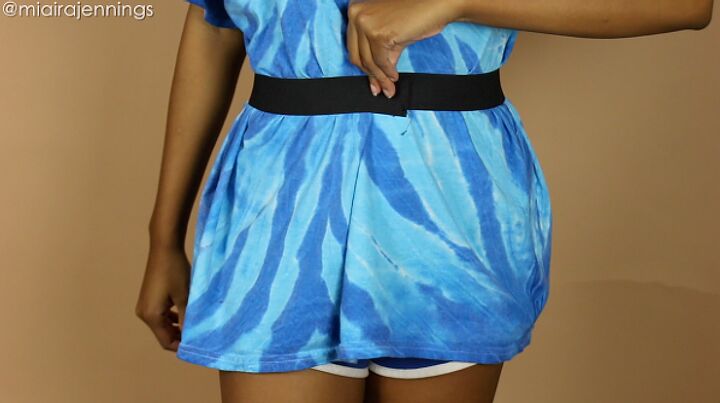
All done!
Once everything dries, you’re ready to try it on! No one will believe you made this dress out of a flannel shirt, and they’ll be so impressed with your DIY skills, they might even ask you to make one for them, too.
The author may collect a small share of sales from the links on this page.


Comments
Join the conversation
OMG - that is ADORABLE!!! Good job!!
Great idea but won't the fabric fray when washed? There are places that were cut left untouched.