DIY Overalls From Just One Pair of Pants

What do you do when you want some overalls but making them from scratch seems way too overwhelming? If you’re like me you search Pinterest until you get enough motivation to DIY it. Then you go find some worn in jeans to transform!
I feel like I have been obsessed with overalls since the 90’s. They are just so comfy and easy to wear. I was up for a bit of a challenge a few weeks ago, so I decided to see if I could make some using one pair of jeans. I was pretty shocked with how easy it really was.
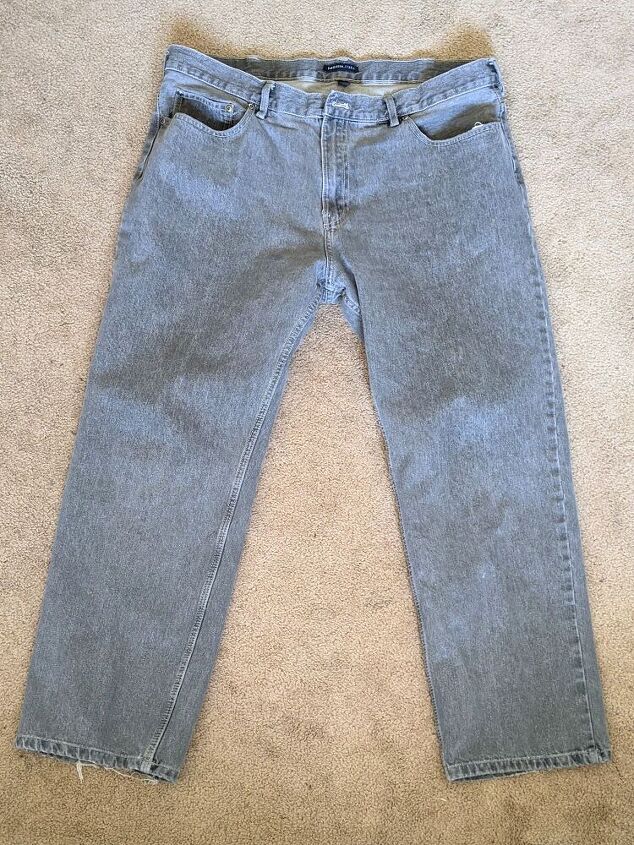
I'm loving all the high-waisted things I've been seeing lately. So I knew I didn't want anything low rise. Luckily I found some men's jeans at my local thrift store. I tried to find some as close to my size as I could while still having room to do some fitting adjustments. Once they were washed and dried I quickly got to work.
I needed a game plan:
1st- remove belt loops and waist band and save for later.
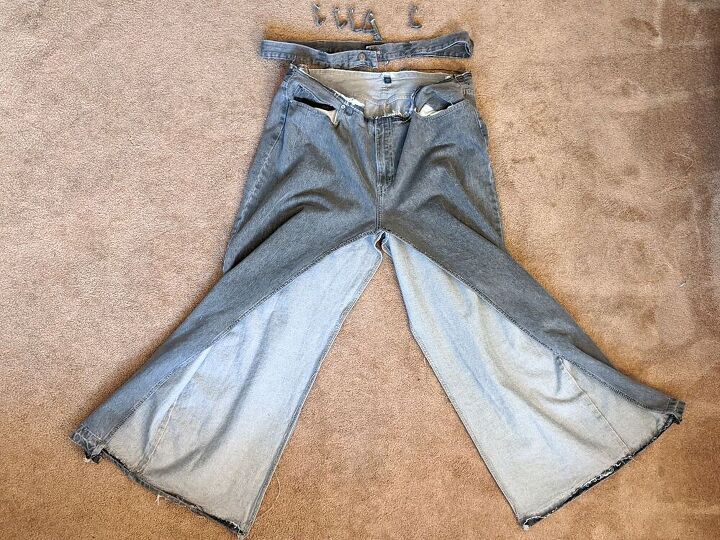
2nd- seam rip the hem and leg seam from ankle to crotch.
3rd- carefully remove the zipper and save to add to the side waist later.
4th- open the back seam
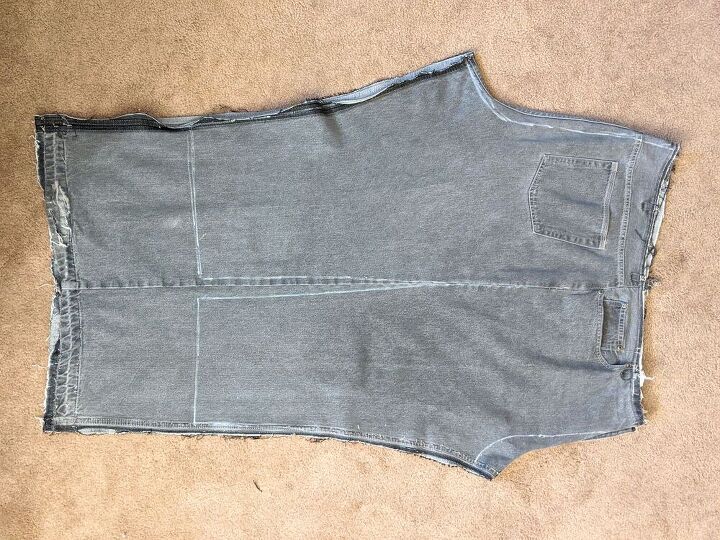
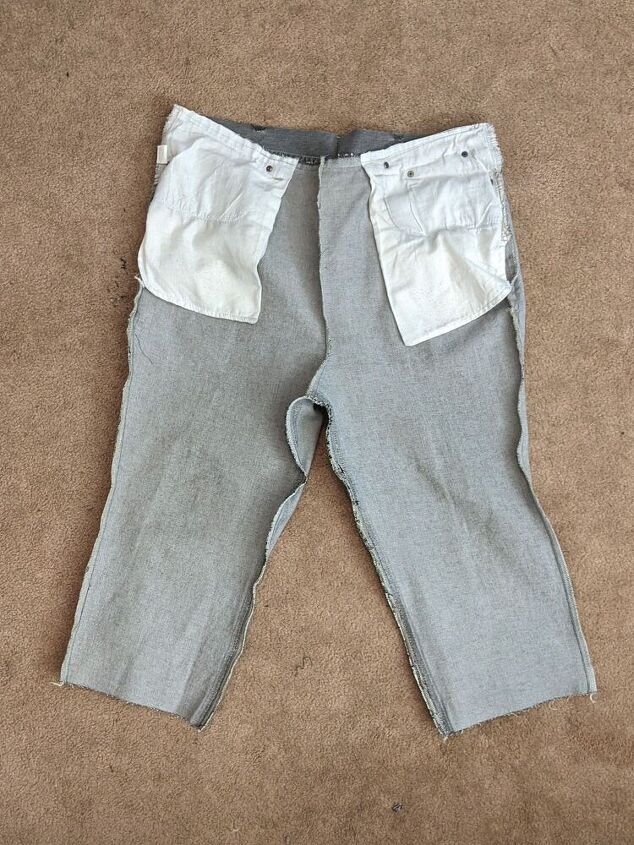
5th- lay out flat and draw your pattern on.
6th- the bottom of the legs would be used for the bib and straps
7th- be careful because you will need every inch of fabric
Ok. I was ready. Let's do this! I used a pattern I knew fit well to do this. I also wanted to keep the outside seam intact as much as I could.
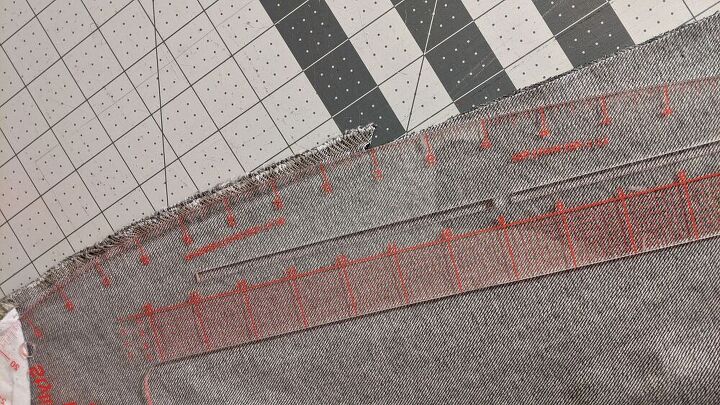
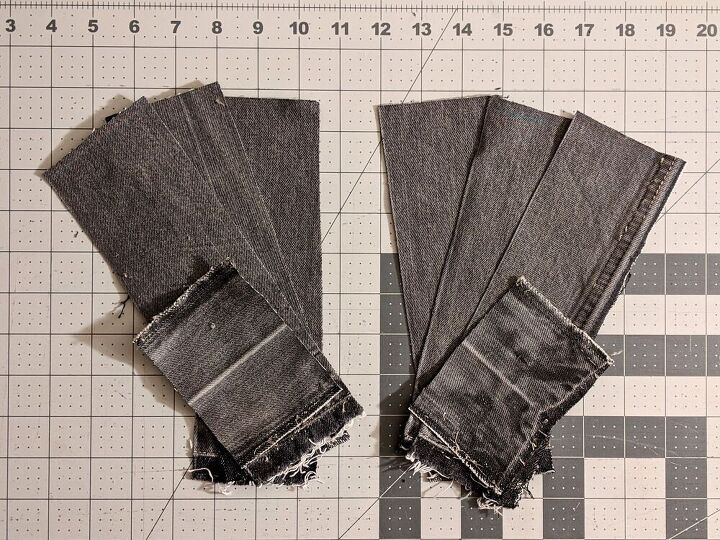
I cut is out saving the bottom portion of the legs for the bib and straps. I trimmed a bit off the sides and used my French curve ruler to blend the side where I left the seams partially intact.
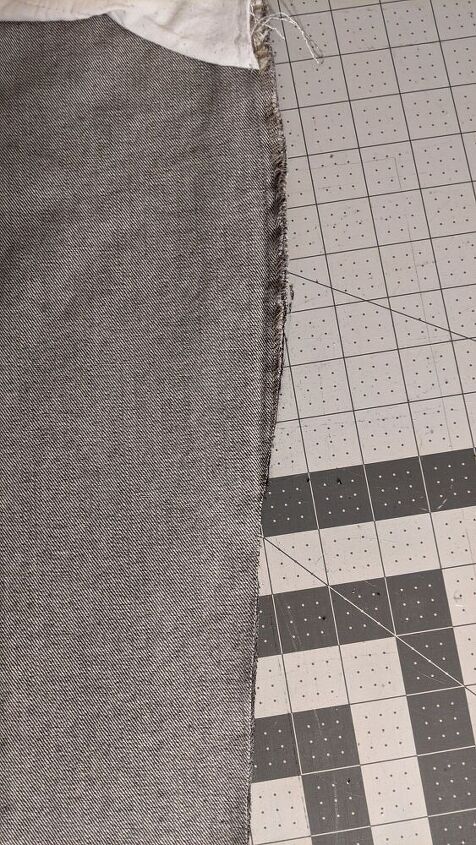
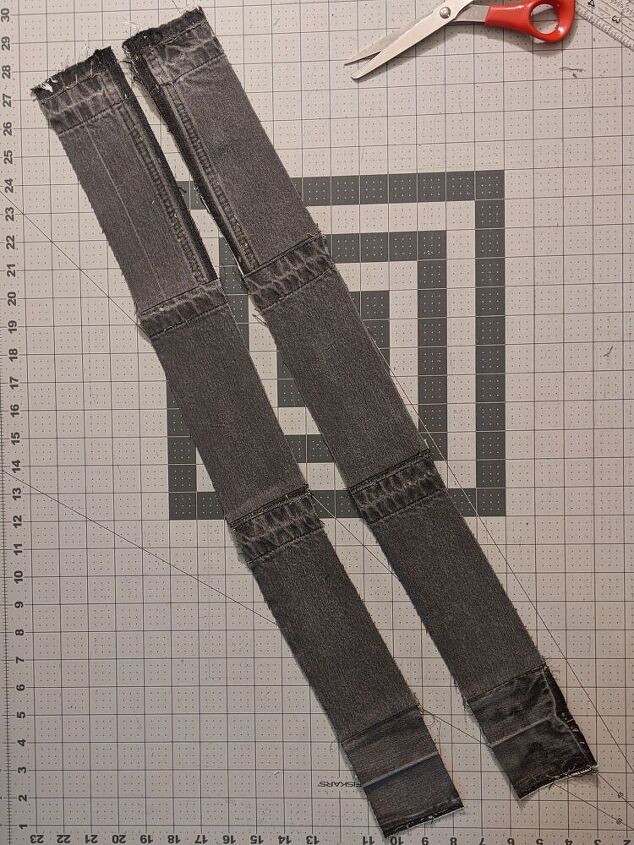
Then I sewed down the legs seams to form some cropped pants.
I tried them on and adjusted as needed. They fit surprisingly well.
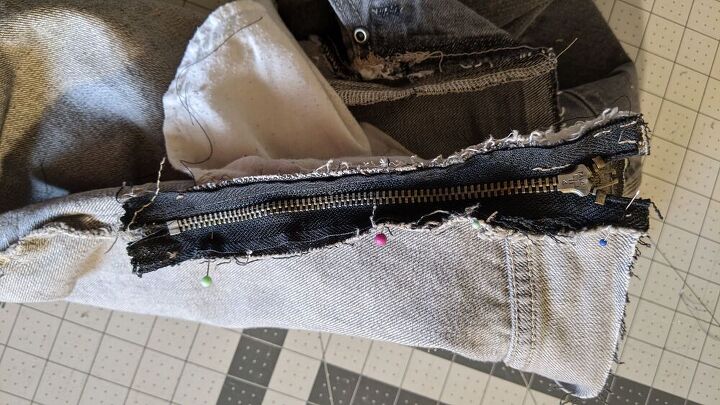
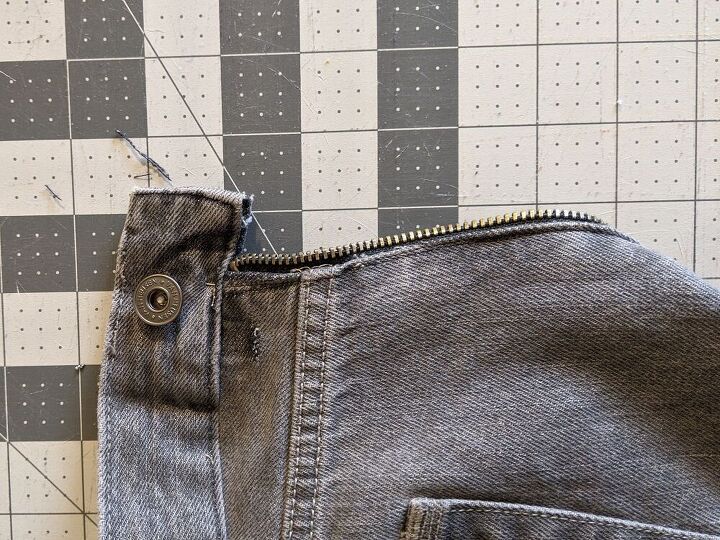
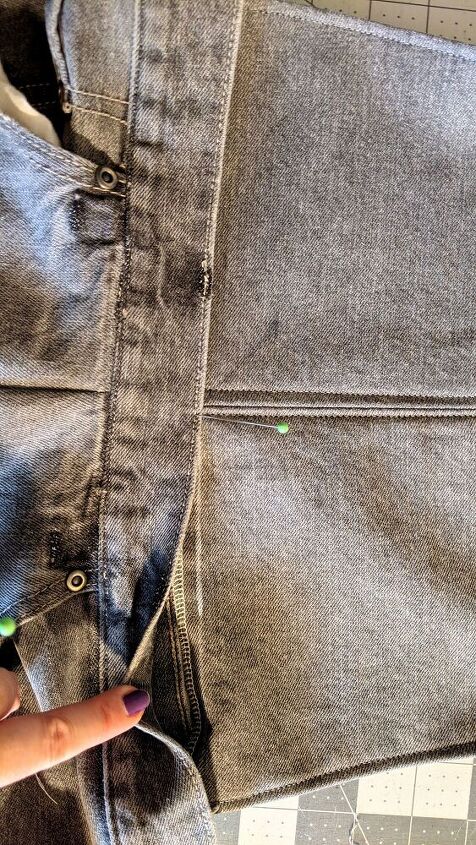
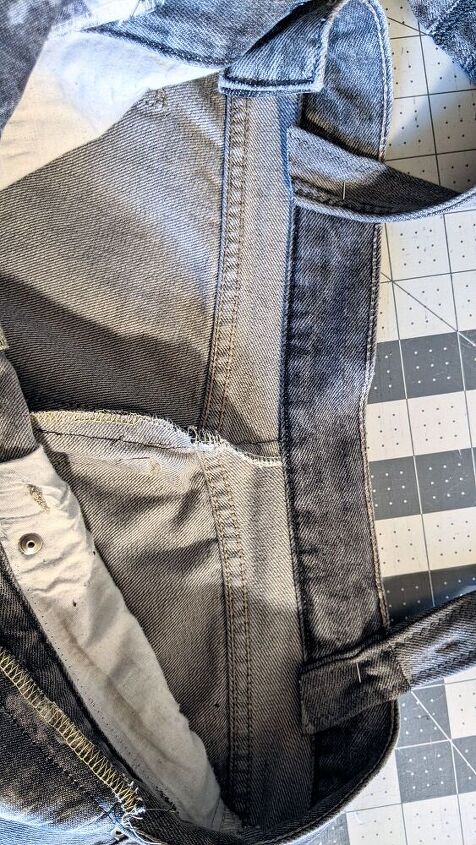
I decided what side was more convenient for me to put the zipper on and seam ripped it open a little longer than the zipper I had previously removed from the front. I used a very narrow seam allowance and installed the zipper in the side.
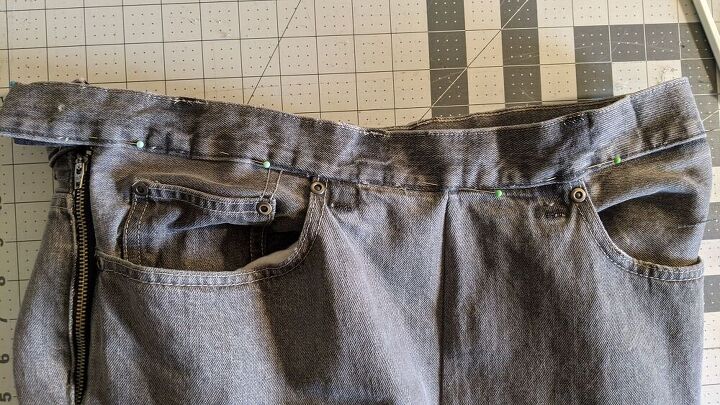
Then I situated the waistband so that the button was on that side too. I sewed the waistband back on and fit it to my waist. I figured it was easier to keep the button intact and make a new buttonhole.
I attached the waistband, trying my best to stay in the seam lines from all the original seams.
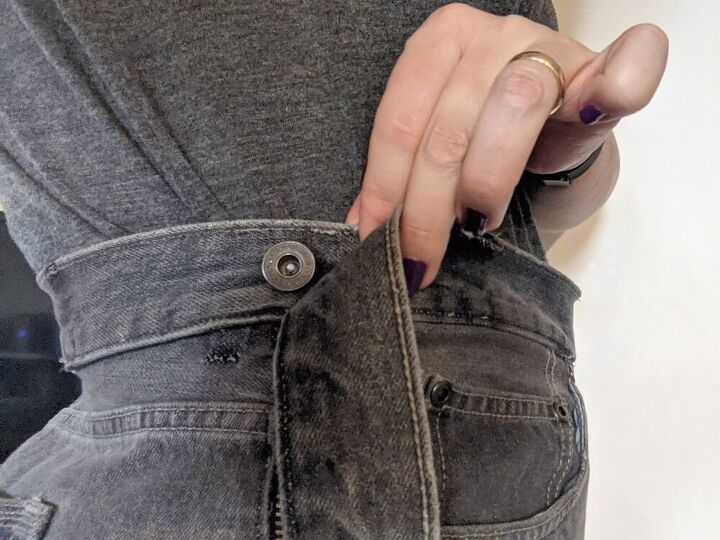
I tried it on to figure out where the buttonhole needed to be and marked it.
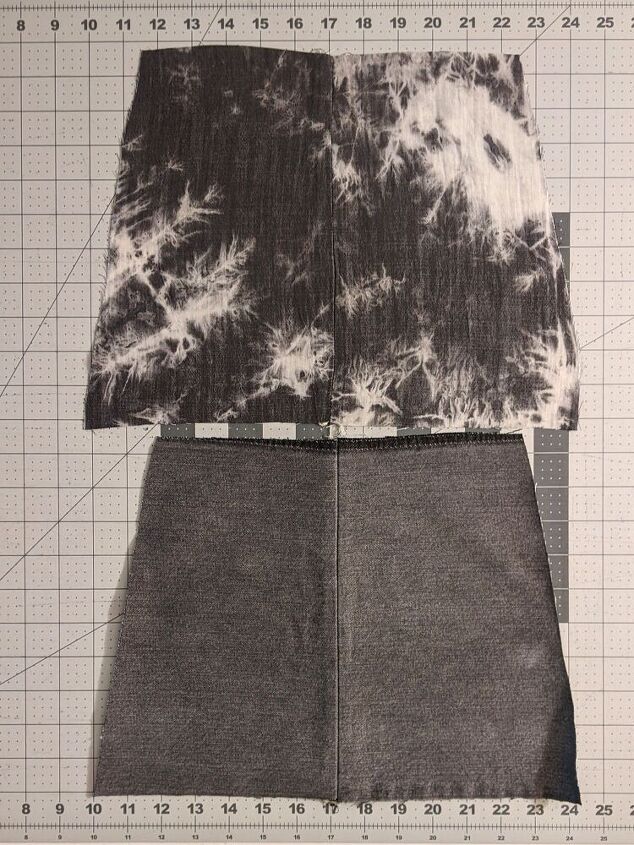
Now that the pants were basically finished I could do the bib. I used one of the bottom portions of the leg and a scrap piece of fabric to cut two bib pieces. One for the outside and one for the bib facing. I cut it out the size I thought worked best for my body frame. This is completely up to you.
With the remaining part of the leg and any other scraps I had, I cut out 3 inch wide strips of fabric. I pieced them together to form the straps, reinforcing with some zigzag stitches where necessary.
I love the rugged, distressed detail it gave the straps. I folded them in half the long way, enclosing the raw edges, and top stitched them. The straps were now 1 & 1/2 inches wide now.
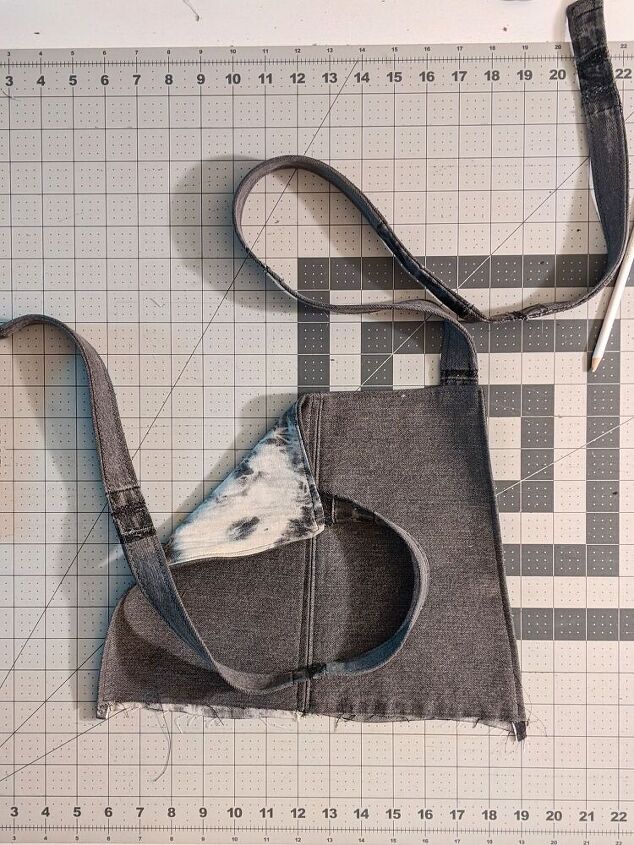
Once the straps were done I sandwiched them between the two bib pieces, right side together. I kept the straps ½ inch away from the sides and sewed down one side, across the top and down the other side, leaving the bottom open. I turned it right side out, gave it a good press and did some top stitching.
To attach the bib to the pants, I drew a across the bottom of the bib to line the waistband up with. This made it easier to attach evenly. I sewed across the top edge of the waistband.

Tah-dah! So close to being finished! Just need to attach the straps to the back of the waistband.
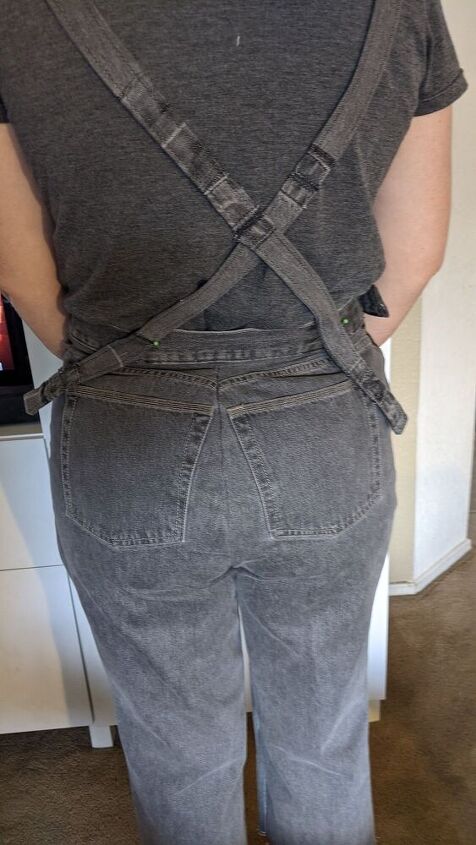
I tried them on but I needed some help with the straps so I asked the hubby. He helped me pin the straps where I thought was most comfortable. You can see I had quite a bit of excess straps.
Finally, I attached them to the inside of the waistband where it would look nice. I hemmed the legs and they were all done.
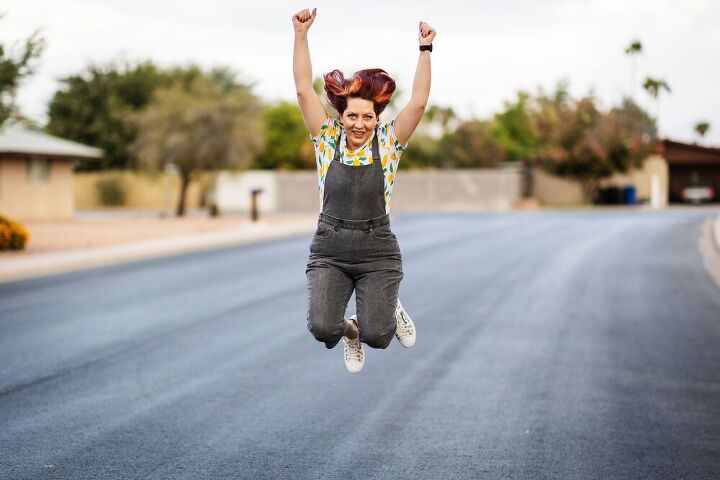
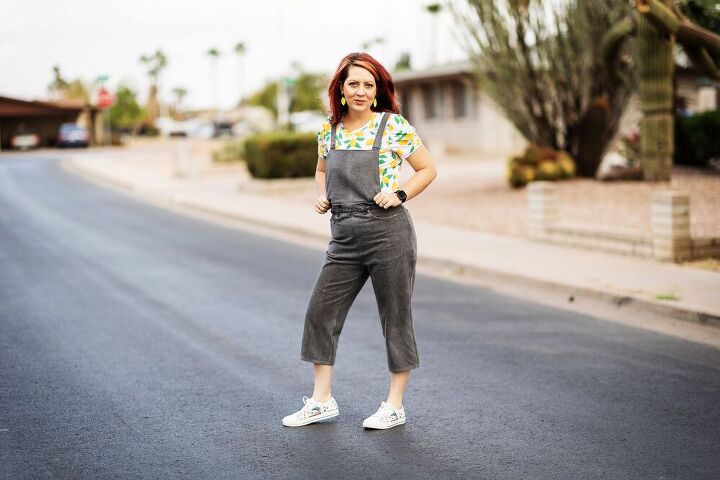
I put them on and jumped for joy because I was so freaking excited to have made this!
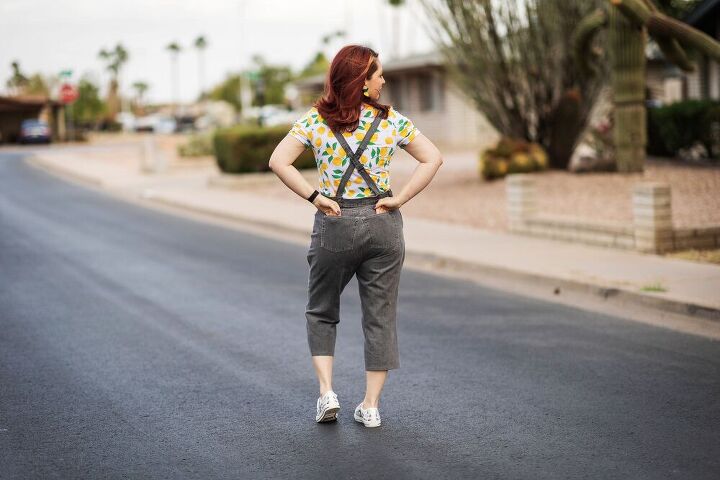
The only thing I might change are the pockets. Maybe move them a bit or make them smaller. Not sure yet because I don't look at my bum that much.
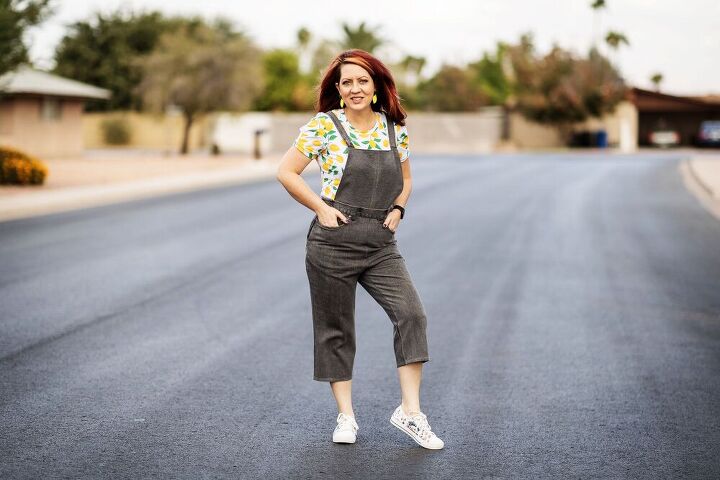
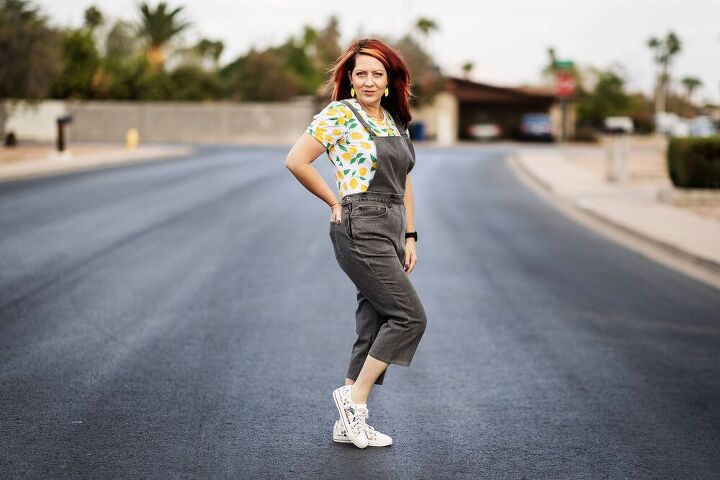
I wear this almost every week and get tons of compliments. They're unlike any I've seen. Have you upstyled some jeans too? Share your makes with me in the comments if you have. I'd love to see them.
Thanks for reading!!
The author may collect a small share of sales from the links on this page.


Comments
Join the conversation
You are very creative , I am inspired by your idea, making clothes from reusable quality and multipurpose clothing .Using Vintage and second-hand clothing also increase the lifespan of clothing .You are promoting sustainable fashion in the true sense. Well done.!
Adorable. And well done 😍😍😍