Make a Jumpsuit From Start to Finish

Hey everyone! In today’s tutorial, I will be showing you how to make a jumpsuit from start to finish. This DIY will leave you with a really stylish piece to add to your wardrobe. The jumpsuit can be styled in 4 different ways making it both stunning and versatile.
Tools and materials:
- Fabric
- Lining fabric
- Chalk
- Pins
- Scissors
- Zipper
- Sewing machine
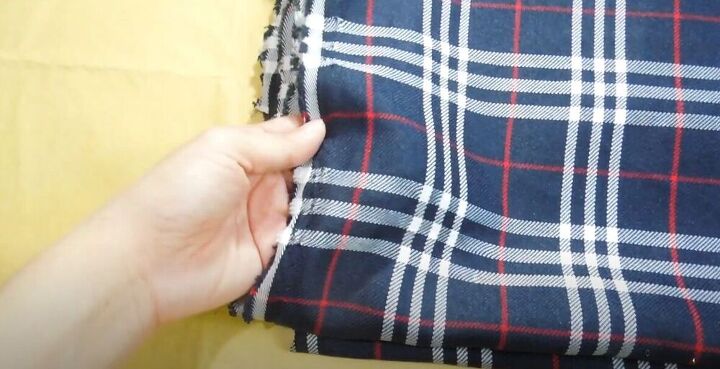
For this project, I used this cute plaid fabric but you can choose any fabric you want.
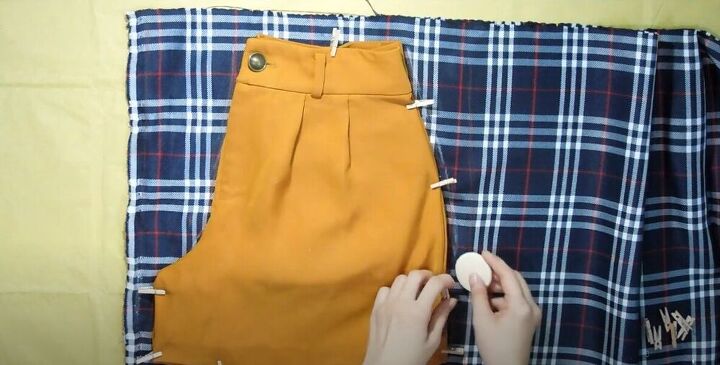
Make the back and front short pieces
I then used a pair of high waisted shorts as a pattern. I folded the pair in half and clipped the shorts so that the fold would stay in place. I traced and cut out two identical front pieces with some added seam allowance. I added a 2.5-inch seam allowance by the waistline.
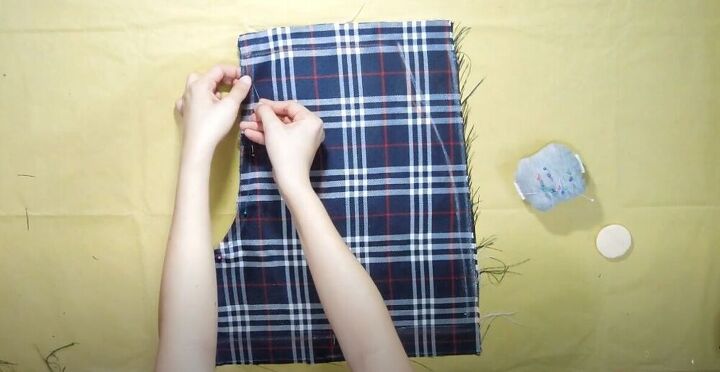
To construct the shorts, I took the two front pieces and placed them right sides together. I pinned along the crotch seam and sewed.
I repeated the same steps to get two back pieces for the shorts.
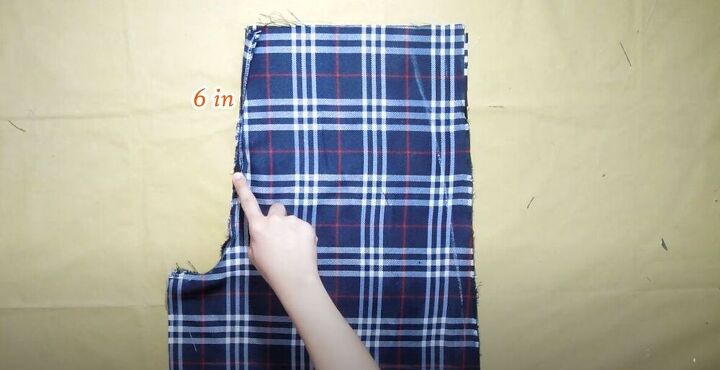
The only difference is that I left 6 inches unsewn at the top of the crotch seam so that I could attach a zipper later.
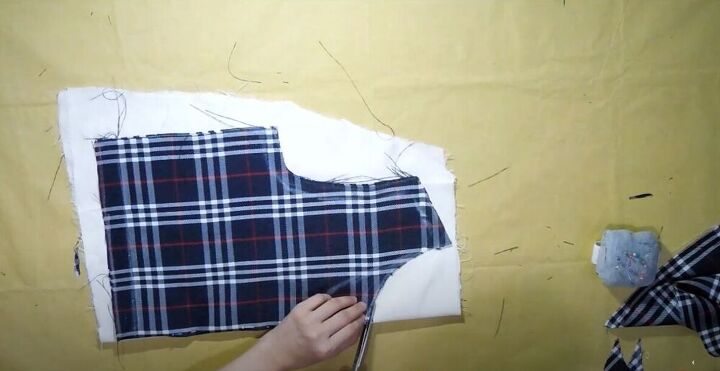
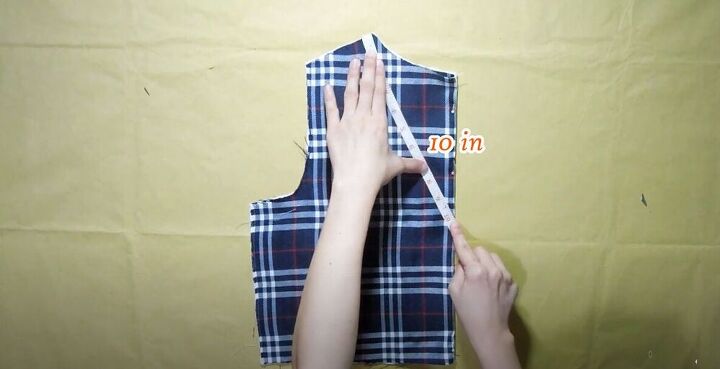
Make the front piece for the top
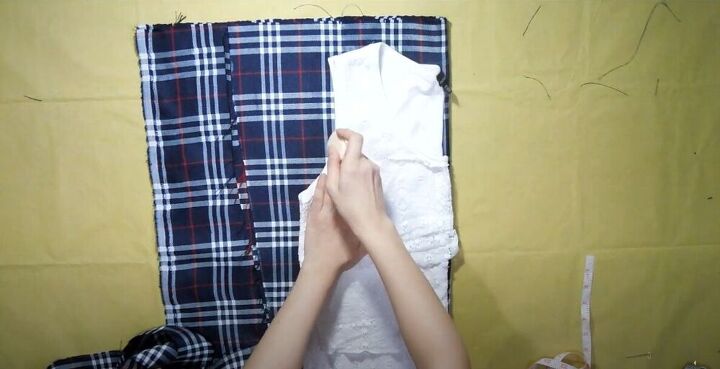
I folded the fabric over twice so that I would have four layers to work with. I then took one of my favorite sleeveless tops, folded it in half, and used it as a pattern. I traced around it adding seam allowance and then cut out the pieces.
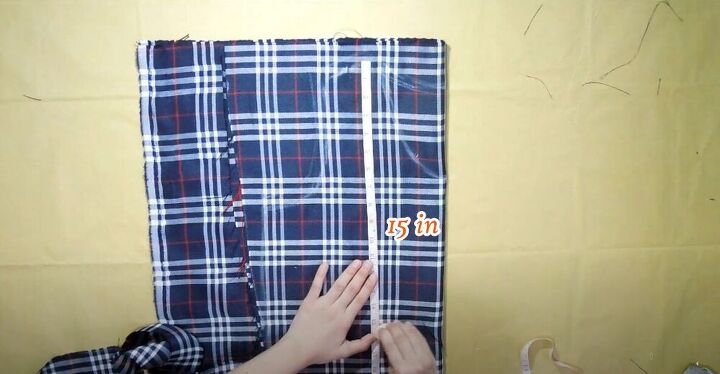
I marked 15 inches for the length of my top plus one inch of seam allowance.
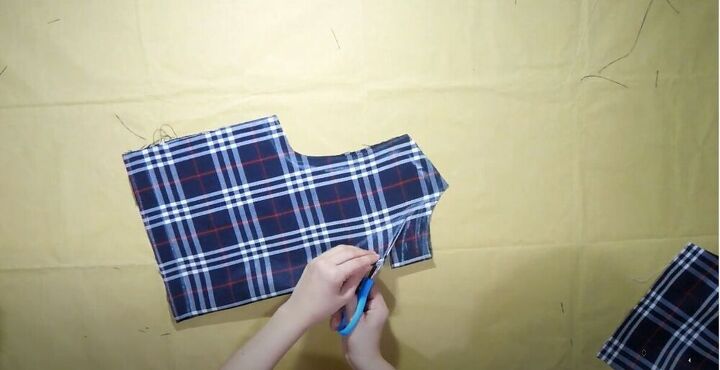
I cut out the pieces and then took one piece and trimmed the neckline to be lower.
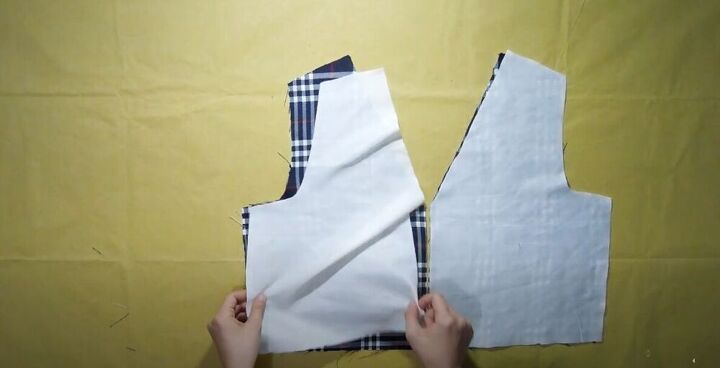
I used the top pieces as a template to cut out lining pieces.

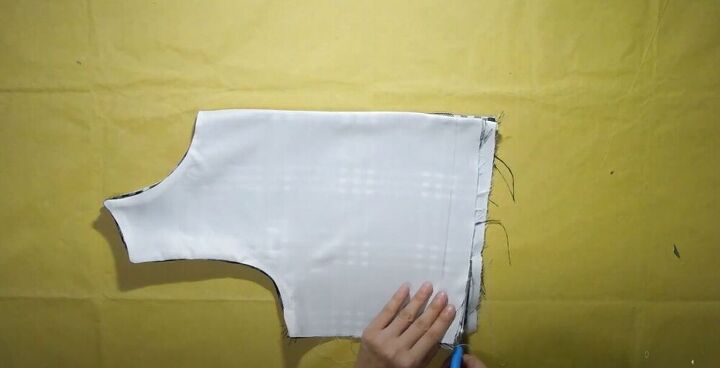
Next, I pinned the lining and outer fabric right sides together. I sewed the pieces together leaving the side seams open. After sewing, I turned the fabric right side out and ironed the seams flat.
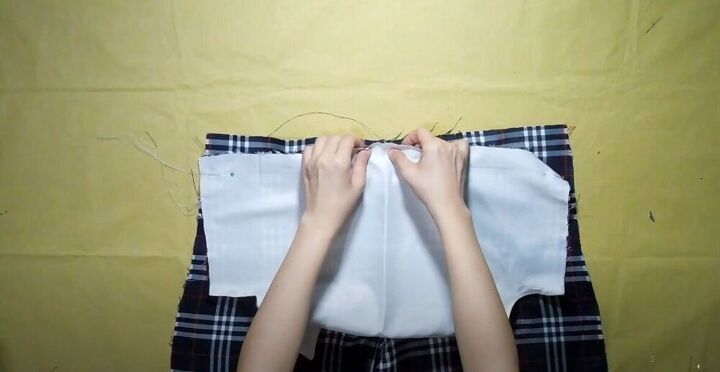
Make a back piece for the top
I started to repeat the process for the back pieces. I pinned the lining and outer fabric and then drew a v neck shape from the shoulder line to the point across from the bottom of the armhole. I went ahead and cut the v neck.

I also cut the back piece into two halves because I would be adding a zipper.
I pinned and sewed the lining and outer pieces, right sides facing. Once again I left the side seams open. I turned the pieces right side out, after sewing, and pressed the seams.
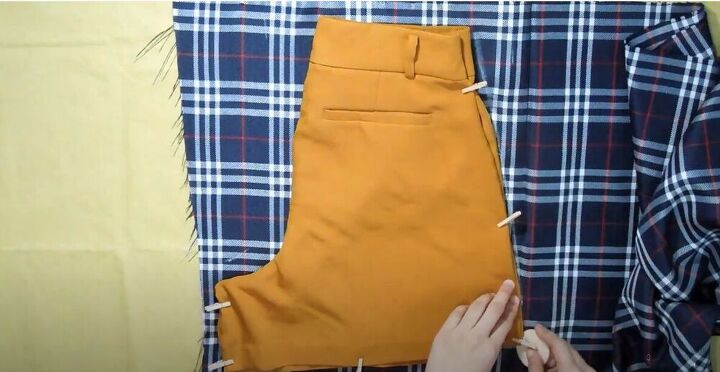
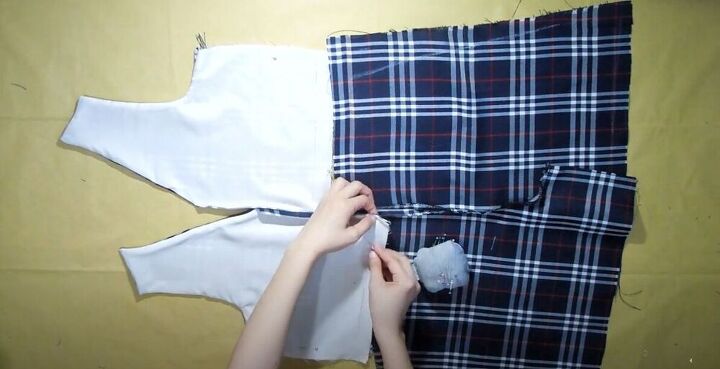
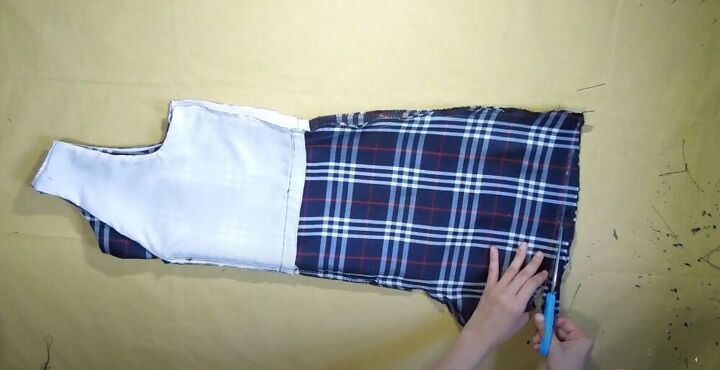
I placed the back pieces over the front piece and trimmed the excess fabric on the back pieces so that they would all be the same length.
Assemble the jumpsuit
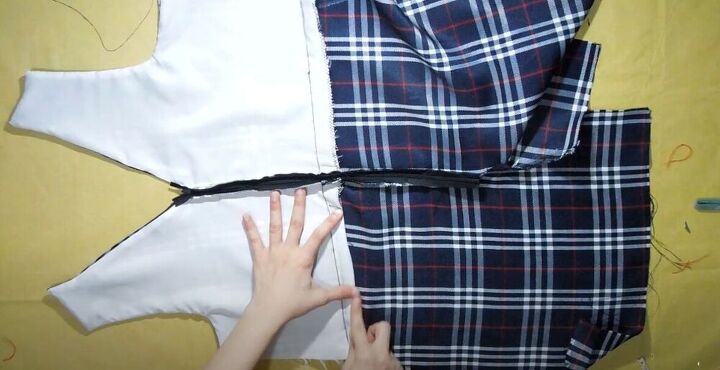
It was time to start assembling the shorts. I marked a line 1 inch from the bottom of the front top piece. I then lined up the waistlines of the front top and shorts pieces, right sides facing and pinned along the marked line. I made sure that the centerfold of the fabric matched up in this step.
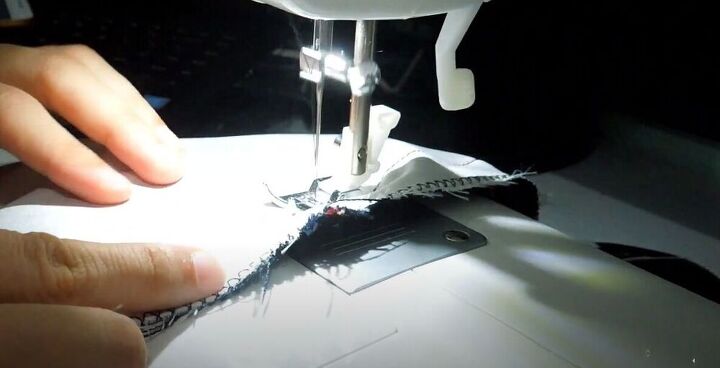
I zig-zag stitched the raw edge and straight stitched along the marked line.
I repeated the same for the back of the jumpsuit. I made sure to fold the fabric over by (0.4 inches) where the zipper would be.
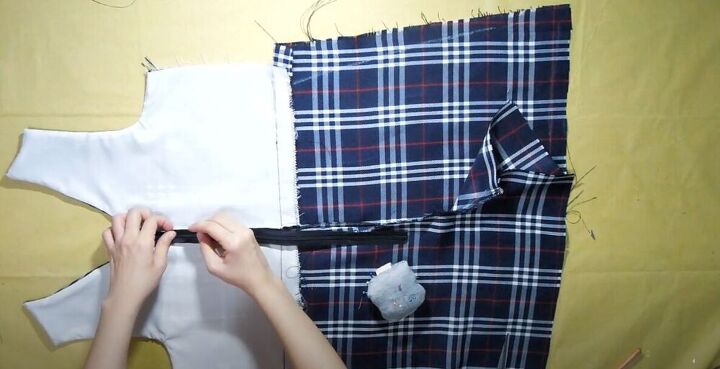
Attach a zipper
Next, I attached the zipper. I used an invisible zipper for my jumpsuit.
I also decided to fold in and sew down the raw edges inside the jumpsuit so that it would have a nice, clean finish. I also trimmed the excess fabric on the side seams.
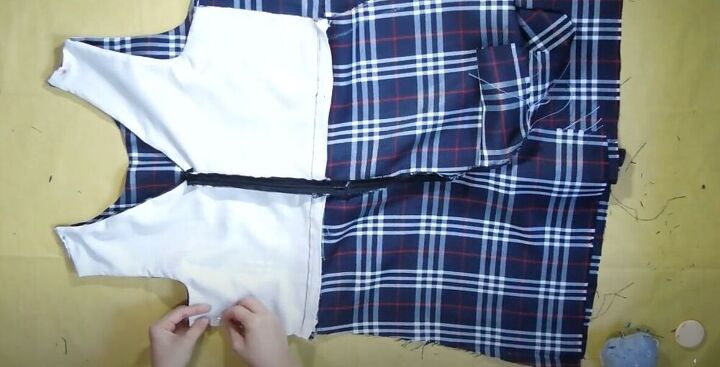
Sew the front and back together
To assemble the jumpsuit I placed the front and back pieces, right sides facing together and pinned along the shoulder seams, side seams, and inseam of the shorts.
I then went ahead and sewed the jumpsuit together.
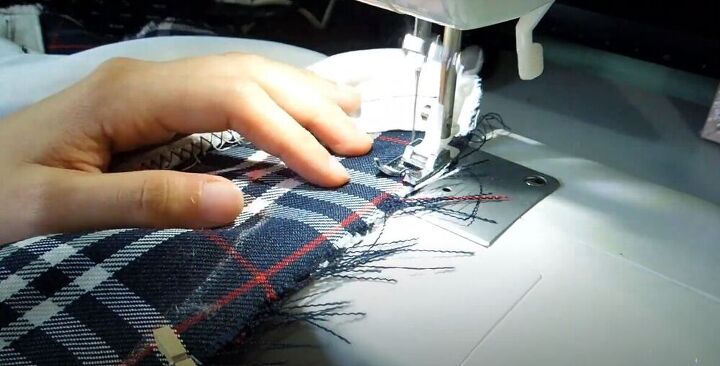
Hem the bottom
I gave the bottom of the shorts a quick trim. I then zig-zag stitched the raw edges of the shorts.

I double folded the bottom of the shorts and pinned. I made sure to press the folds in place. I then sewed the hem with a straight stitch.
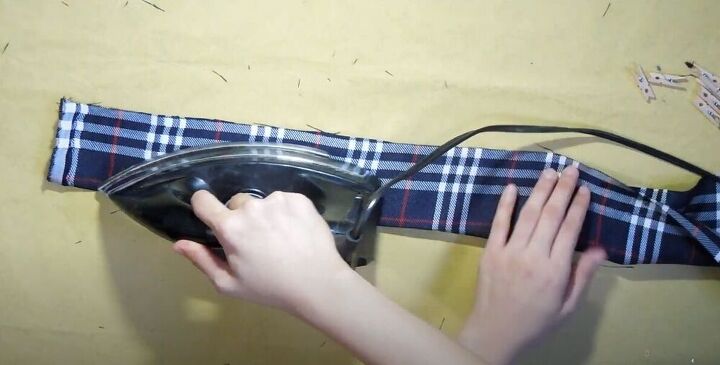
Make a belt
For the belt, I cut 60 by 6 inches of fabric, folded it in half, and pressed.
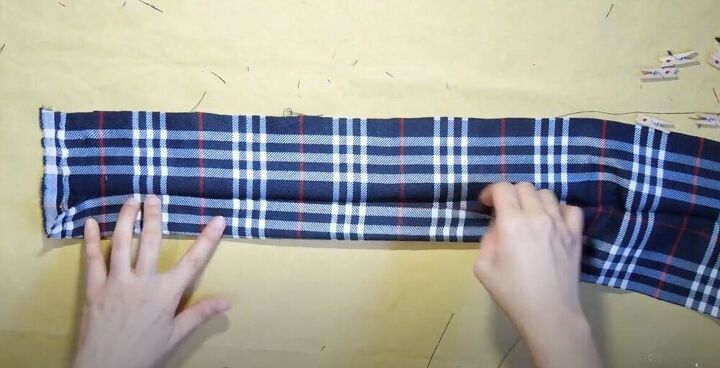
I folded each end toward the middle and then I folded the belt in half again and pressed.
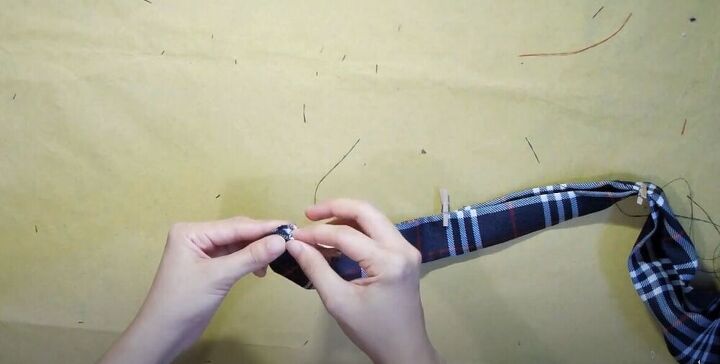
Lastly, I sewed along the open edge of the belt and along the short edges.

I really love how fun and playful this jumpsuit is!

It’s so versatile because I can wear it with the zipper in the back or front. I can also remove the belt if I want to. How would you wear this stylish jumpsuit? Let me know in the comments below!
The author may collect a small share of sales from the links on this page.


Comments
Join the conversation
This is an awesome romper! Can't wait for the summer already :)