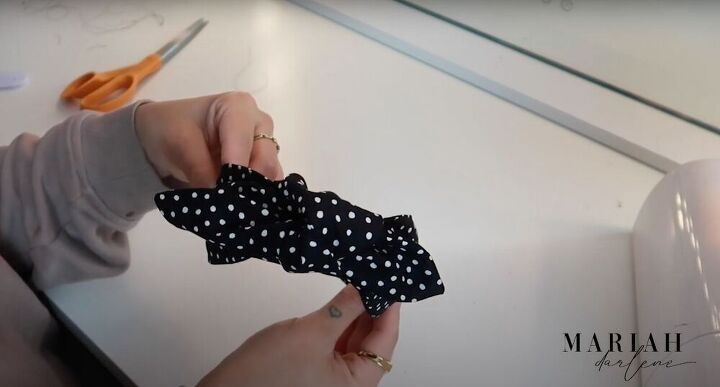
Do It Yourself Two Ways - Knot Headband

Back at it with another tutorial today! This time I am showing you guys how to make knotted bow headbands. I love how girly and pretty these are. They are so easy to make too. If you ask me, headbands are the perfect accessory.
Tools and materials:
- Knotted headband pattern
- Fabric
- Rotary cutter
- Headband
- Ruler
- Mod podge
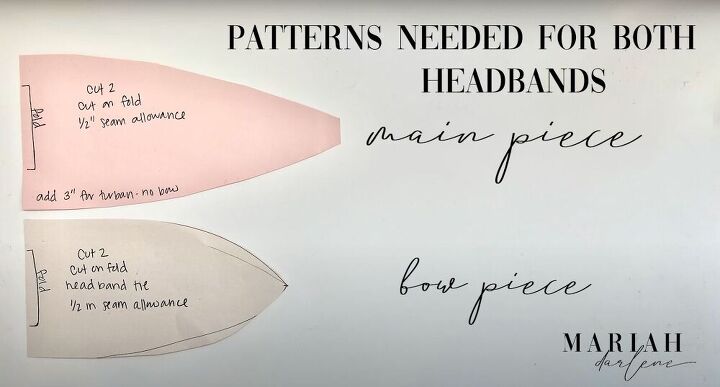
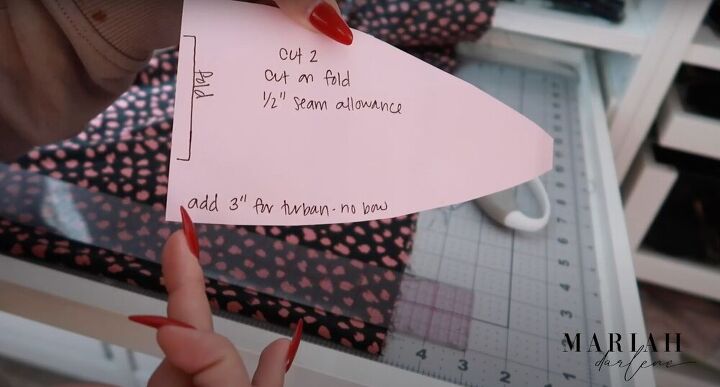
Make your patterns
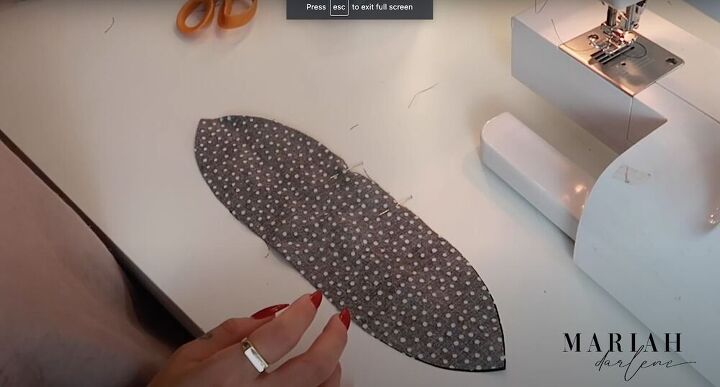
The first thing you need to do is create your patterns. Using the image above as well as the guide in the link, follow the instruction until you have two pieces: the main piece and the bow piece.
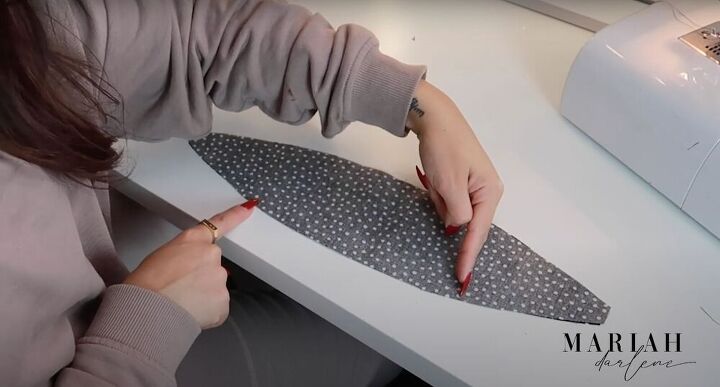
Cut out your headband
Take your fabric and fold it over, placing your pattern by the edge of the fold. Then, use a rotary cutter to cut out the pattern. Once you have both pieces cut out, place them together - right sides together - and pin around the edges. Leave a gap on one side - about two inches from each edge. Sew the pinned areas.
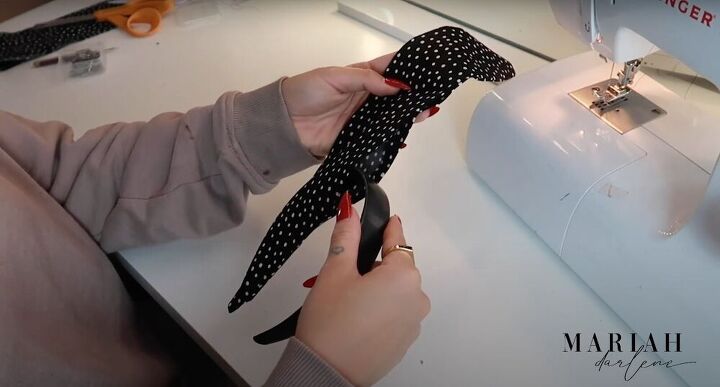
Insert the headband
Using the gap you left, turn your fabric right side out. Next, you’re going to use an iron to flatten the fabric and fold your seam allowance. Fold the fabric by the opening about half an inch - on both sides - and iron it down. Once it’s flat, slip your headband into the sleeve. The opening will feel like a tight fit, but it should be big enough to fit the headband. Once the headband is in the sleeve, adjust the fabric until it lays flat. Finally, use a top stitch to close the gap.
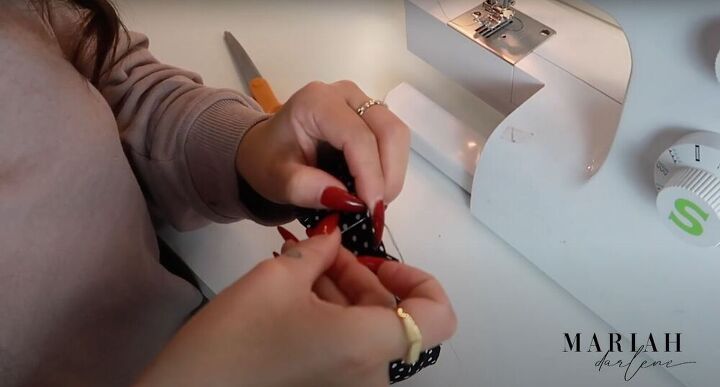
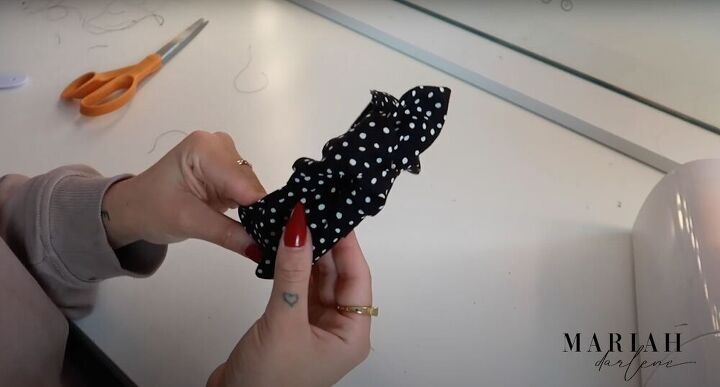
Create the structure
Find the center of the headband and pinch the two sides together. This alone (before we add the bow) will give the headband a really nice turban structure. Then, using a hand needle, sew the edges together - just about half an inch across, enough that the two edge pieces are locked in place.
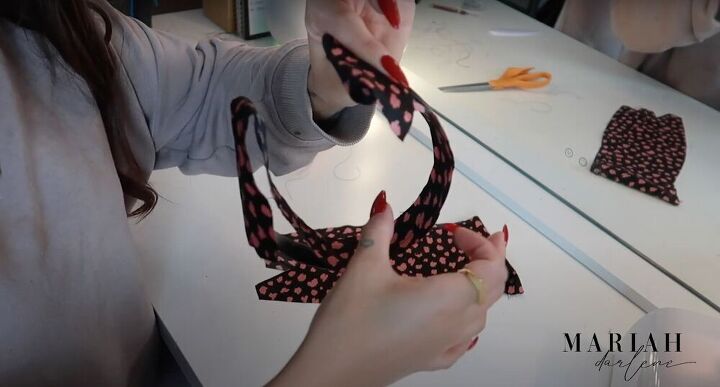
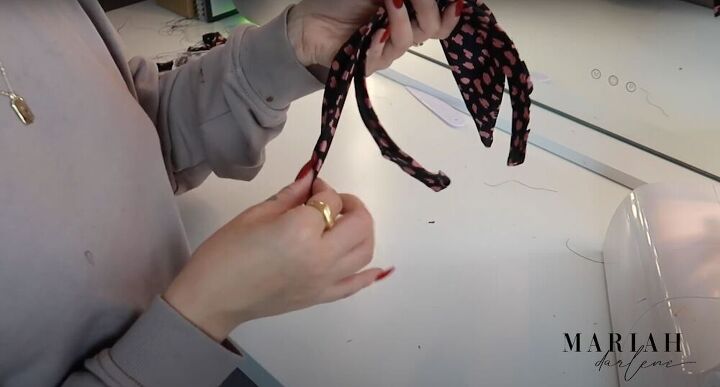
Make the bow
Moving on to our bow piece, take your two pieces of fabric and lay them right sides together. Pin to secure. Leave an opening again. This time make the opening about an inch wide, just enough room to turn the fabric right side out. Sew around the edges, leaving about half an inch seam allowance.
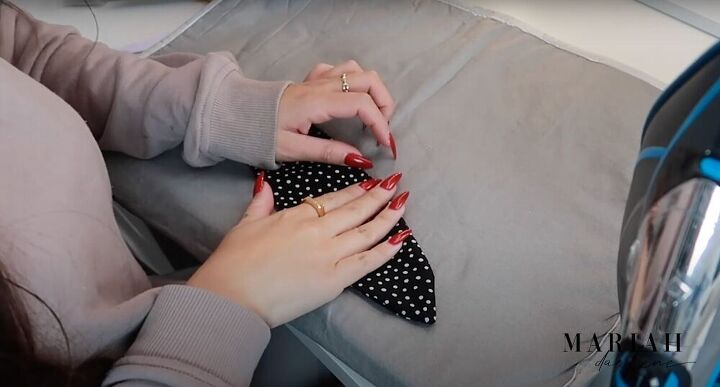
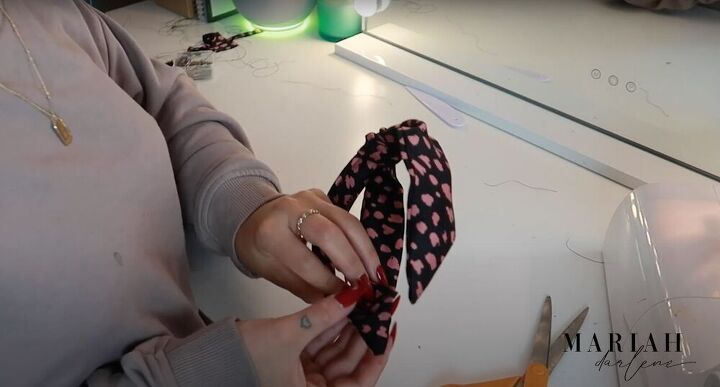
After you’ve turned your bow right side out, move the seam to the center and iron it flat. Then, move the seam back to the side and iron again. This will ensure the bow stays as flat as possible. Finally, topstitch the opening closed.
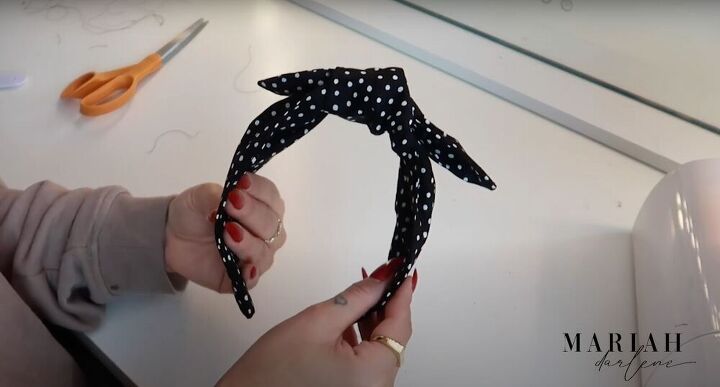
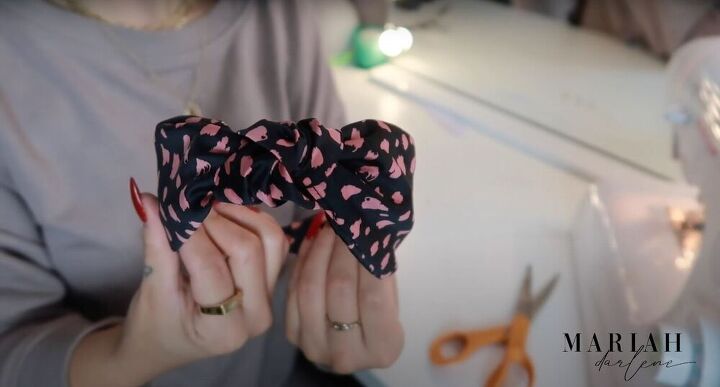
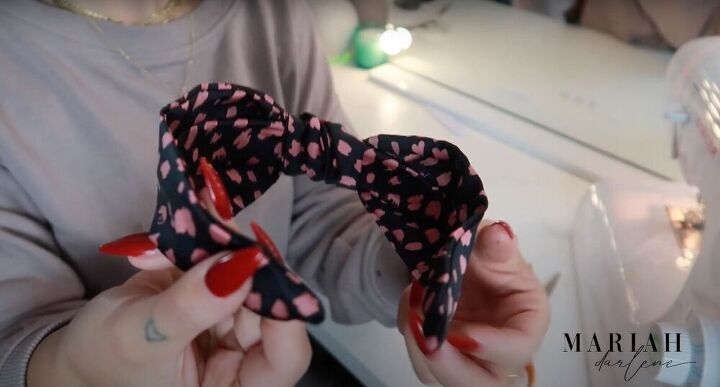
Finishing the headband is really simple. All that’s left to do, is take the bow piece to the center and tie it.
A knotted turban headband
For the knotted turban headband, we are using the same pattern as the knotted bow headband. This time, however, we are adding three inches to the bottom (where the fold is). Make sure the fabric is laying flat and then use a rotary cutter to cut out your fabric. Remember that there are two layers of fabric!
Cover the underside
Take some of your leftover fabric and cut out a strip that is the length of the headband. We’re going to use this to cover the underside of the headband. Put a thin layer of mod podge on the inside of your headband and then gently press your fabric until it sticks. Make sure it’s smooth all the way around. When you’re done, fold the edges and excess fabric over - this part doesn’t need to be perfect, so focus your energy on the bottom being smooth.
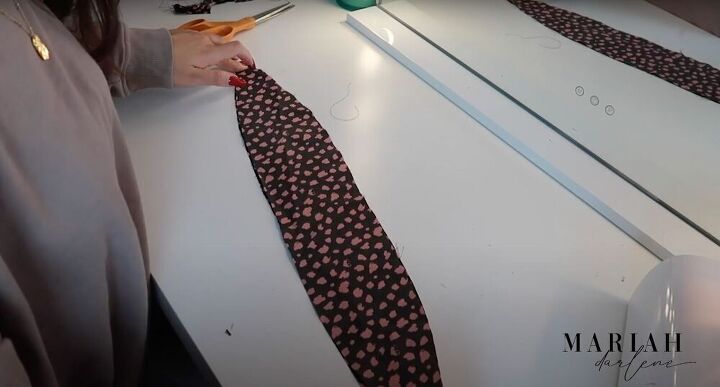
Make the main piece
Take your two main pieces of fabric and pin them together - right sides together. When you’re pinning remember to leave about an inch of opening. Sew your fabric together with half an inch of seam allowance. (Because the sides are square and circular, instead of stitching straight through, lift your foot off the pedal - keep your needle downturn your fabric, stitch a couple of rows across, and repeat!)

Flatten the fabric
Just like with the last headband, we are going to iron the seam into the middle to make a crease and then iron out the crease we created to make the fabric lay flat. After that, topstitch the small opening closed.
Attach the main piece
Once your main piece is ready, measure it against the headband to find the center. Next, tie a knot around the center of the headband. Adjust your knot until you like it and the ends of the main piece reach the end of the headband.
To connect the headband to the main piece, find the inner layer of the inside of the main piece and cut a quarter-inch slit. The slit should be about an inch away from the corner. Repeat on the other side. Remember to be careful about only cutting the inside layer - do not cut the outside layer! Next, you are going to slip the end of the headband into the pocket you’ve cut out. Make sure to make the slit at about an inch away from the edge so that the headband won't slip out.
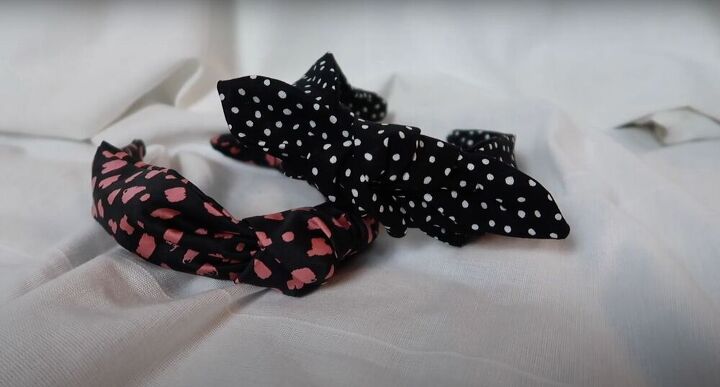
There you have it, two super easy and super cute top knot headbands. You can get really creative with this - messing around with different patterns and fabrics. They’re such a fun accessory too. Enjoy!
The author may collect a small share of sales from the links on this page.


Comments
Join the conversation
Here's a link to the pattern: https://docs.google.com/document/d/1wAcpAuia-_tRqcIMLblKG8ttcLD5Je-66qukVt-Kink/edit
Hi Mariah, These are adorable, even ladies with pixie haircuts can wear them. If the bow is too big just make the pattern smaller :). Thank you for sharing your process.