DIY Sew a Top in Under an Hour! Beginner Friendly Easy Tutorial

I found this beautiful, daisy covered fabric at a thrift shop and knew I had to do something with it. After much deliberation and some peaceful staring at the sea, I decided to make an easy DIY shirt. This tutorial takes under an hour and because the fabric was so cheap, it doesn't cost much at all!
Tools and materials:
- Scissors
- Measuring tape
- Ruler
- Tailor’s chalk
- T-shirt
- Fabric
- Sewing machine
- Iron
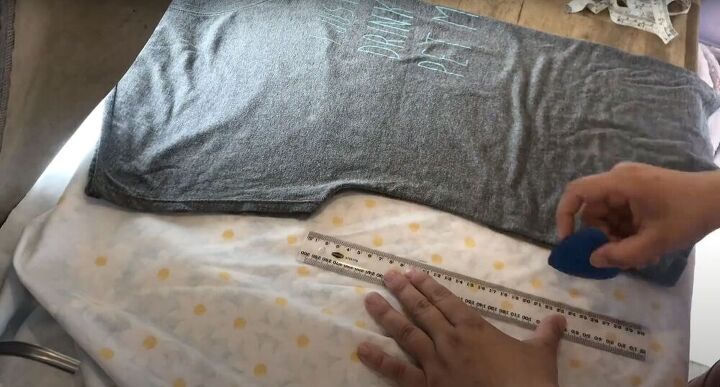
Measure your fabric
Take your non-stretch fabric (yes, it needs to be nonstretch) and cut off all the seams so that you are left with one clean piece of fabric. Next, take your rectangle and fold it in half. Grab a t-shirt that you like the fit of and fold it in half as well. Align the t-shirt with the fold of the fabric. (If your t-shirt is made of stretchy material, measure your bust, quarter that number, and mark that measurement on your fabric). Draw a line from your bust marking stretching all the way to the bottom of the shirt, right up to the bottom of the sleeve.
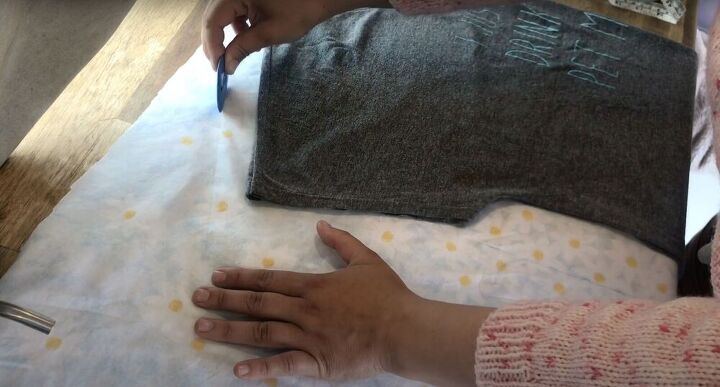
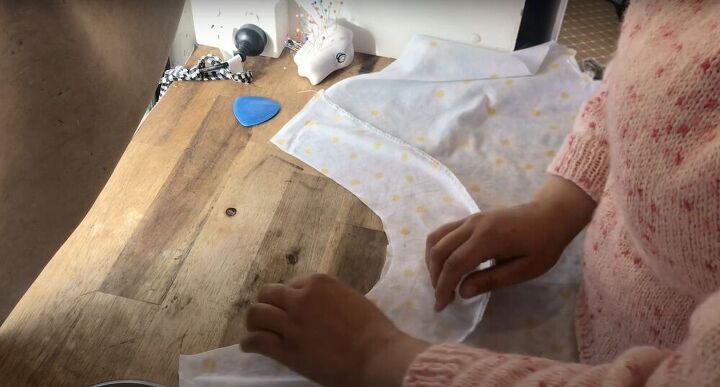
Cut out the shirt
Leaving a 4 centimeter (about 1.5 inches) seam allowance, trace your t-shirt onto your fabric and get ready to cut it out. Fix up any inconsistencies with a ruler. Do this again for the back piece of the shirt and cut out both pieces.
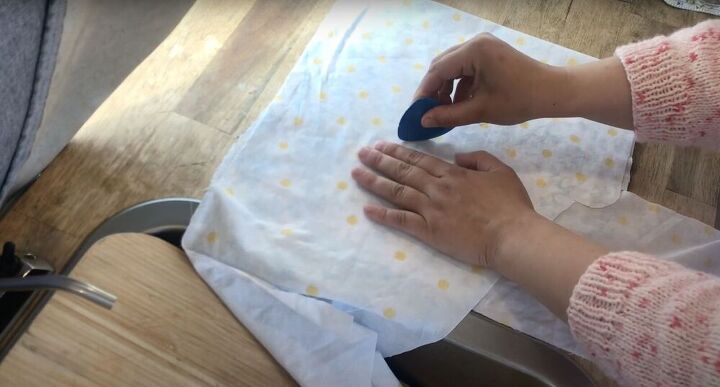
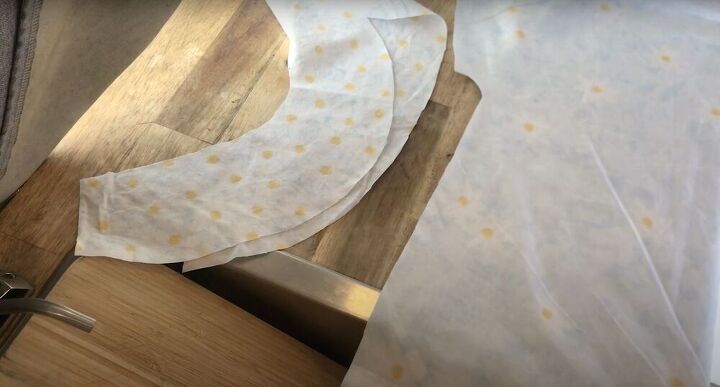
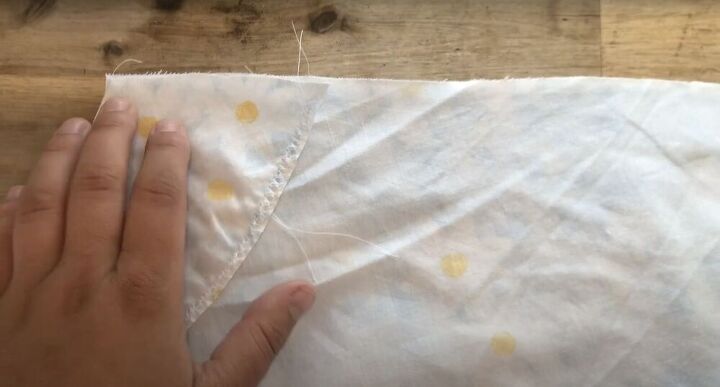
Create a facing
Take a piece of leftover fabric and fold it in half - place it underneath your cut out fabric. Then, using your tailor’s chalk, trace out your folded neckline and shoulder. Make sure the folded edges are together. Next, move the cut-out t-shirt fabric and draw free hand to match the curve of the neckline. Cut it out and repeat for the back.
Finish the edges
Before we sew the pieces together, use an overlocker stitch to secure the outside edge of the neck pieces and the edges under the arms (and down the side of the body) on the bodice (front and back). Note; if you don’t have an overlocker stitch, use a zigzag stitch.
Sew the shirt
Place the fabric for the front of the shirt, right side up and lay the neck piece on top of it right side down. Your pieces should be right sides together. Line the edges up perfectly and use a sewing machine to sew a straight stitch all the way around. Repeat this process with the back of the shirt as well.
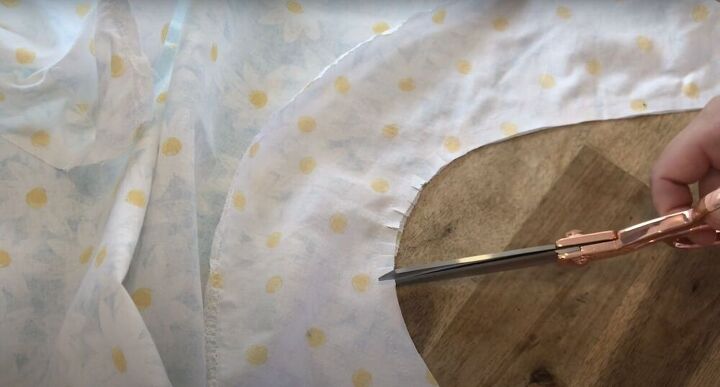
Pro Tip:
To make sure that your neckline sits right, take a pair of scissors and cut small snippets all along the inner seam. Make sure not to cut the stitching.
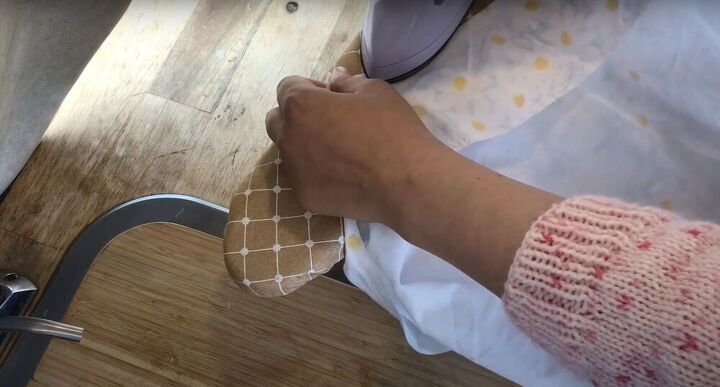
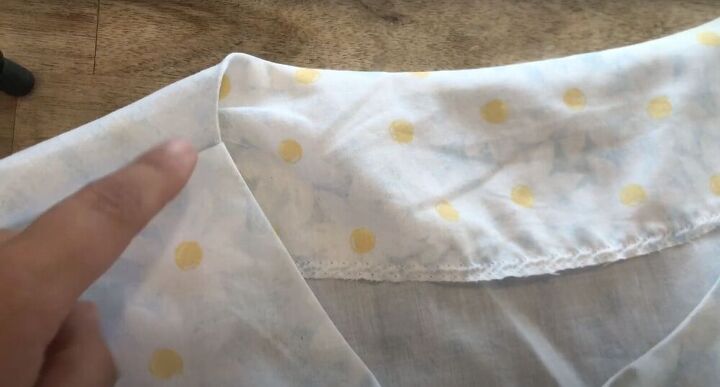
Iron the neckline
Fold your pieces wrong sides together, so that on the outside you have a neat seam and on the inside, you’ll see the small snippets that you cut. Use an iron to press it down and then repeat for the back neckline.
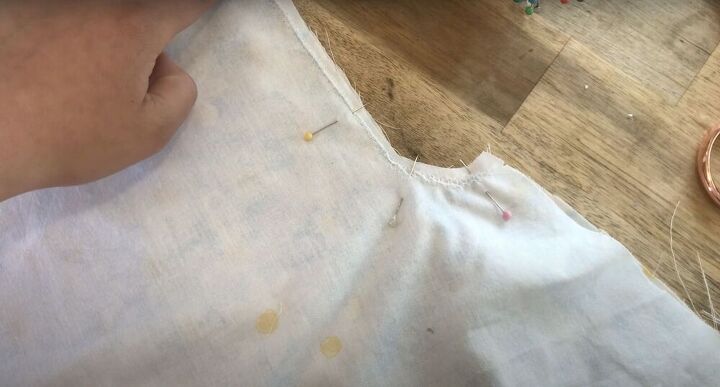
Put the shirt together
Lay the front and back of the shirt together, right sides together, and line up the edge of the neckline. Pin across to the shoulder. Sew along the pinned area with a straight stitch. Next, sew back over the edge with an overlocker stitch (or zigzag stitch if you don’t have one).
Check your work
Turn the shirt right side out and make sure the shoulder and neckline edges are aligned. Do this before sewing the sides because after doing a topstitch, picking your seams becomes much harder. Once you’ve confirmed that everything is where it should be, top stitch all around your neckline.
Stitch the sides
Turn the shirt inside out (right sides together) and pin the sides of your shirt. I start by the curve of the sleeve first and work my way down. Then, I sew the sides together using a straight stitch - do not overlock the curve of the sleeve, it will cause the fabric to bunch and fold instead of lay flat. Repeat on both sides.
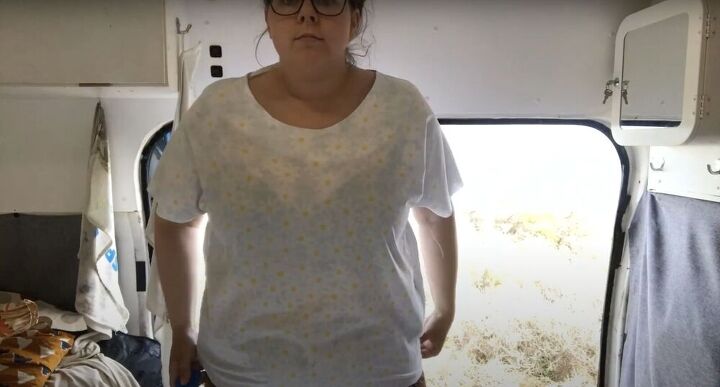
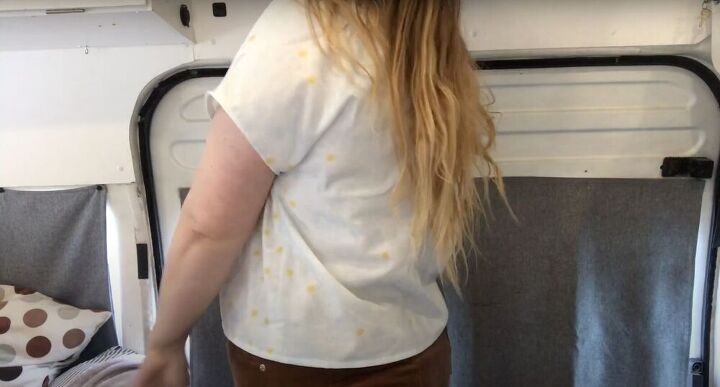
Try it on
At this point, right before we hem, try your shirt on to check the length. See how the shirt fits on your body and then mark a length that you feel comfortable with.
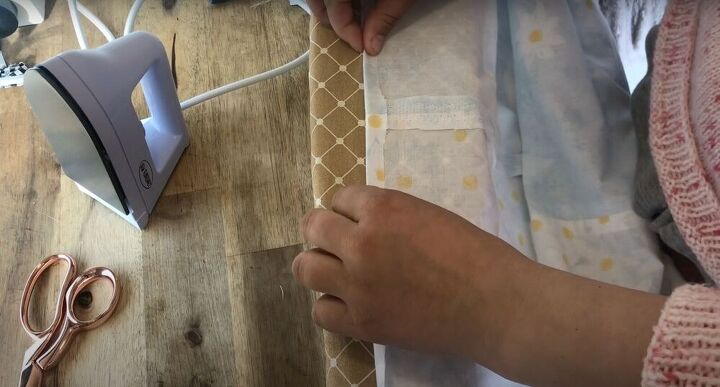
Finish the shirt
Measure two centimeters (0.7 inches) below where you marked off your desired length for a seam allowance. Once you’ve marked your length, grab some scissors and cut. Now, grab an iron and flatten your side seams (all the way up the shirt). Next, double-fold the bottom of your shirt as well as both of your sleeves. Iron all three folds. Finally, stitch all the way around the hemmed edges using a straight stitch.
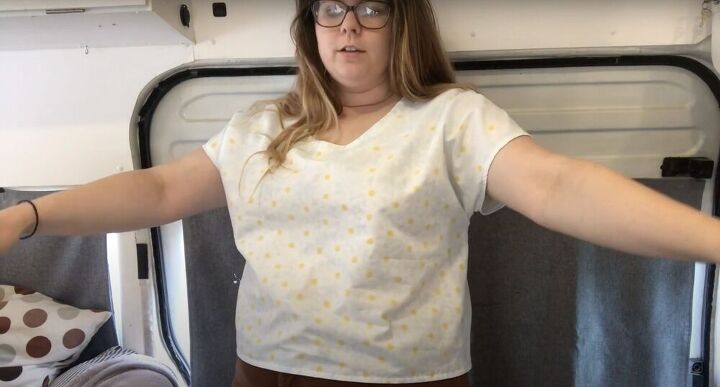
I’m really happy with how this shirt turned out. I love making these. Sometimes, I make them for my friends as gifts because they’re so cute and so easy. And now that you know how to make a DIY shirt, I hope to see some gift-giving in your future too!

The author may collect a small share of sales from the links on this page.


Comments
Join the conversation
I like that .It is what I do & like you I get most of my fabric from Thrift shops .! Well done