Want to Know How to Sew Puffy Sleeves? Get Your Easy Tutorial Here

Looking for an edgier and stylish addition to your wardrobe? Puffy sleeves are great if you want to upgrade your wardrobe without breaking the bank. If you are wondering how to sew puffy sleeves, then you have come to the right place. I am going to show you, with the help of a cut-out pattern, how simple this process is and once you’re done you will just love the outcome!
Tools and materials:
- Tracing paper
- Puffy sleeve pattern
- Pattern weights or tape
- Scissors
- Marking tool
- Fabric
- Sewing machine
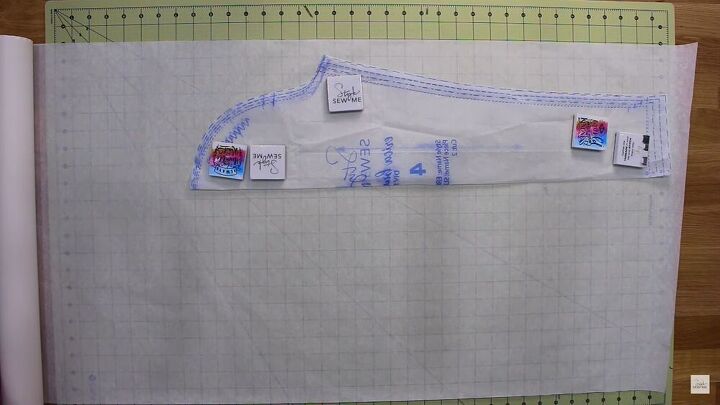
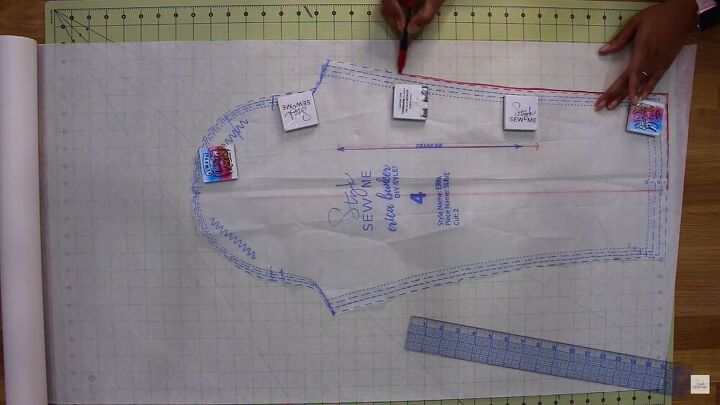
Prepare your pattern
Fold your puffy sleeve pattern in half and push it towards the top of your tracing paper as we will need the bottom part for pattern adjustments. Then, add some pattern weights so it holds your pattern in place while you work.
Transfer central brain line
Use a tracing wheel to transfer the central brain line from the pattern.
Draw over traced brain line
Move the pattern out the way so that you can draw over this line to make it more visible. In the tutorial, this line is not clear, but I could clearly see it and so should you when you make your own.
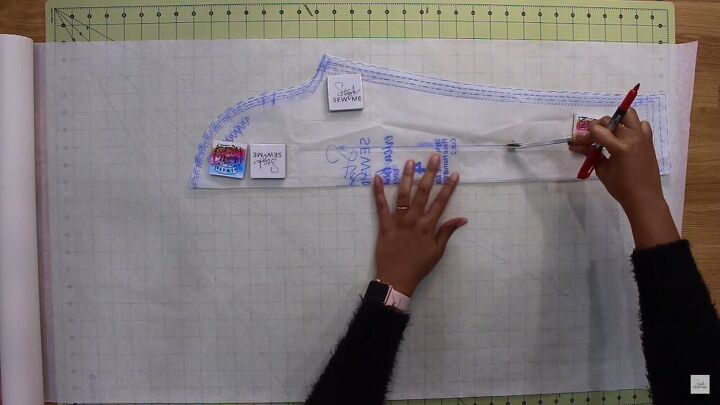
Draw the seam allowance
Reposition the pattern back and start drawing a seam allowance. This seam will be placed on the top part of your arm. So use half an inch seam allowance and using a ruler, draw a straight line underneath.
Trace the pattern
Trace the pattern by folding the pattern paper so that you have the true measurements.

Trace markings
Trace any markings from the pattern.
Draw dots
Draw a dot on the top underarm seam. Then, take a ruler and measure directly across the pattern and draw another dot.
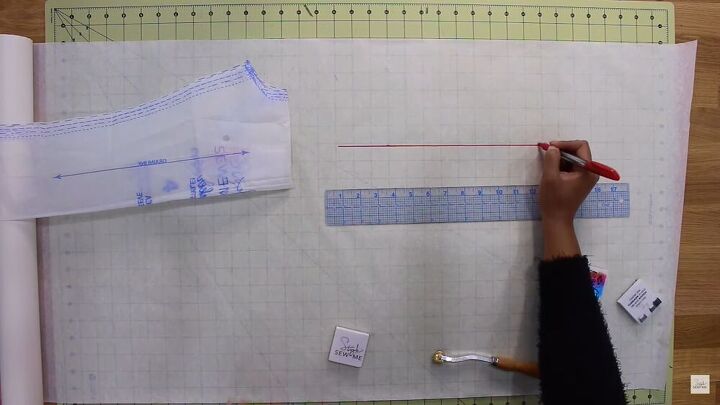
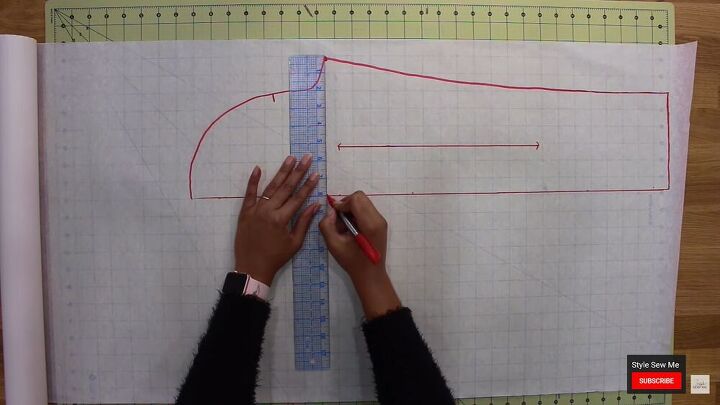
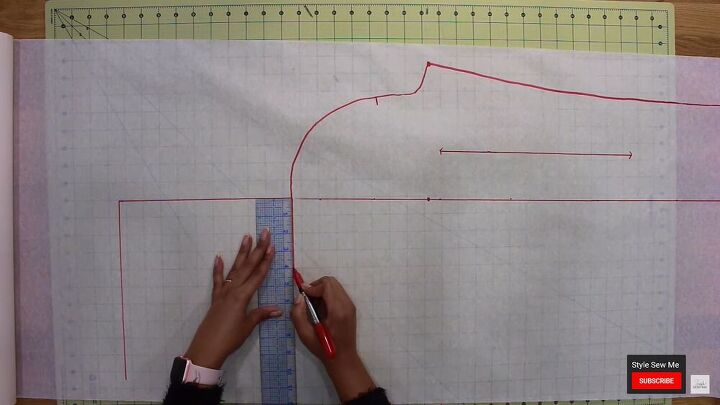
Draw an outer guideline
Draw a guideline from the top of the cap. Draw outwards, and make it 19 inches long.
Draw a line downwards
Then extend the line downwards, in no particular length- this is only a guideline.
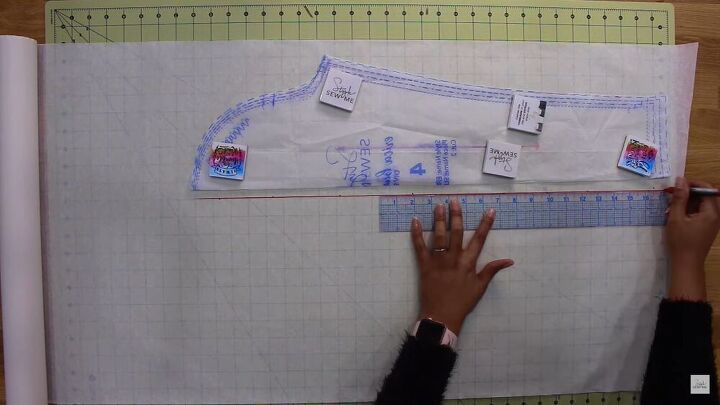
Draw a line from the cap
From the top of the cap, extend 4 inches down.
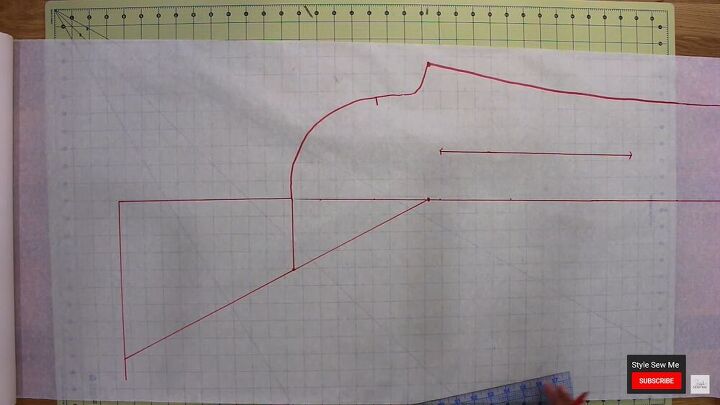
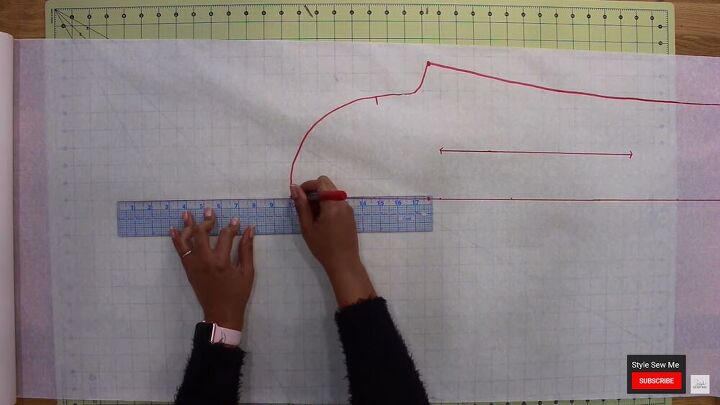
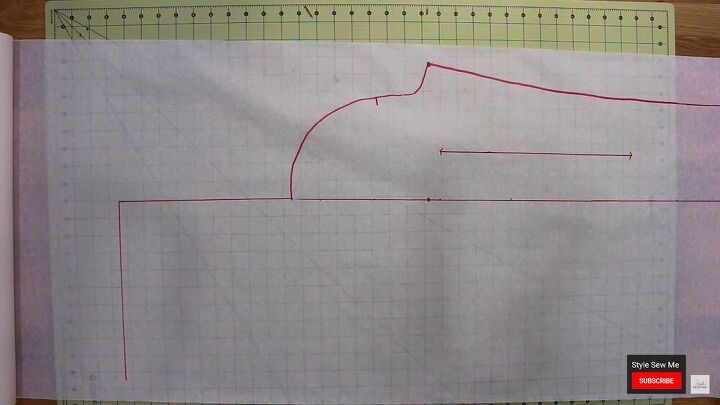
Join the lines as stipulated
Join the guidelines by starting from the bottom underarm dot and extending to the tip of the 4-inch line you just drew in the previous step. Carry this diagonal line until the last, outer guideline.
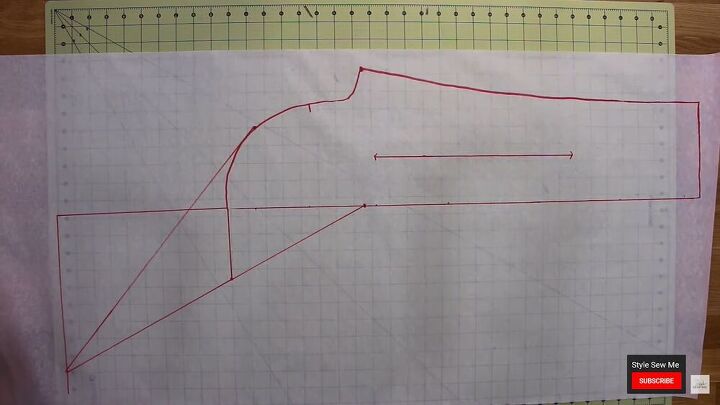
Draw a dot and connect
Draw a dot right above the curved section of the cap and connect that dot with your guideline. This extension is going to be the sleeve on top of the sleeve cap that we are going to be gathering.
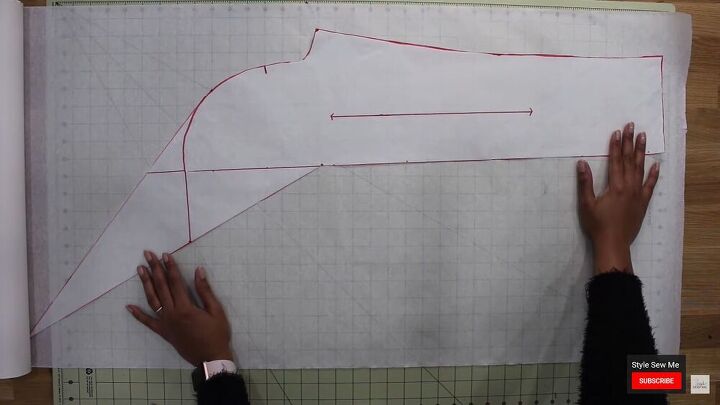
Cut out your pattern
You have now made the new pattern piece for the front of your sleeve. Go ahead and cut it out.
Repeat for the back part
Create the back part of this pattern. Repeat the steps listed above. You cannot trace the pattern you've just created because this type of pattern is not a mirror image and the sizes are a little different. When you are done, you should have two pieces.
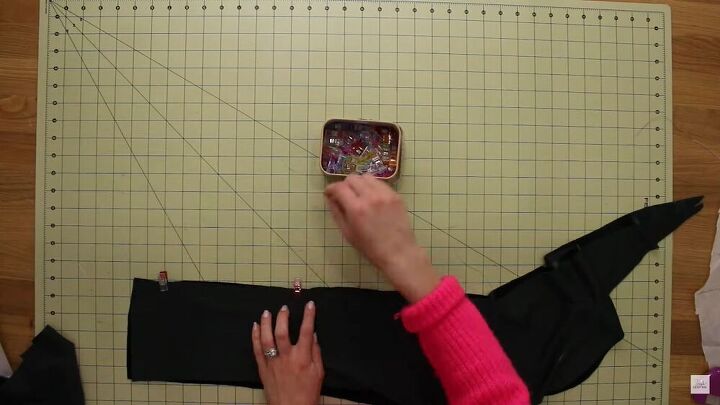
Cut out your fabric and pin together
It’s time to cut your fabric! Cut two from each piece. When the cutting is out the way, we are going to prep the sleeves for sewing. Take one of each, one for your front and one for your back, and pin them together. The same seam that you will be pinning and sewing will be the same seam used to create a puffy, dramatic sleeve.
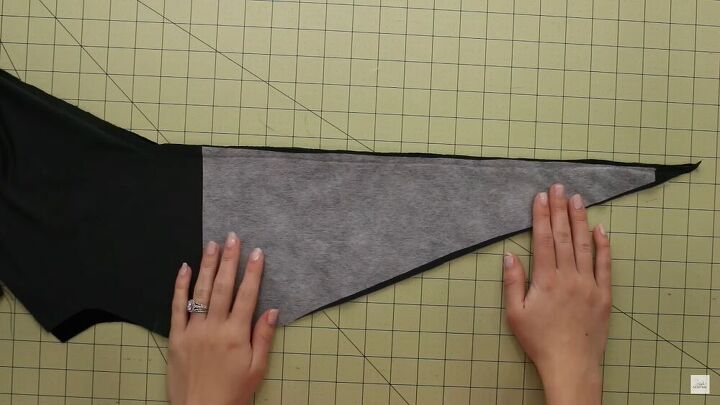
Add an interface for more puffiness
The next step is optional. Interface the top part of your sleeve. Interfacing will help make your fabric stick out more and give it a bolder look.

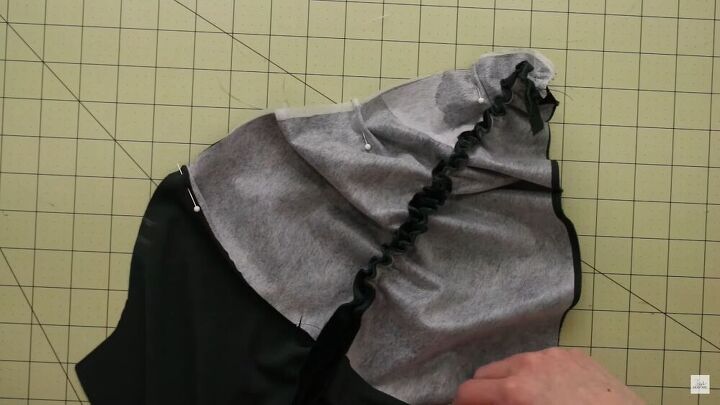
Sew gathering seams and gather
Starting from the curved corner of the sleeve to the tip, sew gathering stitches and gather your stitches to create a puffy look.
Pleat around the sleeve and gather
Measure an inch and a half away from your notches, and add half an inch of your fabric and pleat it. Pin the small pleat down and repeat the process along both sides of the cap at around two-inch increments. The combination of pleating and gathering will give a deeper effect.
Baste pleats and gather the seams again
Once the pleats are pinned in place, baste the pleats and sew more gathering stitches from one side of the sleeve cap to the other. When you are done pinning, start gathering your seams.
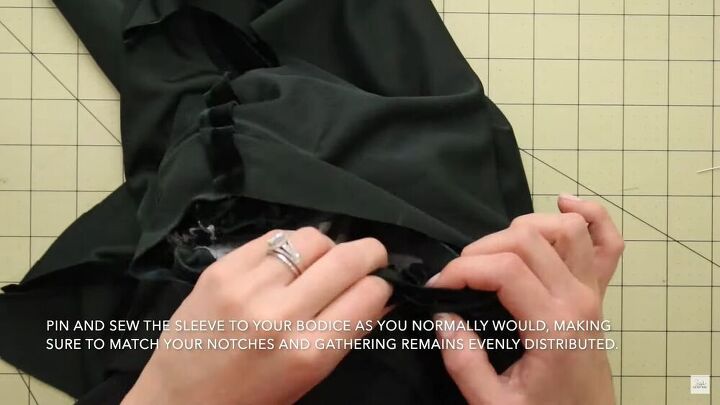
Sew the sleeve to the bodice
Your puffy sleeve hack is almost done, continue putting your sleeve together by sewing the underarm, setting your sleeve inside your bodice, and repeating the same steps on the other sleeve.
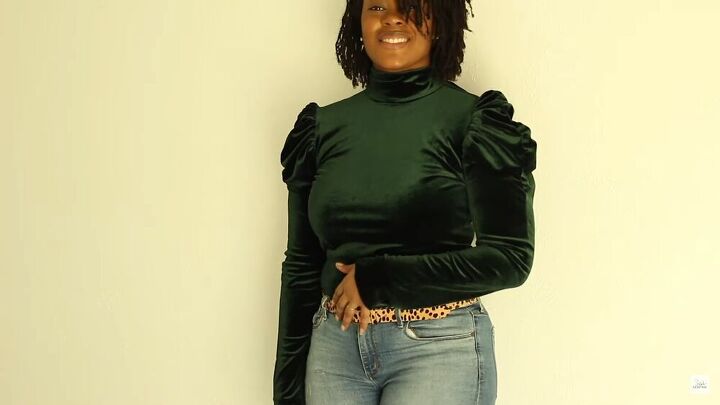
You are now the proud owner of a lovely DIY puffy sleeves piece that you made on your own. It is great using a pattern and getting your creative sewing juices flowing because you can literally make anything you want. Well done!
The author may collect a small share of sales from the links on this page.


Comments
Join the conversation
Hello there,
Maybe a bit tight looking across your bust, but a couple of darts might solve that!
Otherwise well done.
Looks great on you !!!